HOW DO I SELECT AND MOVE A PART OF ONE IMAGE TO ANOTHER?
-----------------------------
In this short tutorial, we'll go over how to select a part of one image and move it to another image. To do so, we'll be using the Quick Selection tool and the Refine Edge function. For this tutorial, I am using Photoshop CS6.
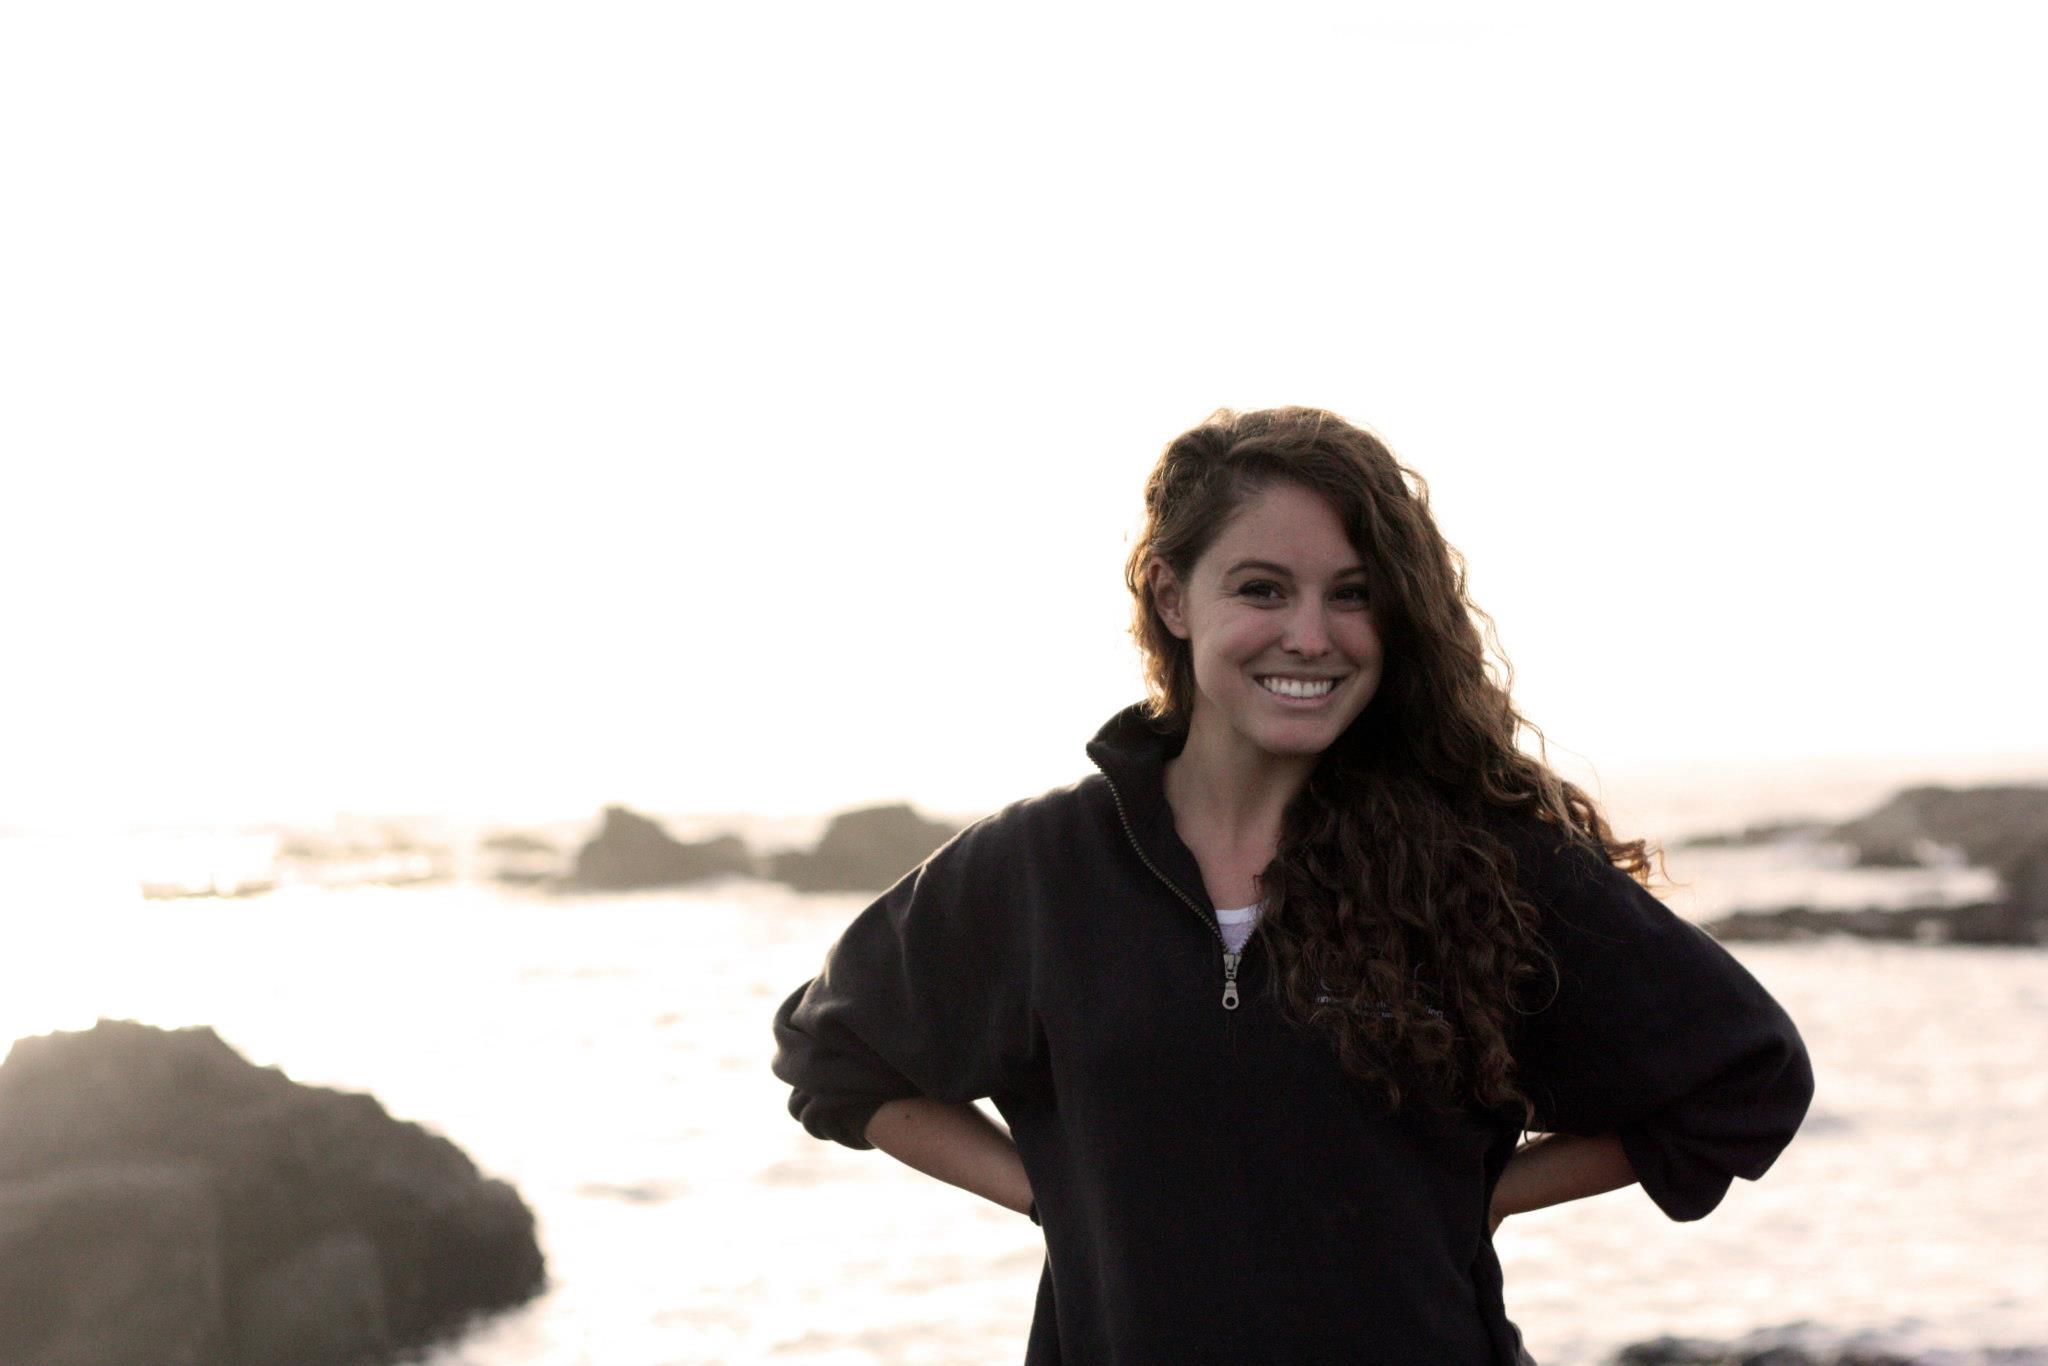
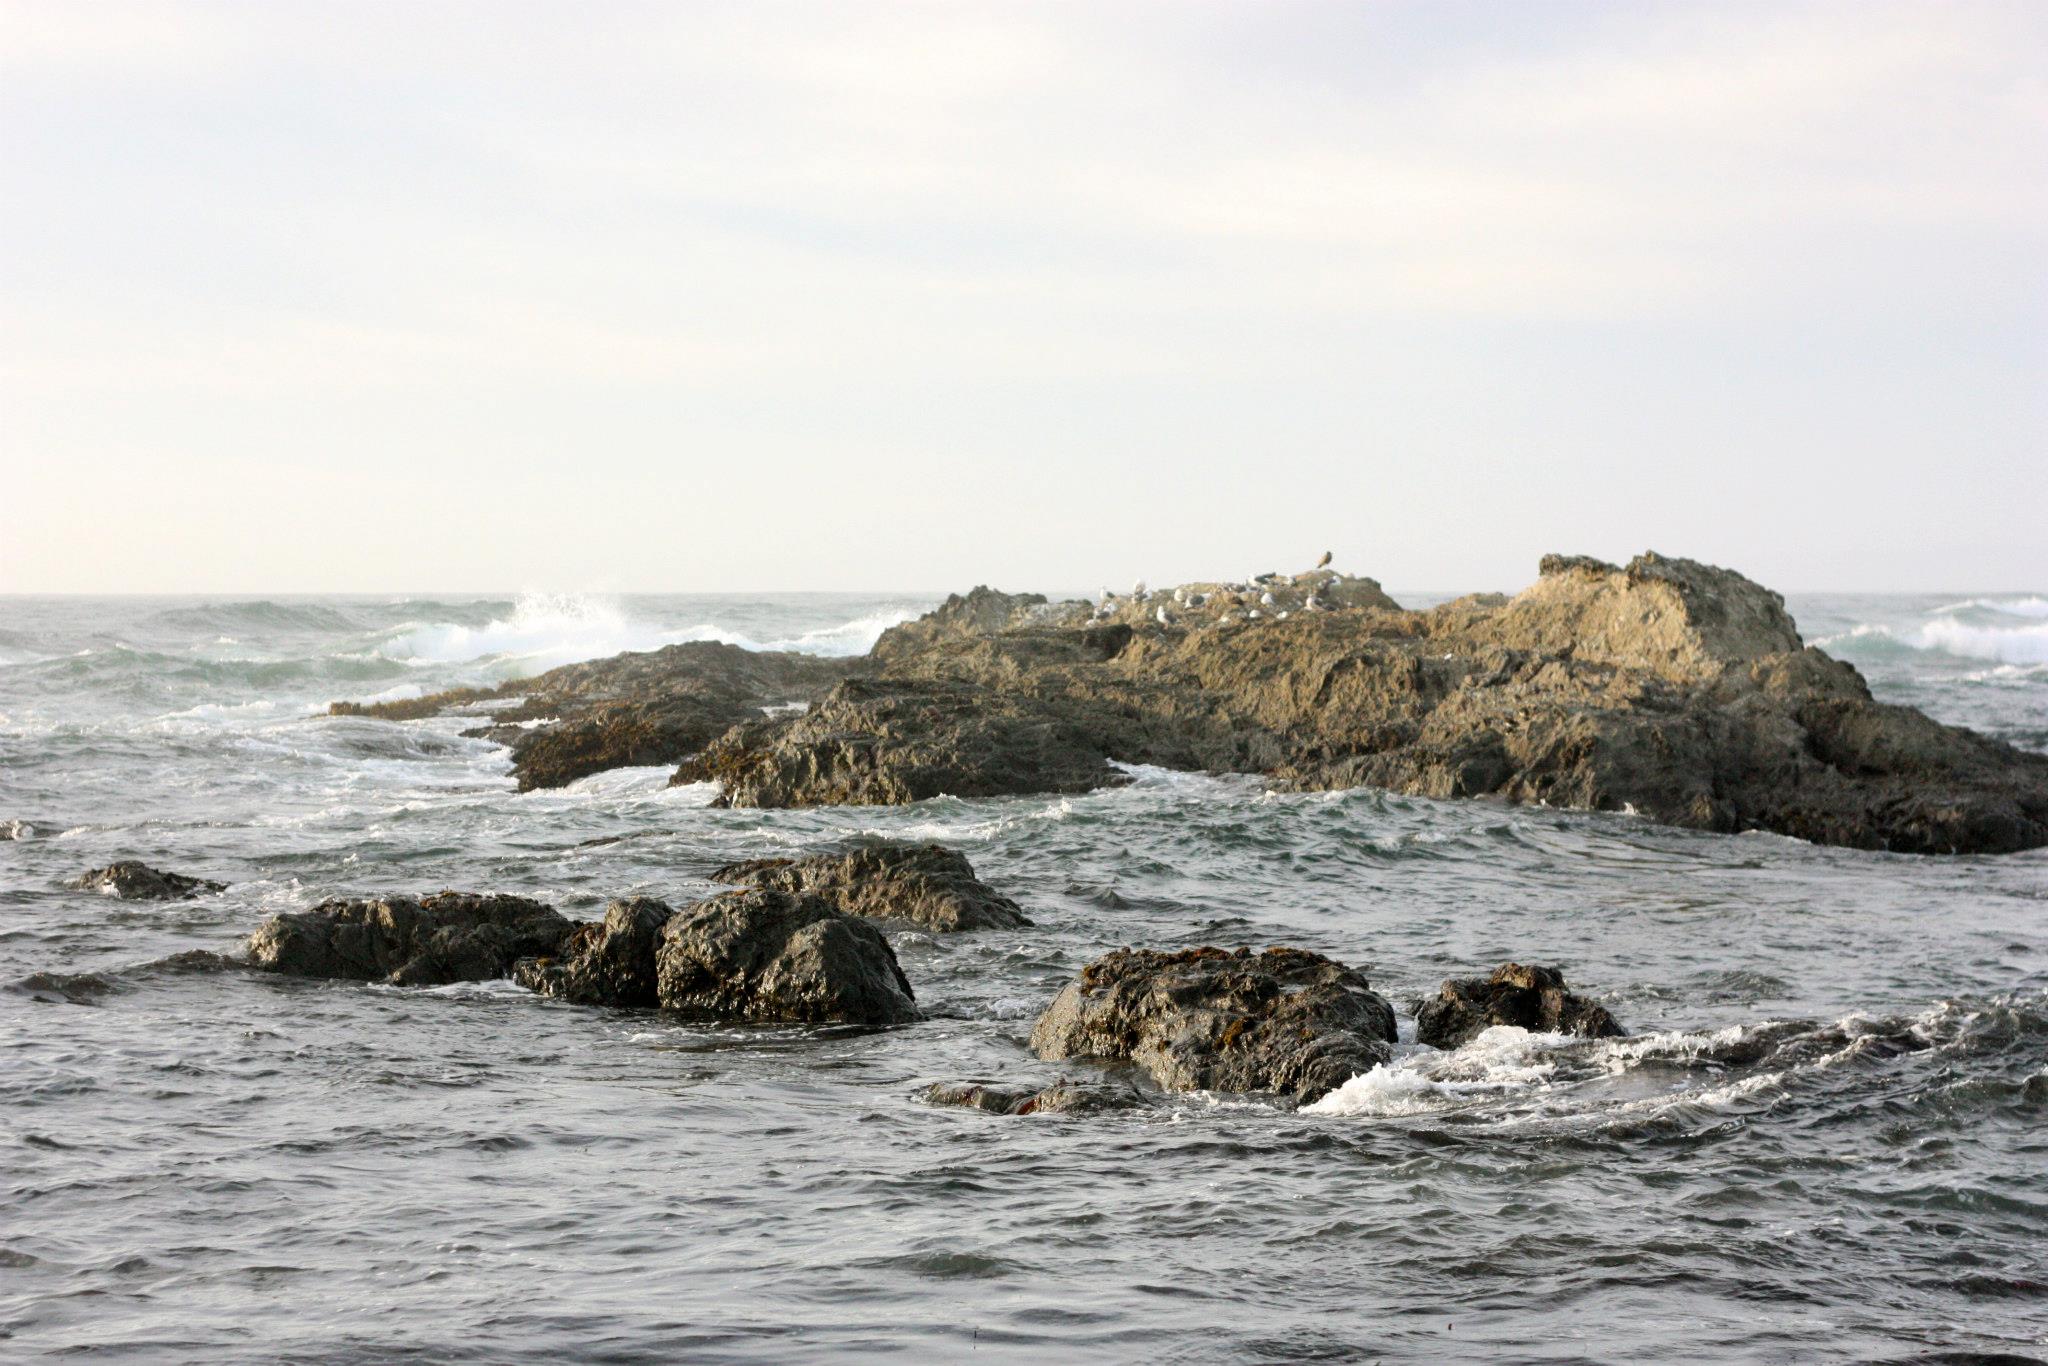
Here I have two images - one of my subject and one of a beach scene. The photo of my subject has a blown-out background, so I want to move my subject into the photo of the beach.
-----------------------------
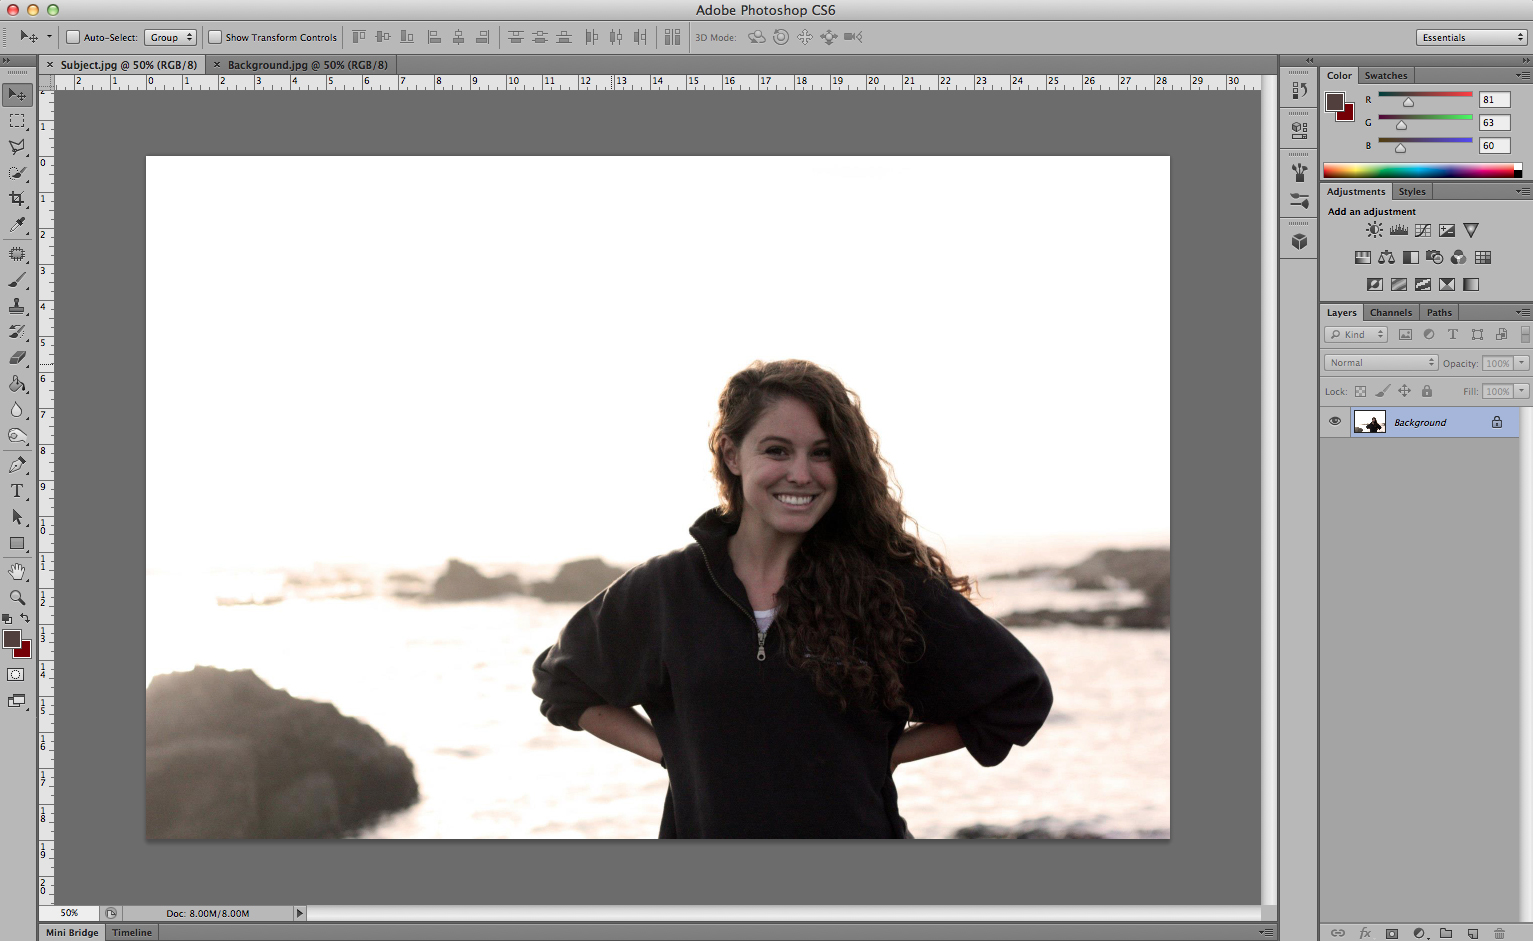
STEP 1. Open both of your images in Photoshop.
-----------------------------
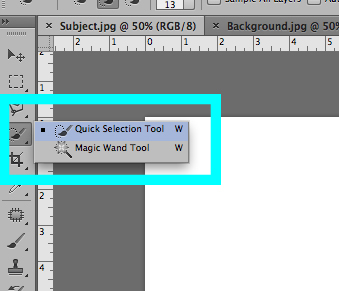
STEP 2. Click on the Quick Selection tool in the tool bar, as highlighted below. If you see the Magic Wand tool instead, just click and hold on the Magic Wand icon and a submenu should pop up.
-----------------------------
STEP 3. Using the Quick Selection tool, click and drag over the area of the first image that you want to move into the second image.
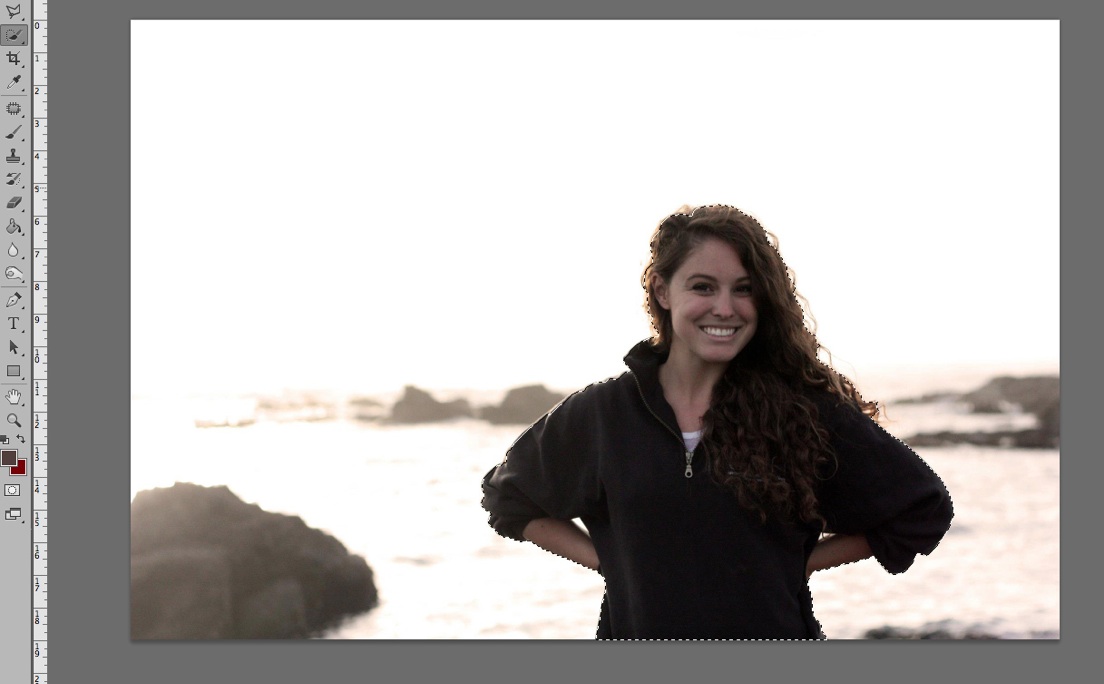
*TIP* If you select an area that you don't want to keep, use the Subtract From Selection tool in the Quick Selection tool menu bar.
-----------------------------
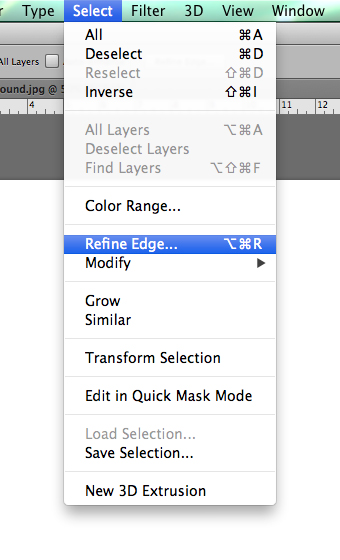
STEP 4. Now we're going to refine our selection to help it merge more smoothly with the other image. From the menu bar, choose Select > Refine Edge...
-----------------------------
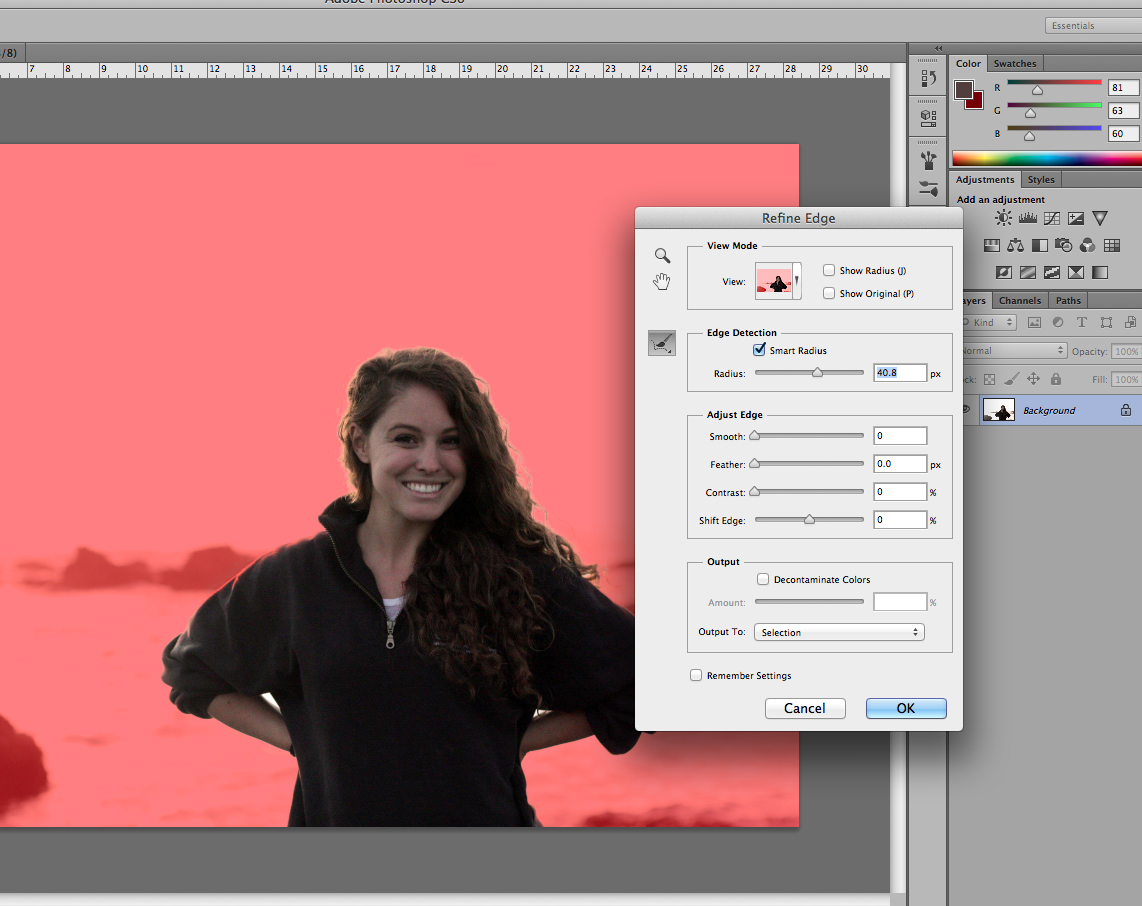
STEP 5. Use the Refine Edge dialog box to adjust the edge of your selection. The settings you choose will depend on the particular image that you're working with. My image includes some thin sections of hair so I've checked the Smart Radius option and widened my selection radius using the radius slider. I've also changed my View Mode to Overlay so that I can see my selection easier. Once you're happy with your selection, click "OK".
-----------------------------
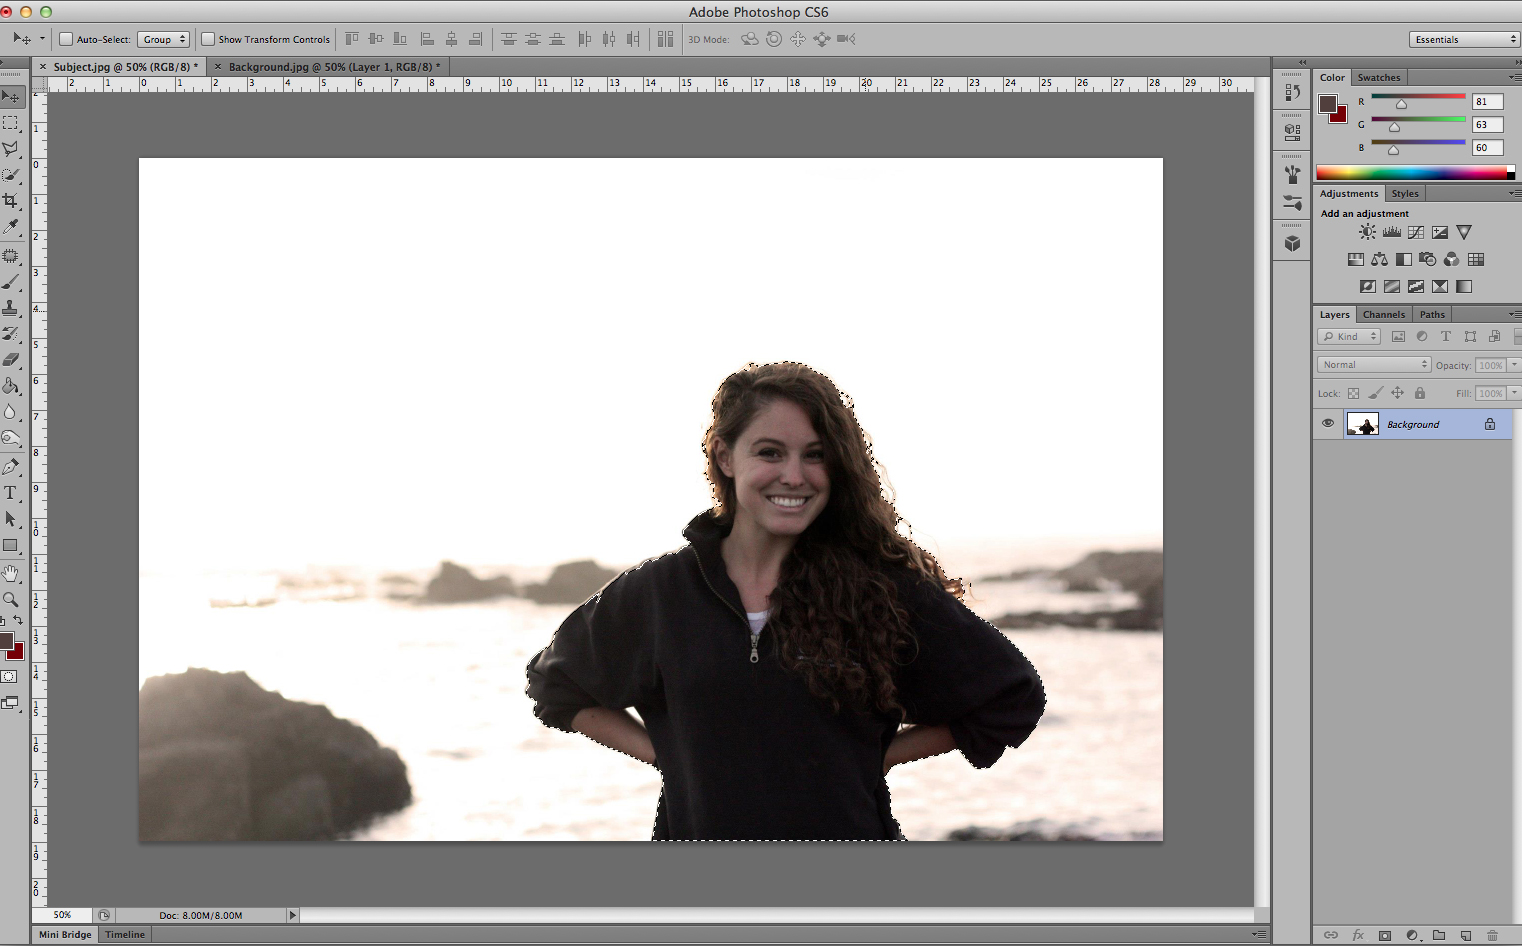
STEP 6. Now that I have my selection, I am ready to move my subject into the new photo. To copy the selection, choose Edit > Copy from the menu bar, or simply hit "control-C" (Windows) or "command-C" (Mac) on your keyboard.
-----------------------------
STEP 7. Now I can go to my background image and paste my subject into the scene. To do so, open your background image and choose Edit > Paste from the menu bar, or hit "control-V" (Windows) or "command-V" (Mac) on your keyboard. This will create a new layer from the selection.

-----------------------------
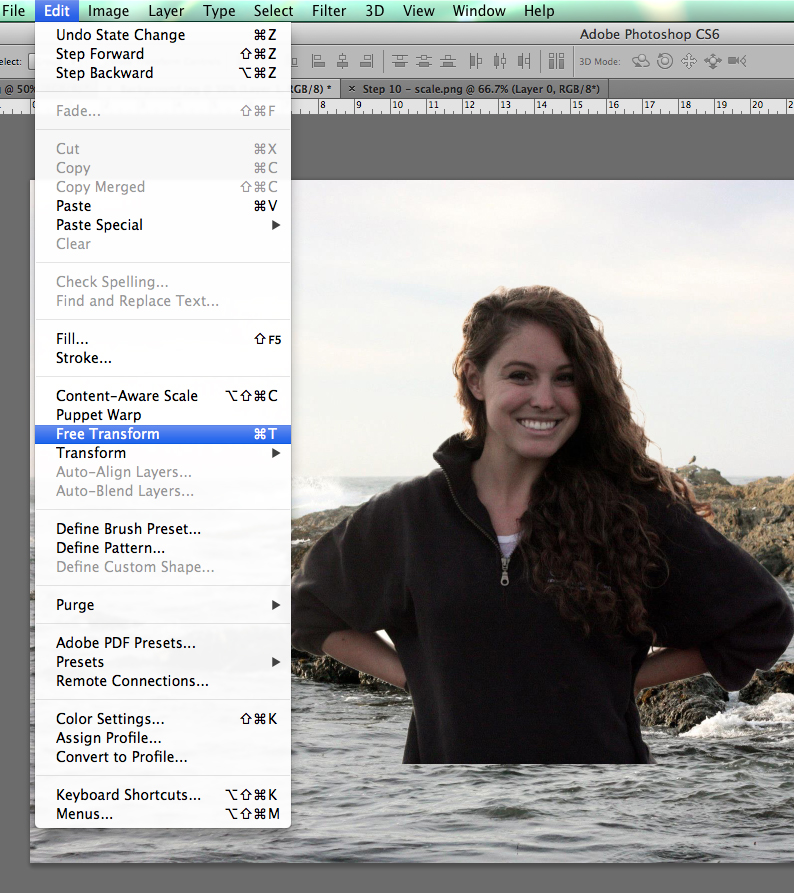
STEP 8. I need to adjust the placement and size of my subject. From the menu bar, choose Edit > Free Transform, or hit "control-T" (Windows) or "command-T" (Mac) on your keyboard.
-----------------------------
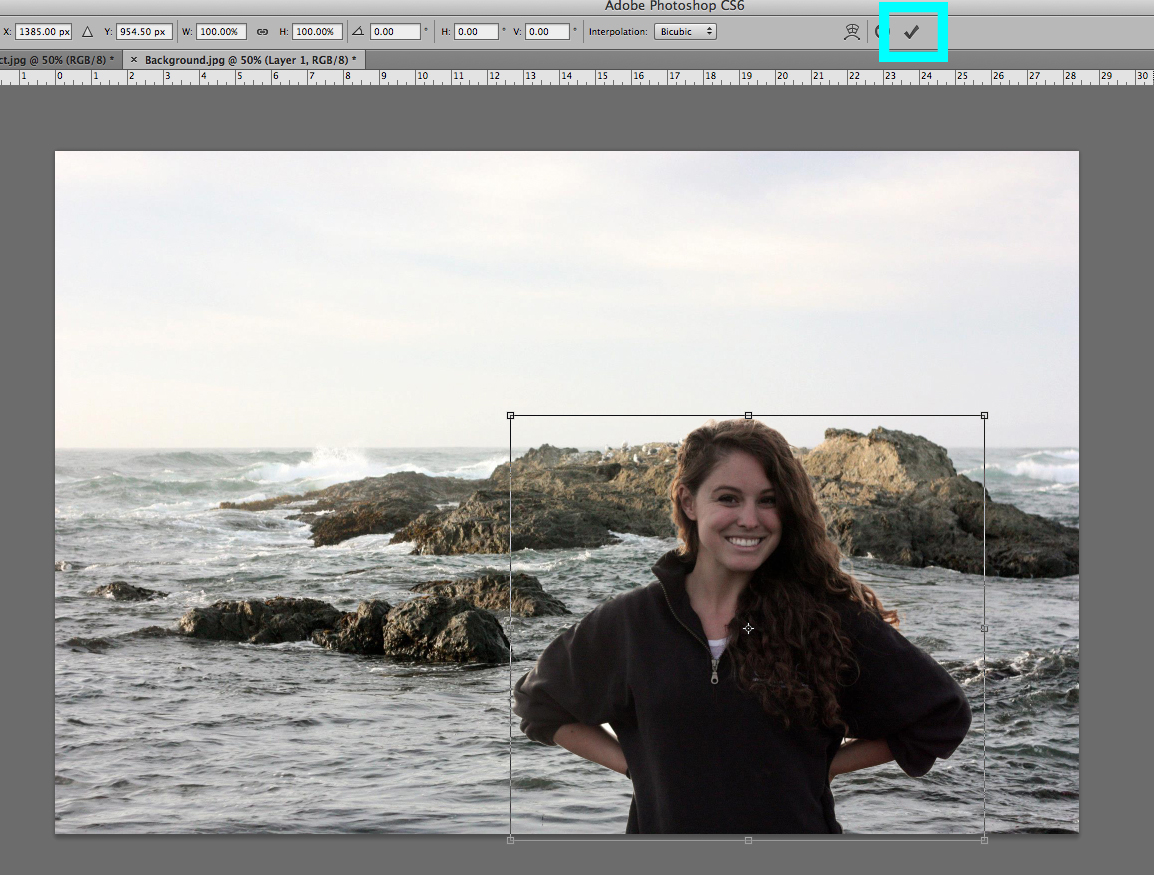
STEP 9. Move your selection around the canvas by clicking and dragging on the center of the selection. Resize your selection by clicking and dragging on one of the corners of the bounding box while holding down the "Shift" key on your keyboard to constrain the dimensions of your selection. Once you're satisfied with the placement of your subject in the image, click on the check in the transform menu bar (highlighted below).
-----------------------------
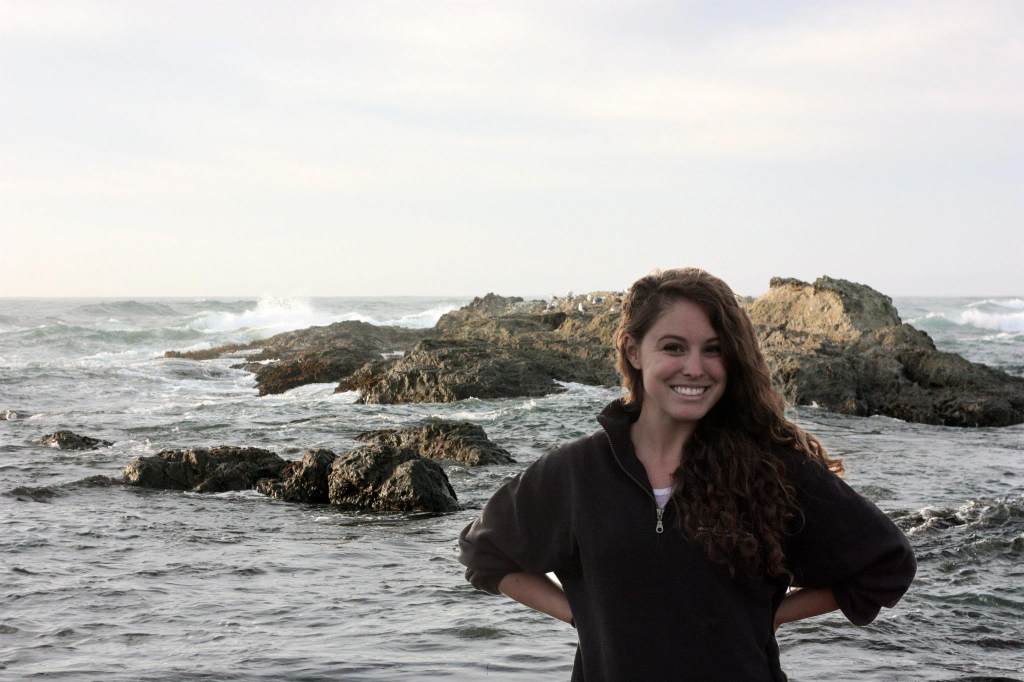
DONE! Now your selection has successfully been placed into a new photo!
-----------------------------
ADDITIONAL LEARNING


 3
Replies
3
Replies


 AdChoices