

- Home
- Photoshop ecosystem
- Discussions
- how to fill pixels around quick selection
- how to fill pixels around quick selection

Copy link to clipboard
Copied
Hi there peeps,
Doing a bunch of product images with white background and I am using subject selection/quick select tool. This leaves me with a pixelated white background around image that my paint bucket will not fill no matter the tolerance, how do I fill this keeping in mind I need to do this 1200 times. Also any tips to making the process of white backgrounding many images quicker would be greatly appreciated. I can usually get pretty close with a set of actions. Thank you for your time, sorry for the newb question.


 1 Correct answer

The easiest method would be to expand the selection by one or two pixels before you fill it with color. Also don't use the Paint Bucket, use 'Edit - Fill'.
Explore related tutorials & articles
 10
Replies
10
10
Replies
10

Copy link to clipboard
Copied
If the edges of the objects are not clearly defined (sharp focus) any method you try will be problematic.
Please post a typical full image..
Copy link to clipboard
Copied
Copy link to clipboard
Copied
The easiest method would be to expand the selection by one or two pixels before you fill it with color. Also don't use the Paint Bucket, use 'Edit - Fill'.
Copy link to clipboard
Copied
thank you for your help, it seems to help quite a bit

Copy link to clipboard
Copied
The key to good white backgrounds is doing it right in-camera. You can use one or two levels adjustment layers with the black slider moved all the way to the right (253) which will show clearly where you have pure white. With a little work, you can automate masking from this.
Remember that you want a bit of anti-aliasing on your edges so it looks right.
Do you need clipping paths? That's a whole nother topic if you do.
Copy link to clipboard
Copied
I am not sure if I need clipping paths or not..the faster the process the better. I can get through one of these in about a minute or two...Less if the picture is great and I do not need to modify the selection...
This is a bad picture but I think its turning out fine, but let me know. like I said I will take any input that can increase efficiency.
Also when I fill I use select inverse then fill but I usually have to crop after this leaving a black line at the bottom. Is there an easy way to fill this without having to reselect my product
Copy link to clipboard
Copied
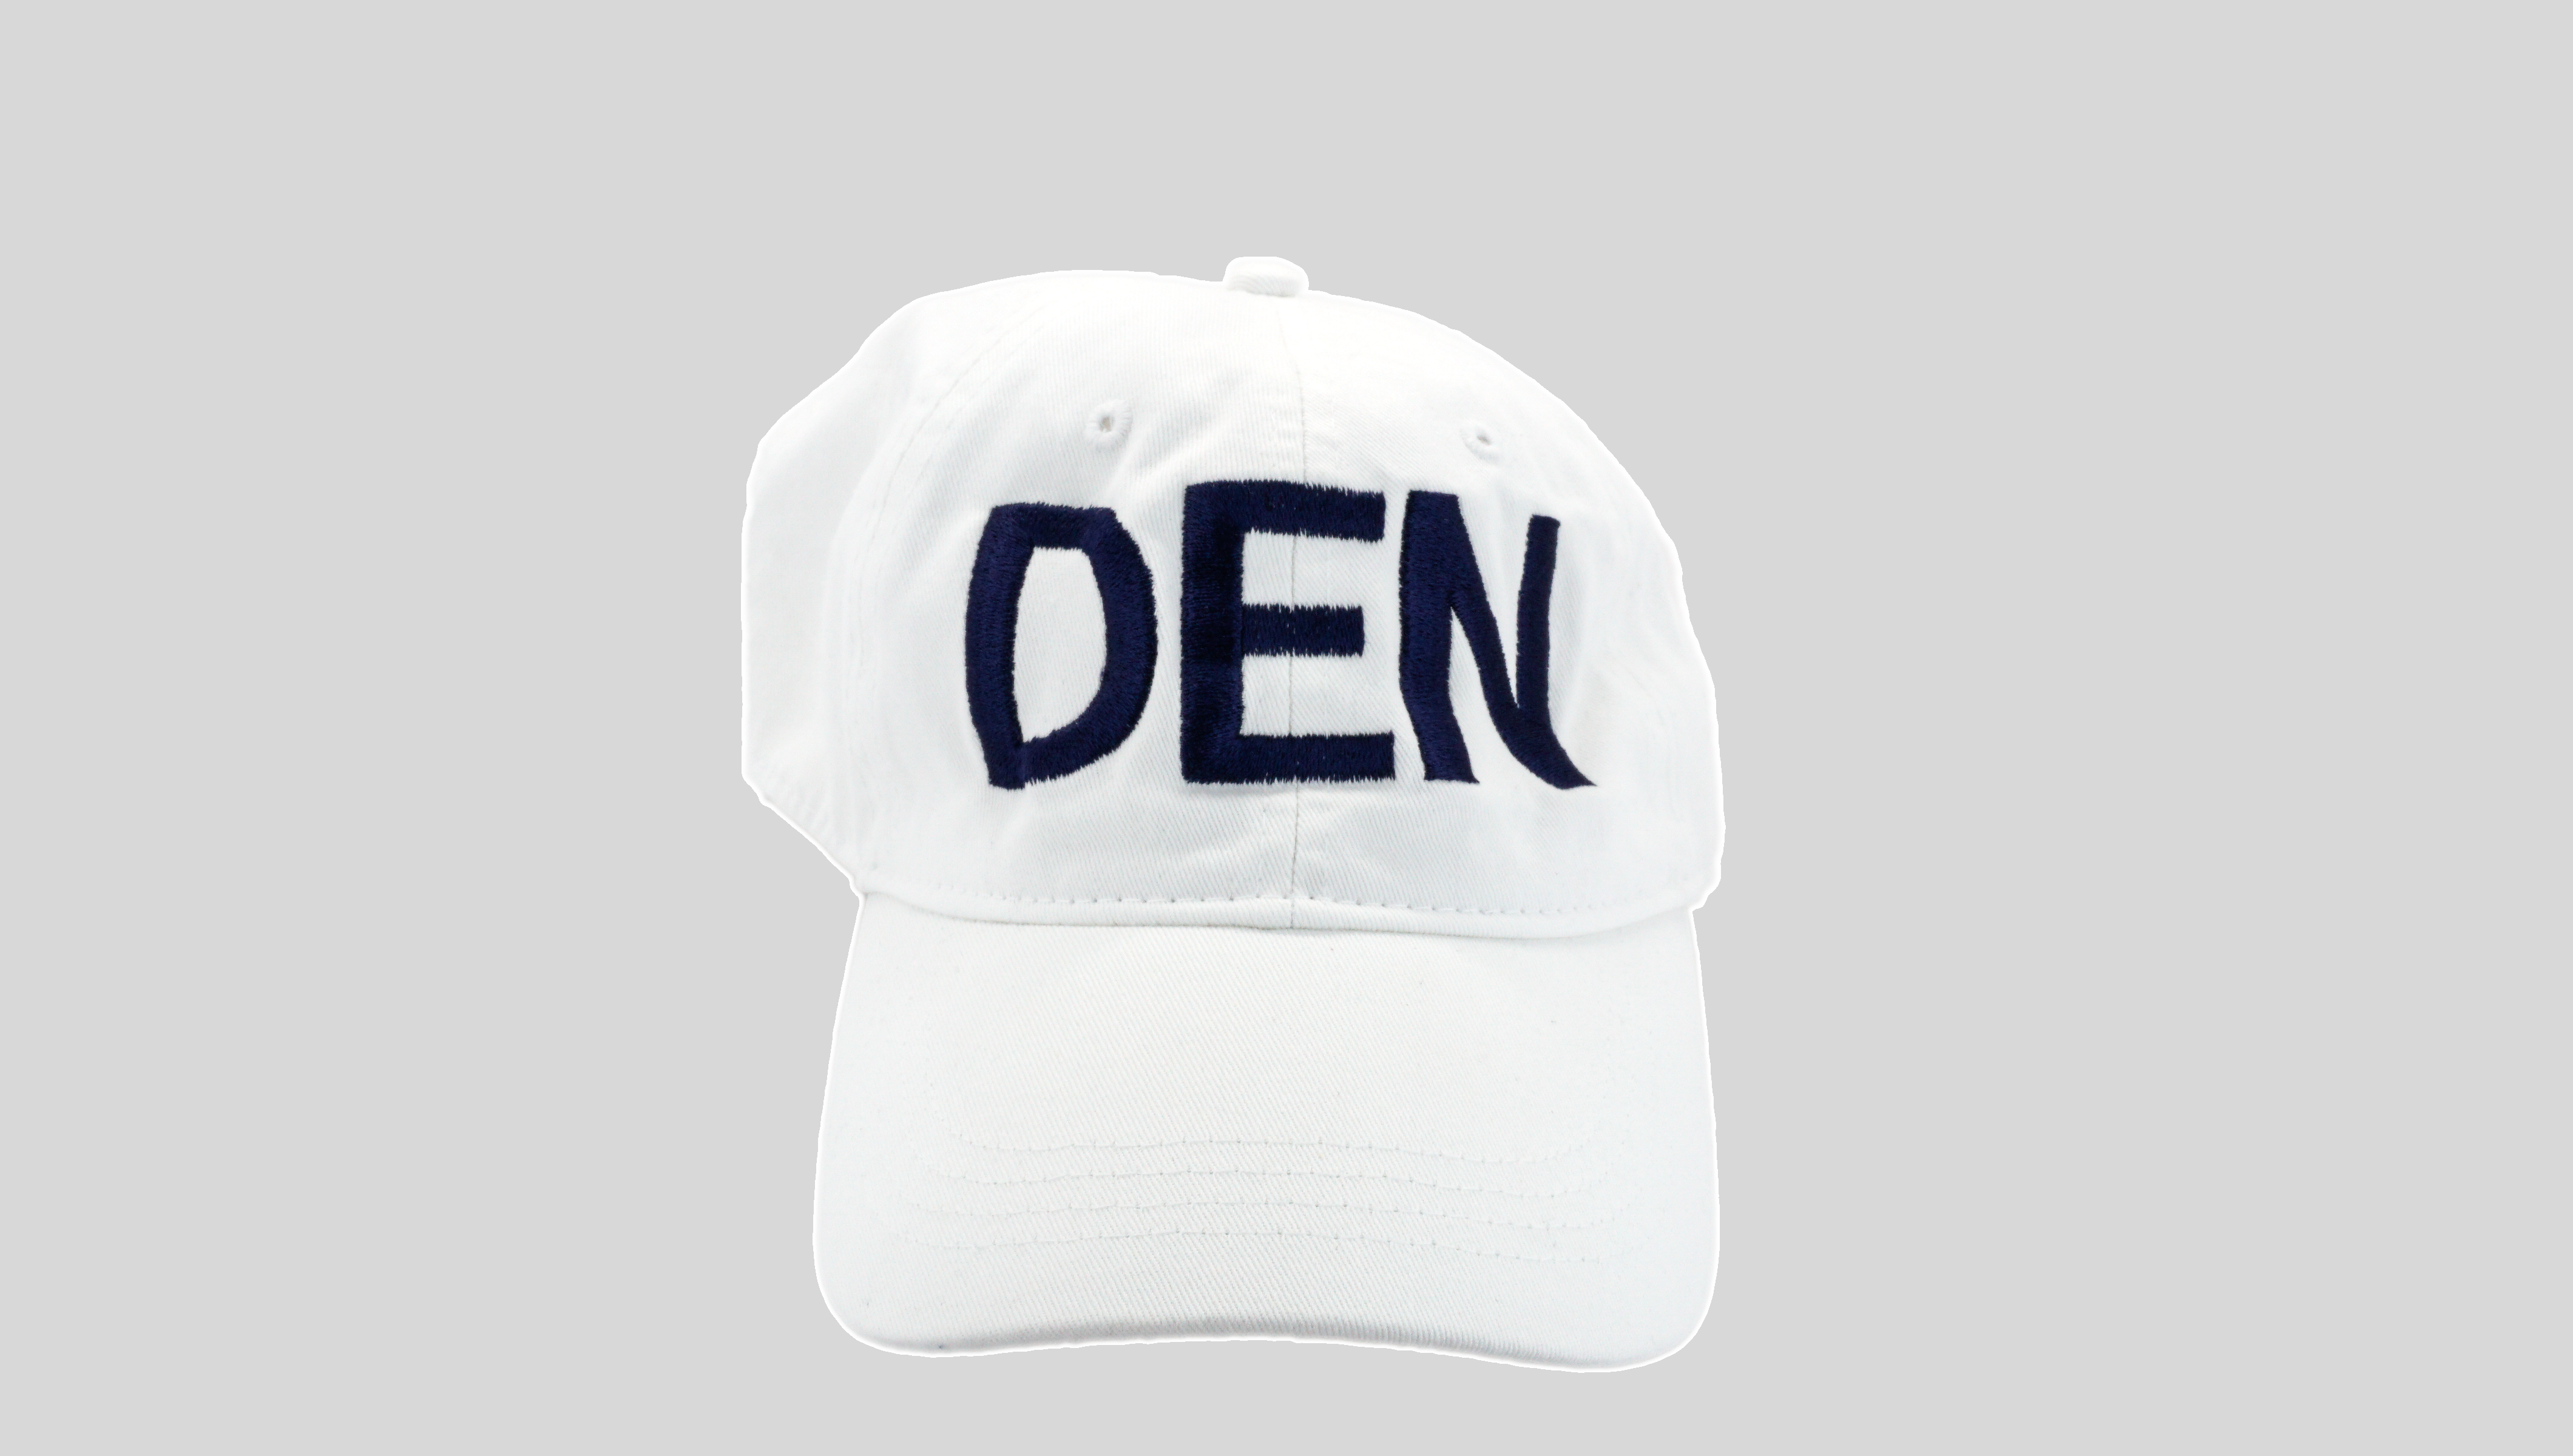
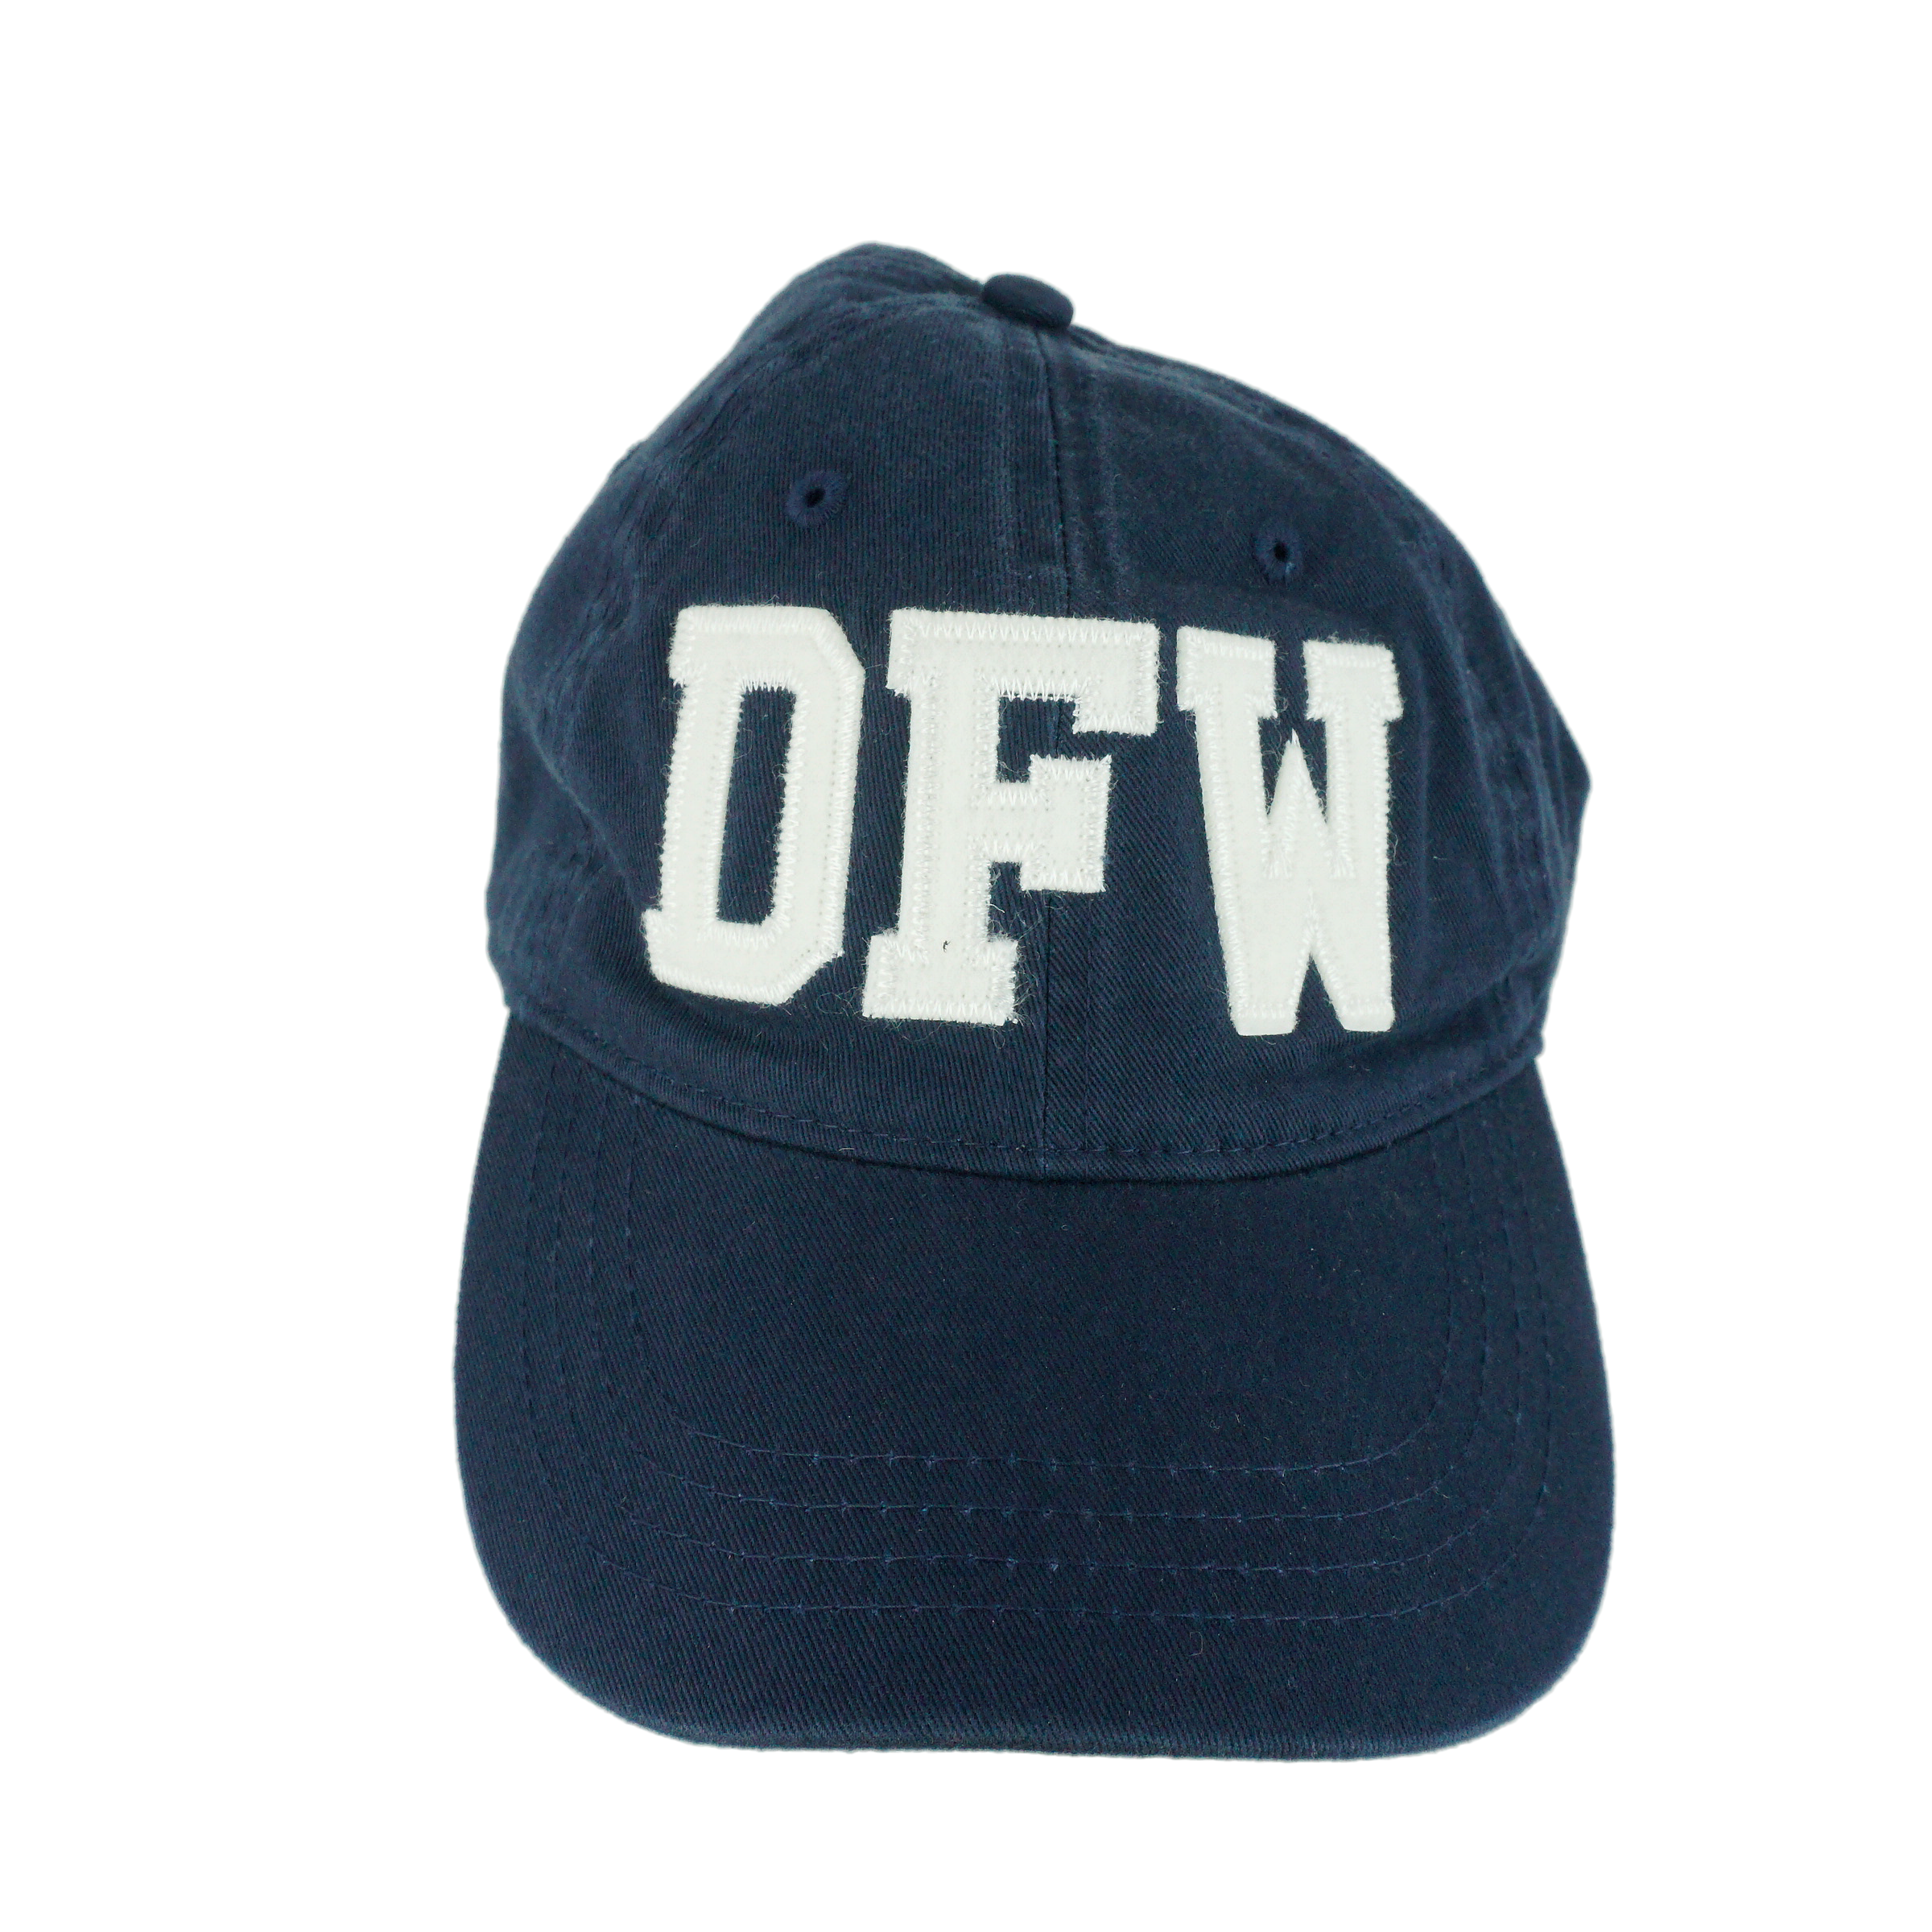
If these two hats are typical of the 1000+ files you are dealing with, you can write an Action that will do the job. Consider batching it.
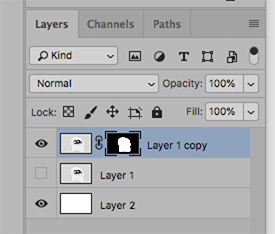
1 Open and image
2 Place a layer below it and Edit > Fill with white
3 Return to the image layer
4 Choose the Quick Selection Tool but do not click on the object
5 In the Options bar choose Select Subject
6 When the marching ants appear (takes a few seconds) choose Select and Mask
7 At the bottom of its Property panel choose Decontaminate Colors and in Output choose New Layer with Layer mask.
8. OK
Note: The white hat is almost. pure white. You may choose to use Curves or Levels to reduce the white a bit.
(Edit: Revised for greater clarity)
Copy link to clipboard
Copied
This actually has given some ideas for getting things a bit cleaner...Thank you very much. I may post up my actions tomorrow so I can maybe get some feedback. Unfortunately right now I need to get my photos consistent so that my auto select will work better

Copy link to clipboard
Copied
Hi there,
What you need to understand well is the workflow in these kind of jobs.
Maybe you are a professional doing this every day but maybe not, so I'd like to give you an advice about the workflow.
Retouching products like this is very time consuming.
On the other hand, do this job keeping in mind that your are retouching products that someone has to sell.
This means that people will buy these products, also, or mostly, looking at the photos. Your role is very important here.
Said that, from a professional retouching perspective, 1200 products ara a sh* load of products but they deserve some time do invest in the process.
Usually the correct process I'm used to is the following:
- Make the selections using the PenTool. Like this you have a path you can reuse if needed
- If you do not have the time to use the PenTool, use the Quick Selection Tool (it's fast and very well done for most of the product photos like yours)
- Select the photo and make a layer mask around it (Like this you can adjust the mask it self in a non destructive way and make a perfect selection
- Create a background layer underneath the product photo and fill it with the color of your choice for the background
- Make another layer and brush some shadows if needed
If you are out of time and you need to do a lot of selections in few hours or while you are sleeping, send it to some service as Clipping Path India which for few dollars will select and mask all your images while you sleep.
We use this service very often and we focus on the retouching instead on the masking. But it's your choice.
Hope this can help you to produce a great job,
Martin
Copy link to clipboard
Copied
so using some of these ideas, this is what I am doing...Select subject works fine if the picture is taken correctly, but manual selection has been necessary for many. I am here to learn so I would appreciate any input and please let me know why another process other than what I am doing would make more sense. Also, from what I have seen, not all products have brush shadows added so I am not sure if they are necessary.
Here are my actions...the refine edge tool has helped with quality quite a bit.


Find more inspiration, events, and resources on the new Adobe Community
Explore Now
 AdChoices