I'm not 100% sure what tutorial you're using, or what the exact outcome you want, but here's what I tried. There are lots of ways to do this:
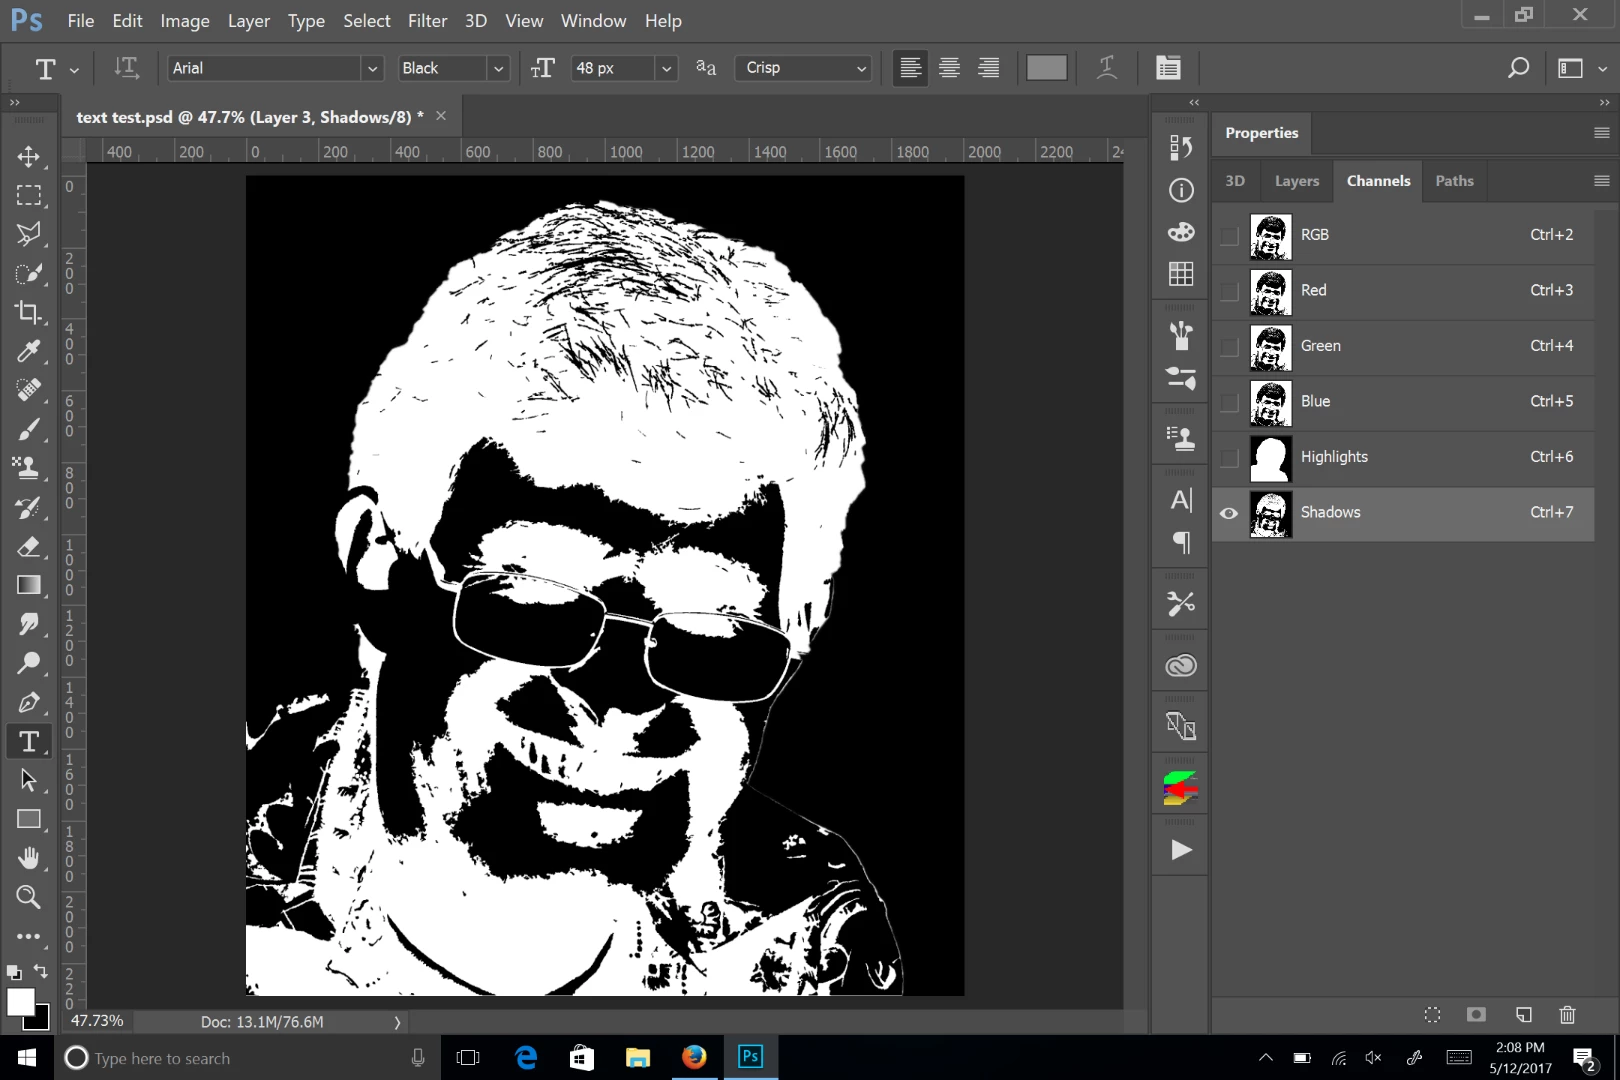
Make a selection of for the highlights (I did a silhouette, according to one tutorial I saw.), then save the selection as a mask. The selected area should be white, If not, press ctrl/cmd-i to invert it. Then I used the threshold to create a b&w image to make my black selection. I inversed this, as what was to be black needed to be white. Went to channels, ctrl-clicked on the thumbnail, and saved it as a channel.
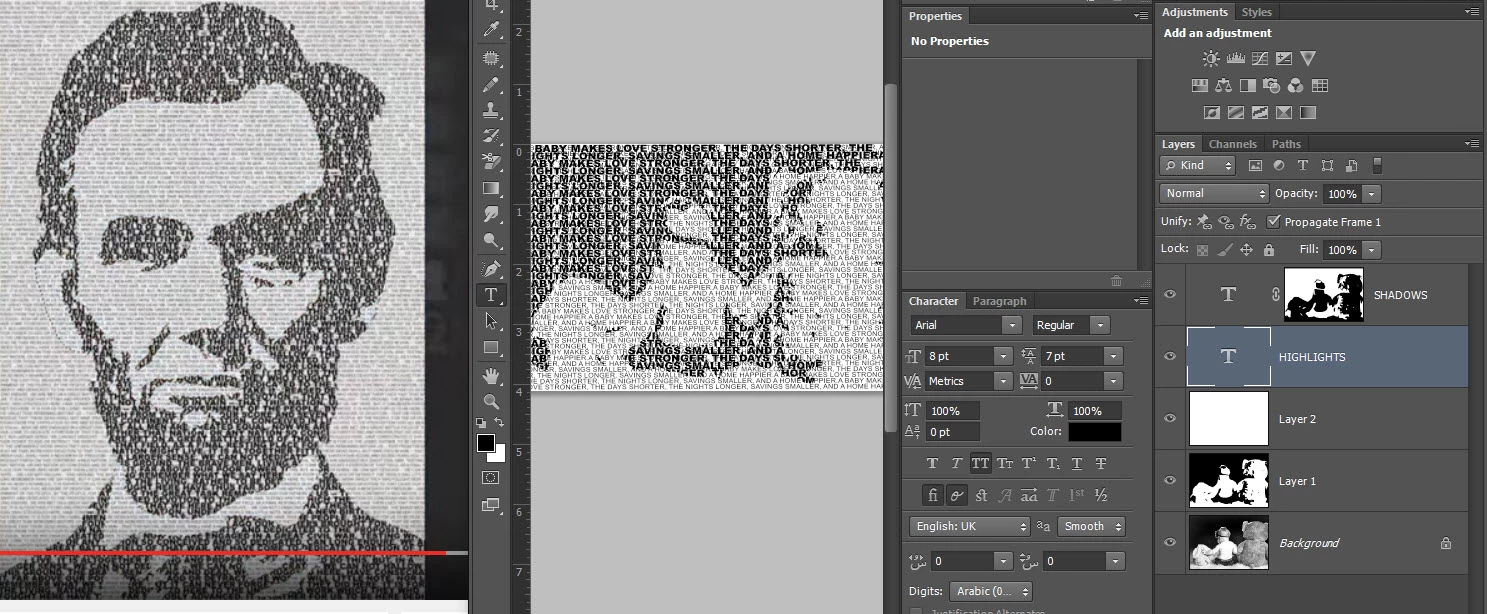
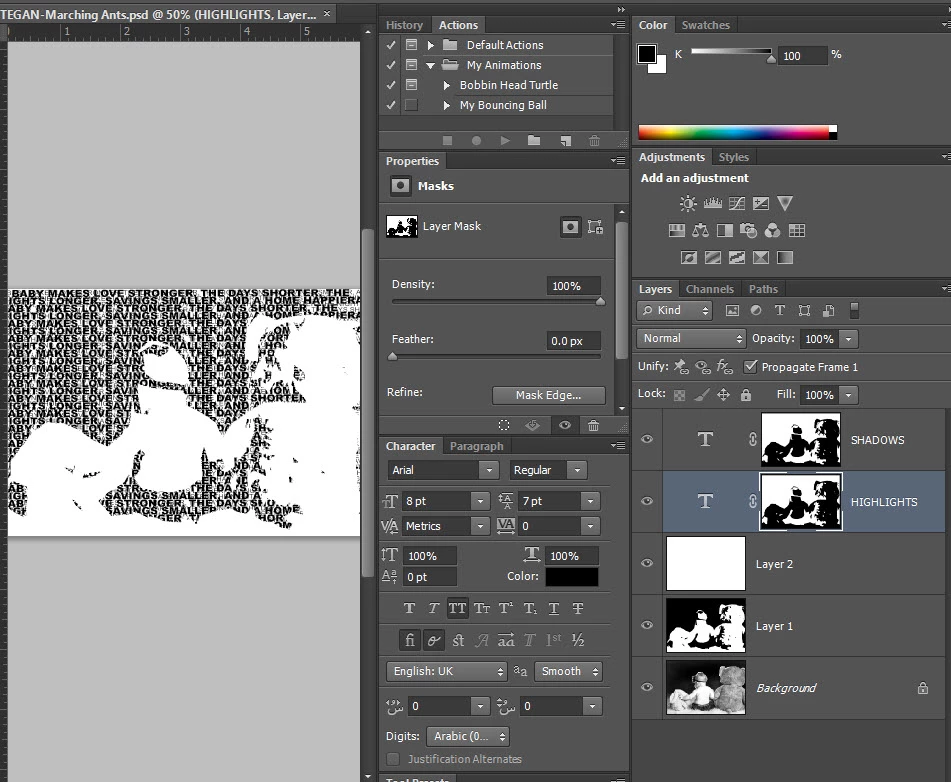
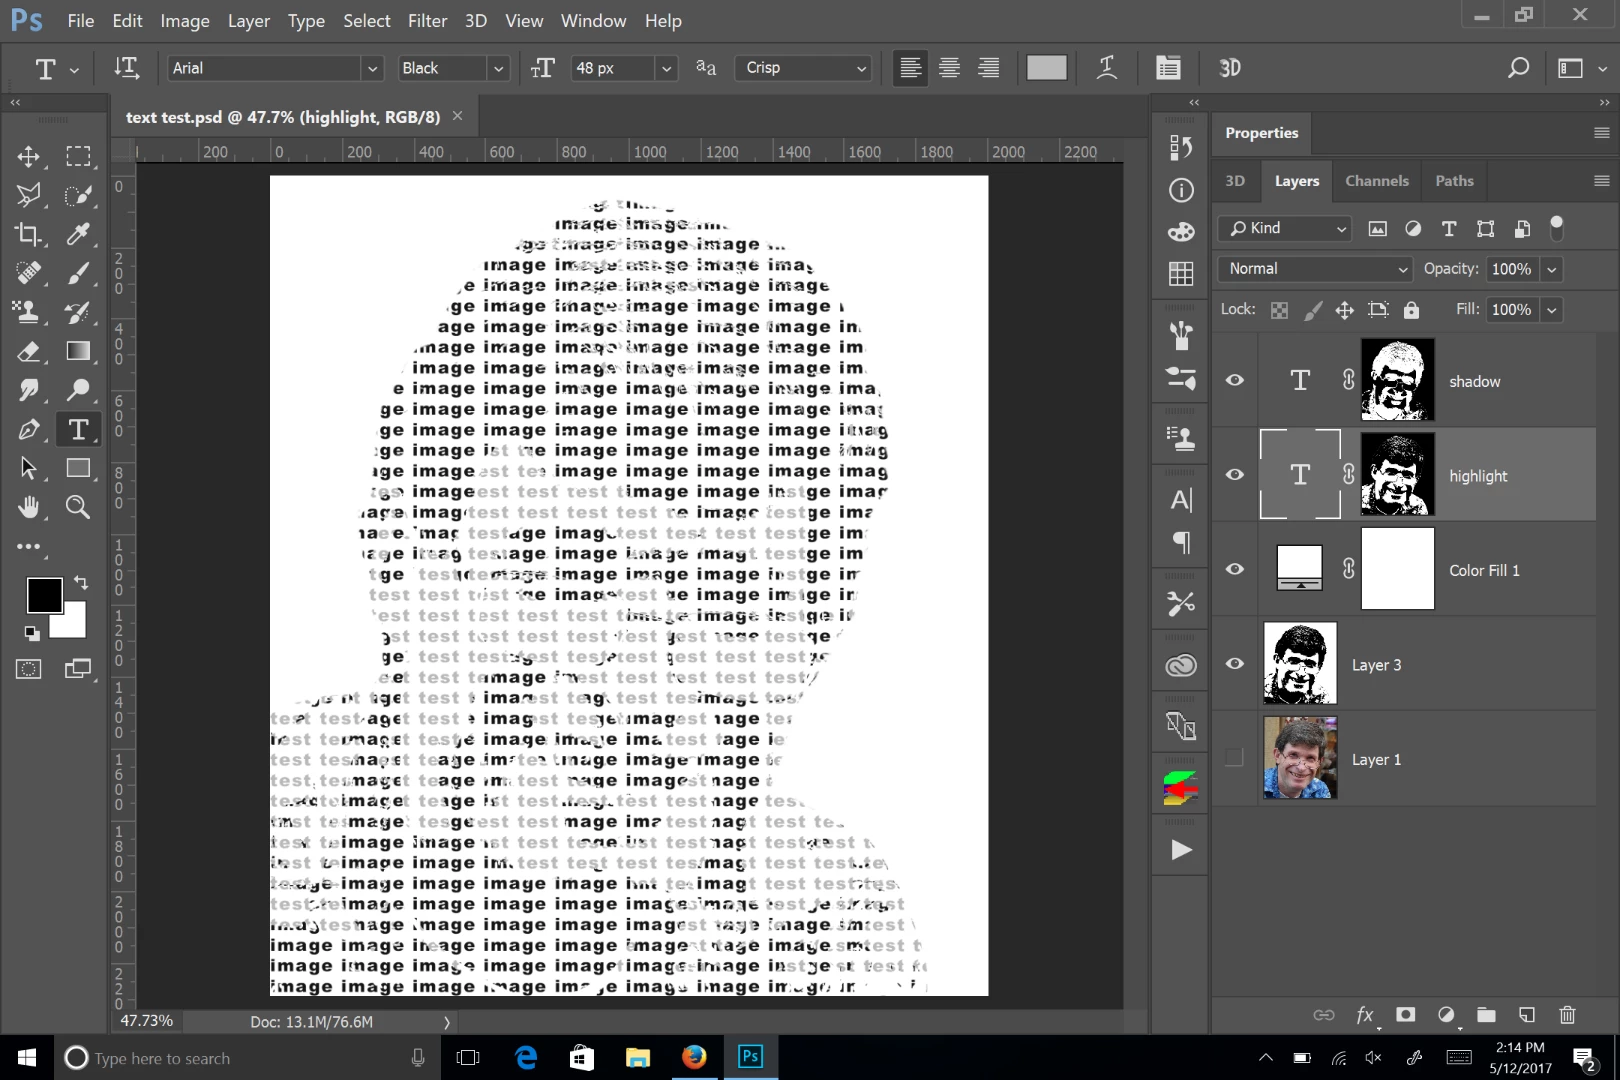
Then I loaded this shadow selection (ctrl-click on the channel thumb), went back to the layers panel and created a layer mask for the chadows:
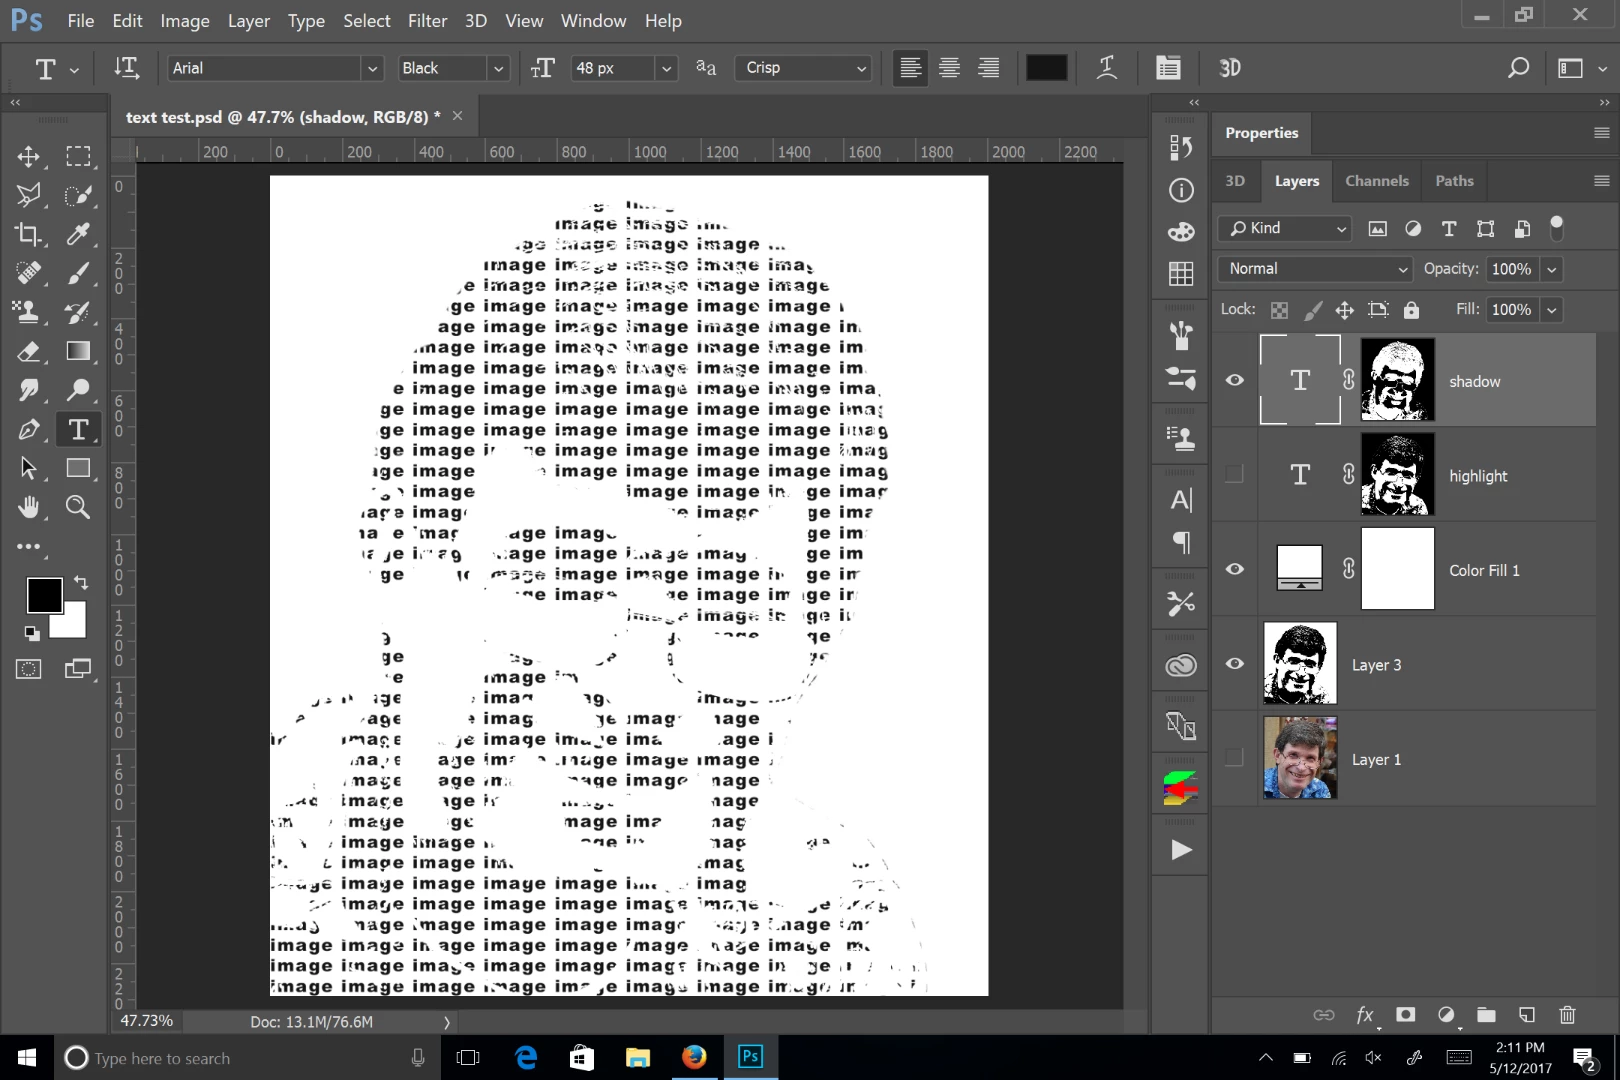
Then I went back to the channels panel and made a selection of the highlights. Frankly, at this point, if your highlight text layer is below your shadow text layer, that's all you need to do. You can do as you mentioned alt clicking on the shadow channel to subtract that selection, but you really don't need to. I then added the highlight mask to the highlight text layer:
This looks like the tutorial.
Photoshop CS6 Tutorial: How to Make an Editable TEXT Portrait from a Photo. - YouTube
Nancy