


Copy link to clipboard
Copied
Noob here!
Can anyone give any advice on how to make this magnifying glass mockup look more realistic/less sloppy/fake (it's 'frankensteined' together with some separate pieces I liked)?
Ideally, I'd like to properly recreate the rim/lens from scratch.. but I've no idea how (and the meh Youtube tutorials I found didn't really match the aesthetic I'm going for).
(Also, as a last resort, I wouldn't mind outsourcing this job to someone that actually knows what they're doing, so any advice in that regard would be greatly appreciated as well). Thanks!
mockup:

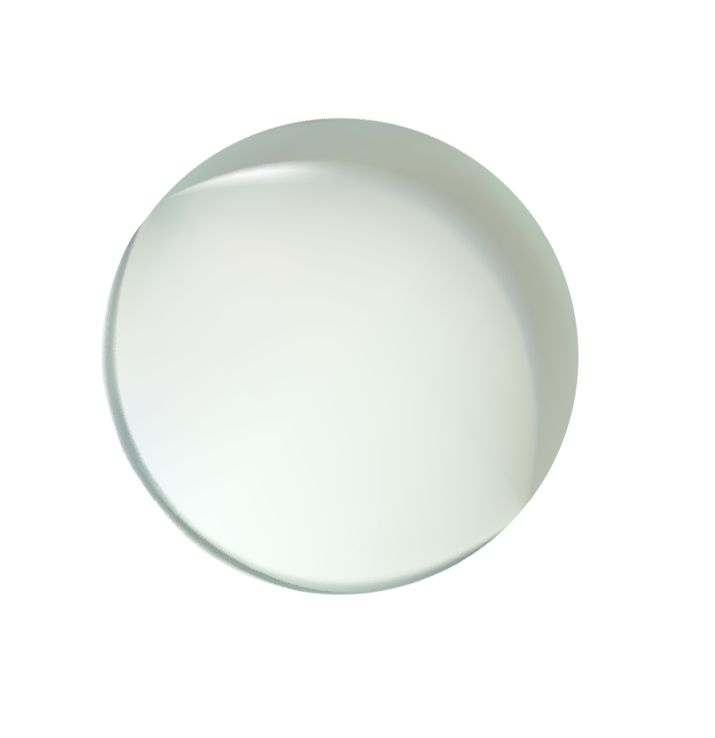
Original lens:


 1 Correct answer

There's a lot of work in giving you a blow by blow description on how to do this, which is probably the only reason you have not had a response yet. I am not going to do that, but I'll put you on track. This was done entirely with Photoshop, with the nearest thing to a cheat being the use of Alien Skin Eye Candy 7 for the chrome effect, but even Steve Caplin does his chrom this way.

- Start with a central vertical guide, with a horizontal guide in the right sort of position, to give you a referen
Explore related tutorials & articles
 3
Replies
3
3
Replies
3
Copy link to clipboard
Copied
There's a lot of work in giving you a blow by blow description on how to do this, which is probably the only reason you have not had a response yet. I am not going to do that, but I'll put you on track. This was done entirely with Photoshop, with the nearest thing to a cheat being the use of Alien Skin Eye Candy 7 for the chrome effect, but even Steve Caplin does his chrom this way.

- Start with a central vertical guide, with a horizontal guide in the right sort of position, to give you a reference.
- Make the outer ring with a stroked elliptical shape with no fill. Bevel & Emboss (smooth) to give it the depth.
- Now make the lens and fill with a light grey. Bevel & Emboss all the way to max with max softening (depending on canvas size of course. Lower the layers Fill opacity to give the lens the right tonal value. This leaves the layer effect intact.
- Add an Inner shadow to the lens and drop shadow to the ring.
- To make the highlight I stroked a short straight path with a tapered brush and Simulate Pressure turned on. Then Free Transform > Warp to curve it to match the outline.
- The handle should be full made with everything vertical. Then rotate it with the centre handle on the lens guide intersection.
- Start with a black rectangle. Add a white stripe on a new layer above clipped to the black handle layer, and blur the white stripe.
- The rounded rectangle tool for the bezels. As I said above I use Eye Candy for my chrome effect, but the thing to remember ios that chrome is like a mirror, so you have to paint in what might be reflected, and give it loads of contrast.
- When the handle is done, group all the handle layers and rotate with Free Transform.
I think there is a magnifying glass tutorial in Steve Caplin's 100% Photoshop book. It's essential reading for anyone into illustration with Photoshop.

Copy link to clipboard
Copied
Just to show that there is always an alternative, you could do this in 3D and make a "real" lens that will magnify the object behind it. This took about 15 minutes to make and then 30 minutes for Photoshop to render.
The objects in the attached are:
1. A circular path extruded to make the lens surround
2. A path with a circular extrusion to make the collar
3. A long rectangle path made into a circular extrusion to form the handle
4. The lens. To make this I created two large overlapping circles and made a path from the overlap shape. From this path I made a circular extrusion to form the convex lens. I used a glass material for the lens.
5. A plain layer with "Lorem Ipsum" type formed into a 3d "postcard" i.e. flat layer
All 5 objects were created on separate layers then merged and positioned. Then it was adjust the light and render.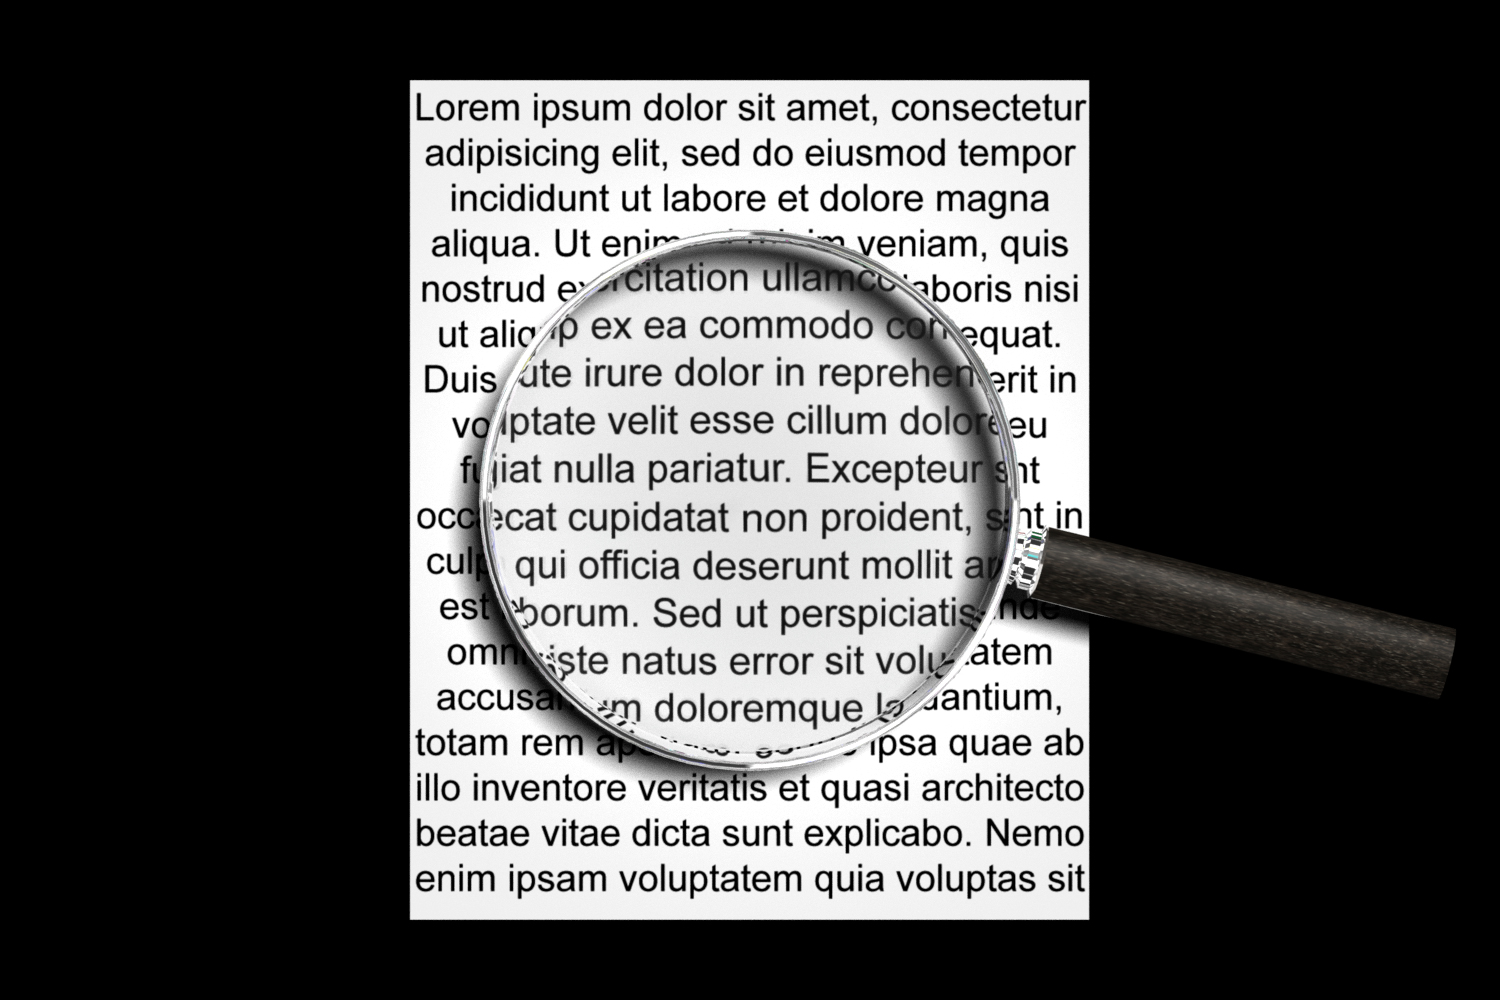
Dave
Copy link to clipboard
Copied
Got to wondering what something like this would be like if modelled and rendered in Blender.

Again the "lens" does work - bending and magnifying the background. (Click to view at 100%)
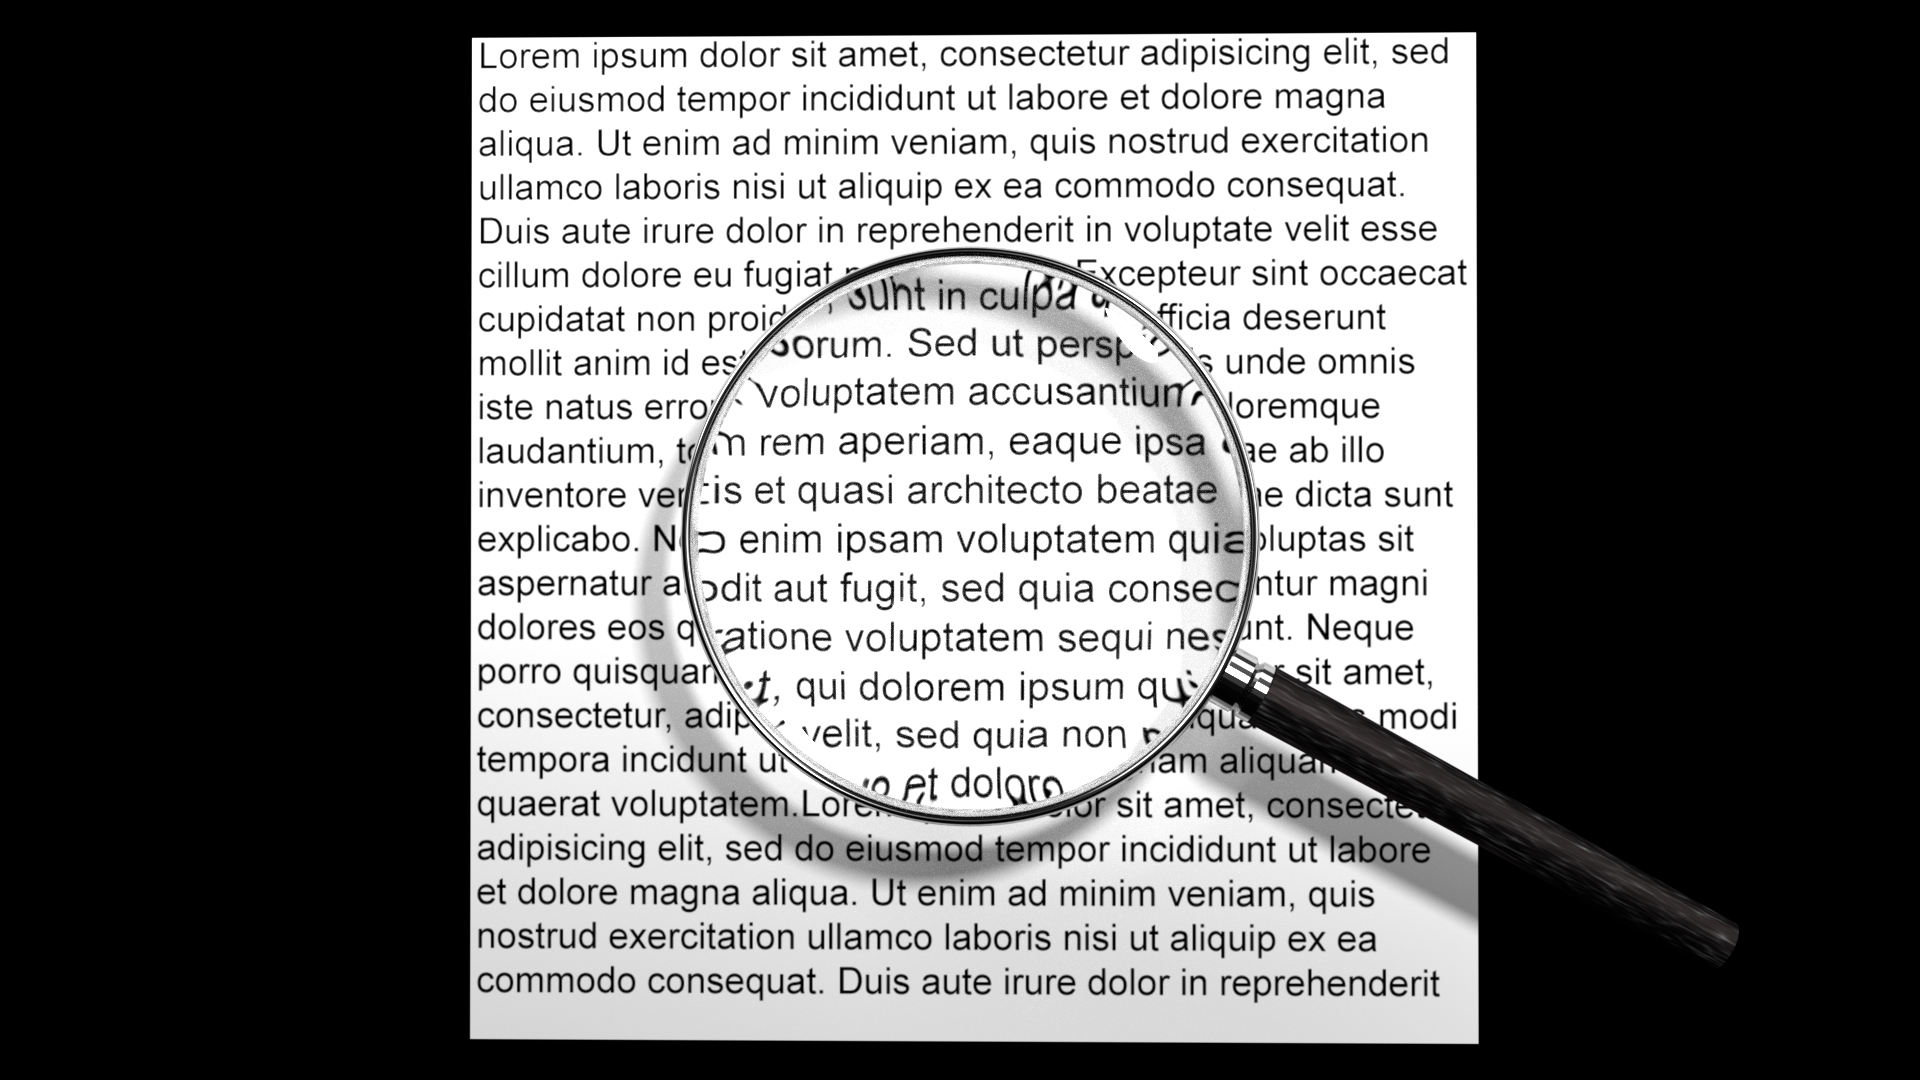
Dave


 AdChoices