Exit
  • Global community
    • Language:
      • Deutsch
      • English
      • Español
      • Français
      • Português
  • 日本語コミュニティ
  • 한국 커뮤니티
1

How to remove/detect lone pixels?

New Here ,
Mar 08, 2020 Mar 08, 2020

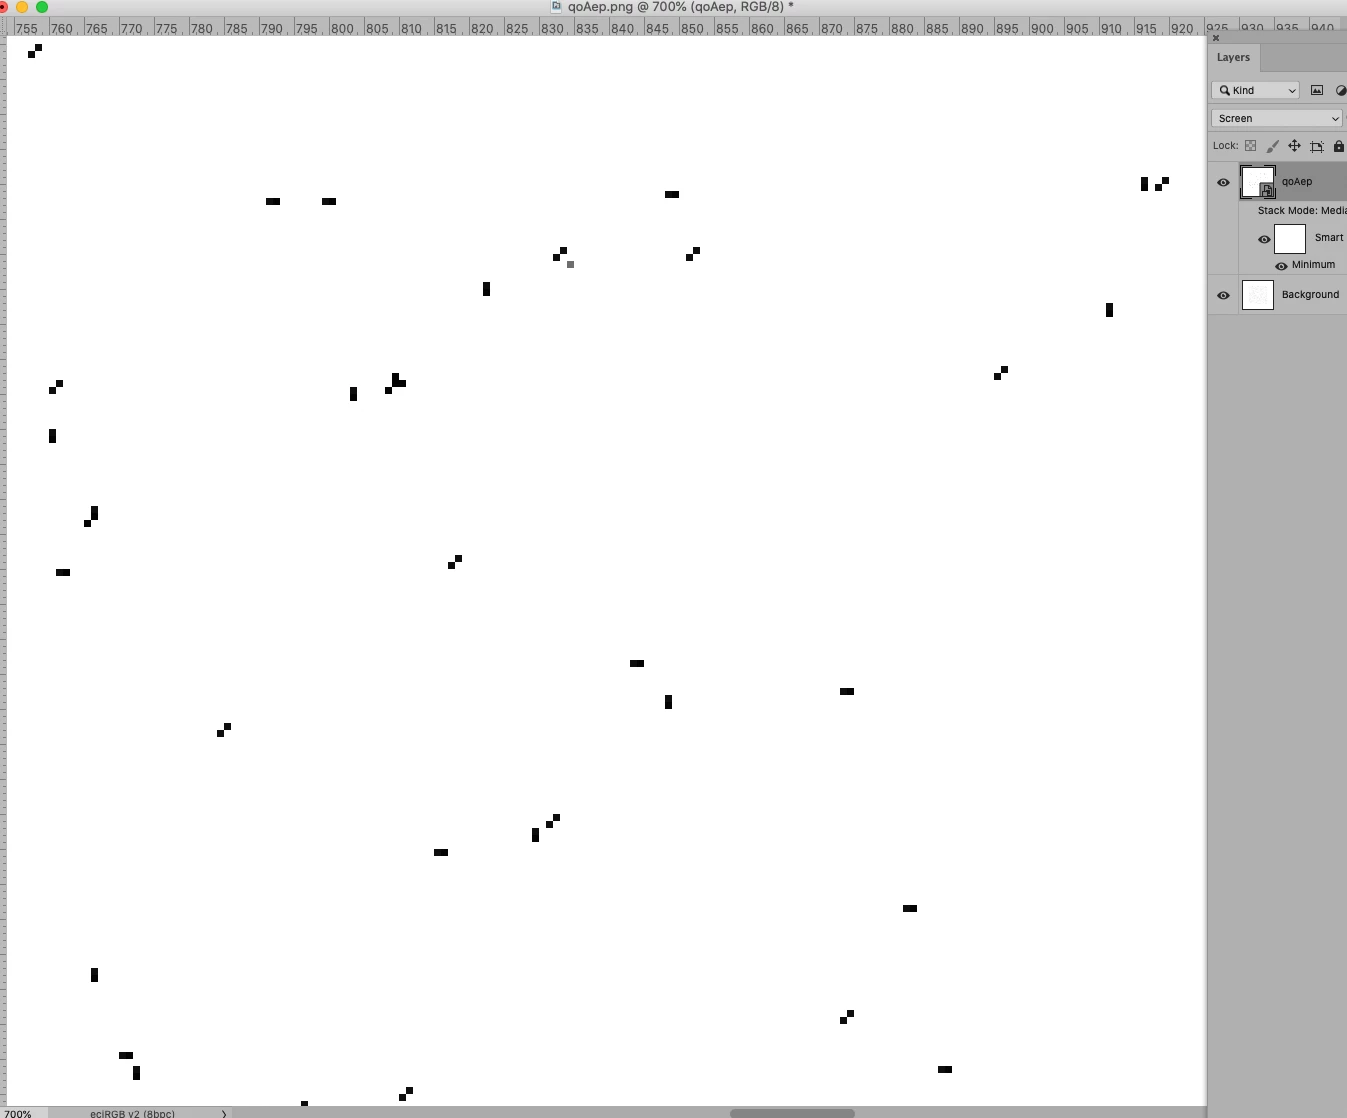
I'm trying to find pixels which are next to others, and removing pixels with no neighbours seems to be the best solution. Is it possible to either delete lone pixels/highlight continuous runs of pixels using some function?qoAep

TOPICS
Actions and scripting , Windows
2.9K
Translate
Report
Community guidelines
Be kind and respectful, give credit to the original source of content, and search for duplicates before posting. Learn more
community guidelines

correct answers 1 Correct answer

Community Expert , Mar 08, 2020 Mar 08, 2020

This might work: 

• duplicate the Layer thrice,

• move one copy 1 px to the right,

• aother 1 px down, 

• convert the three Layers to a Smart Object, 

• Layer > Smart Objects > Stack Mode > Median, 

• Filter > Other > Minimum aith 1px and Roundness, 

• set the Smart Object’s Blend Mode to Screen. 

removeSinglePixelsScr1.pngremoveSinglePixelsScr2.png


Translate
Adobe
Community Expert ,
Mar 08, 2020 Mar 08, 2020

This might work: 

• duplicate the Layer thrice,

• move one copy 1 px to the right,

• aother 1 px down, 

• convert the three Layers to a Smart Object, 

• Layer > Smart Objects > Stack Mode > Median, 

• Filter > Other > Minimum aith 1px and Roundness, 

• set the Smart Object’s Blend Mode to Screen. 

removeSinglePixelsScr1.pngremoveSinglePixelsScr2.png


Translate
Report
Community guidelines
Be kind and respectful, give credit to the original source of content, and search for duplicates before posting. Learn more
community guidelines
LEGEND ,
Mar 08, 2020 Mar 08, 2020

I don't know what, but something I did wrong. My result is same as source file.

Translate
Report
Community guidelines
Be kind and respectful, give credit to the original source of content, and search for duplicates before posting. Learn more
community guidelines
Community Expert ,
Mar 08, 2020 Mar 08, 2020

What does the Smart Object (containing the three layers, two of which are offset by one pixel) with the Stack Mode »Median« look like for you? 

Translate
Report
Community guidelines
Be kind and respectful, give credit to the original source of content, and search for duplicates before posting. Learn more
community guidelines
LEGEND ,
Mar 08, 2020 Mar 08, 2020

So I have background, that I pressed Ctrl-J, Ctrl-J and Ctrl-J on. A top layer I moved of 1 px to right, next layer 1 px to down. Then selected 3 first layers (so without background) and made SO from. Then from Stack Mode clicked Median (from SO in Layer) that I had to do in latest Ps as in CS6, Stack Mode was grayed.


At this point the only difference between SO and BG is that SO pixels are moved of 1 px to right.

Translate
Report
Community guidelines
Be kind and respectful, give credit to the original source of content, and search for duplicates before posting. Learn more
community guidelines
Community Expert ,
Mar 08, 2020 Mar 08, 2020

That is clever 🙂


It does pick up two pixels touching corner to corner in this direction

2020-03-08_20-36-41.jpg

But misses the same in this direction - so would need a second run

2020-03-08_20-37-24.jpg


Still very clever though.

Dave

Translate
Report
Community guidelines
Be kind and respectful, give credit to the original source of content, and search for duplicates before posting. Learn more
community guidelines
People's Champ ,
Mar 08, 2020 Mar 08, 2020
It is not clear why this is necessary.
And if the pixels are white or just different colors?
 
Translate
Report
Community guidelines
Be kind and respectful, give credit to the original source of content, and search for duplicates before posting. Learn more
community guidelines
People's Champ ,
Mar 08, 2020 Mar 08, 2020
There is an attempt to access individual pixels and the possibility of changing them using a script.
 
EDIT: In that topic, all the scripts are kind of broken. Forget it.
 
 
Translate
Report
Community guidelines
Be kind and respectful, give credit to the original source of content, and search for duplicates before posting. Learn more
community guidelines
People's Champ ,
Mar 08, 2020 Mar 08, 2020

If you have black(gray\color) pixels and absolute white backgound then you can do this.

Make two copies of the original layer.


Apply to one of the copies Custom Filter

0 0 0 0 0
0 1 1 1 0
0 1 0 1 0
0 1 1 1 0

0 0 0 0 0
scale: 8 offset: 0


Using magic wand with

tol = 0, antial = off, cont = off

select white (255,255,255) on this layer.
If it's hard to find white, find a single pixel on the original, it will definitely turn white.


Turn off \ delete this layer. Switch to another copy. Fill the selection with white.

You can check the result by putting the layer to Difference blend mode or turning layer on\off.
 

Pixels at the very edges are not deleted. It is necessary to expand the canvas by 1 pixel at least with white filling.


UPD. To increase accuracy, you can replace in filter 1 with 256, and in scale 8 with 2048.


Translate
Report
Community guidelines
Be kind and respectful, give credit to the original source of content, and search for duplicates before posting. Learn more
community guidelines
LEGEND ,
Mar 09, 2020 Mar 09, 2020
LATEST

I created my own dots this time, and all worked, with c_pfaffenbichler method too 🙂

Translate
Report
Community guidelines
Be kind and respectful, give credit to the original source of content, and search for duplicates before posting. Learn more
community guidelines