

Inserting an image onto a template and saving the file with the name of the inserted image
Pretty self explanatory title, but here's the gist of the situation-
I have about 200 images that I need to place onto a template and save as jpgs. This is easy enough to do on its own, but I'd like to save each image as the name of the image placed onto the template. For example...
The template is just named web_template.psd.
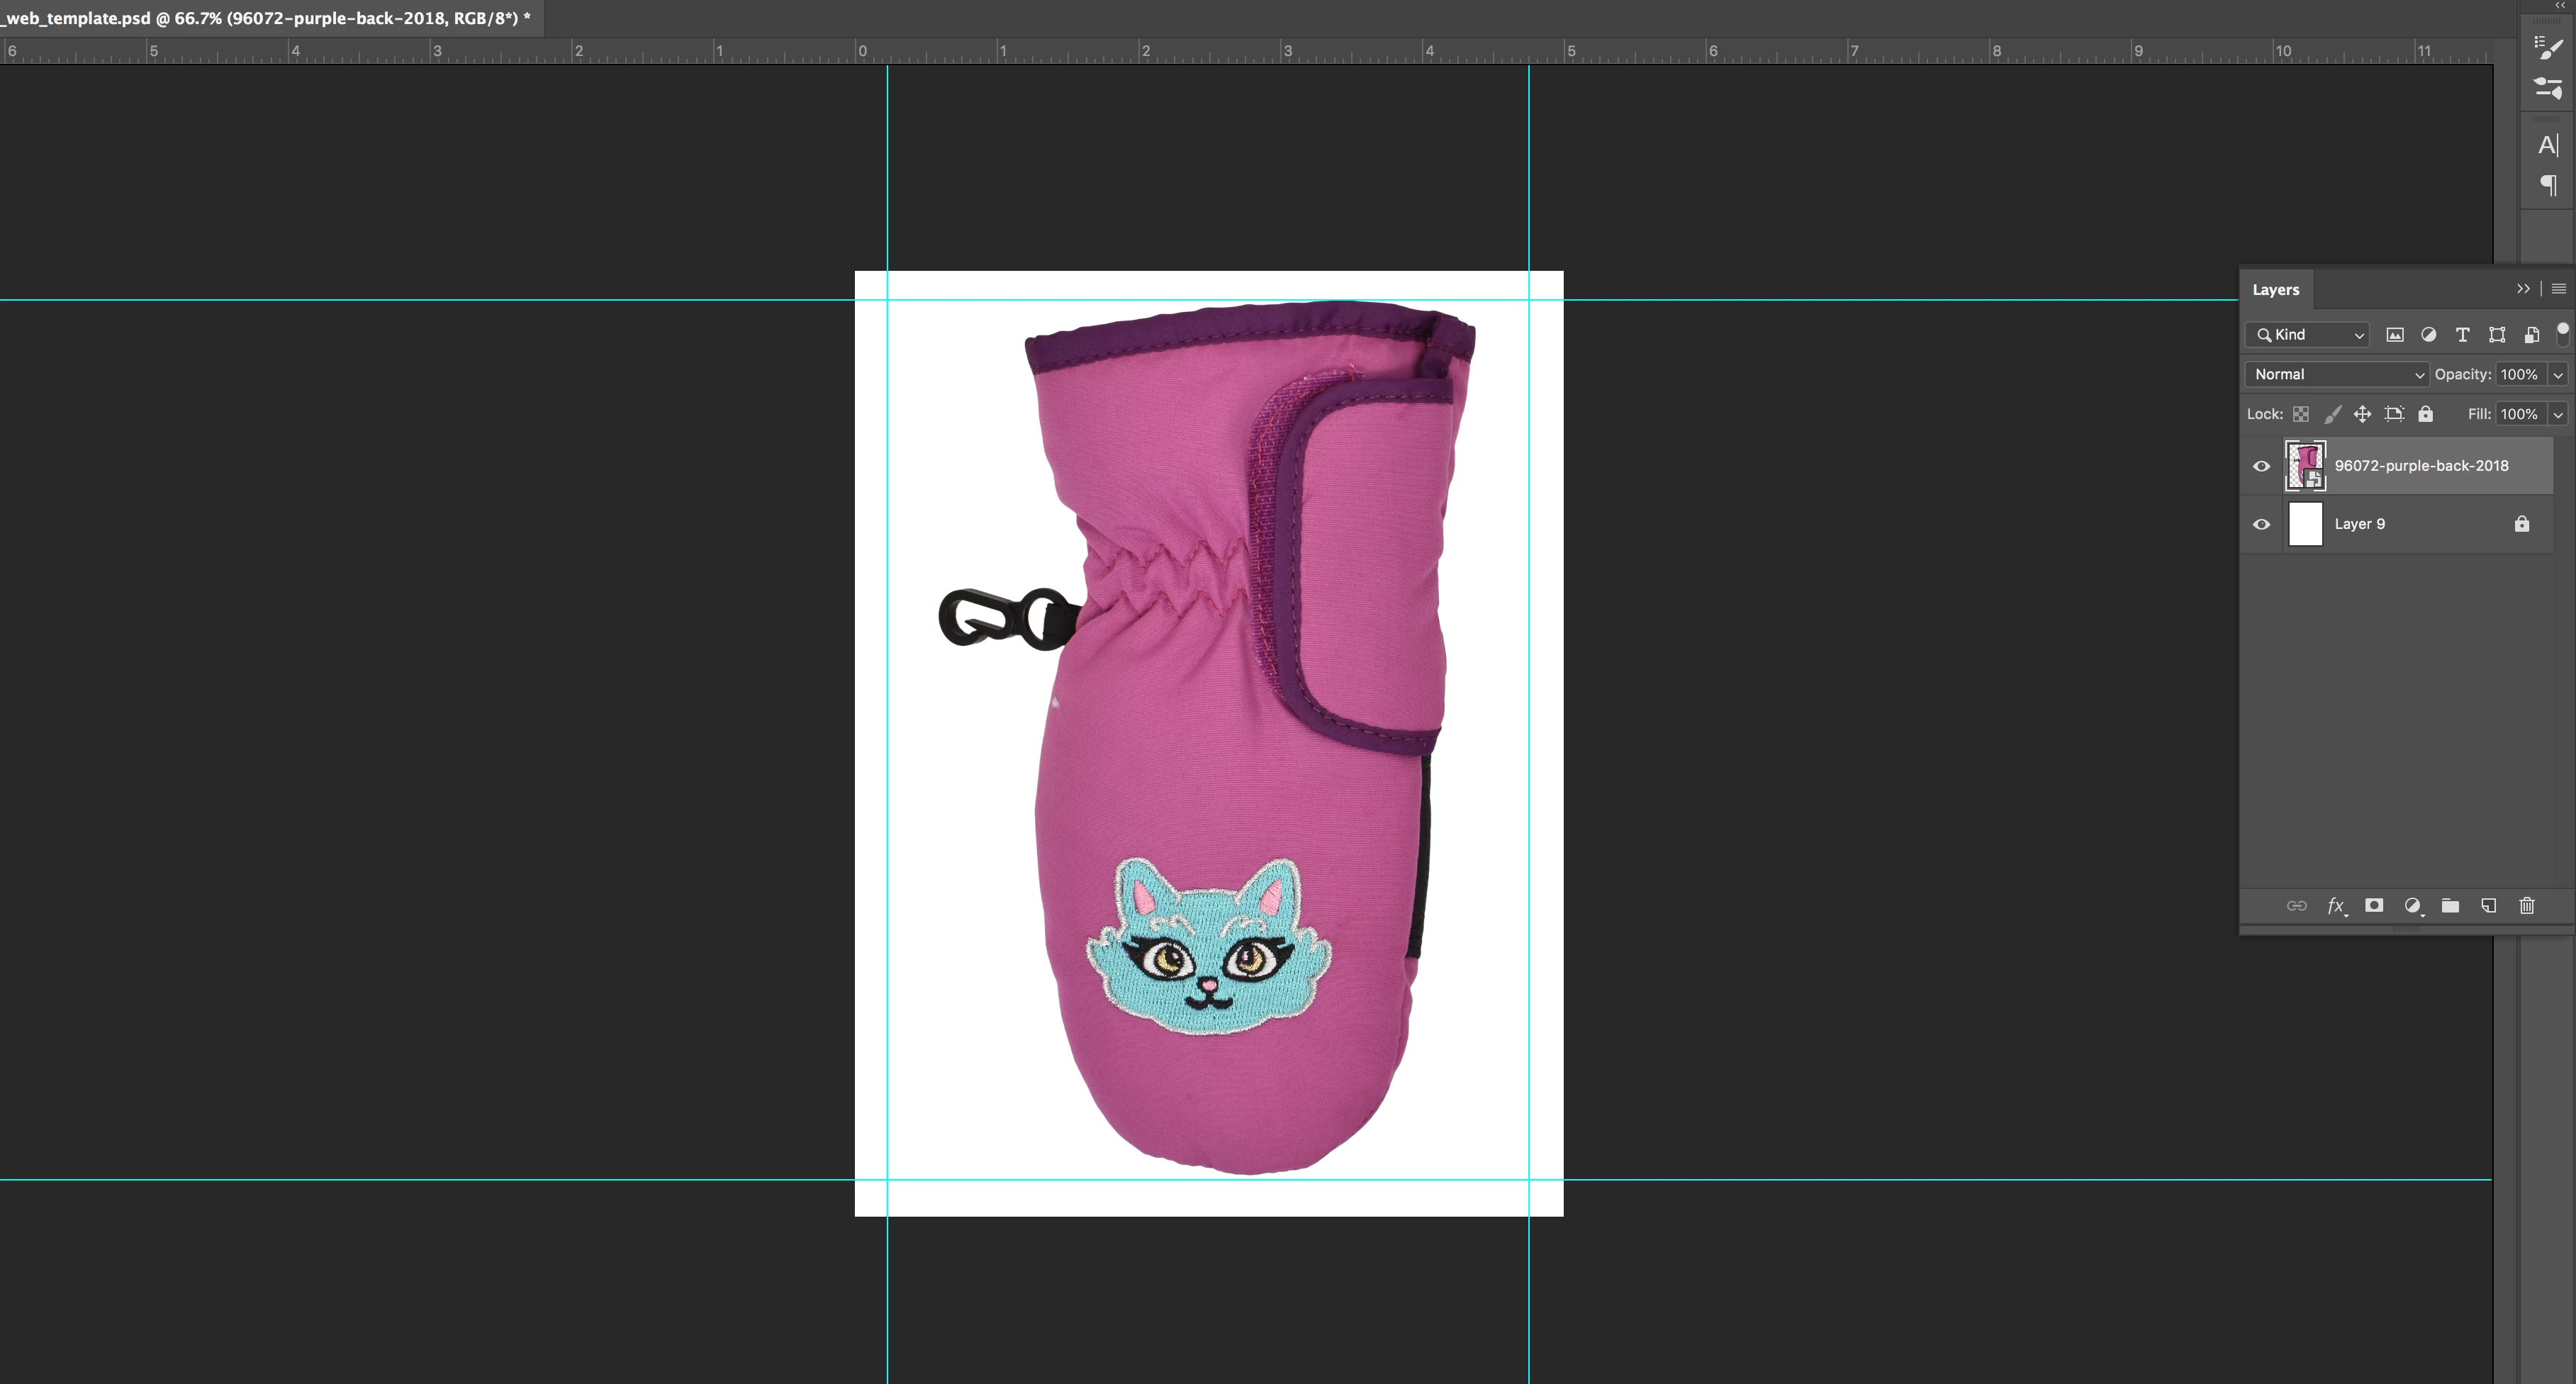
The image I've placed onto the template is named 96072_purple_back_2018. I have lots of items with specific descriptive names similar to this that need to be the file name when saved. If I used a batch save right now, I can either automatically save the file names sequentially, or I can manually change the file name each time. The latter would waste a ton of time, so I'm wondering if somebody has (or can tell me how to make) a script that can place an image onto the template, pull the name from the top layer of the document, save the document with the name of that top layer, close, and repeat until I've gone through the 200 photos in my folder.
The other issue I'm having is figuring out how to automate the placement of images onto the template. If I create an action and use xyz_123.psd from my folder, when I automate it later, it will only pull xyz_123.psd and ignore the rest of the documents in the folder.
This probably isn't a super complex issue to solve, but I'm frying my brain trying to figure out how to automate it. This is also something I have to do pretty often, so a script or action would be an actual life saver.
Thanks, Photoshop fam! ❤️