bartonlew
Brainiac
August 31, 2018
Answered

lens blur not working for background

  • August 31, 2018
  • 7 replies
  • 8755 views

I want to blur the background in an image.  I watched Jesus Ramirez of the PS Training Channel on youtube to figure out how to do this.  I followed these steps:

I selected the foreground image which should be in focus.

I created a solid color adjustment layer in black.

I created a mask using a gradient. 

I dragged the gradient fill below the color fill layer.

I put these 2 layers in a group.

I clicked on channels and duped one and dragged it down to the new channel icon and gave it a name. 

I clicked on RGB, then clicked on layers.

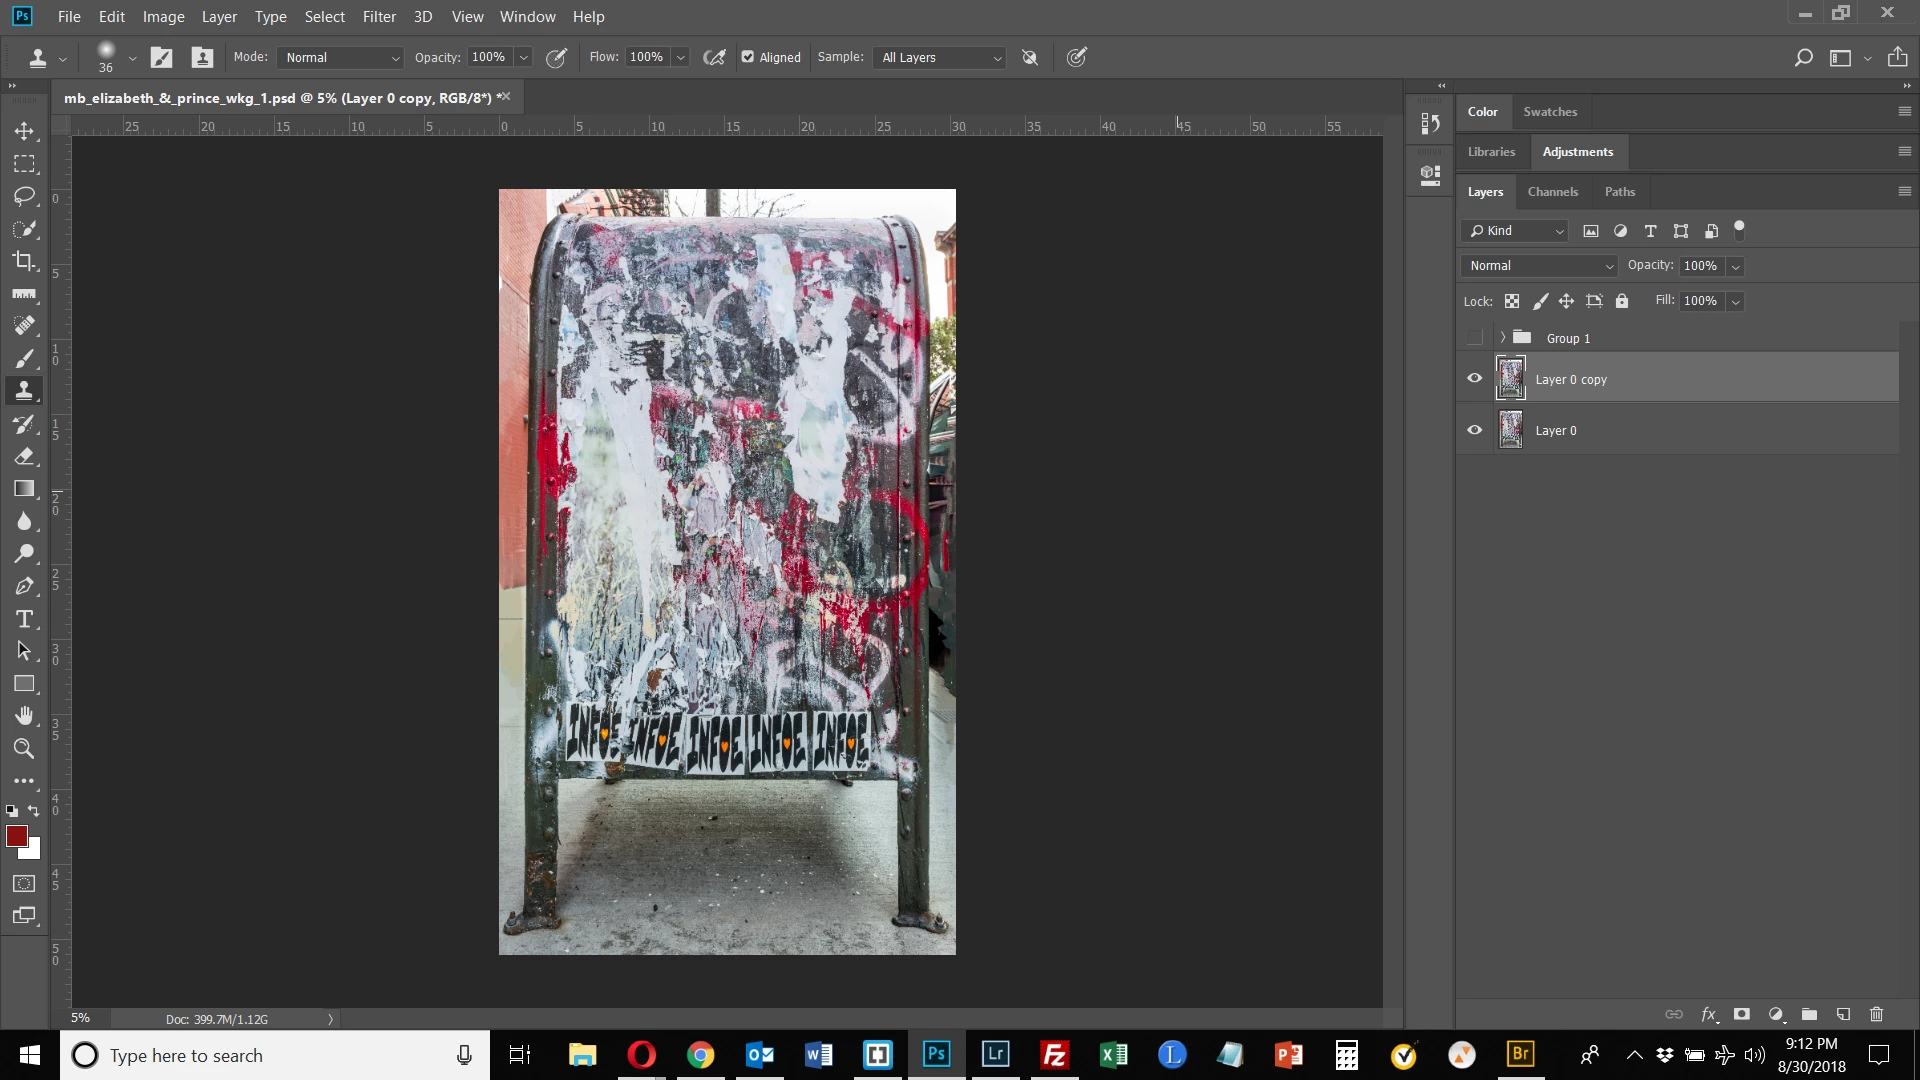
I disabled the group.

I duped the layer I am working on so as not to touch the original.

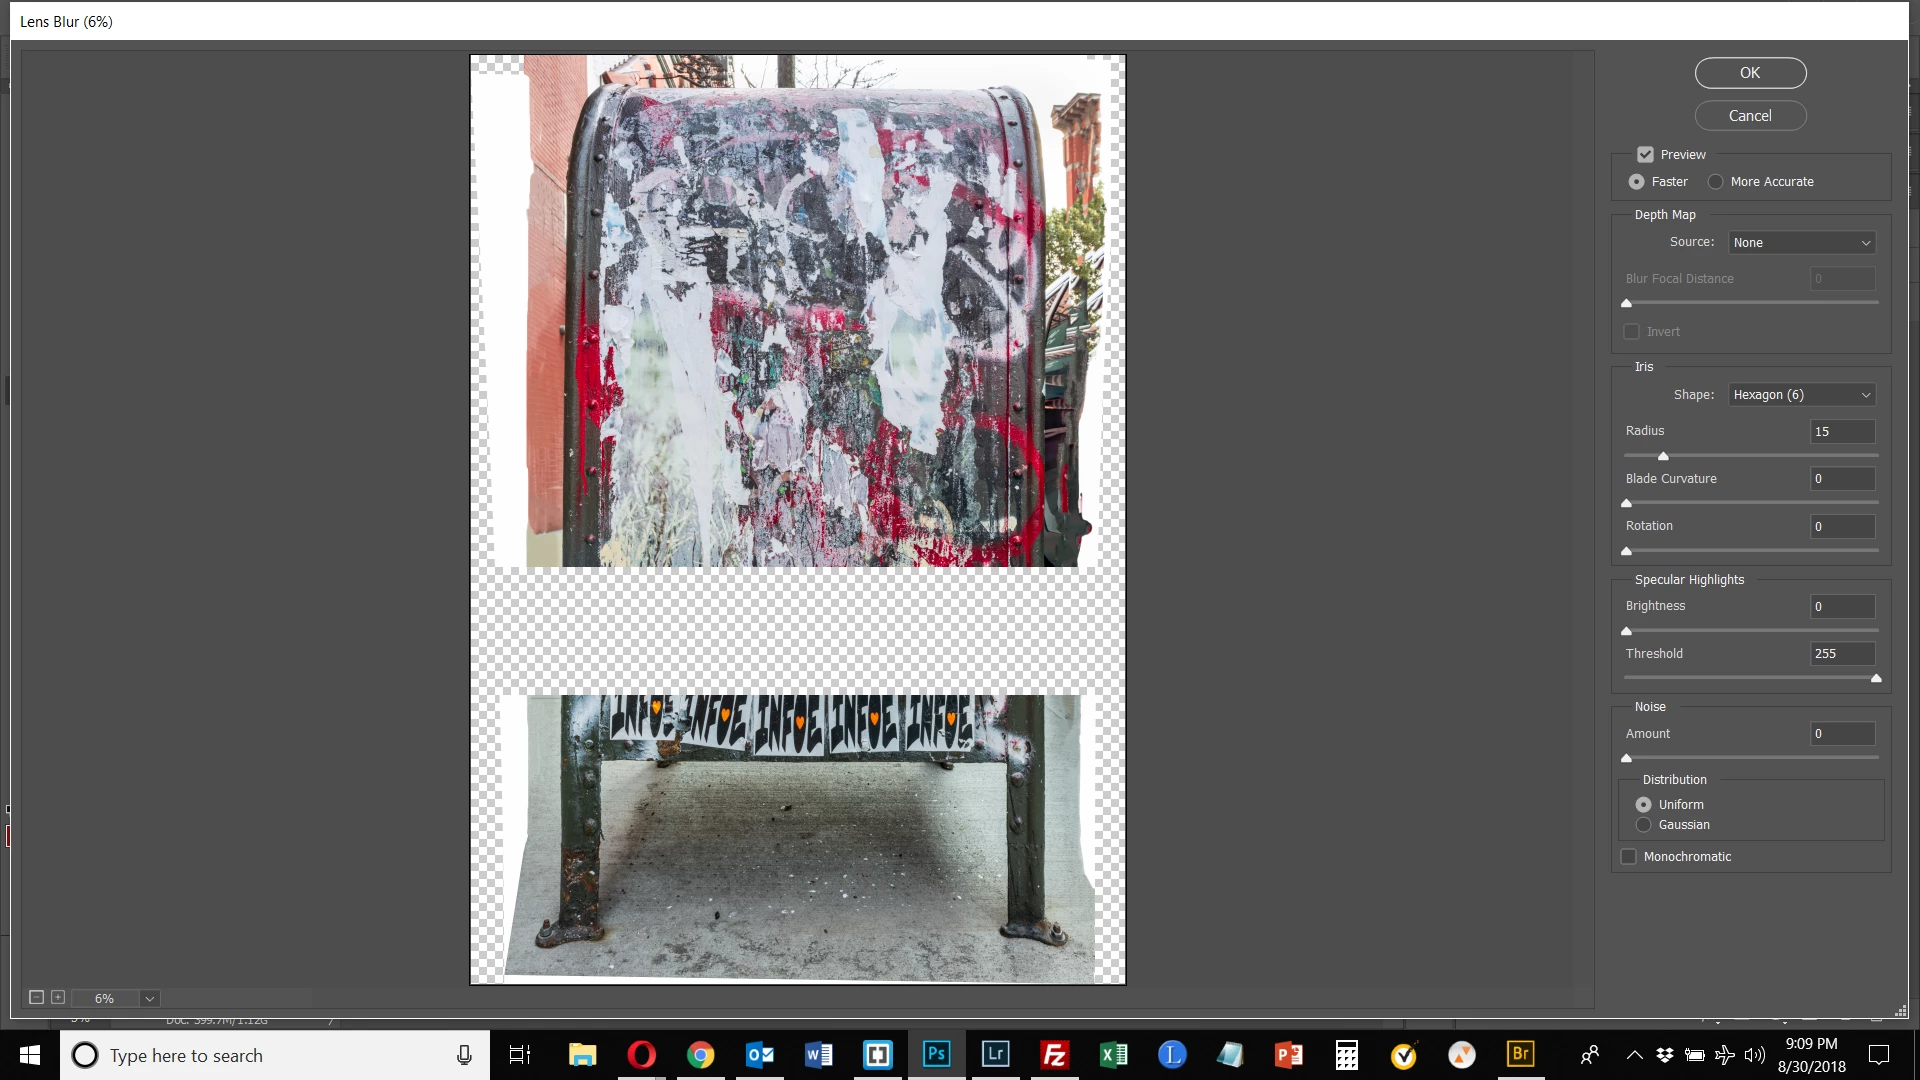
I wen to Filter > Blur > Lens Blur. THIS IS WHERE I RAN INTO PROBLEMS.

As can be seen, there is an area of the image that is checkerboard.  This image was created using the Panorama tool and assembled from 2 images.  The area shown is roughly where the two images intersected.  I output the panorama to a DNG file once merged.  I began the exercise with a single layer, merged from these 2 layers.  Why is this happening?

Secondly, the background is not blurred at all.  Is that because of the problem with the checkerboard?

Beneath the 1st image is the image shown before applying Lens Blur.  Any help would be appreciated.  Thank you.

This topic has been closed for replies.
Correct answer Chuck Uebele

I think one of the biggest reasons that your're not seeing the blur, other than your mask was off, is that your file is so large. Lens Blur doesn't really blur that well on large files - one of my main gripes about the filter. You really need to run it several times on large files. It's a great filter though, as it's the only blur filter that can blur something up to a selection or mask line, and not pull in pixels from neighboring areas. Only other way to do this is to content away fill in the area not to be blurred and run one of the other blur filters.

7 replies

Chuck Uebele
Community Expert
September 2, 2018

No, I'm alt clicking in the background copy layer. It's all done on that layer. Just taking a lot of samples around the dog, in the grass section to add green grass pixels inside of the dog selection.

bartonlew
bartonlewAuthor
Brainiac
September 2, 2018

Got it, thanks.  Does this look right?  Here is right after creating the gaussian blur.

This is after deselecting and turning on the mailbox.

Here is after adding the gradient.  So it does look like it's working, doesn't it?  But there are issues.  The image was created using panorama and the tool duplicated the bike tires on the left in the output composite.  I thought the blur might hide that and I would not have to address it otherwise.  But not enough.  Looks like I need to do some clone stamping to get right of the obvious repetition.  Please let me know if it looks like I have done this right otherwise.  I think it will work well with my other images where these compositing problems aren't in the background. 

Chuck Uebele
Community Expert
September 2, 2018

Looking good. You could make the gradient smaller, so it goes to a blur faster, and blurs the tire.

Chuck Uebele
Community Expert
September 2, 2018

I'm doing all the cloning on the background copy layer. Was used for that.

bartonlew
bartonlewAuthor
Brainiac
September 2, 2018

Okay.  So are you clicking somewhere in the background copy layer as a reference point - the first step in cloning that I am used to (alt click) - and then painting along the edge of the dog?  What is your reference point - somewhere/anywhere in the grass?  I missed that step in the video.

Chuck Uebele
Community Expert
September 1, 2018

Here's the video on what I did to create the blur.

Creating a depth of field blur, using gaussian blur - YouTube

bartonlew
bartonlewAuthor
Brainiac
September 2, 2018

thank you, Chuck, much clearer now.  The only part I have a question about is the clone stamping.  I'm more familiar with clone clamping on an area and then applying the stamp to the same layer  to copy those pixels.  So, alt click for the reference point and then draw in another part of the image.  Here, it's more like you are making a selection and copying the selection to another layer.  At least that's what it looks like.  But maybe you are in one layer, activating the clone stamp, and then applying it in a different layer.  I only see the copy of the background layer selected.  If I am right, which layer are you in when you define the reference point and which layer are you on as you draw around the dog?  Thank you very much. 

Chuck Uebele
Community Expert
September 1, 2018

Making a video to show. Will post as soon as I get it uploaded to youtube.

Chuck Uebele
Chuck UebeleCorrect answer
Community Expert
August 31, 2018

I think one of the biggest reasons that your're not seeing the blur, other than your mask was off, is that your file is so large. Lens Blur doesn't really blur that well on large files - one of my main gripes about the filter. You really need to run it several times on large files. It's a great filter though, as it's the only blur filter that can blur something up to a selection or mask line, and not pull in pixels from neighboring areas. Only other way to do this is to content away fill in the area not to be blurred and run one of the other blur filters.

bartonlew
bartonlewAuthor
Brainiac
August 31, 2018

Hi Chuck,

I tried doing this exercise on a much smaller file and had no problem at all.  It worked exactly as demonstrated in the Ramirez tutorial.  So I do believe you are right:  it's the size of my file.  I am no stranger to problems working with large files.  The limitations on using the Camera Raw filter is another - though in most cases, even with the very large files I work with, I don't encounter that.  Can you elaborate a little on the solution you suggested ("content away fill in the area not to be blurred and run one of the other blur filters".)  Did you mean content aware?  I assume so.  And can you explain what you mean by use content aware in the area "not to be blurred?"  It's the in focus area that is the subject of the image so I wouldn't want to replace pixels (run content aware) on that area. I have a lot of these mailboxes that I shot in a wider depth of field than I should have that I need to blur the backgrounds of.  Thank you for sticking with this and helping out.

Chuck Uebele
Community Expert
August 31, 2018

Yea, I meant content aware, damn auto correct! I'm  not sure how well content aware will work on your image, as there is so little bg. Basically you want to do is get some pixels from around the mailbox into the area of the mailbox. Of course you will want you mailbox image on a separate layer. The idea is to had a buffer area, where a blur filter will pull in pixels that more or less match the bg and not your subject. You could use the clone stamp to do the, or the smudge tool. What ever works to fill those pixels.

Chuck Uebele
Community Expert
August 31, 2018

Okay, here is a selection of the mailbox and put on a layer, filled with black:

Now here is the gradient for the bg blur, note the bottom is black, same as the mailbox, that will be in focus:

I set the gradient layer's blend mode to multiple to show the mailbox layer below:

Now I made a duplicate of the red channel (you could use any channel, as it just b&w) for the mask:

In the lens blur dialog box, I select the red copy channel that I made, set the Blur focal distance to 0, as I want the black areas to be sharp, and set the radius to 100 (this produced more blur in my image as it is much smaller. Since your image is a pano of two images, the blur will not be as pronounced. However, you can apply the filter several times to blur it more.

Chuck Uebele
Community Expert
August 31, 2018

I'm not sure about the checkerboard, other than it might be an issue with your graphic processor. You don't have a source defined in the lens blur dialog box. You need to select the channel with the gradient that you created.

bartonlew
bartonlewAuthor
Brainiac
August 31, 2018

Thanks.  I did that, and it the background is still not blurred.

Chuck Uebele
Community Expert
August 31, 2018

Do you see the blur in the dialog box? 15 radius is very small. I normally crank it all the way up.