Quick Steps! Out of Bounds with Photoshop 2020
- November 2, 2019
- 3 replies
- 13170 views
Create an eye-catching “out of bounds” effect by following these fun steps in Photoshop 2020
Photoshop 2020 has an amazing collection of new tools and features including enhanced tranform, warp, and object selection that make compositing even more effortless than ever before. In this Out of Bounds tutorial, learn how to bring Charlotte the Pig out of bounds in just a few simple steps!
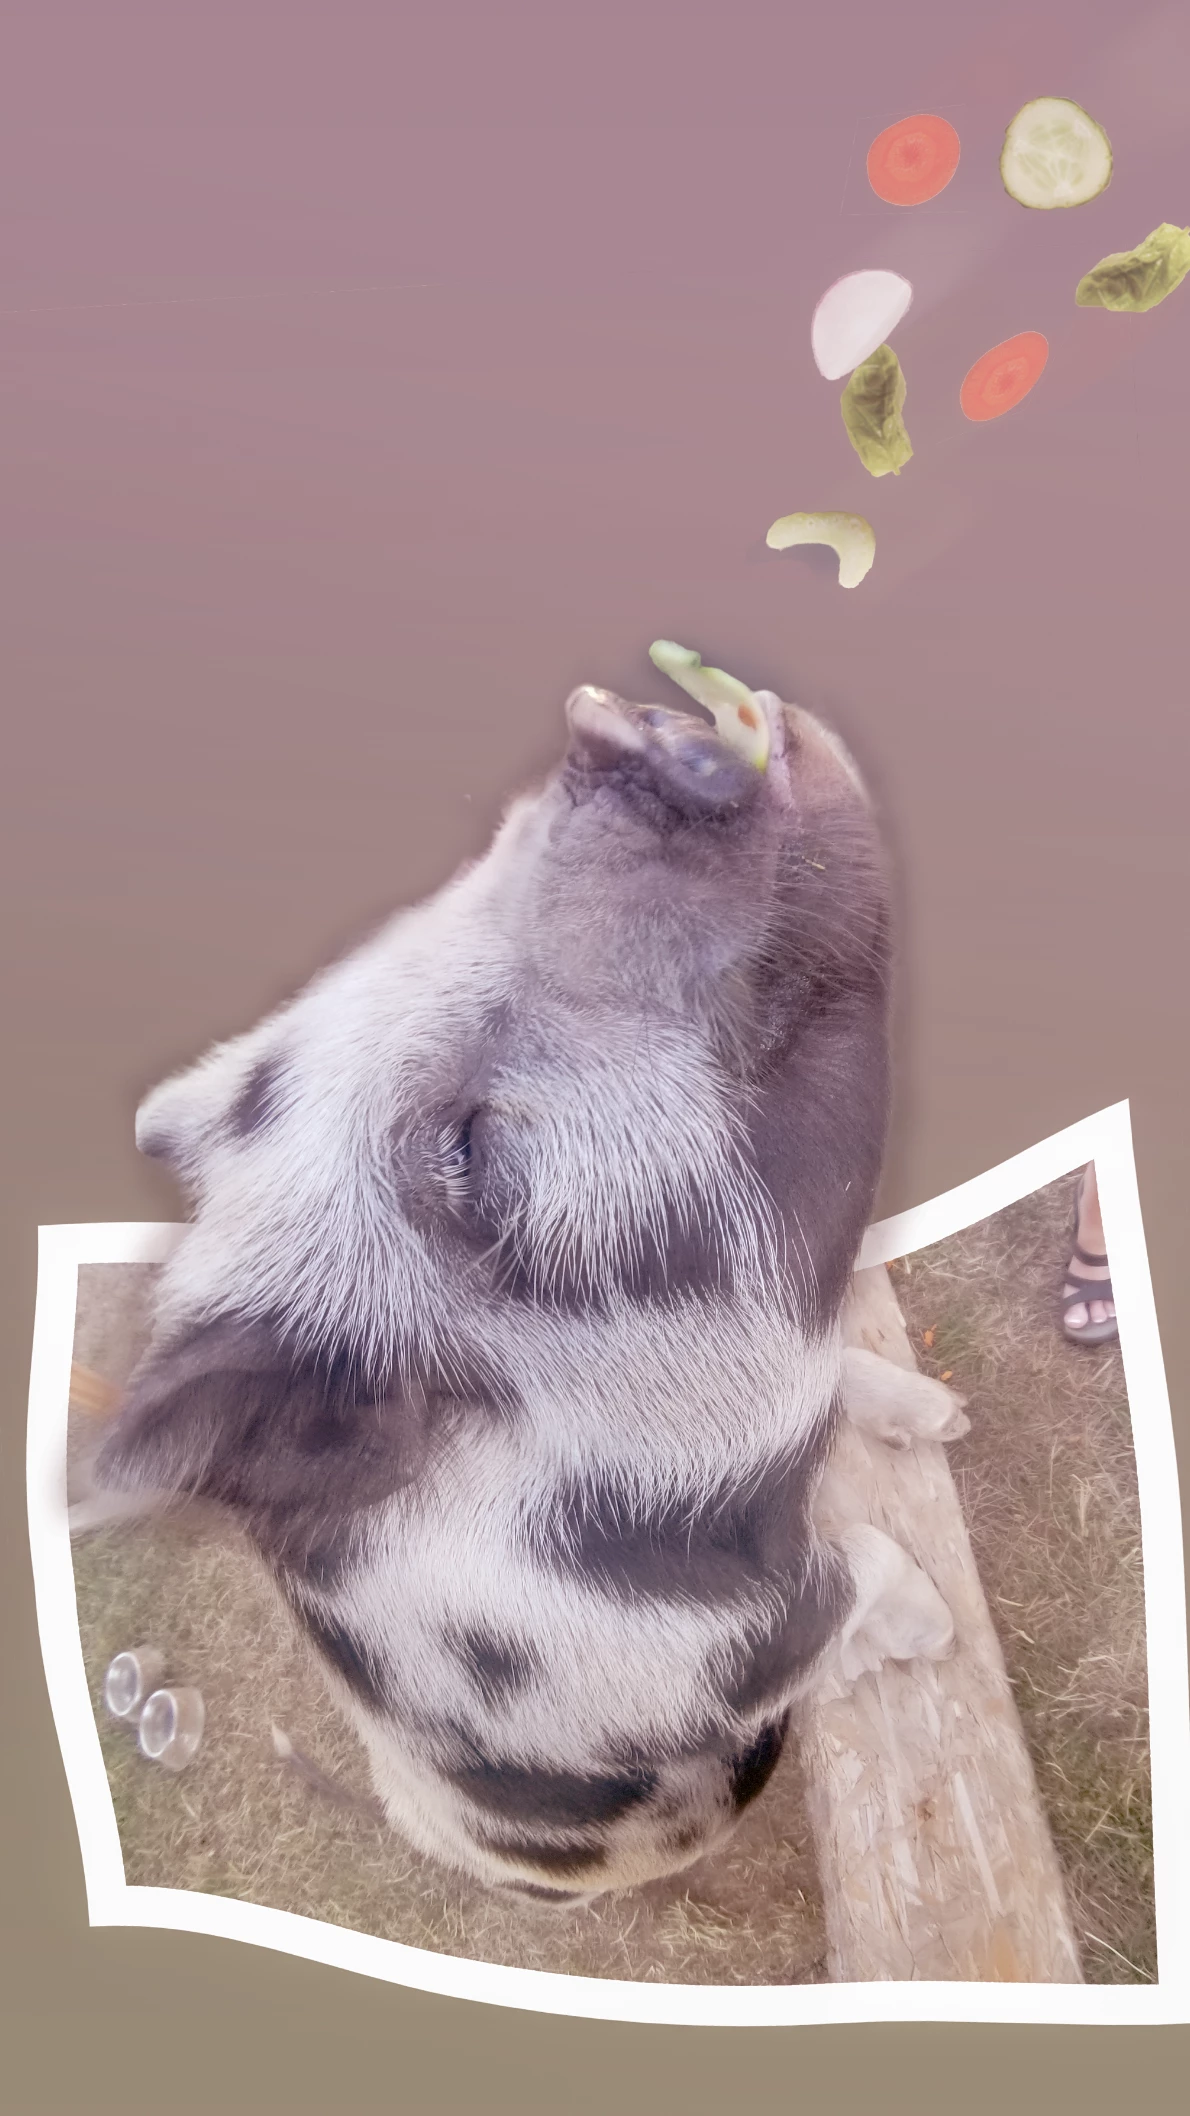
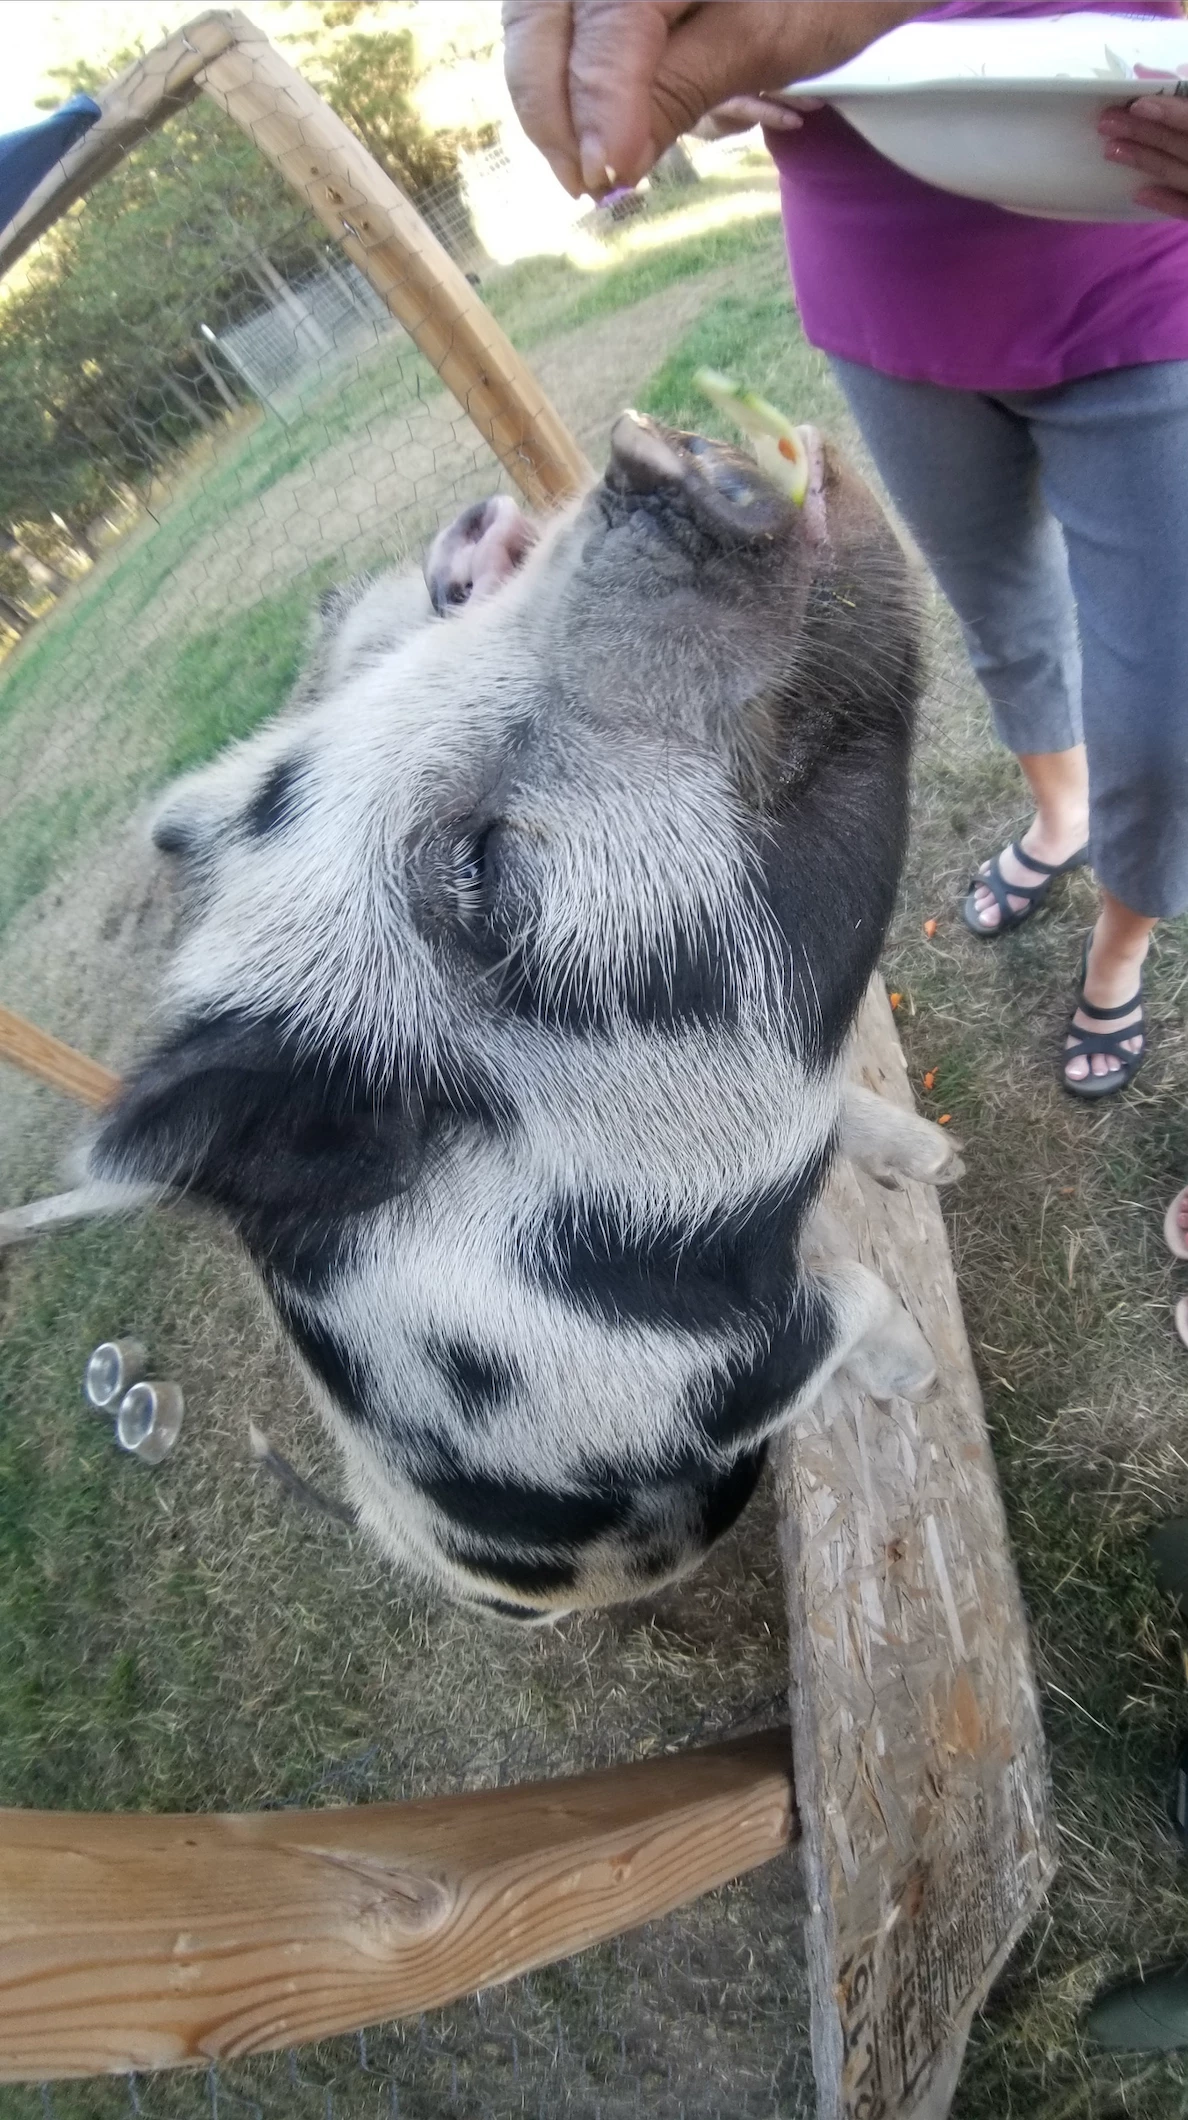
Easily follow along!
Download the attached photo, or choose your own image to start with.
As we go, we’ll use some of the new tools available only in the 2020 release of Photoshop on desktop.
Let’s do it.
➊ Open the image and duplicate the background layer.
Tip: This is good non-destructive editing habit and will be useful later.
- Duplicate the background layer by pressing CMD/CTRL + J, or drag the background layer to the New Layer button in the Layers panel. Learn more about duplicating layers
➋ Create a frame shape selection.
This will be the shape of the picture frame the subject will jump out from.
- Use the rectangular marquee tool to create a frame shape selection.
- Don’t worry. This shape can be adjusted later.
- Don’t worry. This shape can be adjusted later.
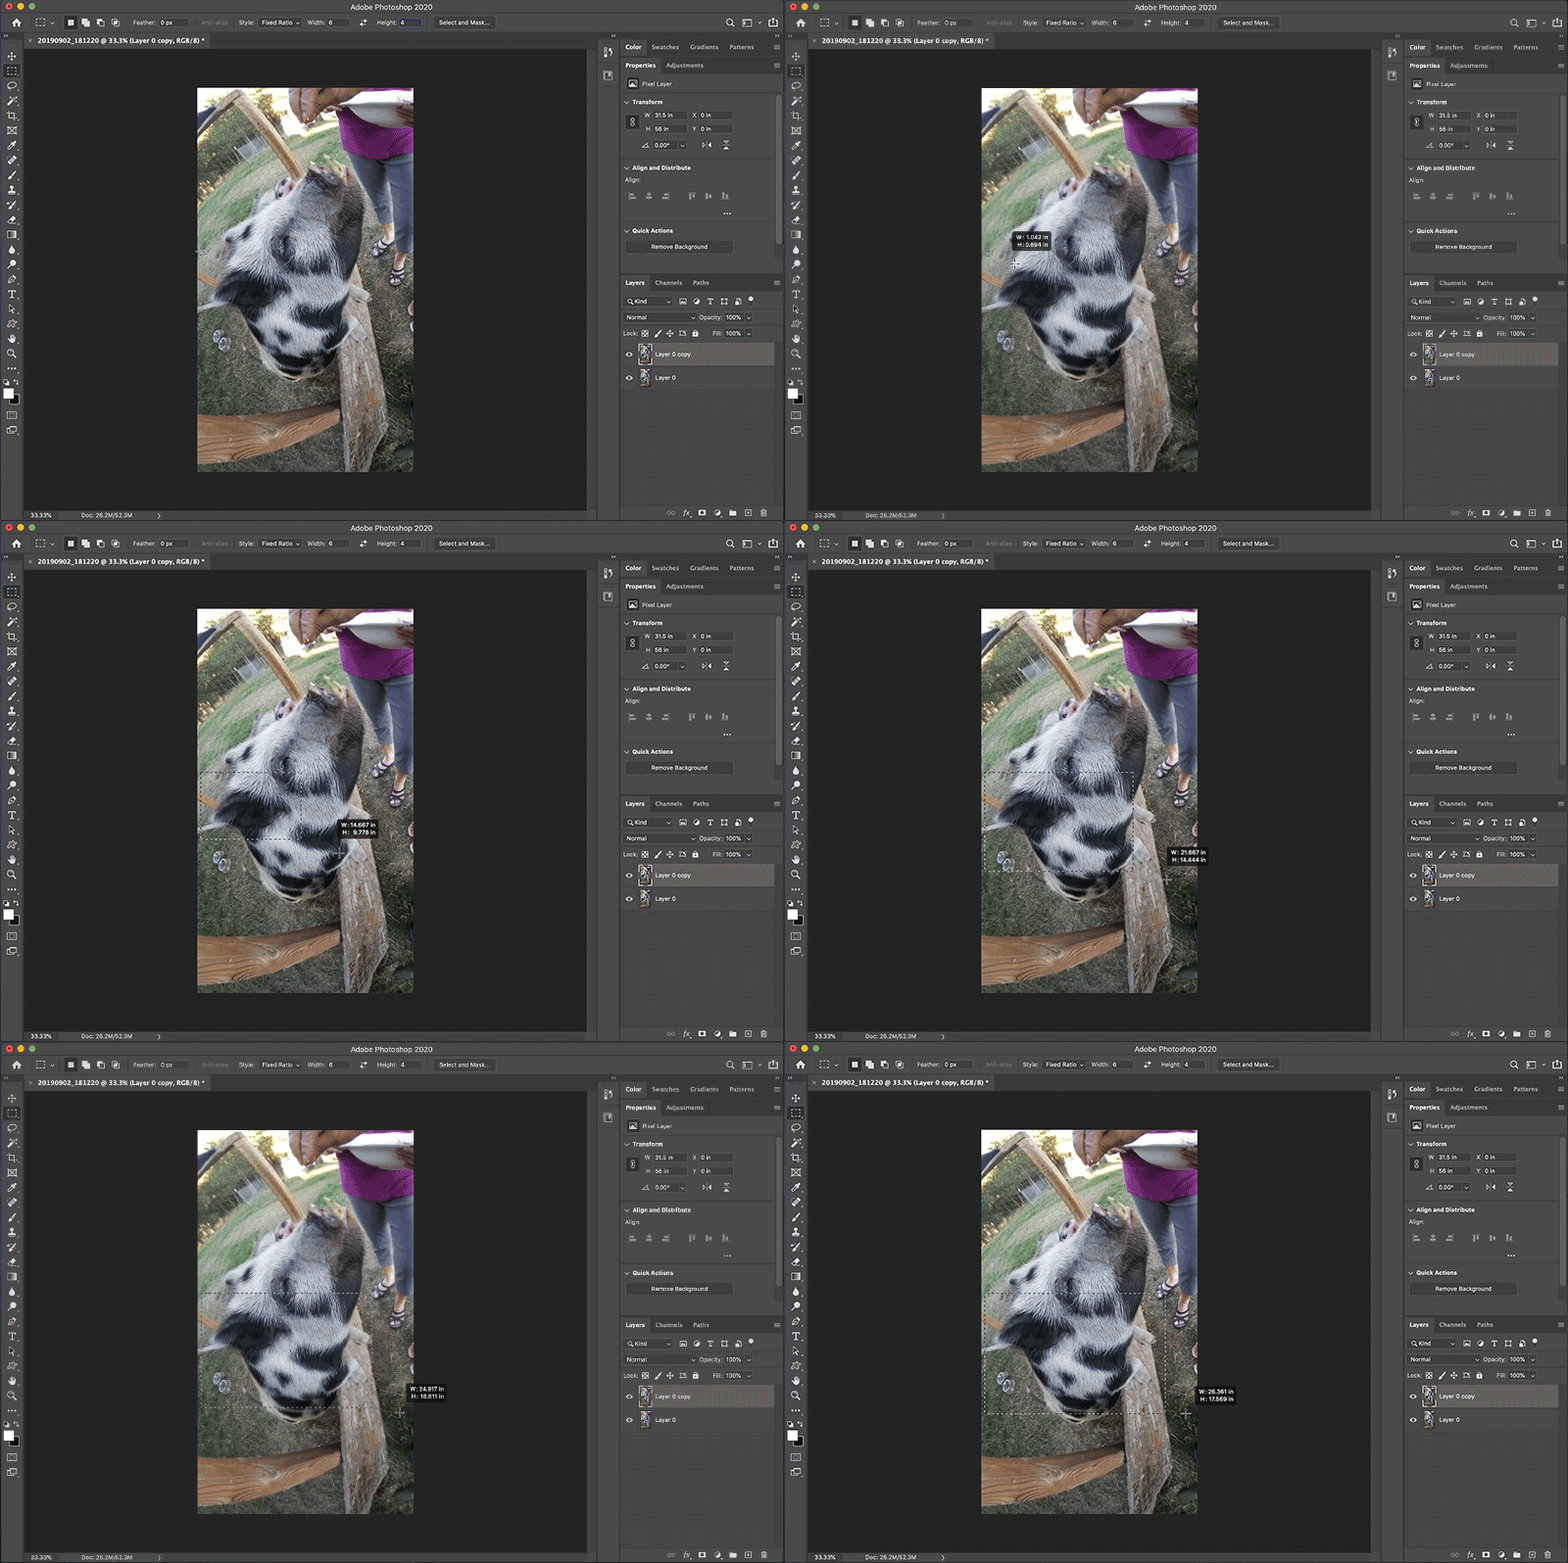
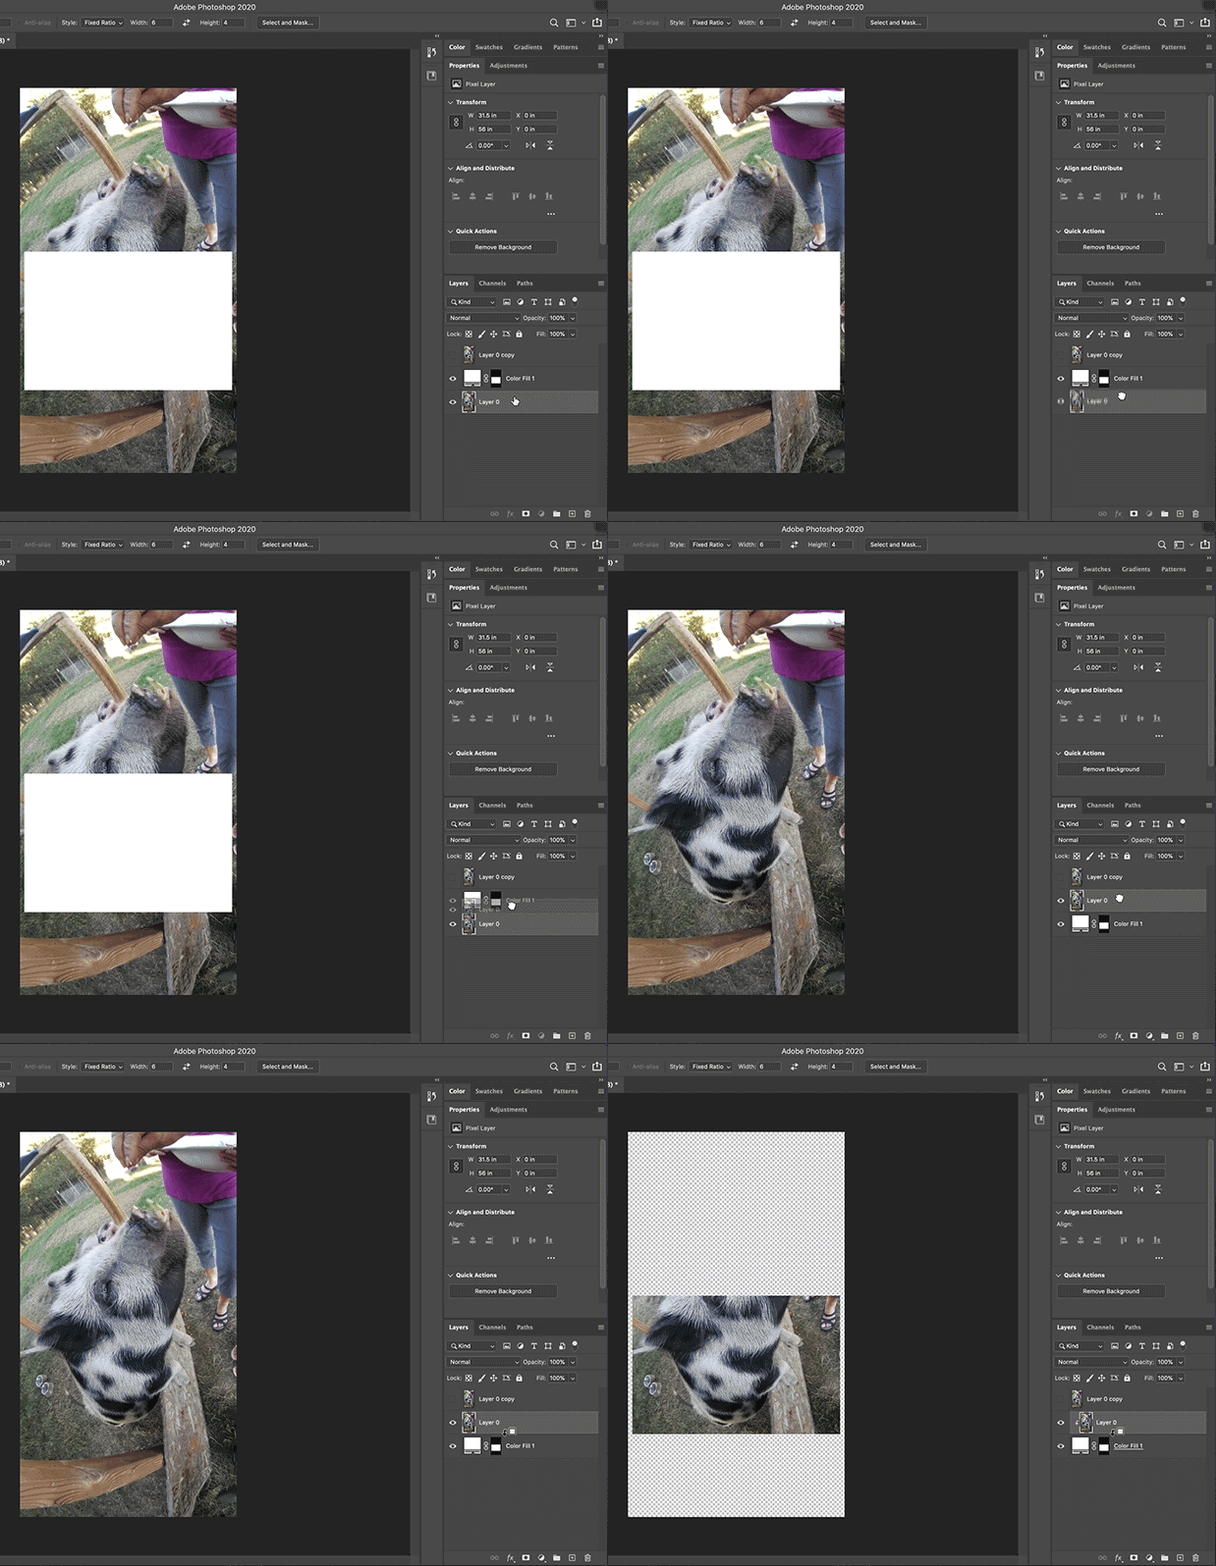
➌ Use a Solid Color layer to fill the selection.
- Use a Solid Color adjustment layer to fill the marquee selection with white on its own layer.
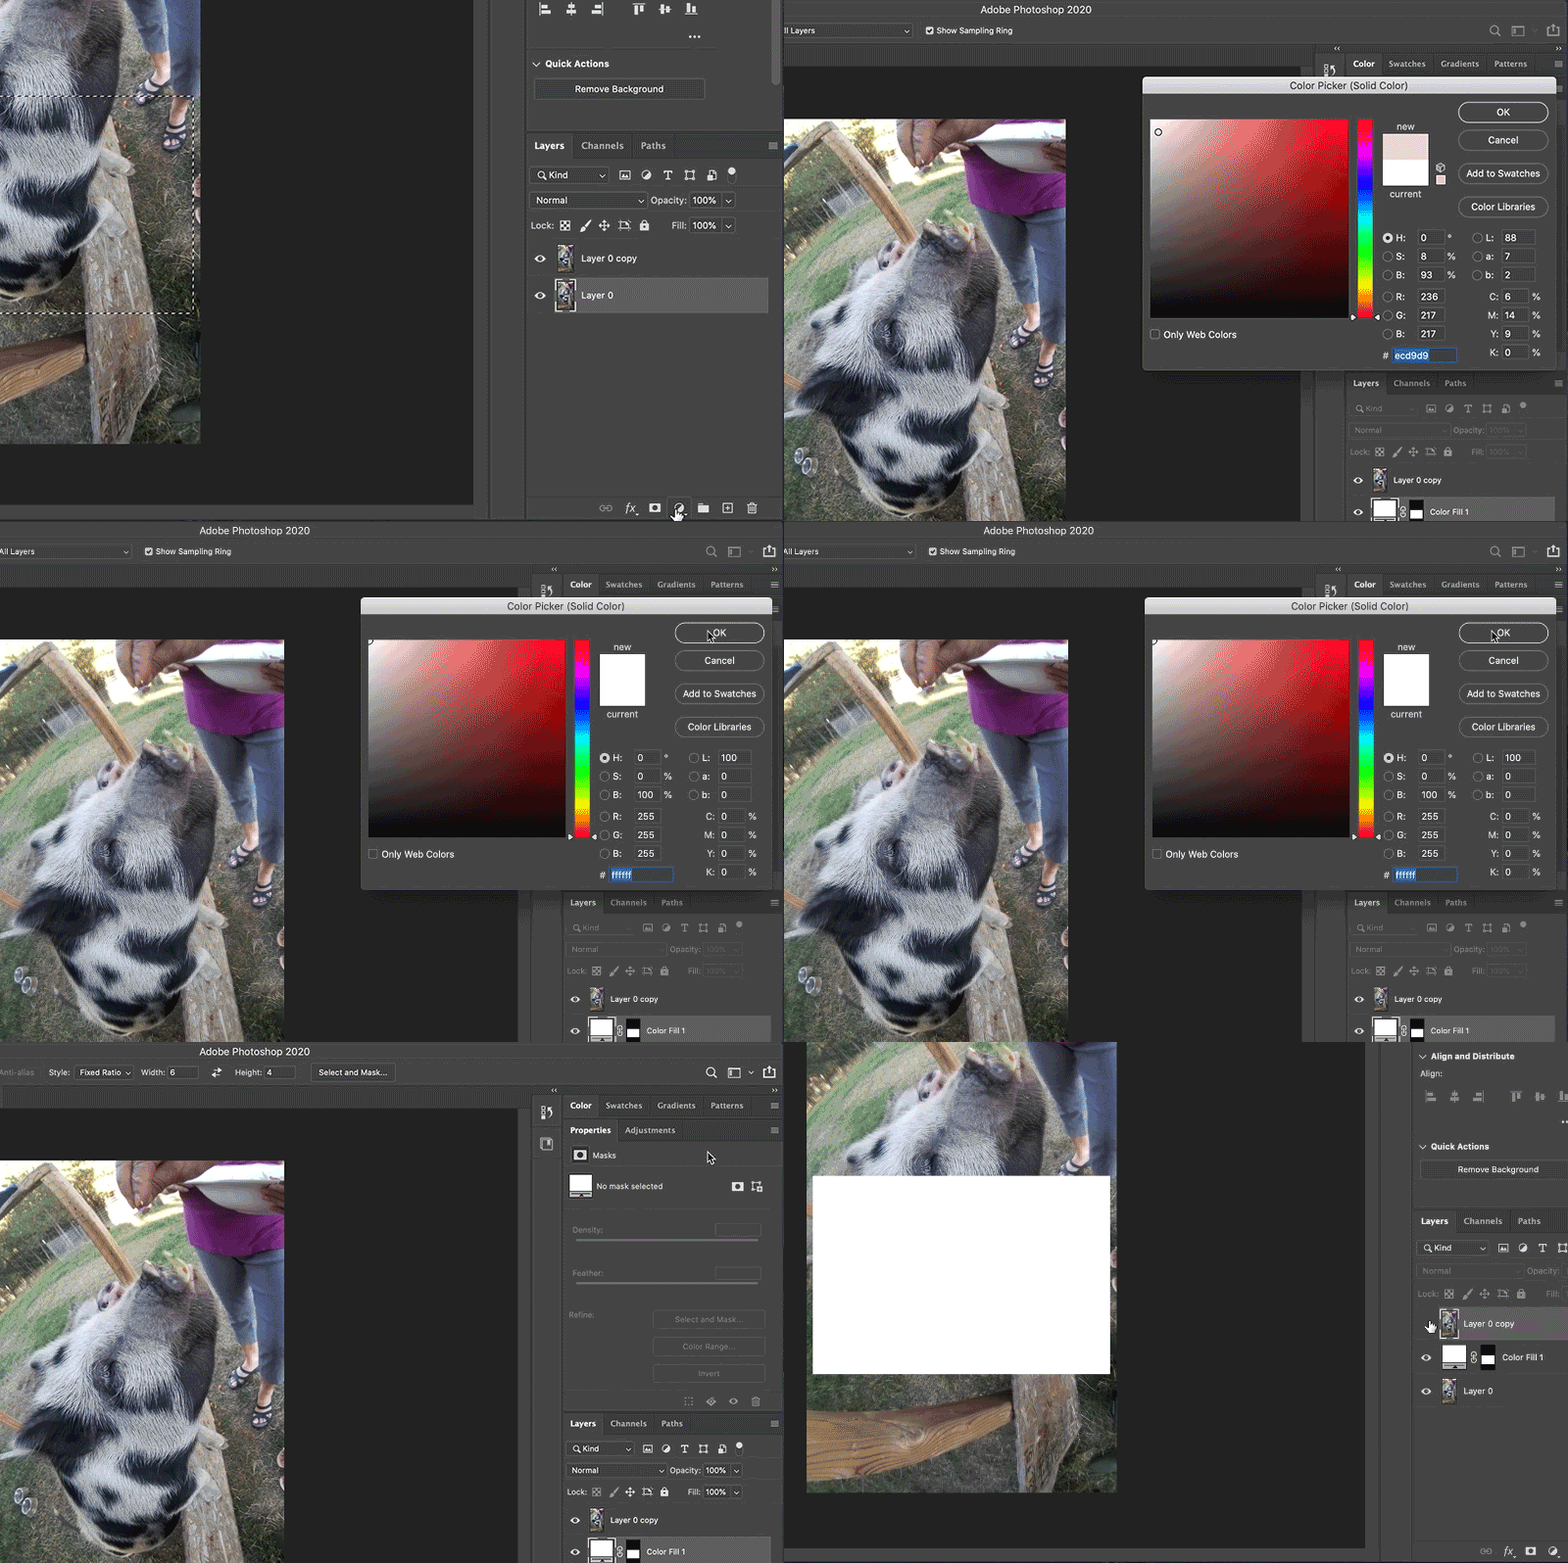
Notice the bottom-most layer (Layer 0) is selected, which puts the new Solid Color layer (Color Fill 1) above Layer 0. Read more about adjustment layers here
➍ Clip (alt/option + click) the photo layer to the frame shape we just created.
- Drag Layer 0 above the Color Fill 1 layer so it can be clipped to the Color Fill layer.
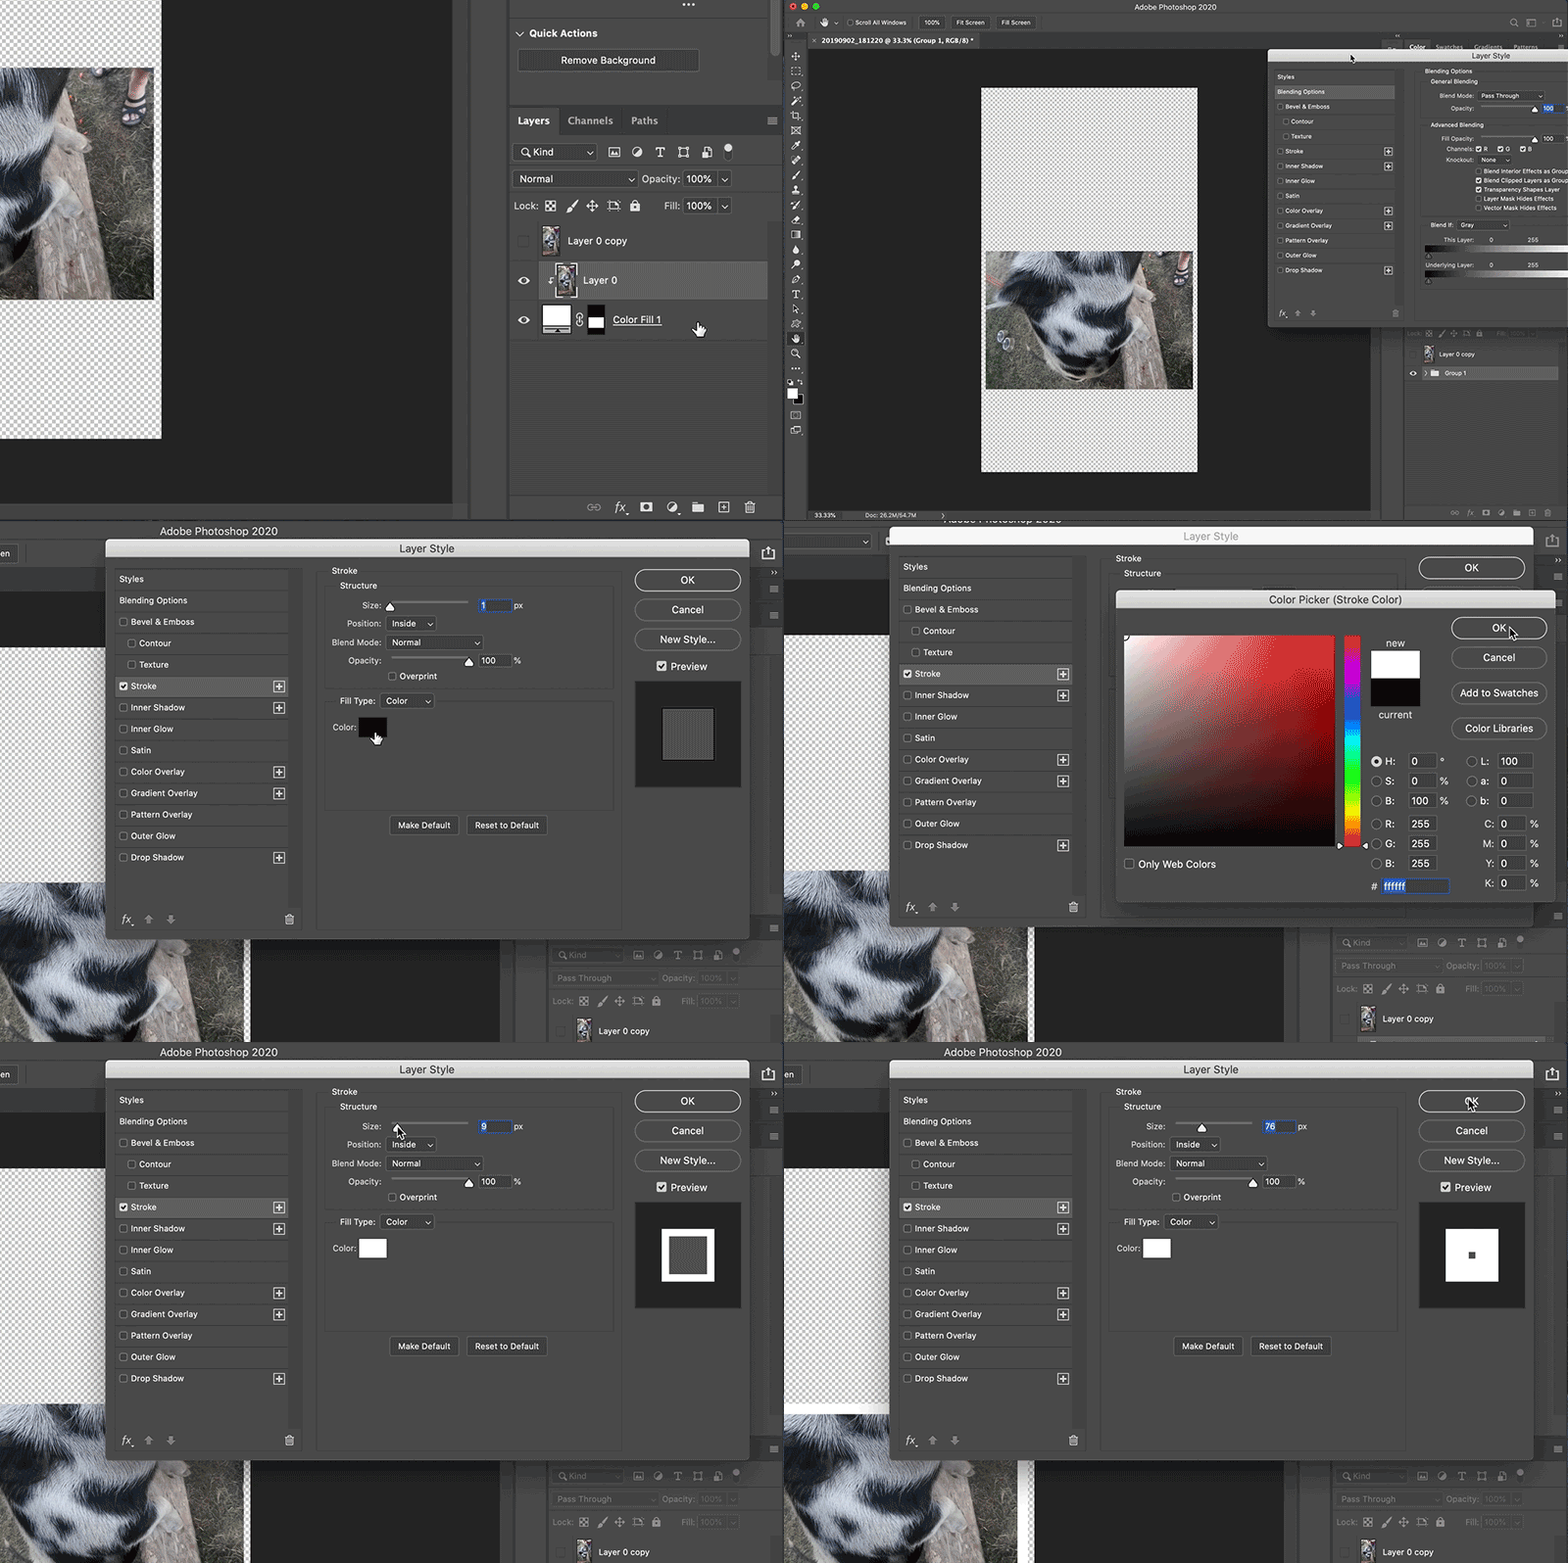
➎ Group layers and add a Stroke effect.
Did you know you can add layer effects to a Layer Group! Try it out!
➏ Select the subject with the NEW Object Selection Tool.
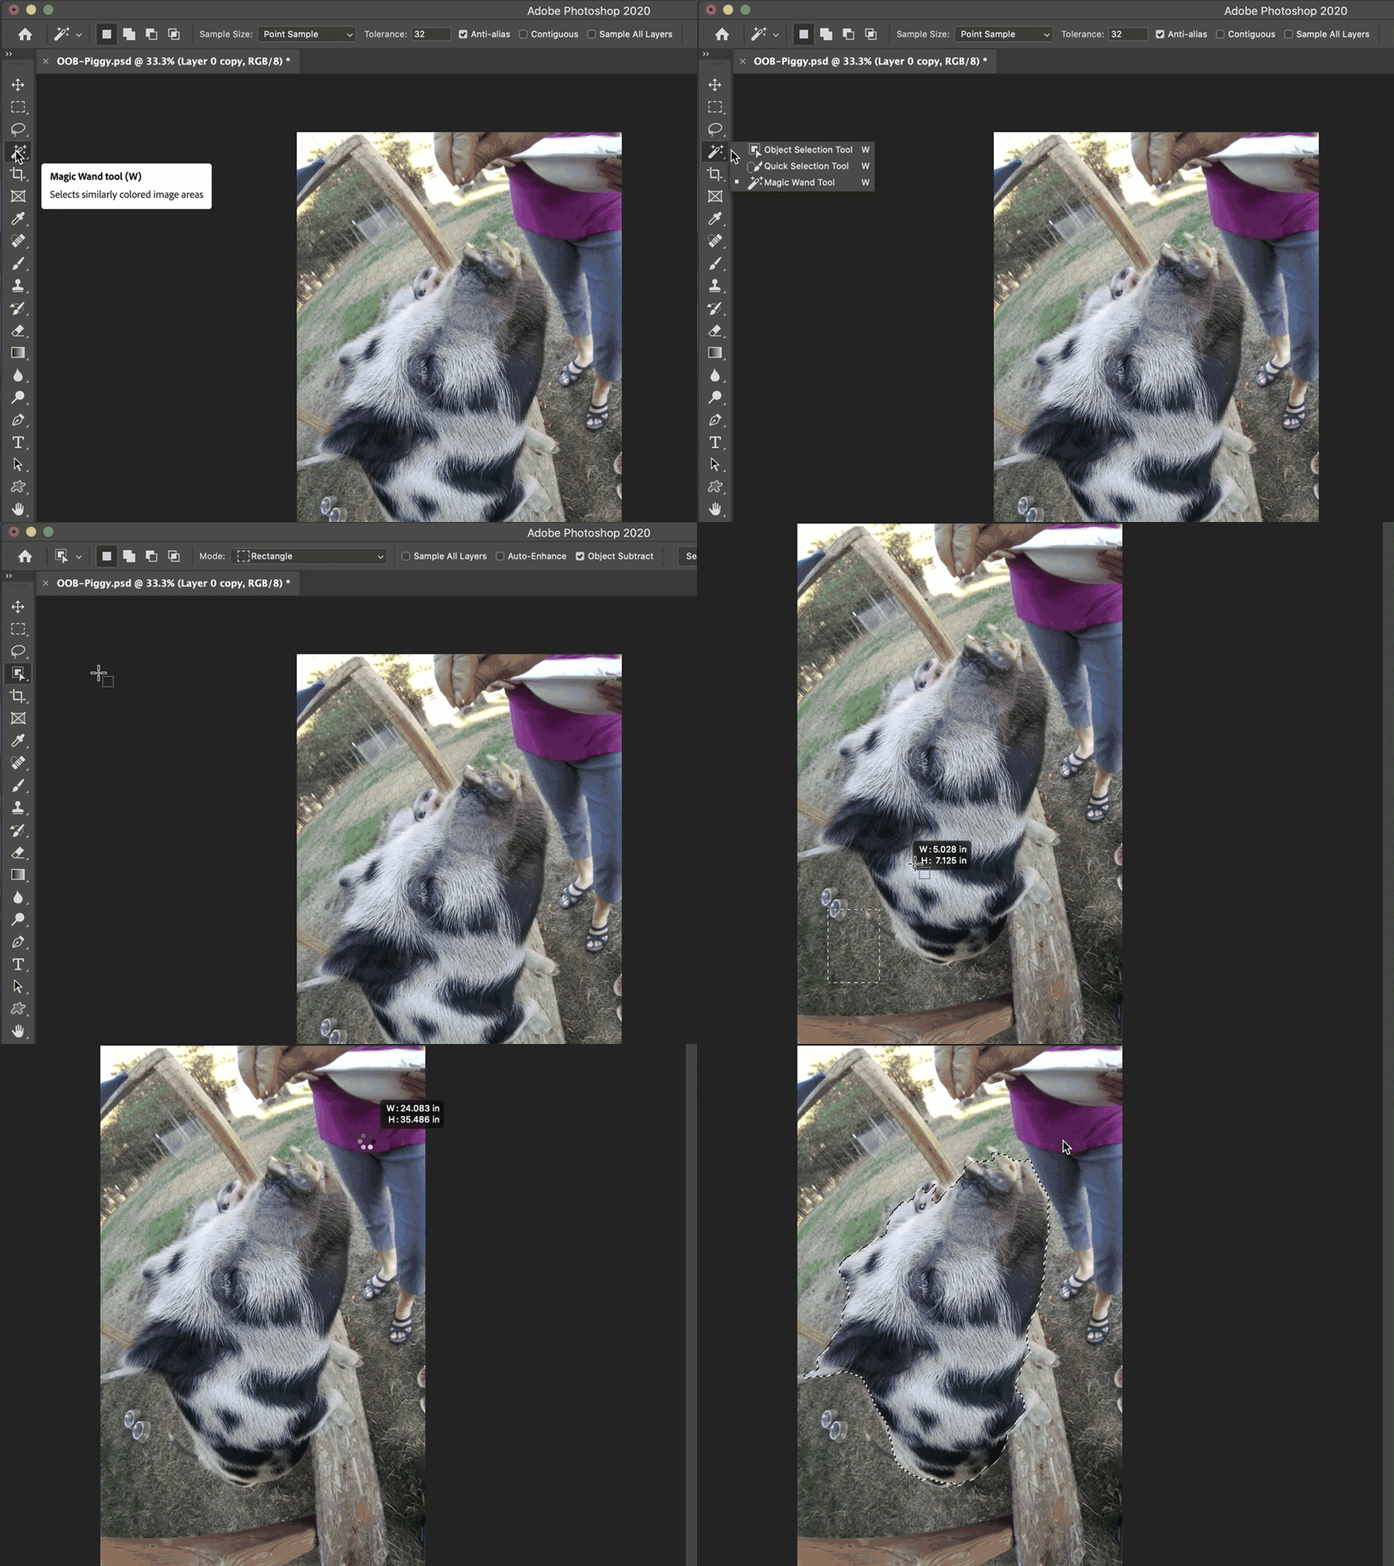
Tip: Use Shift or Alt to add or subtract from the selection.
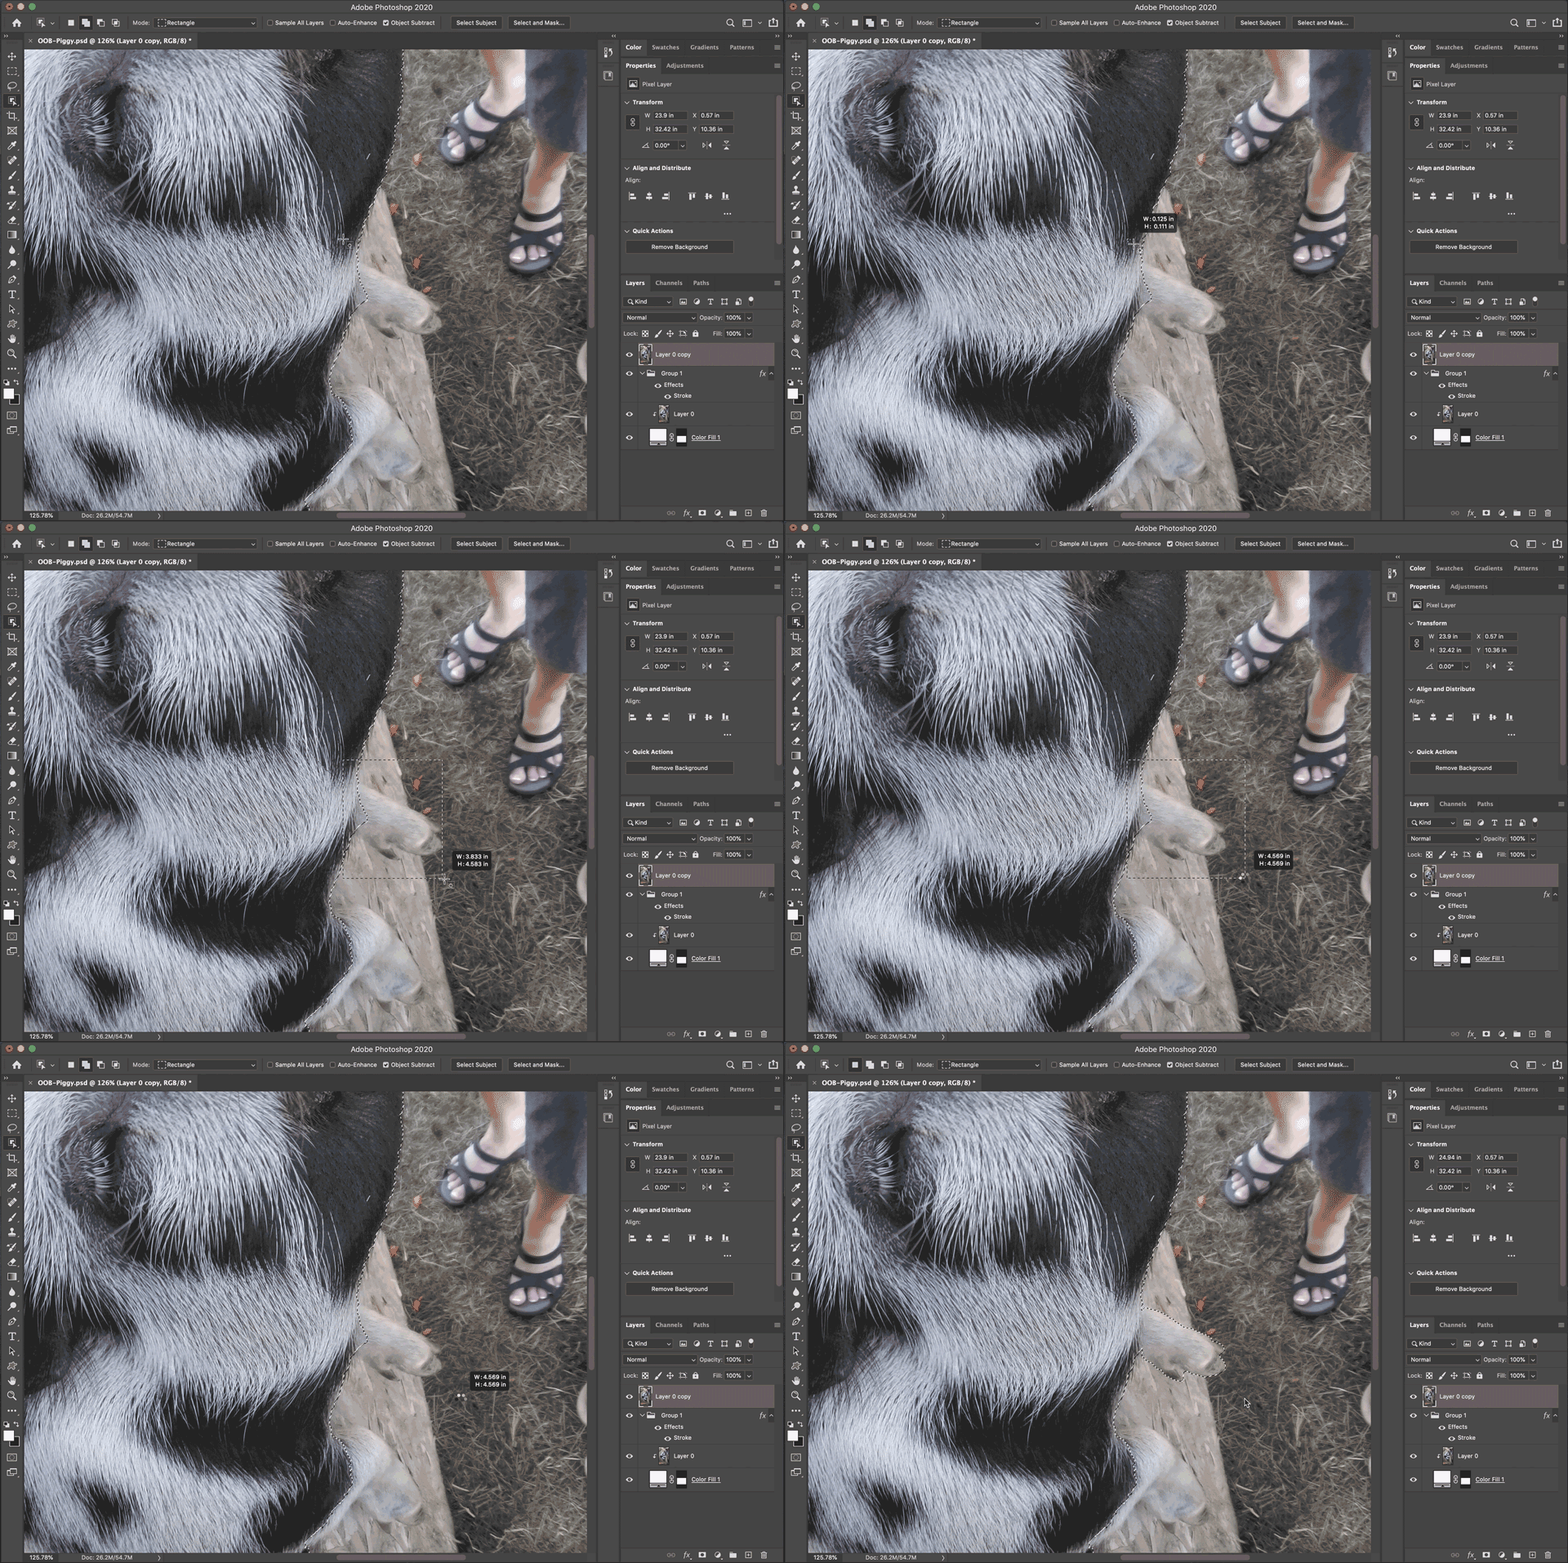
➐ Fine tune the mask!
- Use Select and Mask.
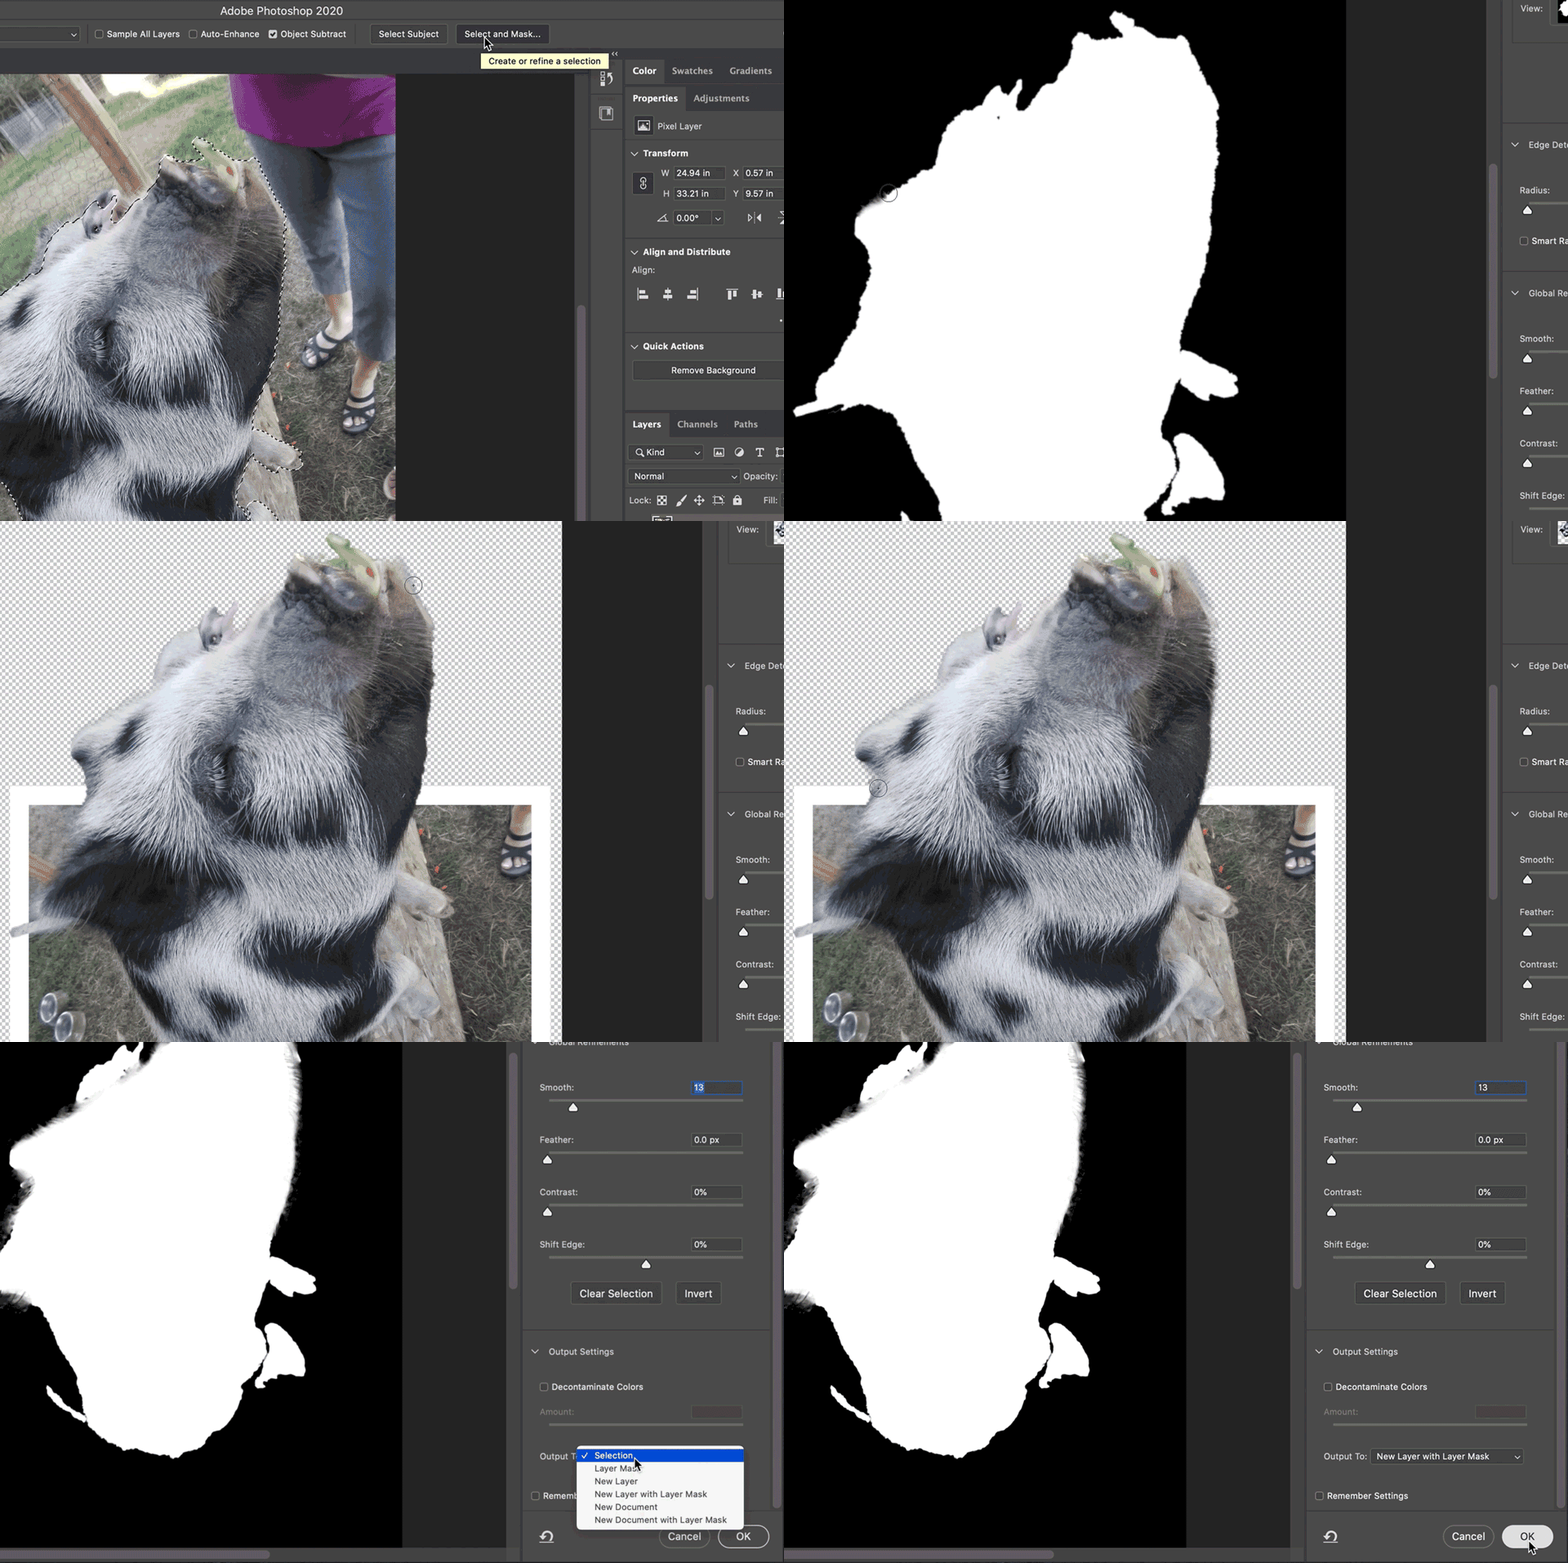
Tip: Export the refined selection to a new layer with mask.
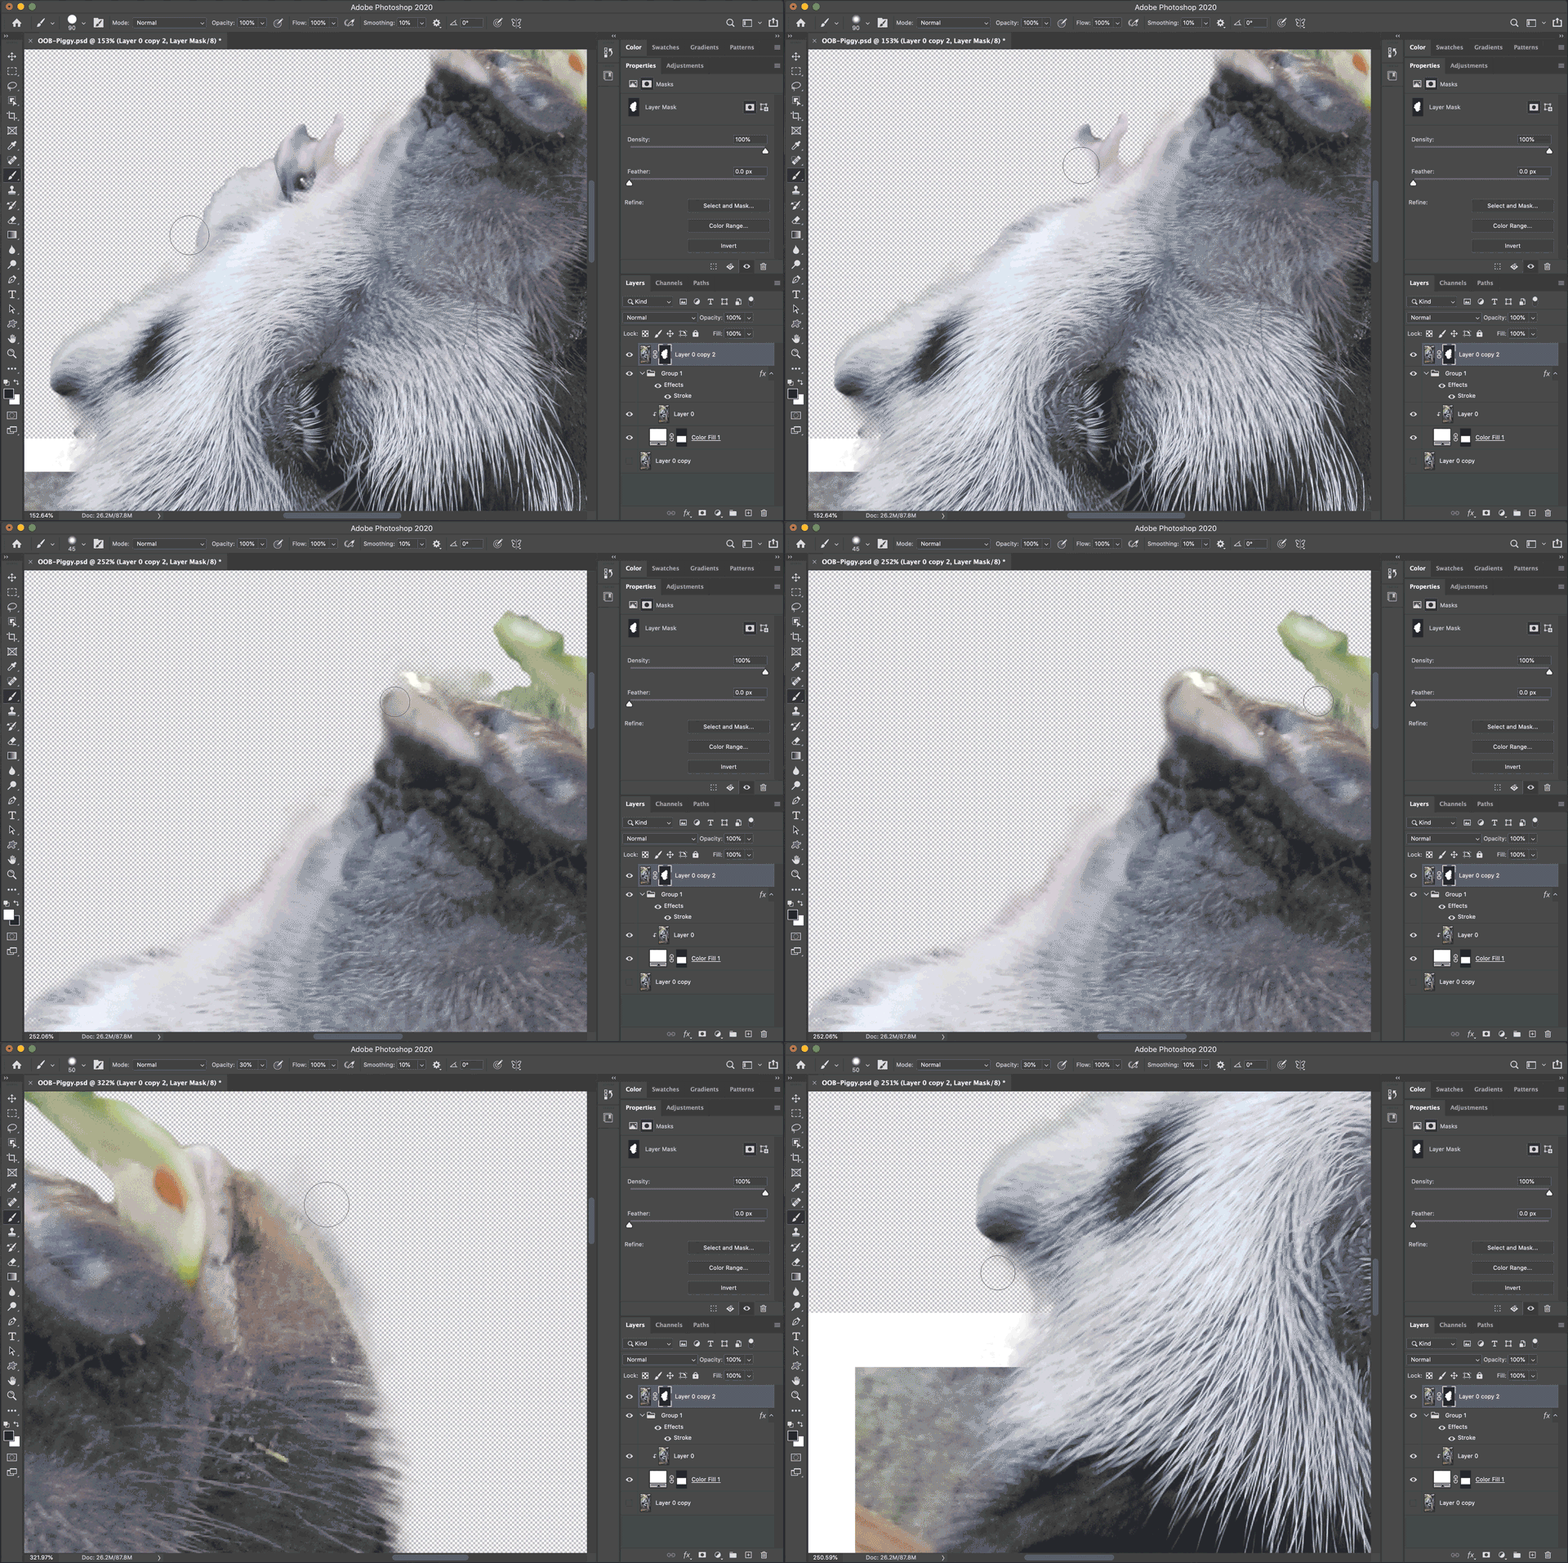
b. Refine the layer mask with the Brush tool. New to layer masks?
Remember: “Black conceals, white reveals”
➑ Add a shadow layer.
Create a shadow layer to interact with the background photo frame.
Here, we’ll use a Drop Shadow and output it to its own layer.
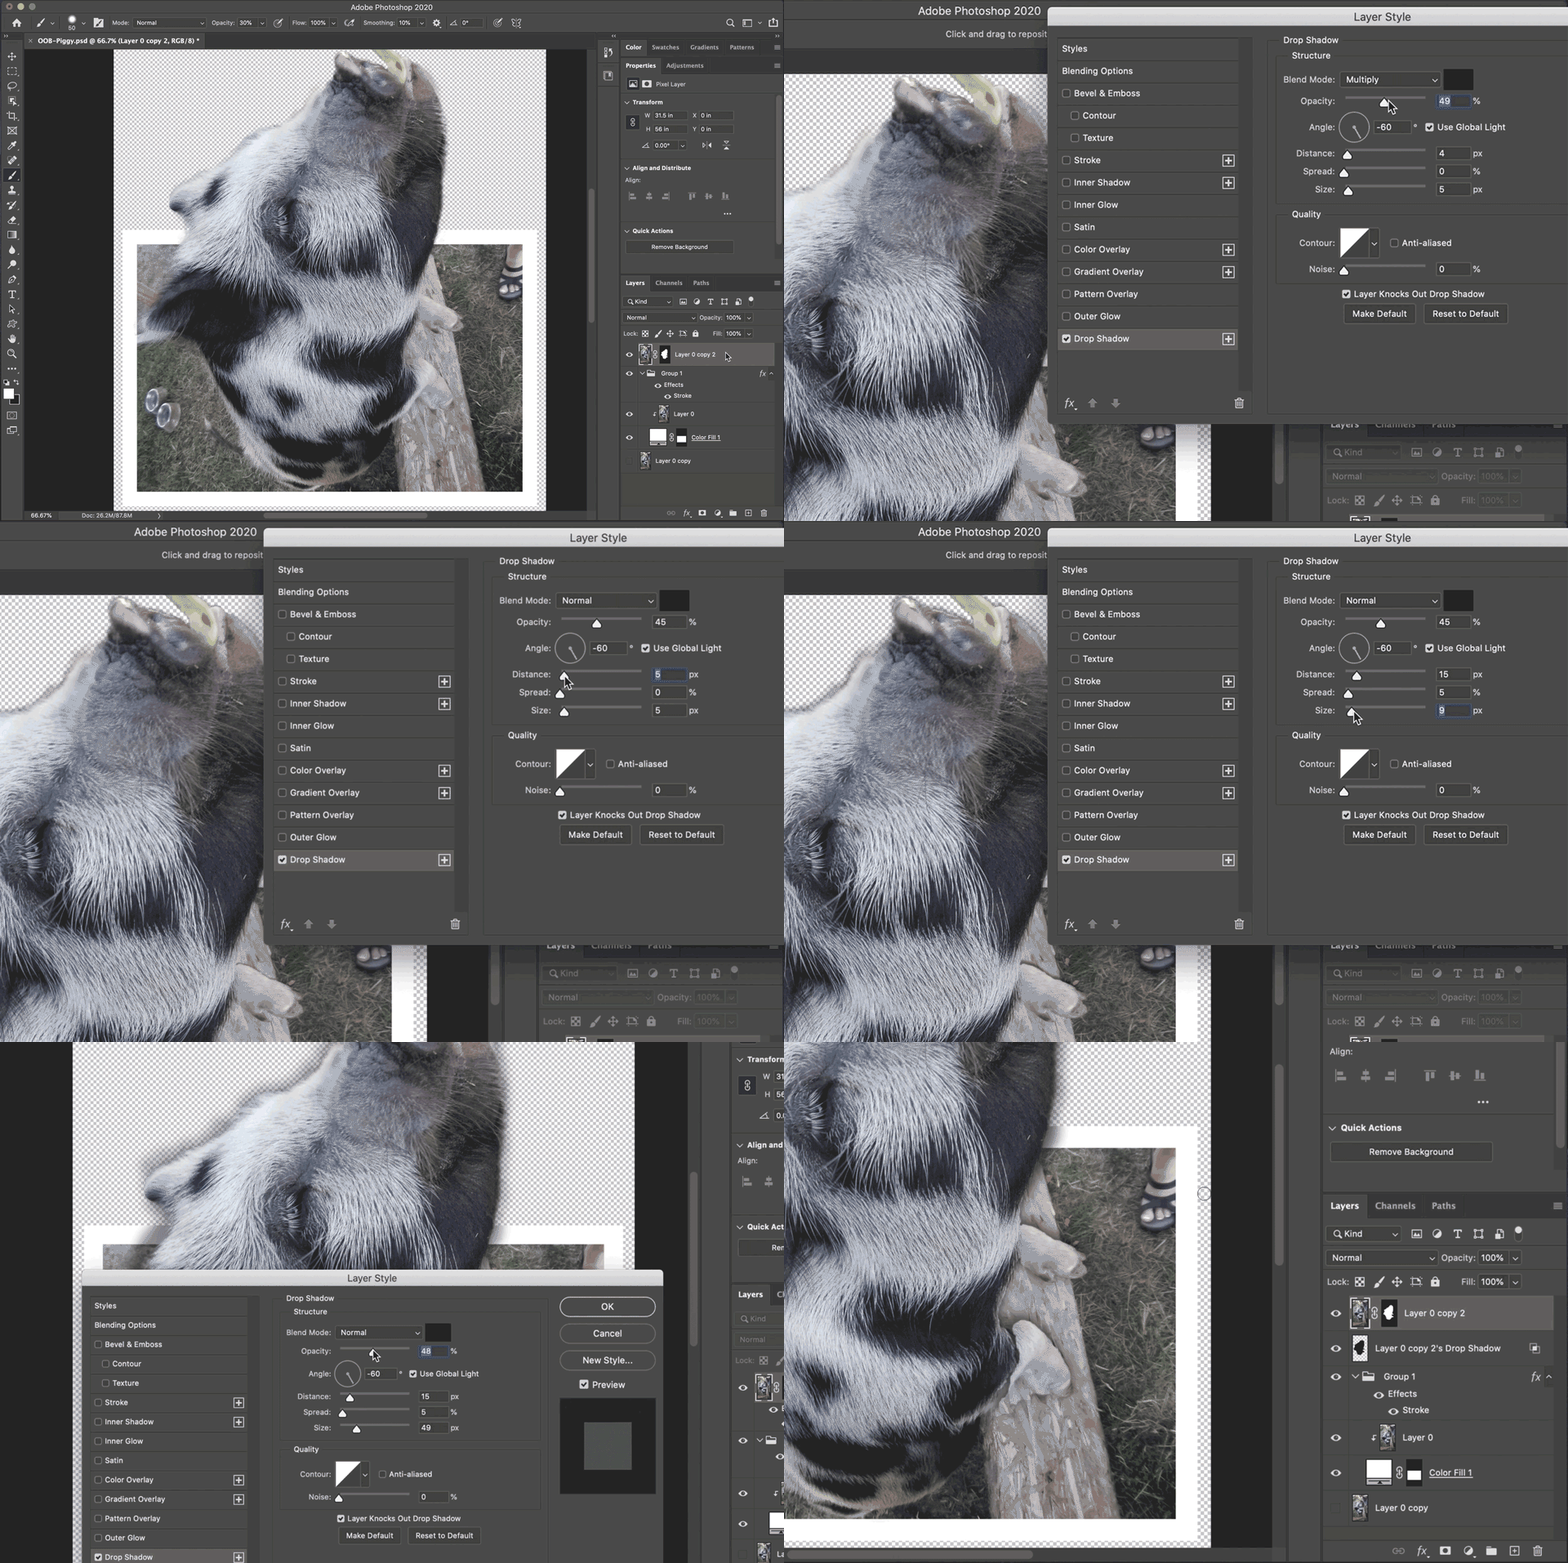
Note: The “Create Layer” command is not visible in the frame in the above animation. Though, that’s the option you want.
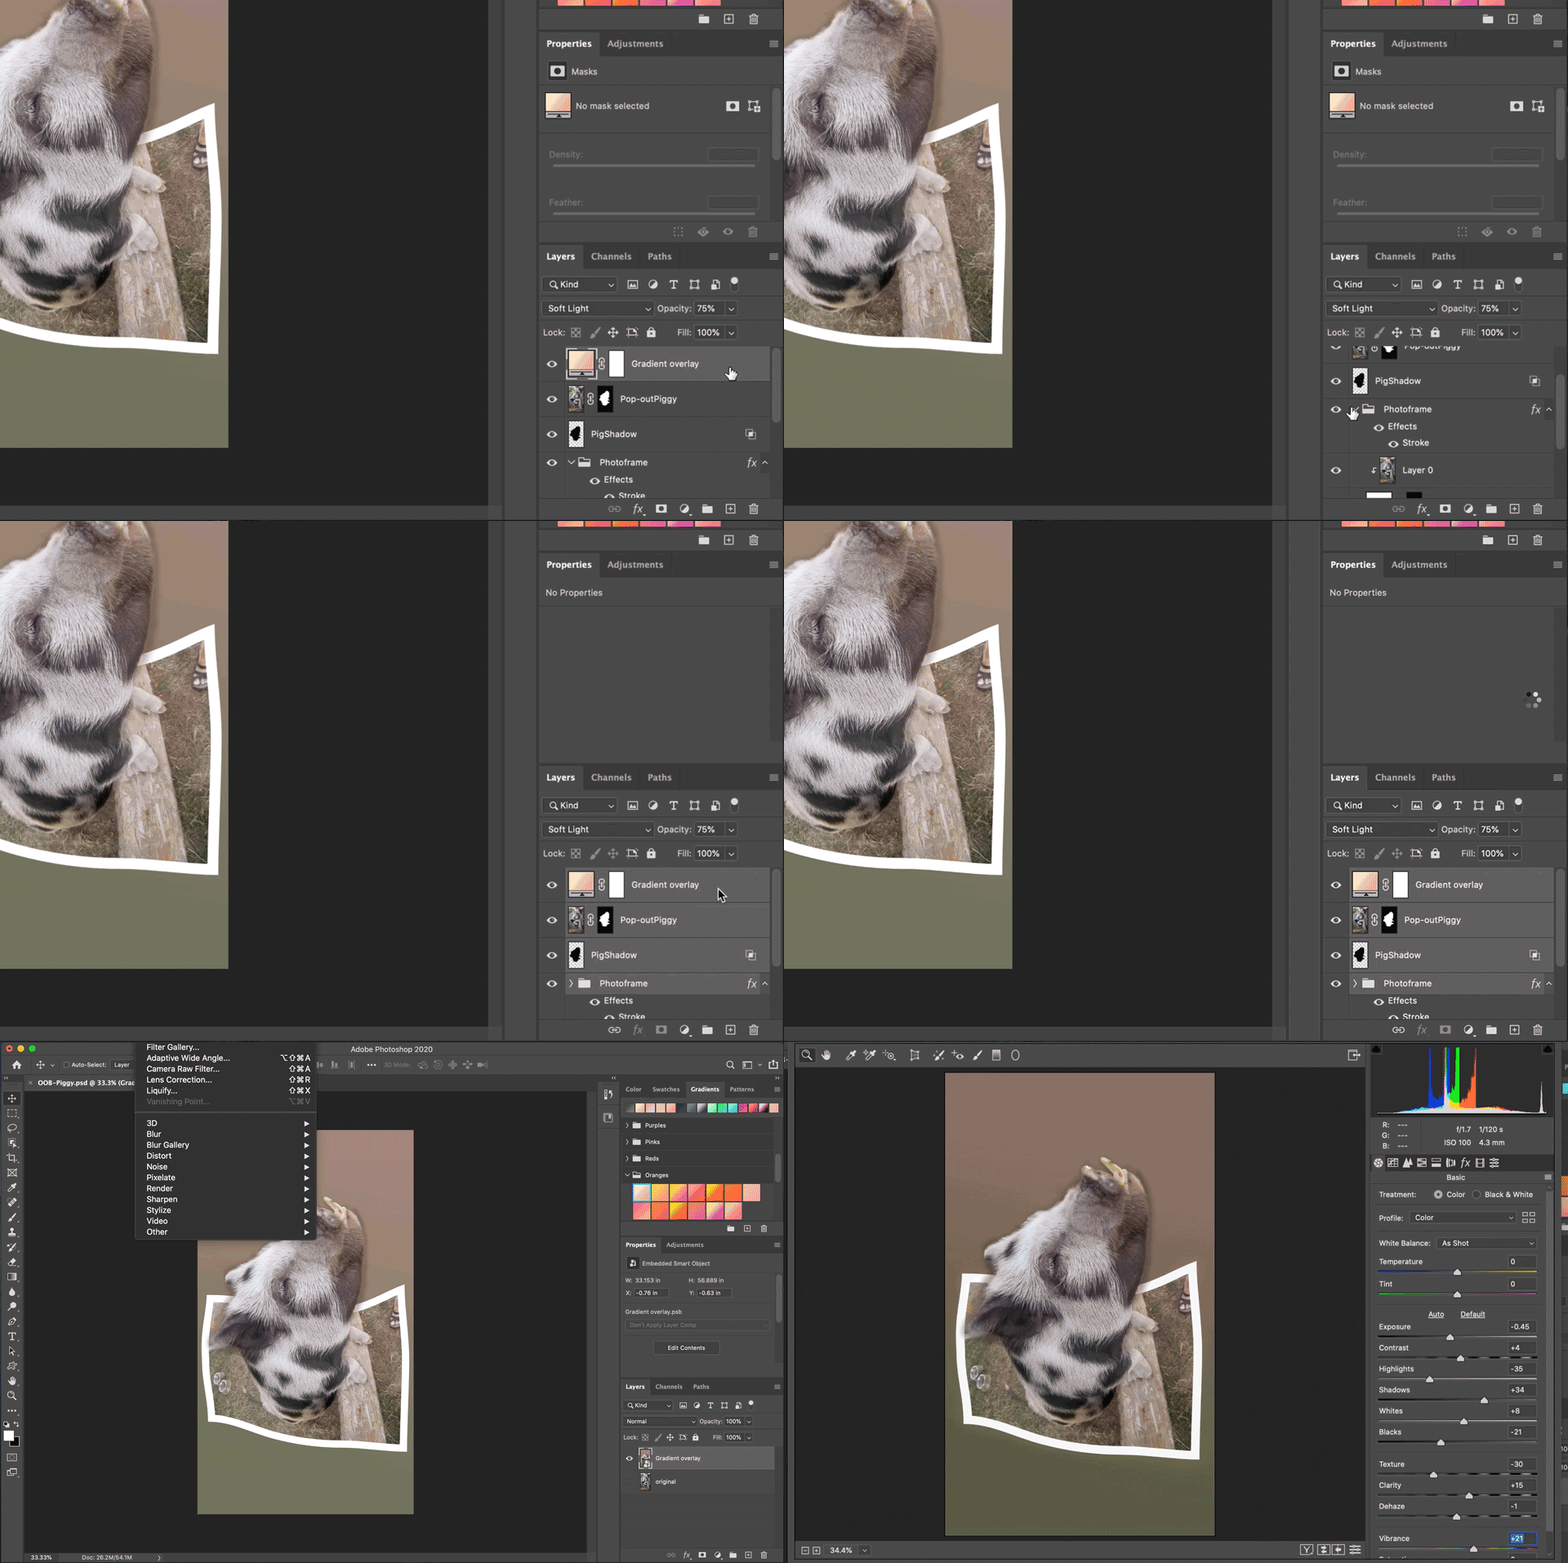
➒ Add a touch of color with NEW Gradient presets.
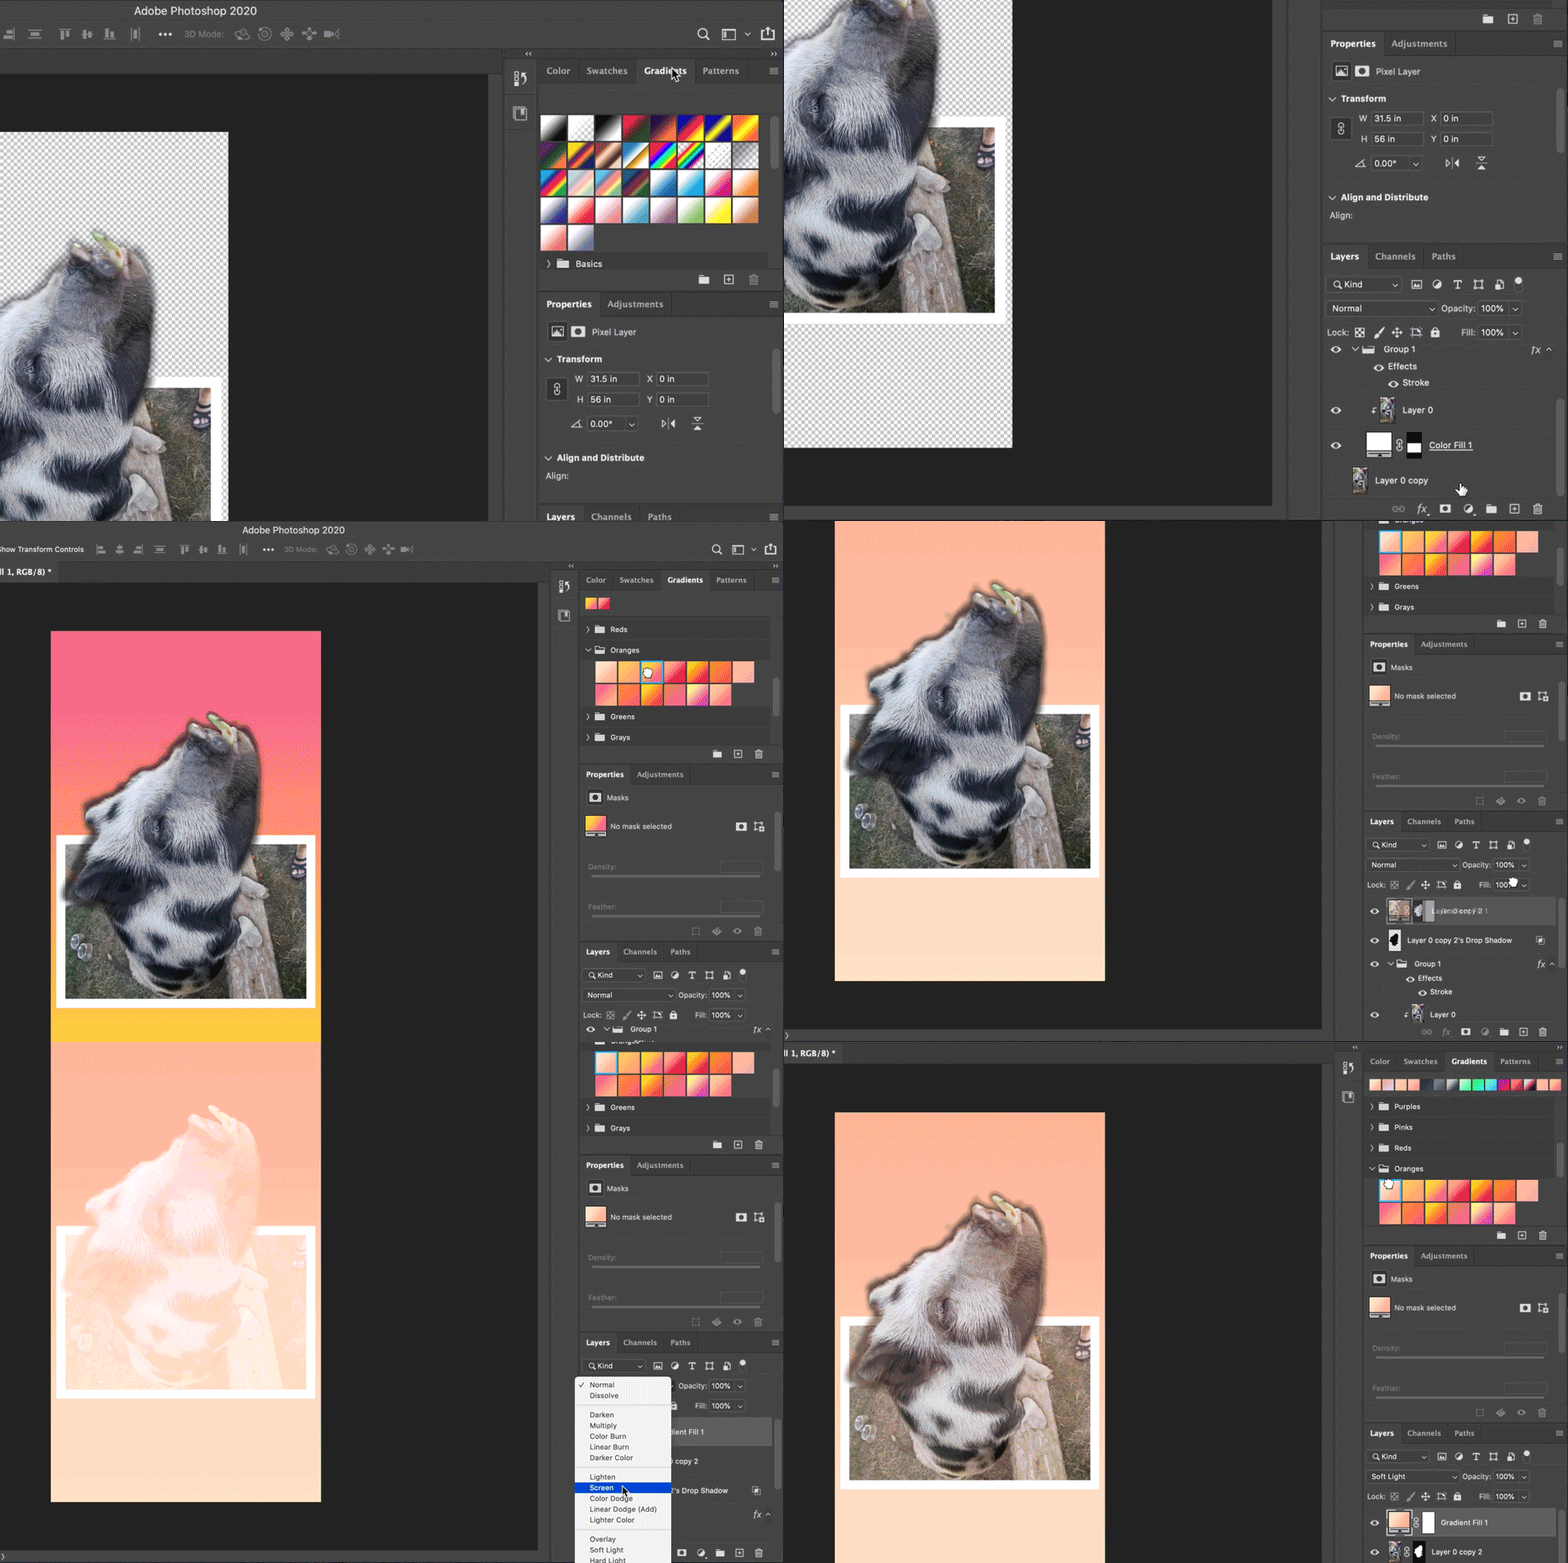
Tip: Selecting different presets will alter the same adjustment layer. Try them all!
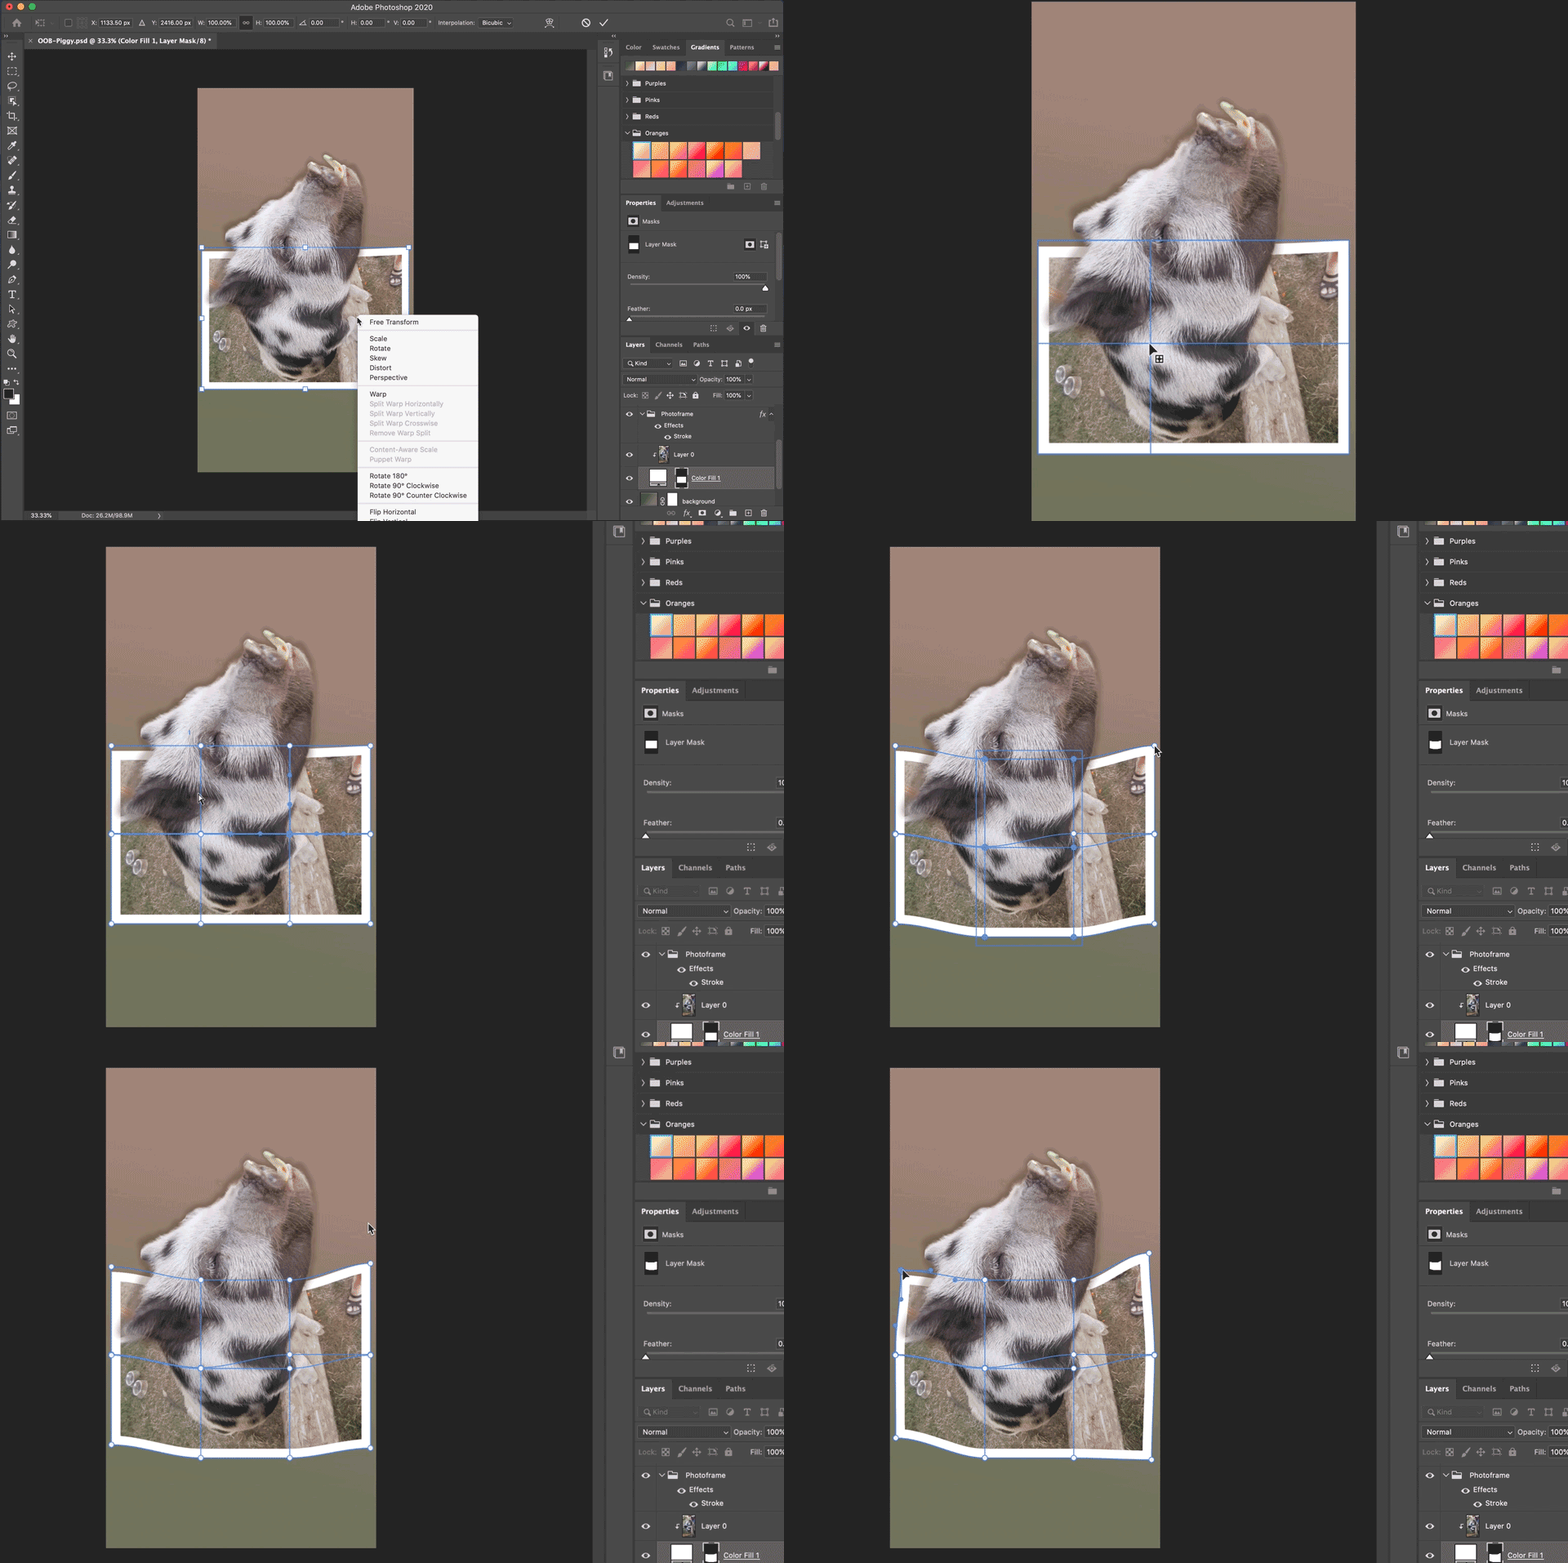
➓ Refine the frame’s shape with NEW Transform Warp.
➔ Bring it together with the Camera Raw filter.
a. Select your layers
b. Create a Smart Object
c. Filter > Camera Raw Filter
➕ Add any finishing touches.
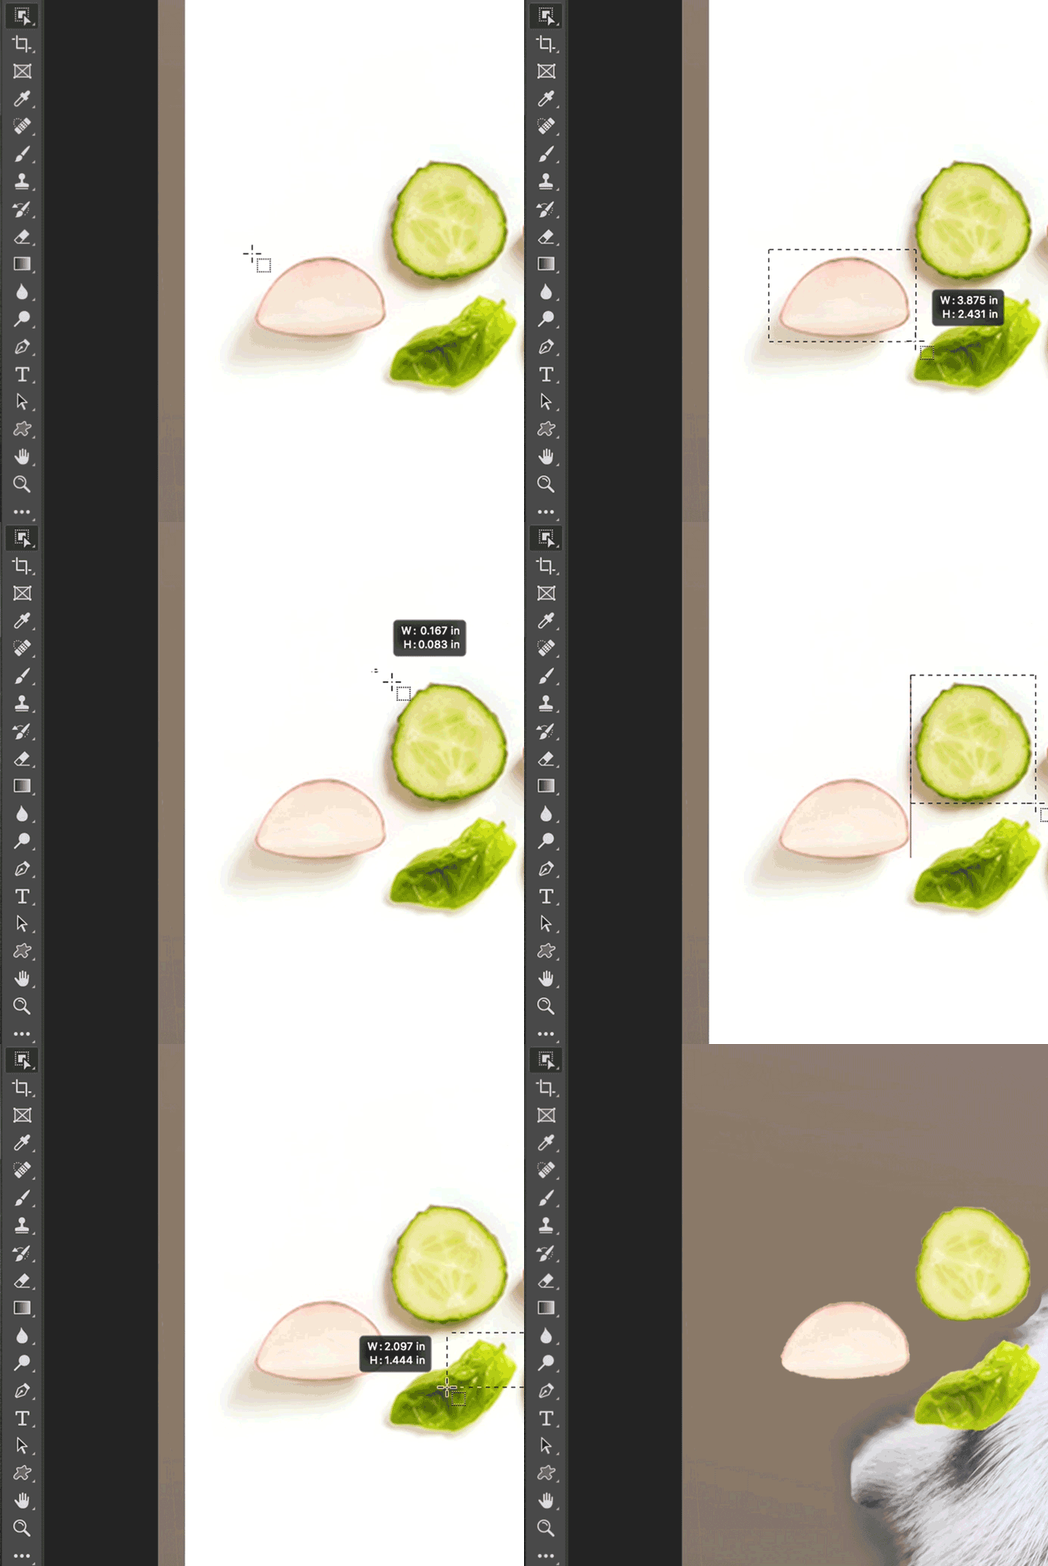
To give some context to this piggy image, I found some sliced vegetables on Adobe Stock and masked them into the image. The new Object Selection tool worked great!
Nice job!
Did you follow along? What did you make?
Share your creation with the community here.


