Exit
  • Global community
    • Language:
      • Deutsch
      • English
      • Español
      • Français
      • Português
  • 日本語コミュニティ
  • 한국 커뮤니티
0

Removing Facial Hair

Explorer ,
May 18, 2018 May 18, 2018

I've tried doing a search for this question but can't find an answer so my apologies in advance if this has been talked-to-death already!  😉

I have an eCommerce site for art and boutique items.  My daughter was a model, so I used her as a model for my items.  My problem is she tans very easily but has very light blonde hair, so when I take close-up photos of her, all you can see is her facial/arm hair.  I have over 1000 items each needing at least 2-5 images per item so time/labor is an issue for me.  I've been just blurring what I can, then using the smudge tool when the image is still large, and then blurring the area out again when I reduce the file to 1200px.  But there has got to be an easier, faster way to do this since I still have to fix the actual inventory in the photo as well.

I'm someone who doesn't have to like the solution, I just have to know what it is, so if what I'm doing is what I should be doing, then at least I already know how to do it!  Any suggestions, however, would be very much appreciated!
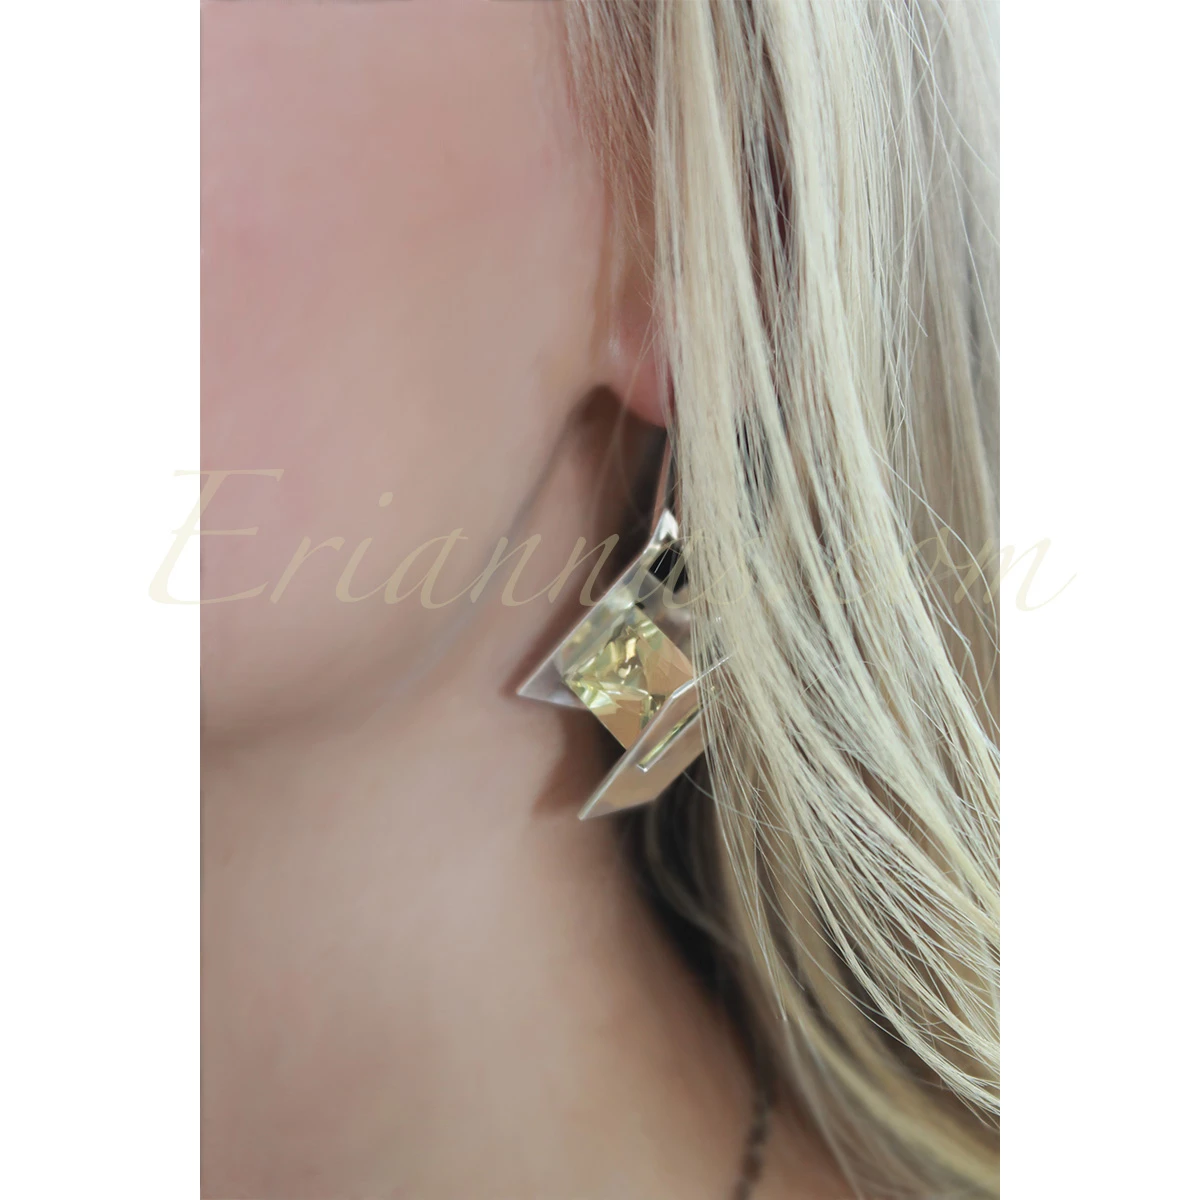
Before...

facialHair-Bri_1200x.jpg

After...

facialHair-Bri2_1200x.jpg

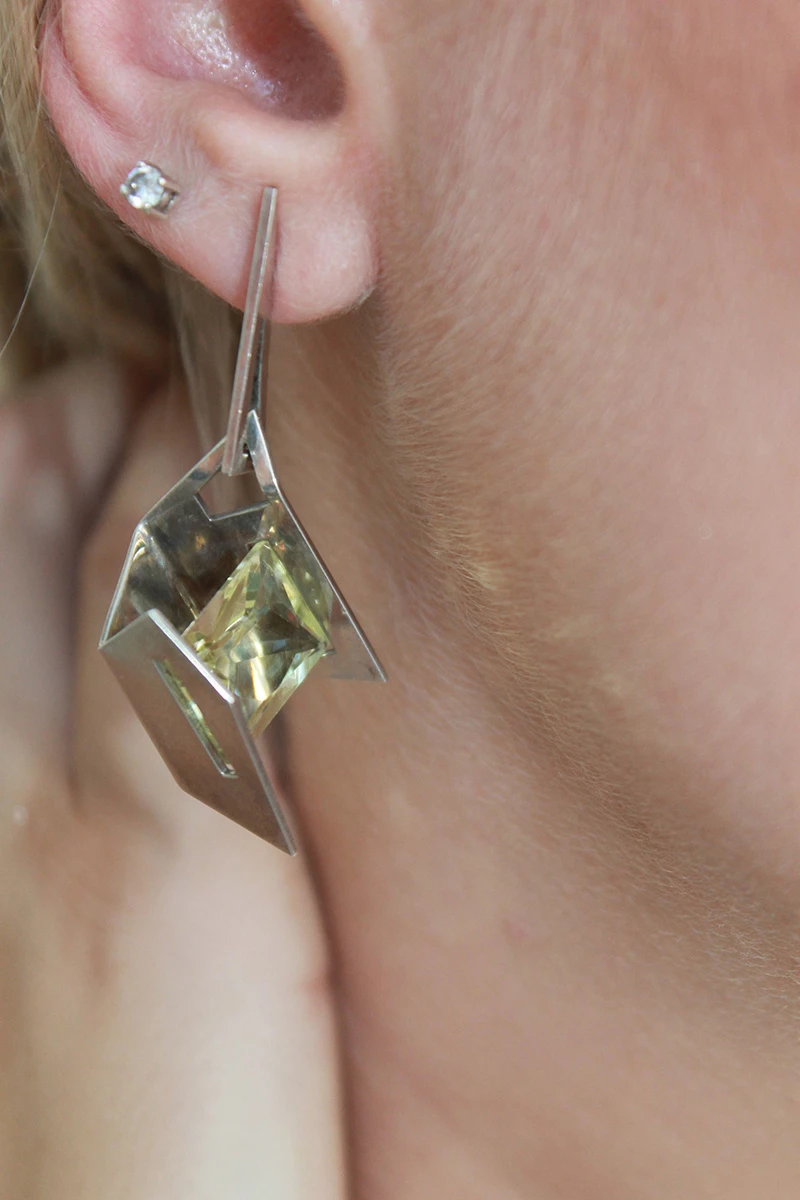
This is even more pronounced...

facialHair-Bri_8x12.jpg

Message was edited by: Erin Lounsbury to add the 3rd pic.

5.3K
Translate
Report
Community guidelines
Be kind and respectful, give credit to the original source of content, and search for duplicates before posting. Learn more
community guidelines

correct answers 1 Correct answer

Community Expert , May 18, 2018 May 18, 2018

Hi

Blurring will work as you have found out - but it does the texture out of the skin. If that is what you want then fine but an alternative which retains the texture is to use Frequency separation. Although there are a few steps , you could create an action to prepare the layers (i.e.steps 1 to 4)  so that you can move quickly to step 5.

1. Use Ctrl+J twice (Cmd+J on Mac) to make two copy layers
Name the lower LF and the upper HF

2. Select the lower (LF) layer and use filter Gaussian blur with just

...
Translate
Adobe
Community Expert ,
May 18, 2018 May 18, 2018

Hi

Blurring will work as you have found out - but it does the texture out of the skin. If that is what you want then fine but an alternative which retains the texture is to use Frequency separation. Although there are a few steps , you could create an action to prepare the layers (i.e.steps 1 to 4)  so that you can move quickly to step 5.

1. Use Ctrl+J twice (Cmd+J on Mac) to make two copy layers
Name the lower LF and the upper HF

2. Select the lower (LF) layer and use filter Gaussian blur with just enough blur to take out the detail (I used 4px below)

3. Select the upper (HF) layer
    Go to menu Image Apply Image
    In the dialogue set the source layer as the LF layer
    Set blending mode to subtract
    Set Scale to 2
    Set Offset to 128
    Click OK

4. Set the blending mode of the upper layer to "Linear Light"

5. Clone out blemishes (including the fine hair on the upper "HF" layer with the clone tool set to "Current layer" in the options bar


    Lighten or darken on the lower "LF" layer

Dave

Translate
Report
Community guidelines
Be kind and respectful, give credit to the original source of content, and search for duplicates before posting. Learn more
community guidelines
Community Expert ,
May 18, 2018 May 18, 2018
LATEST

Same technique on your additional image - on this one I also used the spot healing brush on the LF layer on two bright "clumps" of facial hair"

Dave

Translate
Report
Community guidelines
Be kind and respectful, give credit to the original source of content, and search for duplicates before posting. Learn more
community guidelines