• Global community
    • Language:
      • Deutsch
      • English
      • Español
      • Français
      • Português
  • 日本語コミュニティ
    Dedicated community for Japanese speakers
  • 한국 커뮤니티
    Dedicated community for Korean speakers
Exit
6

Simulate shallow depth of field

Adobe Employee ,
Mar 26, 2020 Mar 26, 2020

Copy link to clipboard

Copied


Use the lens blur filter to simulate shallow depth of field

comparison.jpg


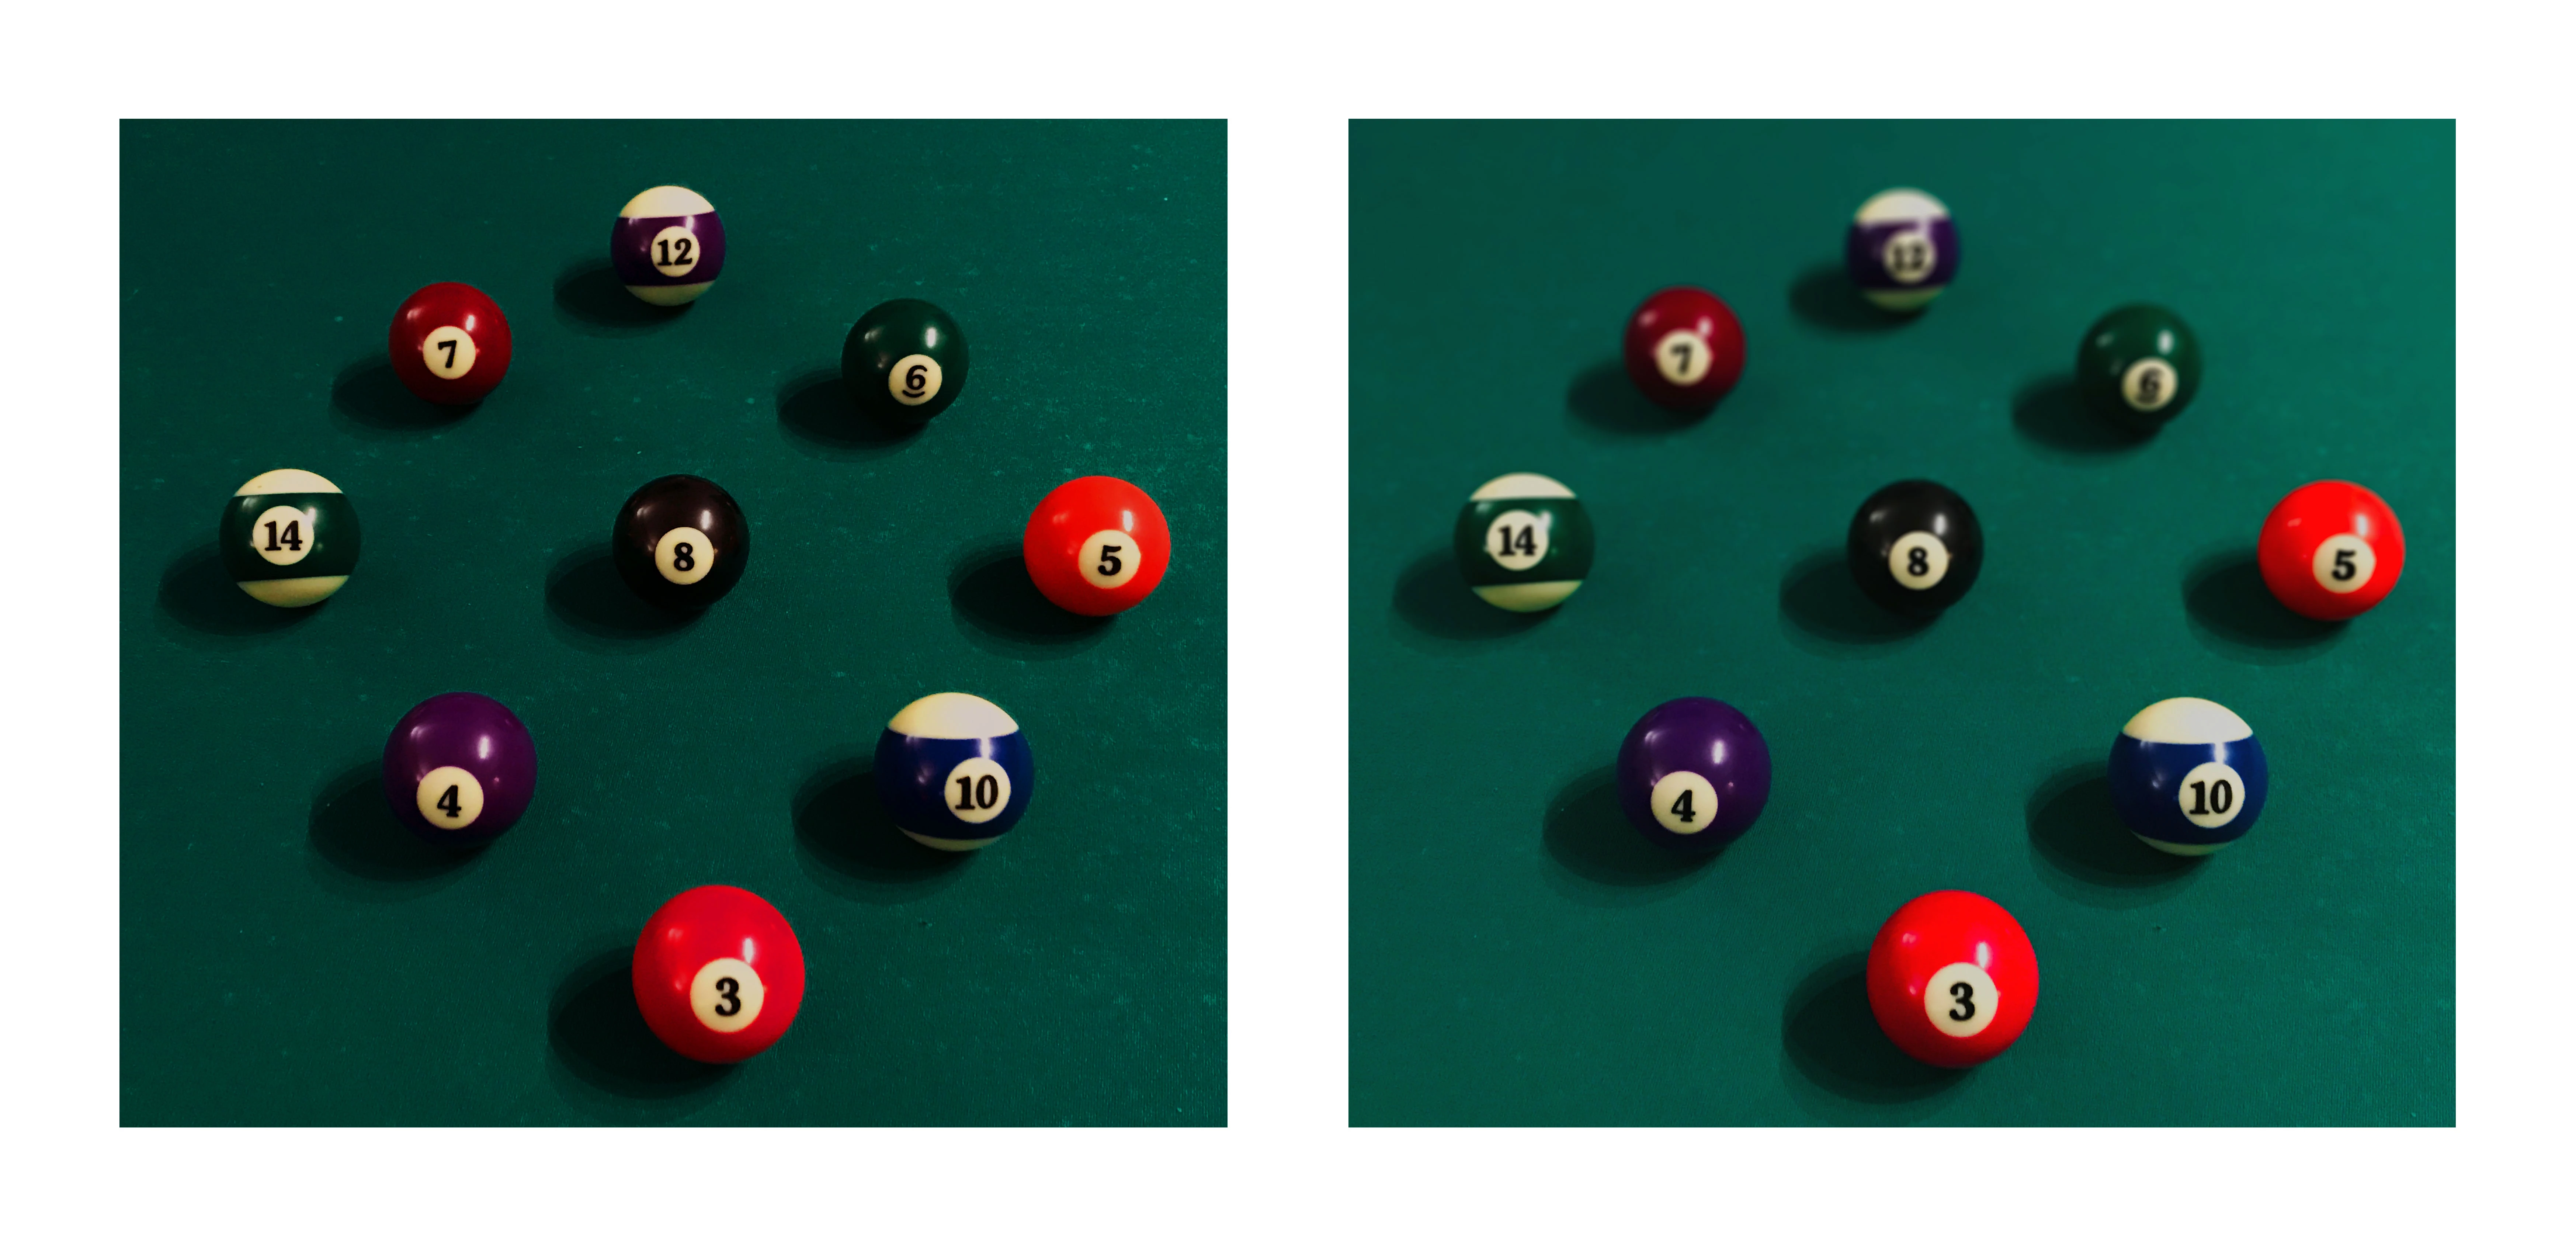
Sometimes we capture that perfect moment with our camera and then realize that the subject is not isolated enough from the background and the background is really distracting. Now what? Well, you can use the lens blur feature in Photoshop to keep the subject in focus while blurring the distracting background, simulating a shallower depth of field. Alternately, you could blur the foreground and make the background clear. The possibilities are endless.


The Lens Blur feature is not new, but the new algorithm now uses your computer's GPU to create nice blurry edges on objects in the foreground, more realistic bokeh, correct color handling for CMYK and LAB color modes, and more colorful specular highlights in your photos.


Here are 3 different methods that you might choose to set the blur from foreground to background. I will demonstrate option 2 in the tutorial.


OPTION 1- Easy (if you have the capability on your phone)

Enable the depth map on your mobile phone if it is supported. When you open your photo in photoshop, the depth map will be available in the lens blur options. In case you are interested in trying this, this link shows how to configure the camera in Lightroom mobile on a capable iPhone: Depth capture mode (Technology Preview)


OPTION 2- Intermediate

Use a gradient as a depth map to determine which areas are blurred. Create a simple gradient in the Alpha channel from white at the top to black on bottom and select it from the lens blur options.


OPTION 3- Advanced

Use an alpha channel depth map to describe the foreground, middle ground, and background. You can make several layers from selections, combine them or create a smart object,  and copy the result to the Alpha layer. You can then select it from the lens blur options. This might be a good option for a portrait where the background needs varying degrees of blurring, but you want the subject to remain in focus. 

Layer1: a selection of the subject in the foreground filled with black

Layer 2: a selection of the middle ground filled with grey

Layer 3:  background area filled with white.


The Lens Blur filter uses the depth map from your phone camera or the alpha channel you create to determine the position of pixels in an image. The depth map is just an illustration of depth from black to white. Black areas are at the foreground at the front of the photo, and white areas are in the background.


OK, let's create a simple gradient and use the lens blur filter to change our photo.
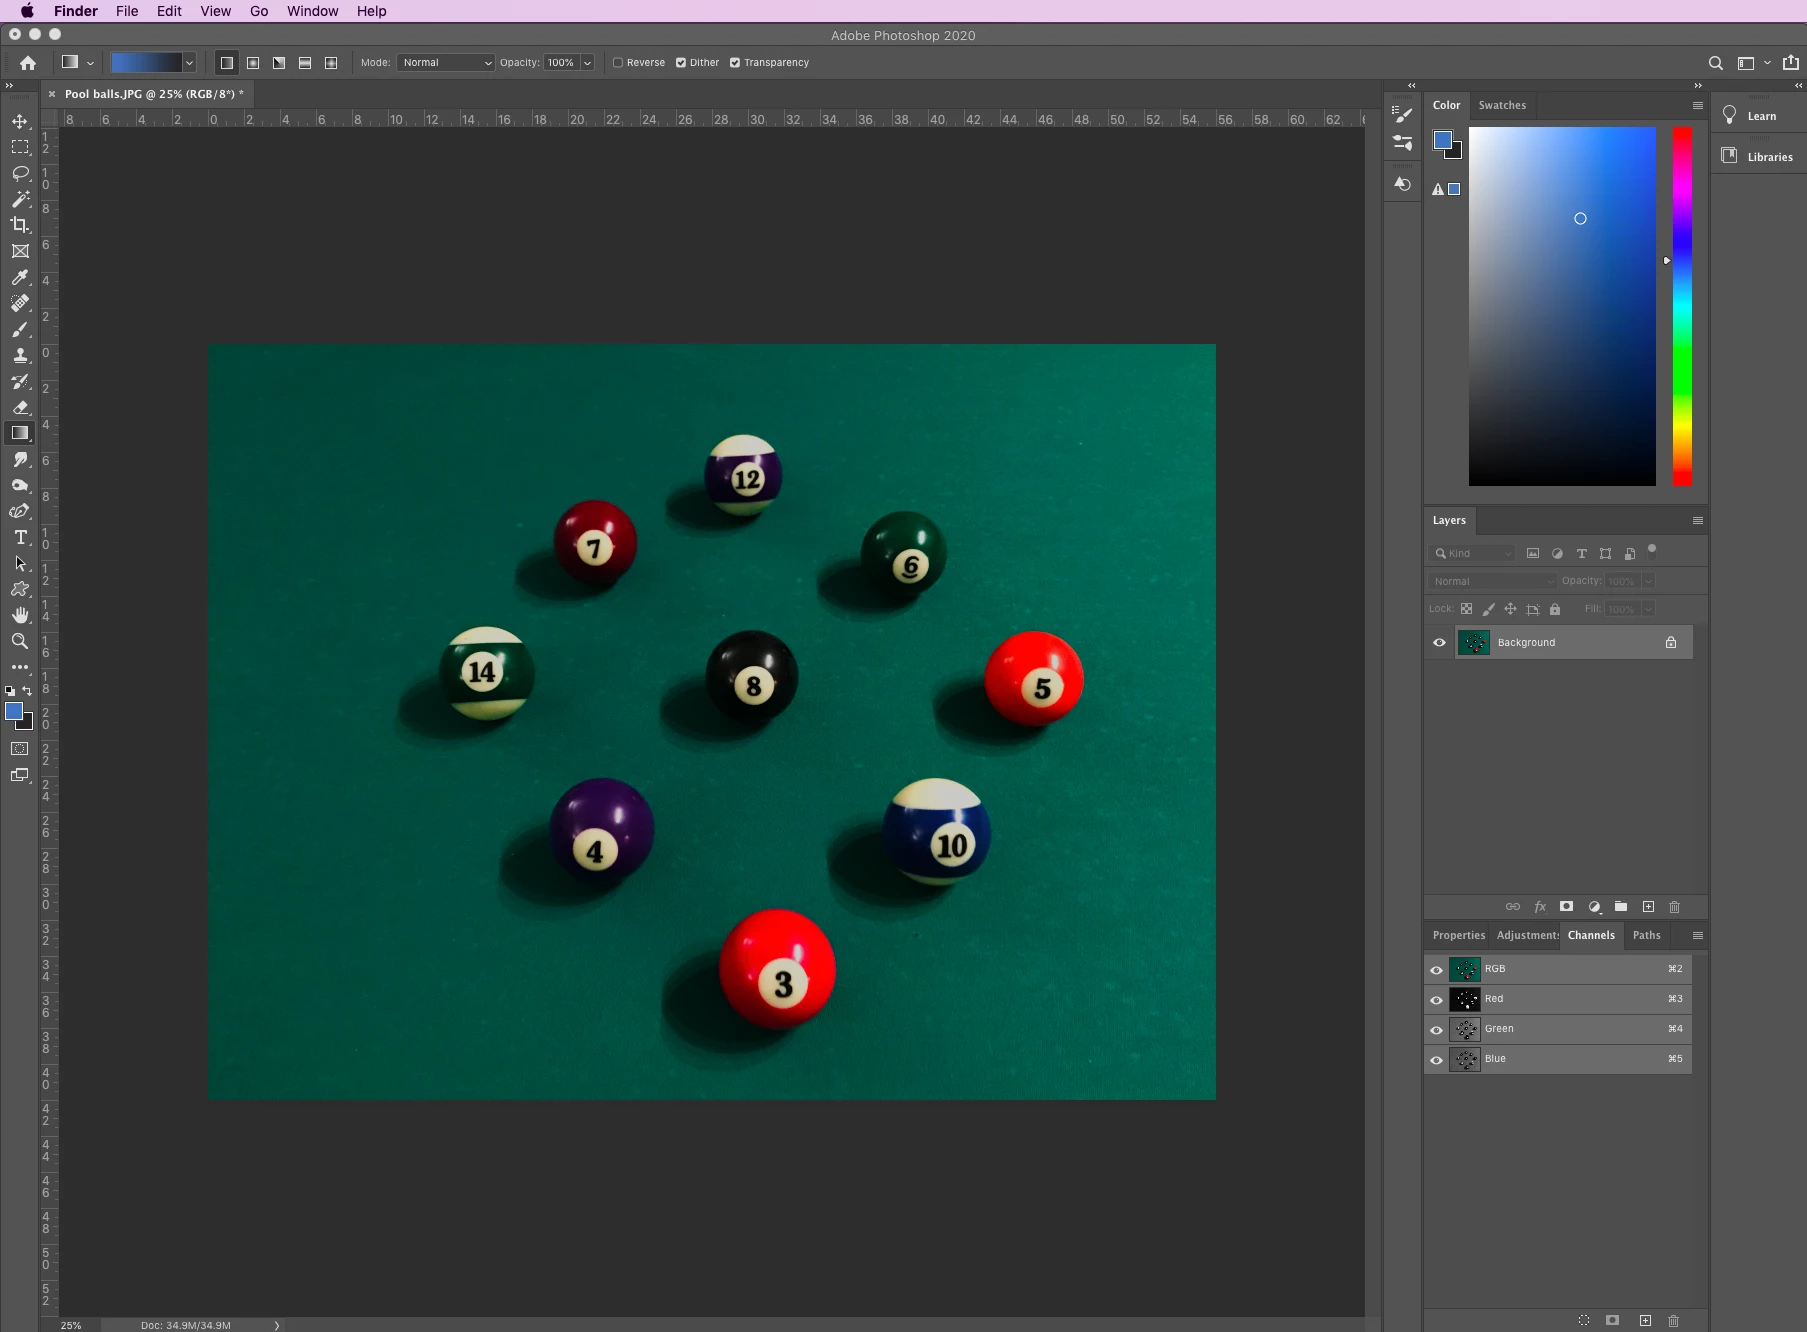


Import a photo

  • Open Photoshop and import the photo you would like to edit

    1-open file.png

❷ Create an alpha channel

  • Click on channels

    Click on the Channels tabClick on the Channels tab


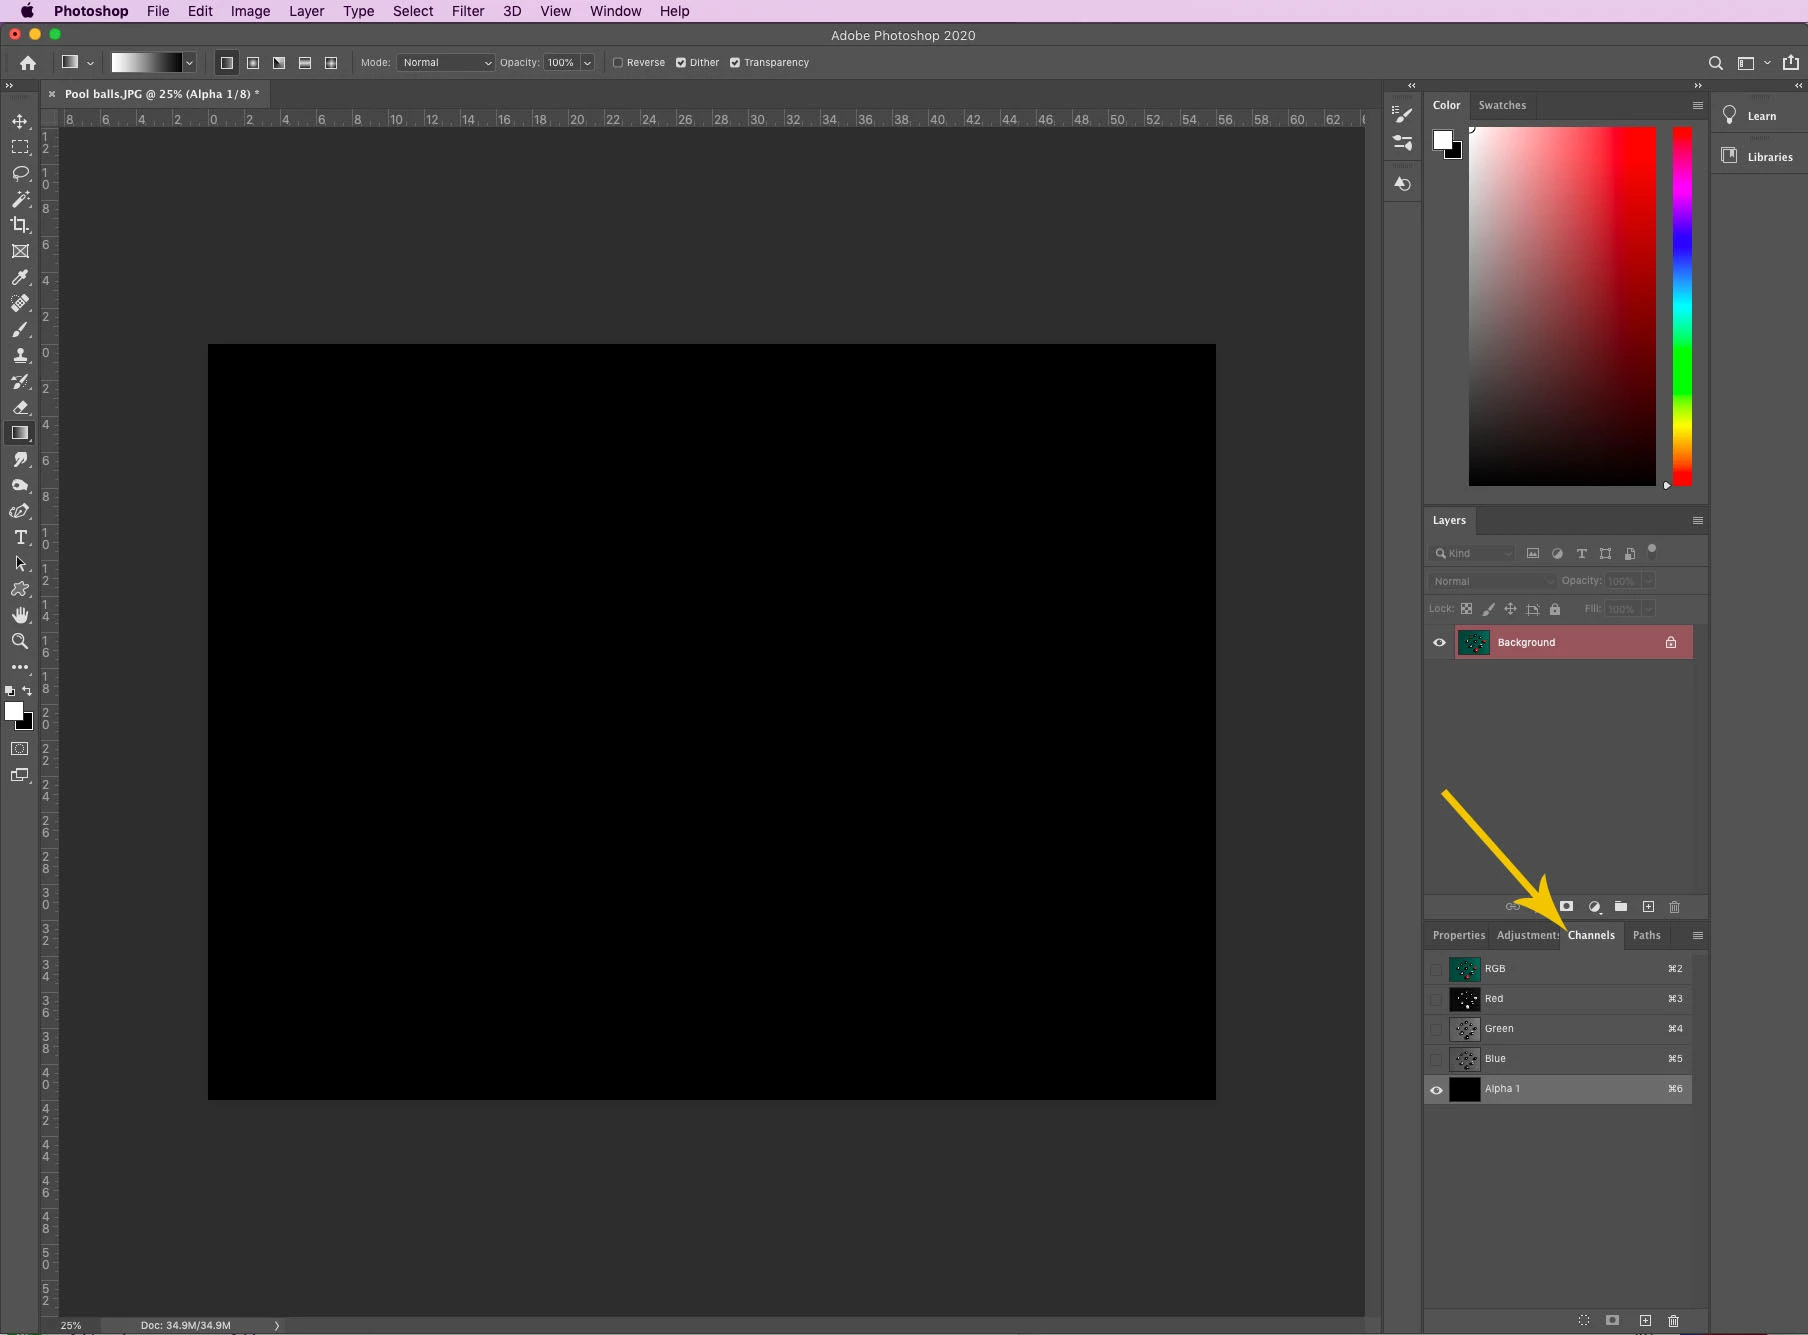
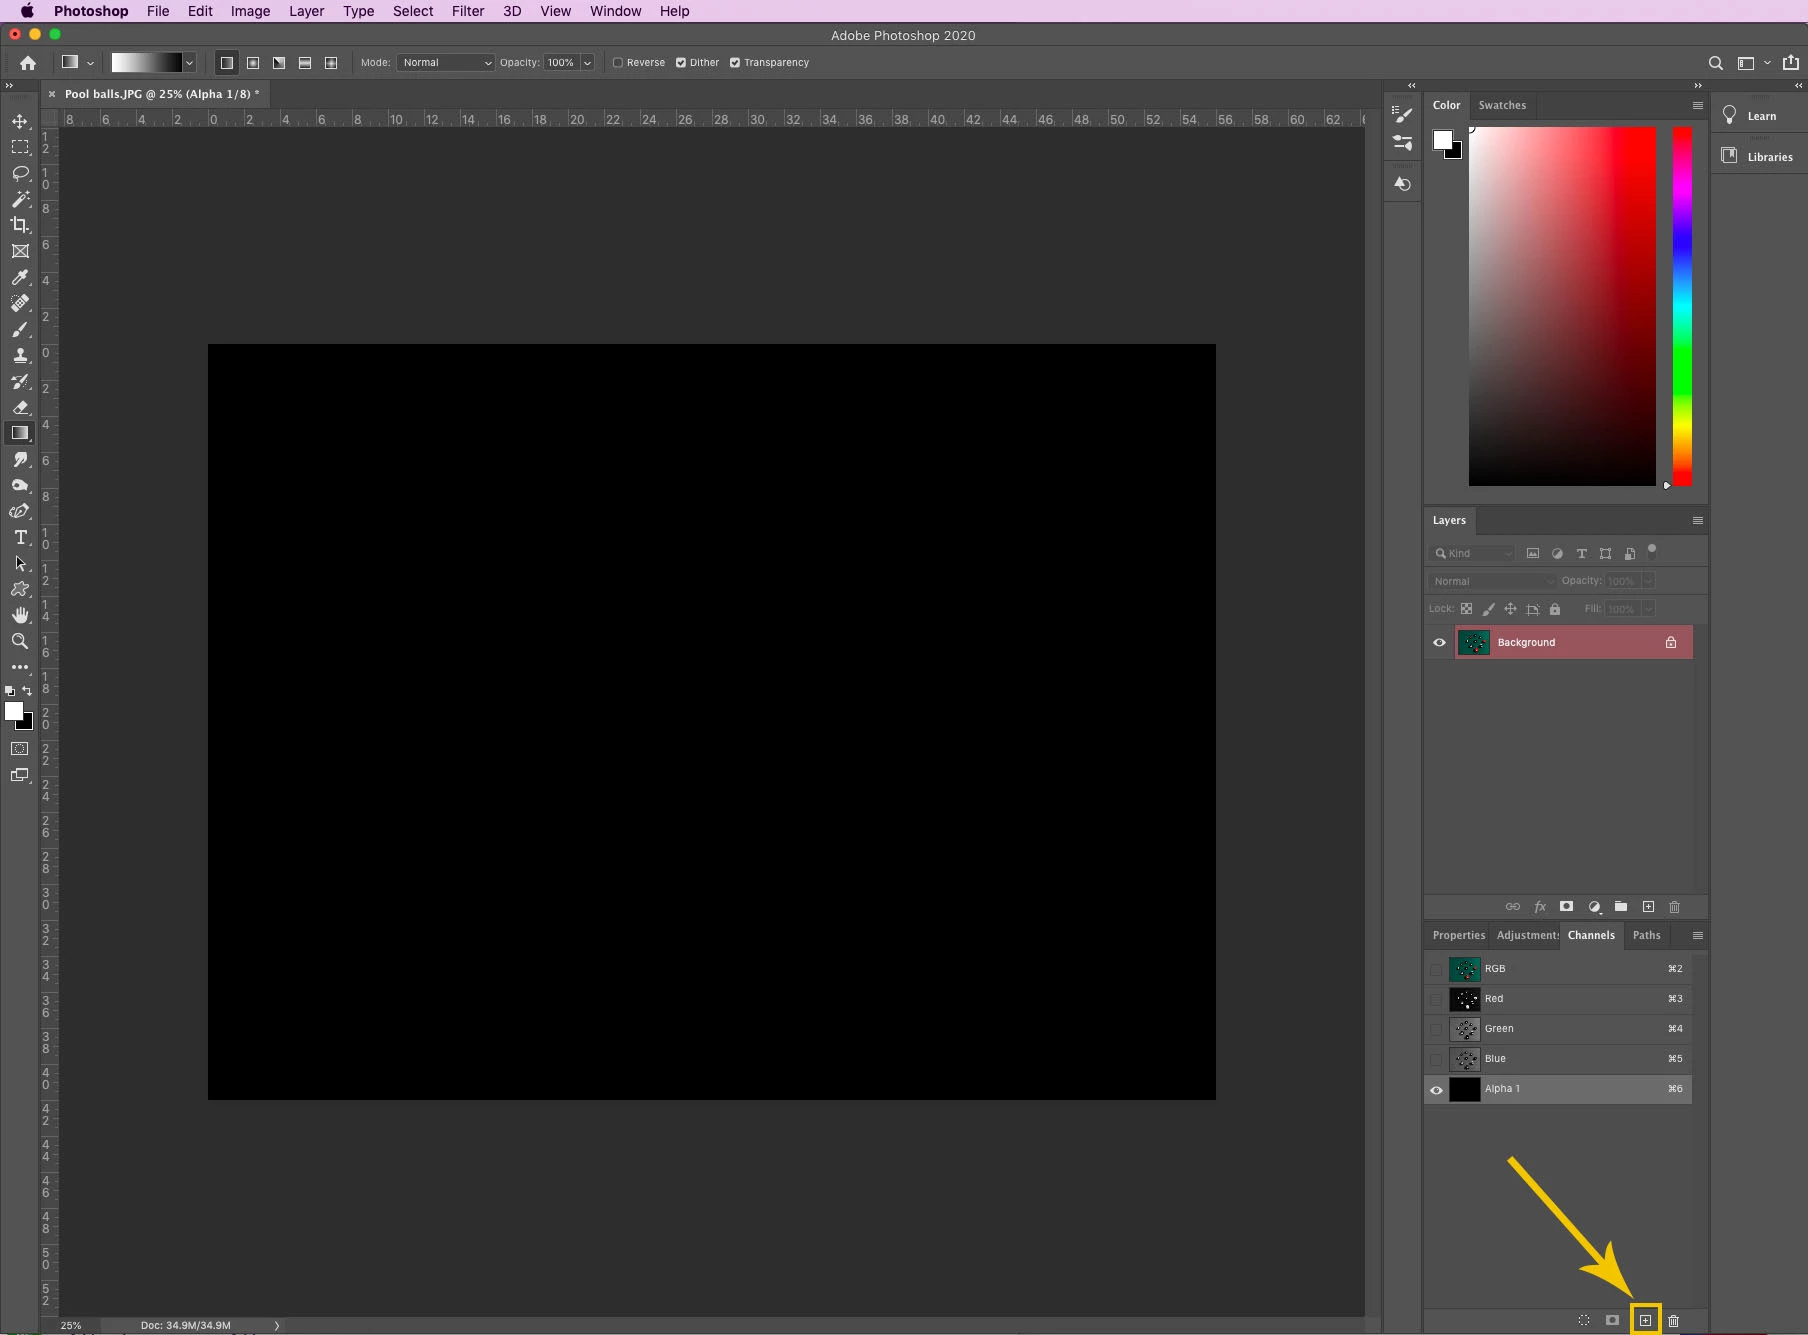
  • Click on the + at the bottom right corner to create an alpha channel

    2b- create alpha channel.jpg


  • Select the gradient tool

    2c- gradient.jpg


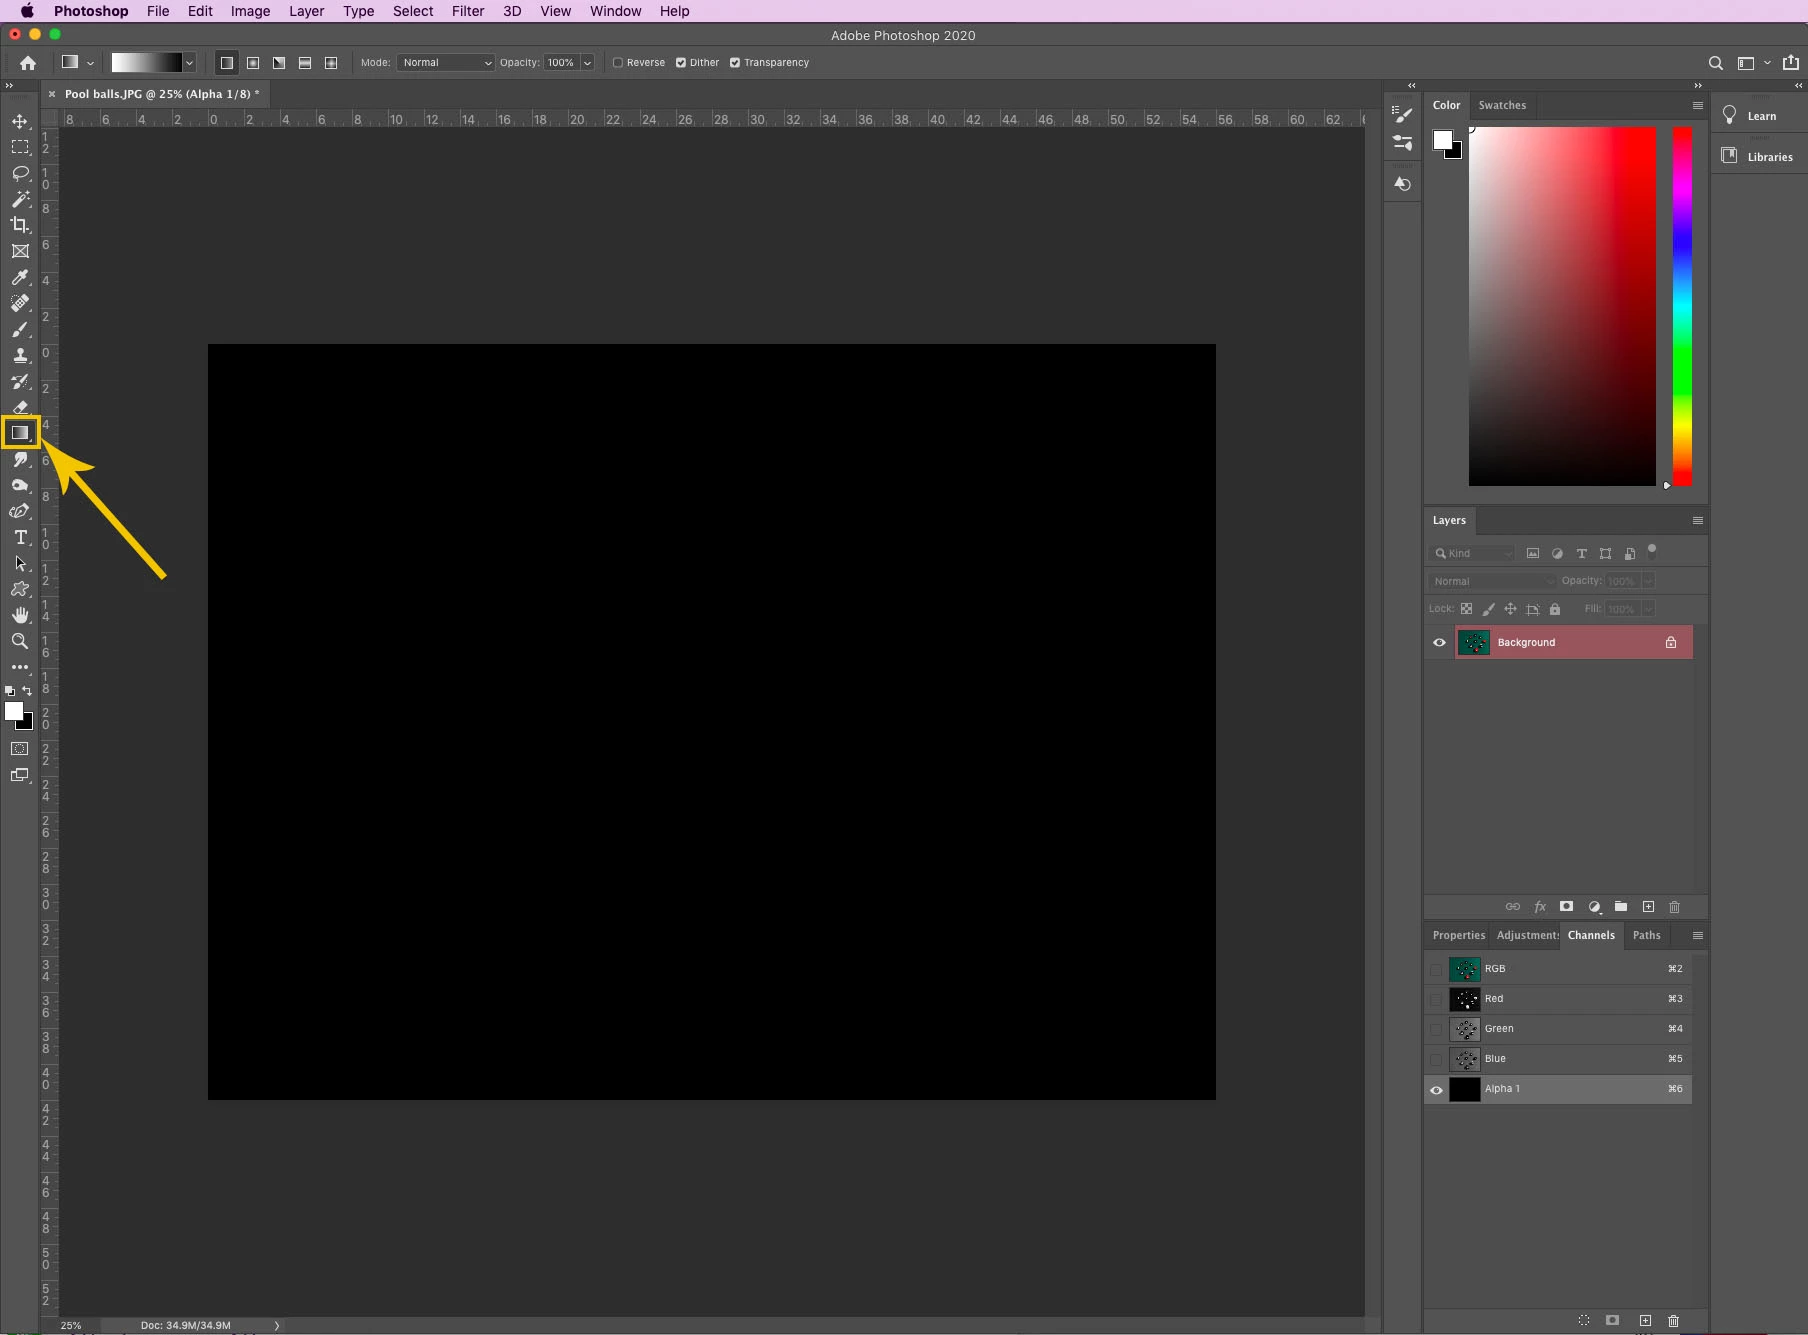
  • Choose the linear gradient

    2d linear gradient.jpg


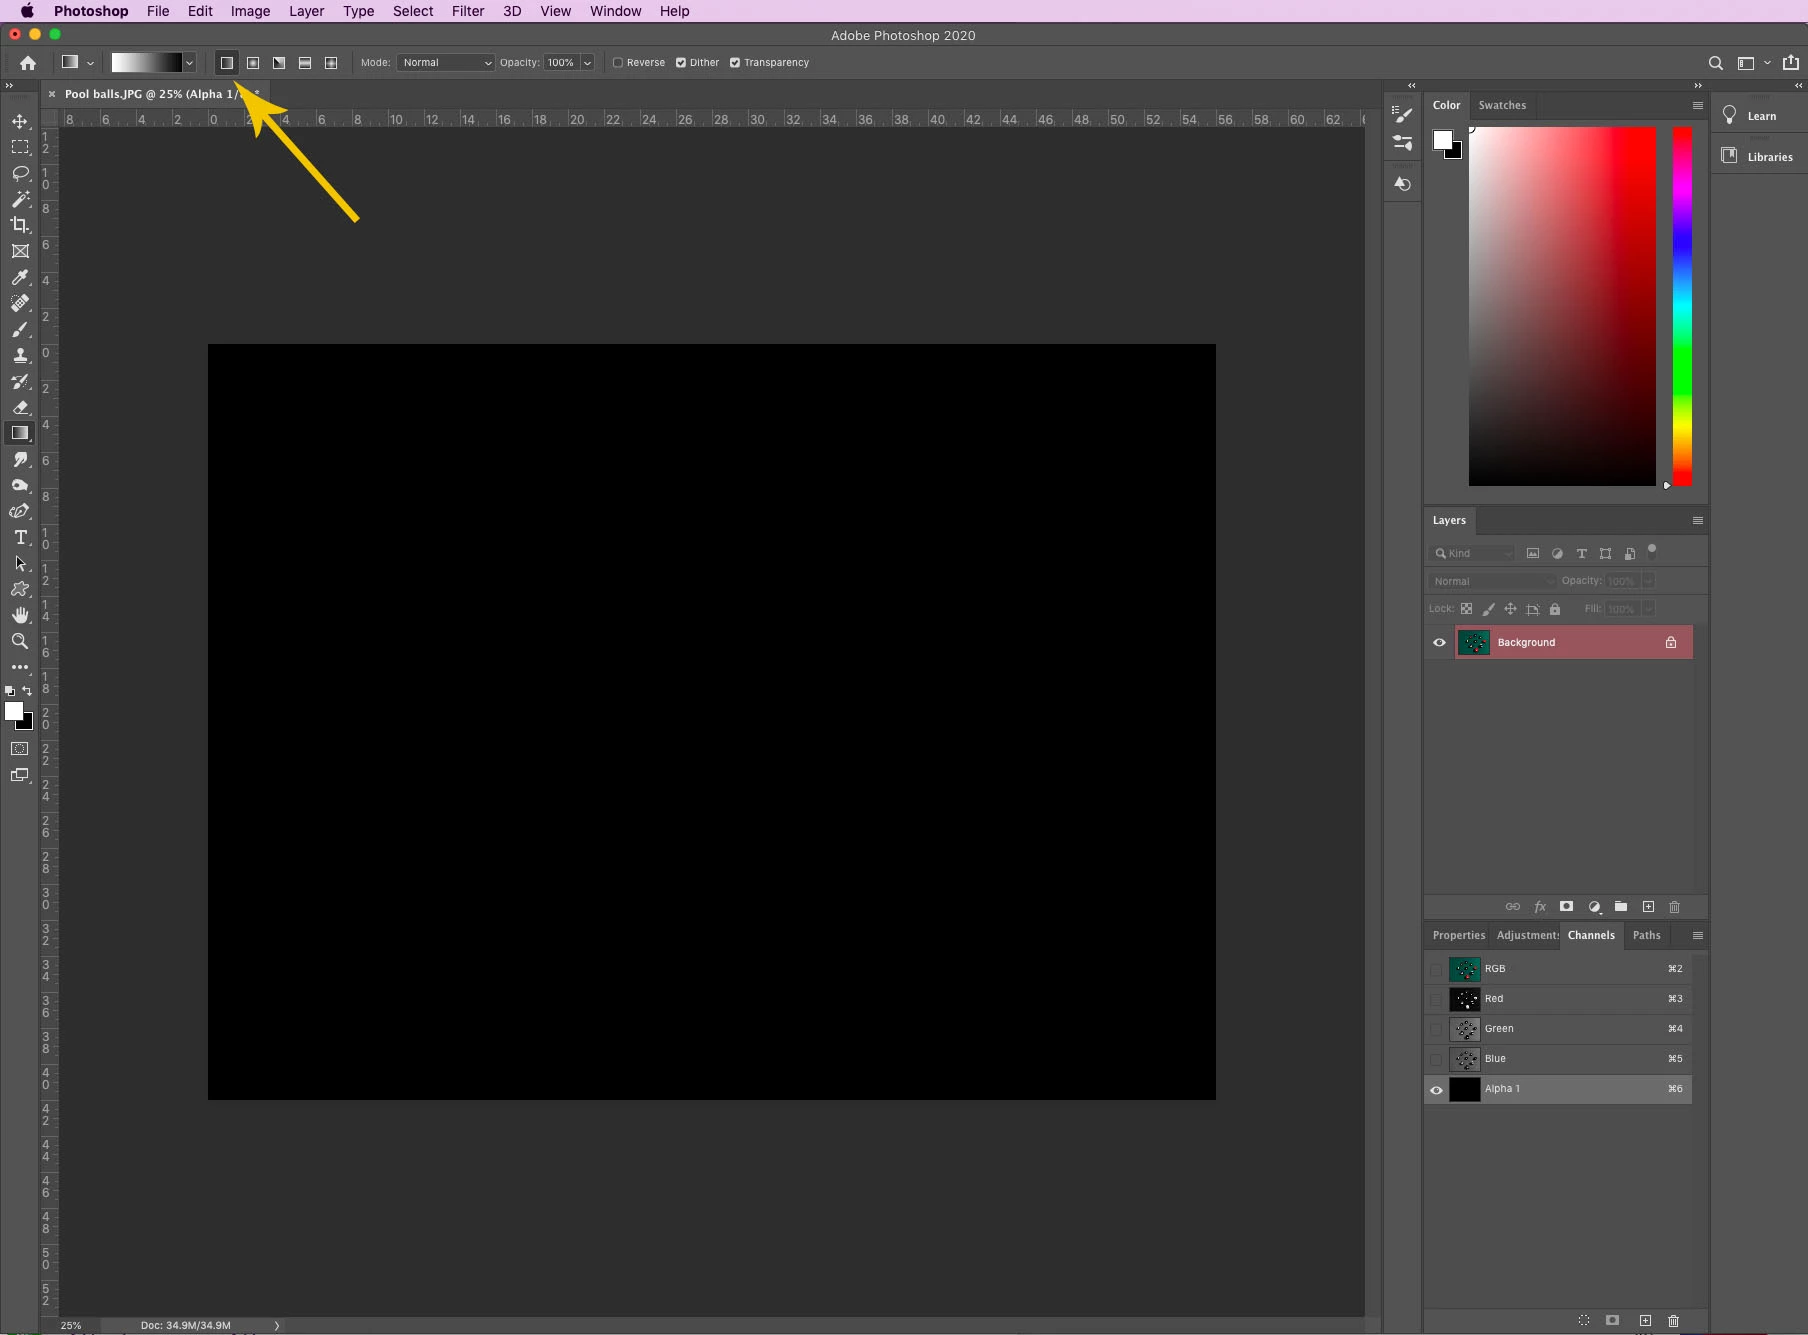
  • Choose the gradient option from white to black

    2-e  black white.jpg


  • Click above the image and drag just beyond the bottom of the image to create the gradient

    3-gradient.png


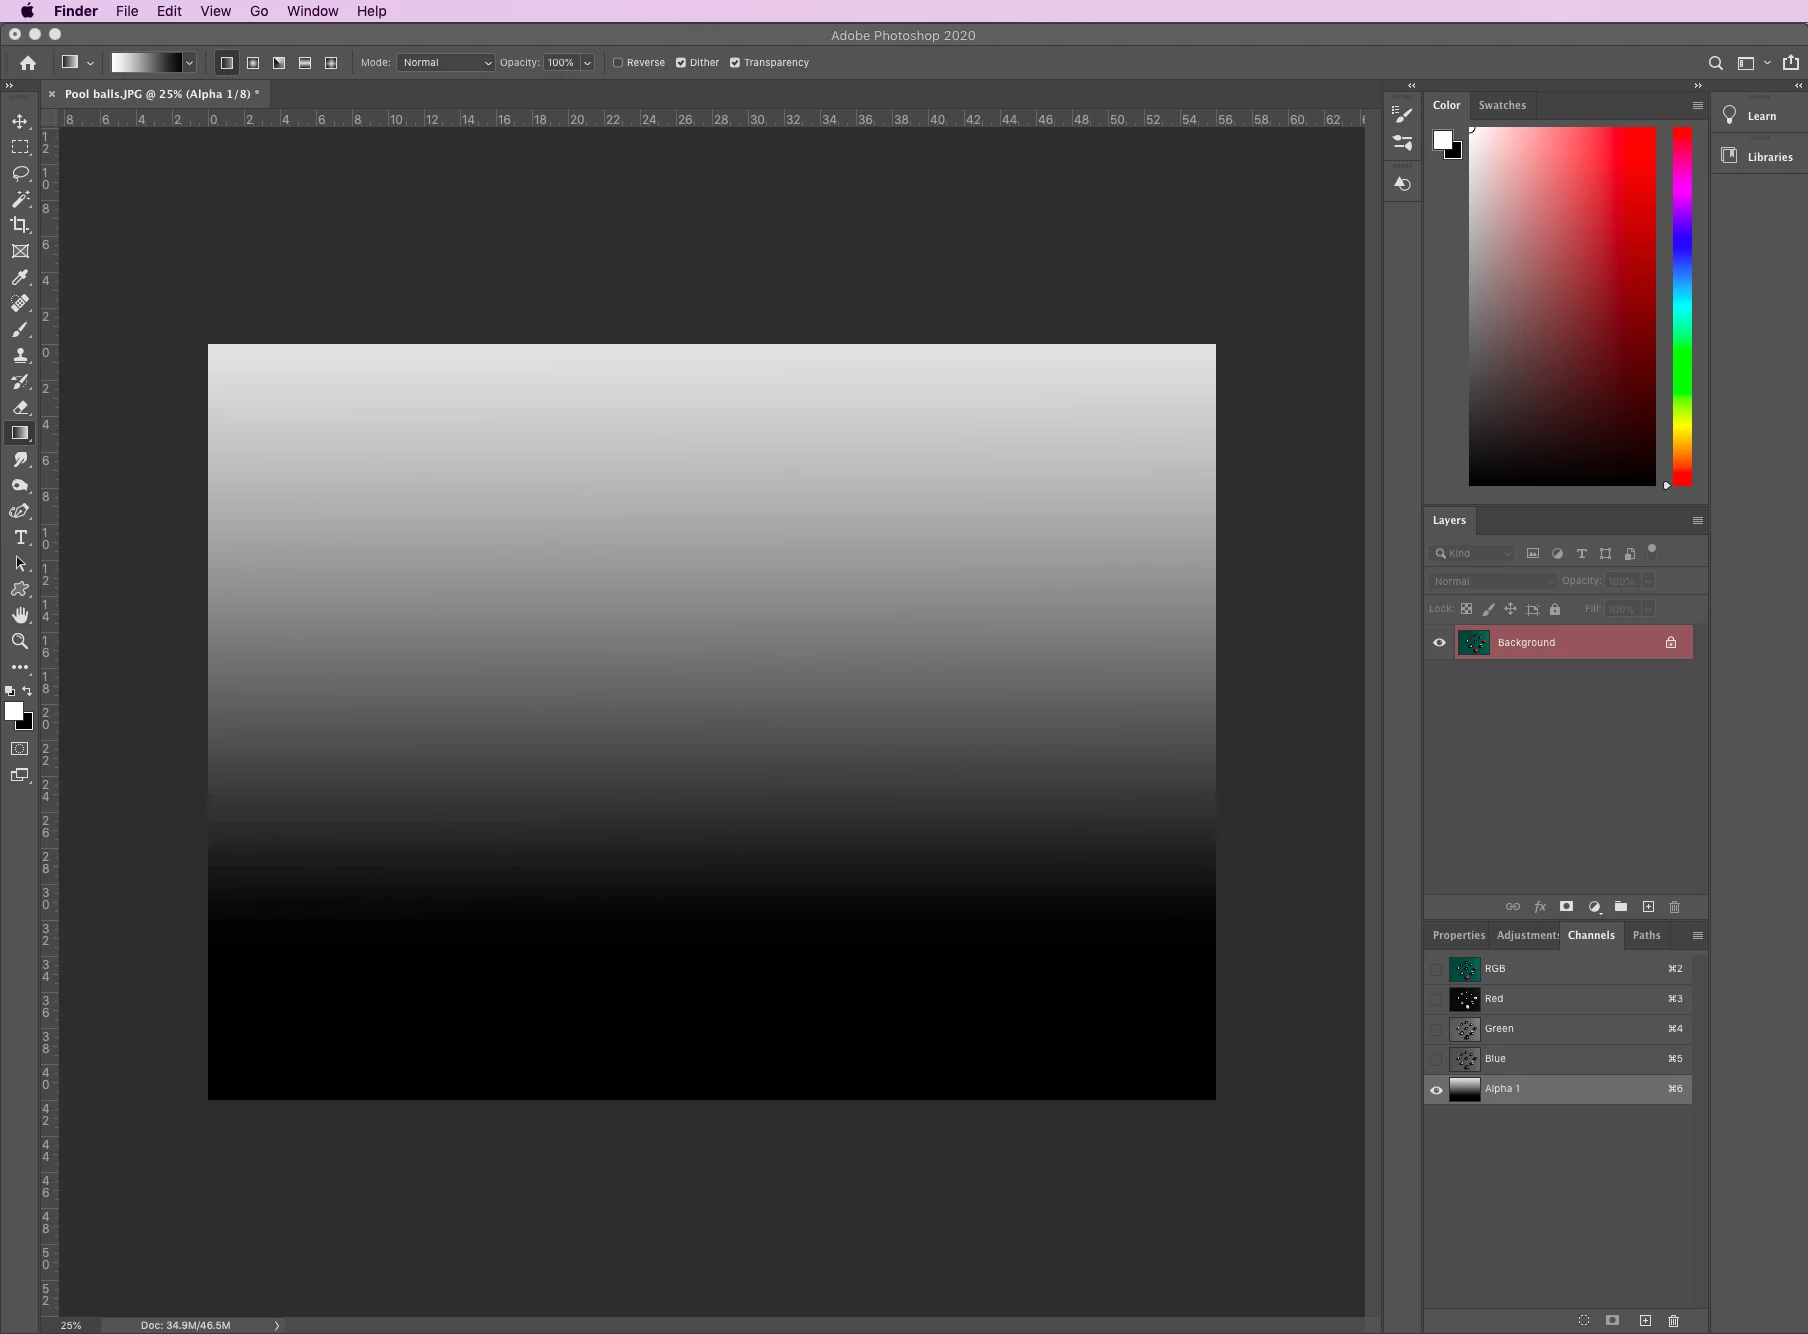
  • The light areas will be the background, the greys will be the middle ground, and the black will be considered the foreground
  • Click on the RGB channel above the alpha channel so you can see the photo again


Blur the photo  

  • From the menu, choose Filter>Blur>Lens Blur

    4- choose blur.png


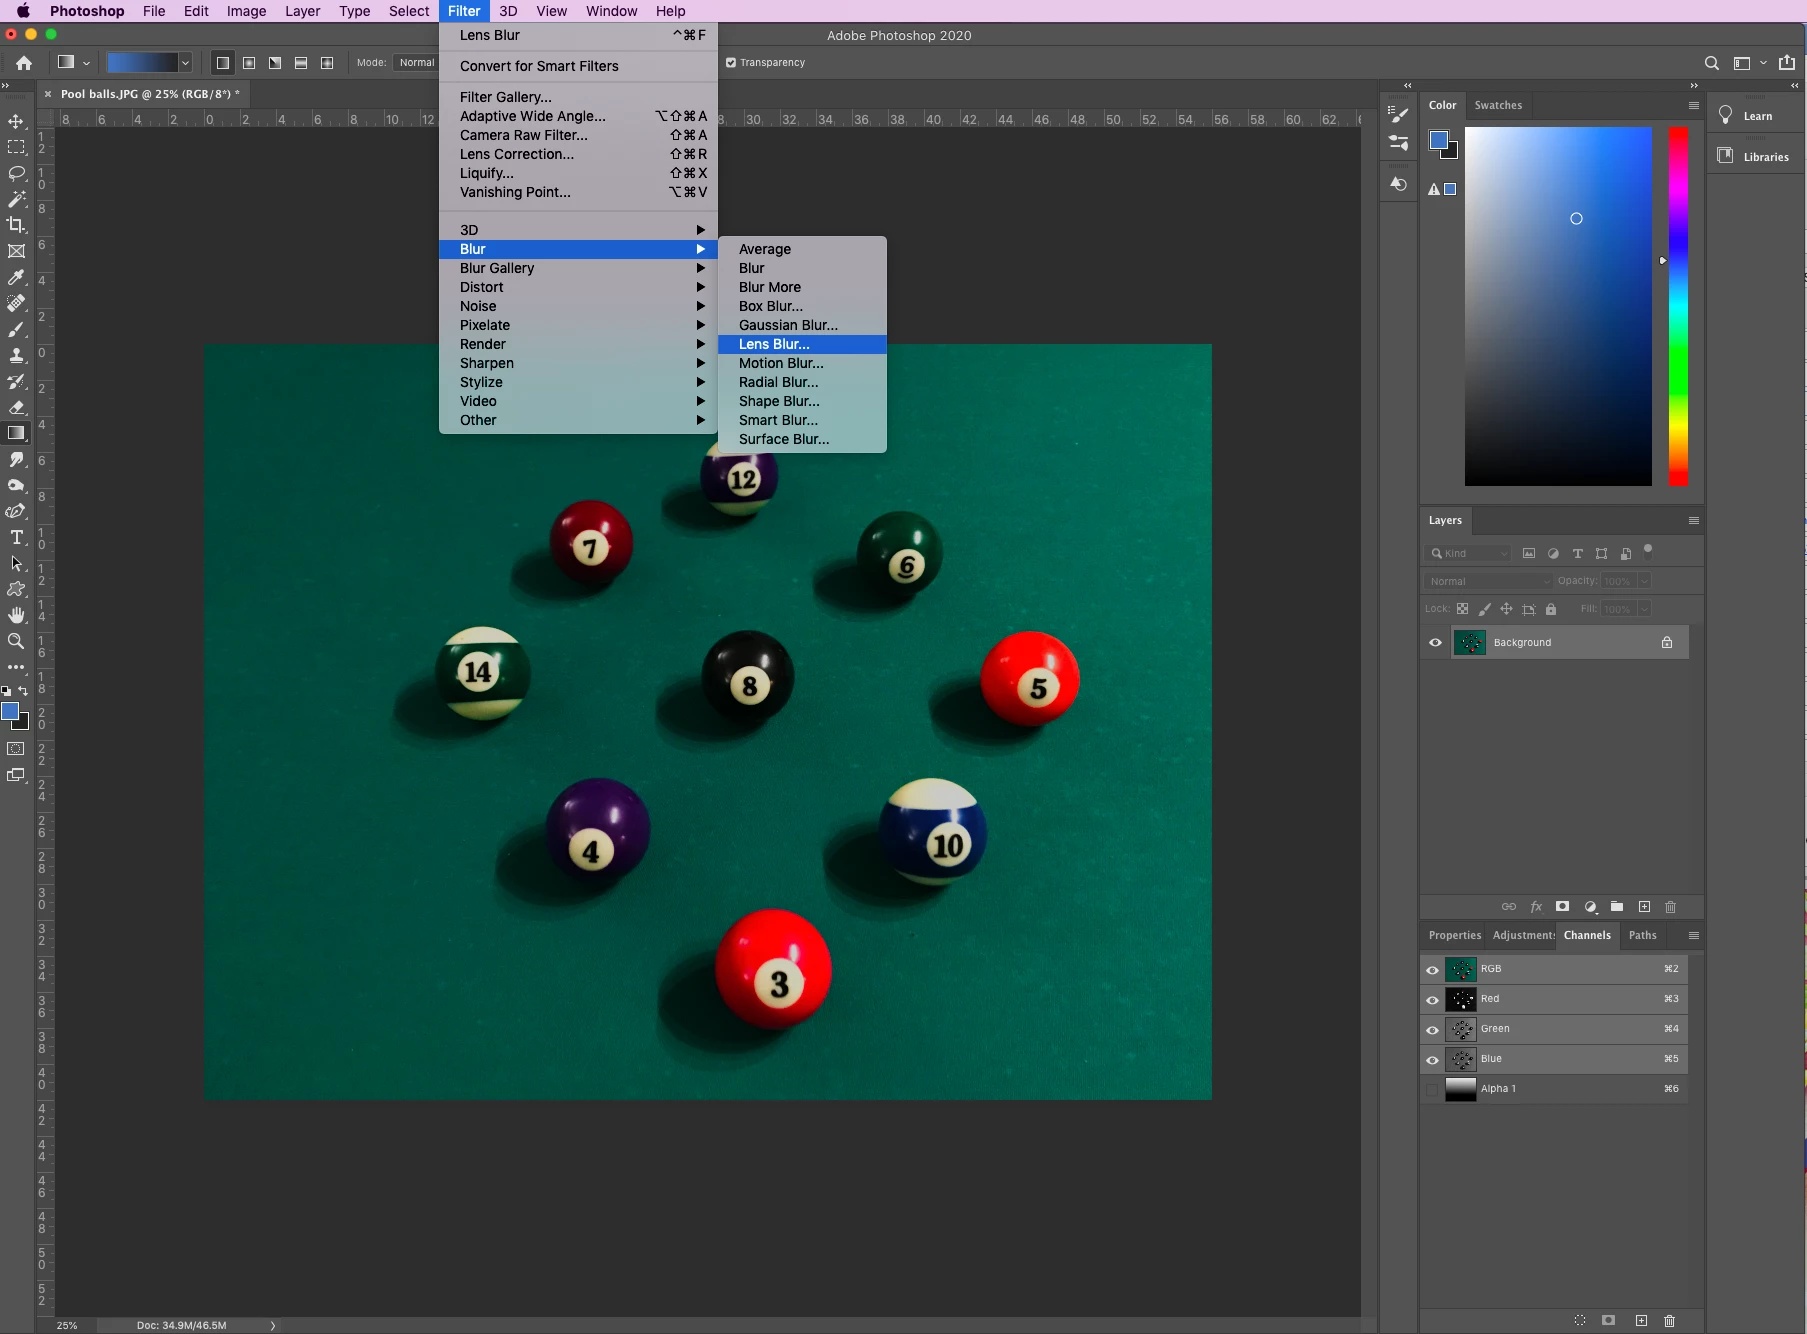
  • In the Depth Map section, choose Alpha 1 from the dropdown if it is not already selected

    5x- blur menu depth map.jpg


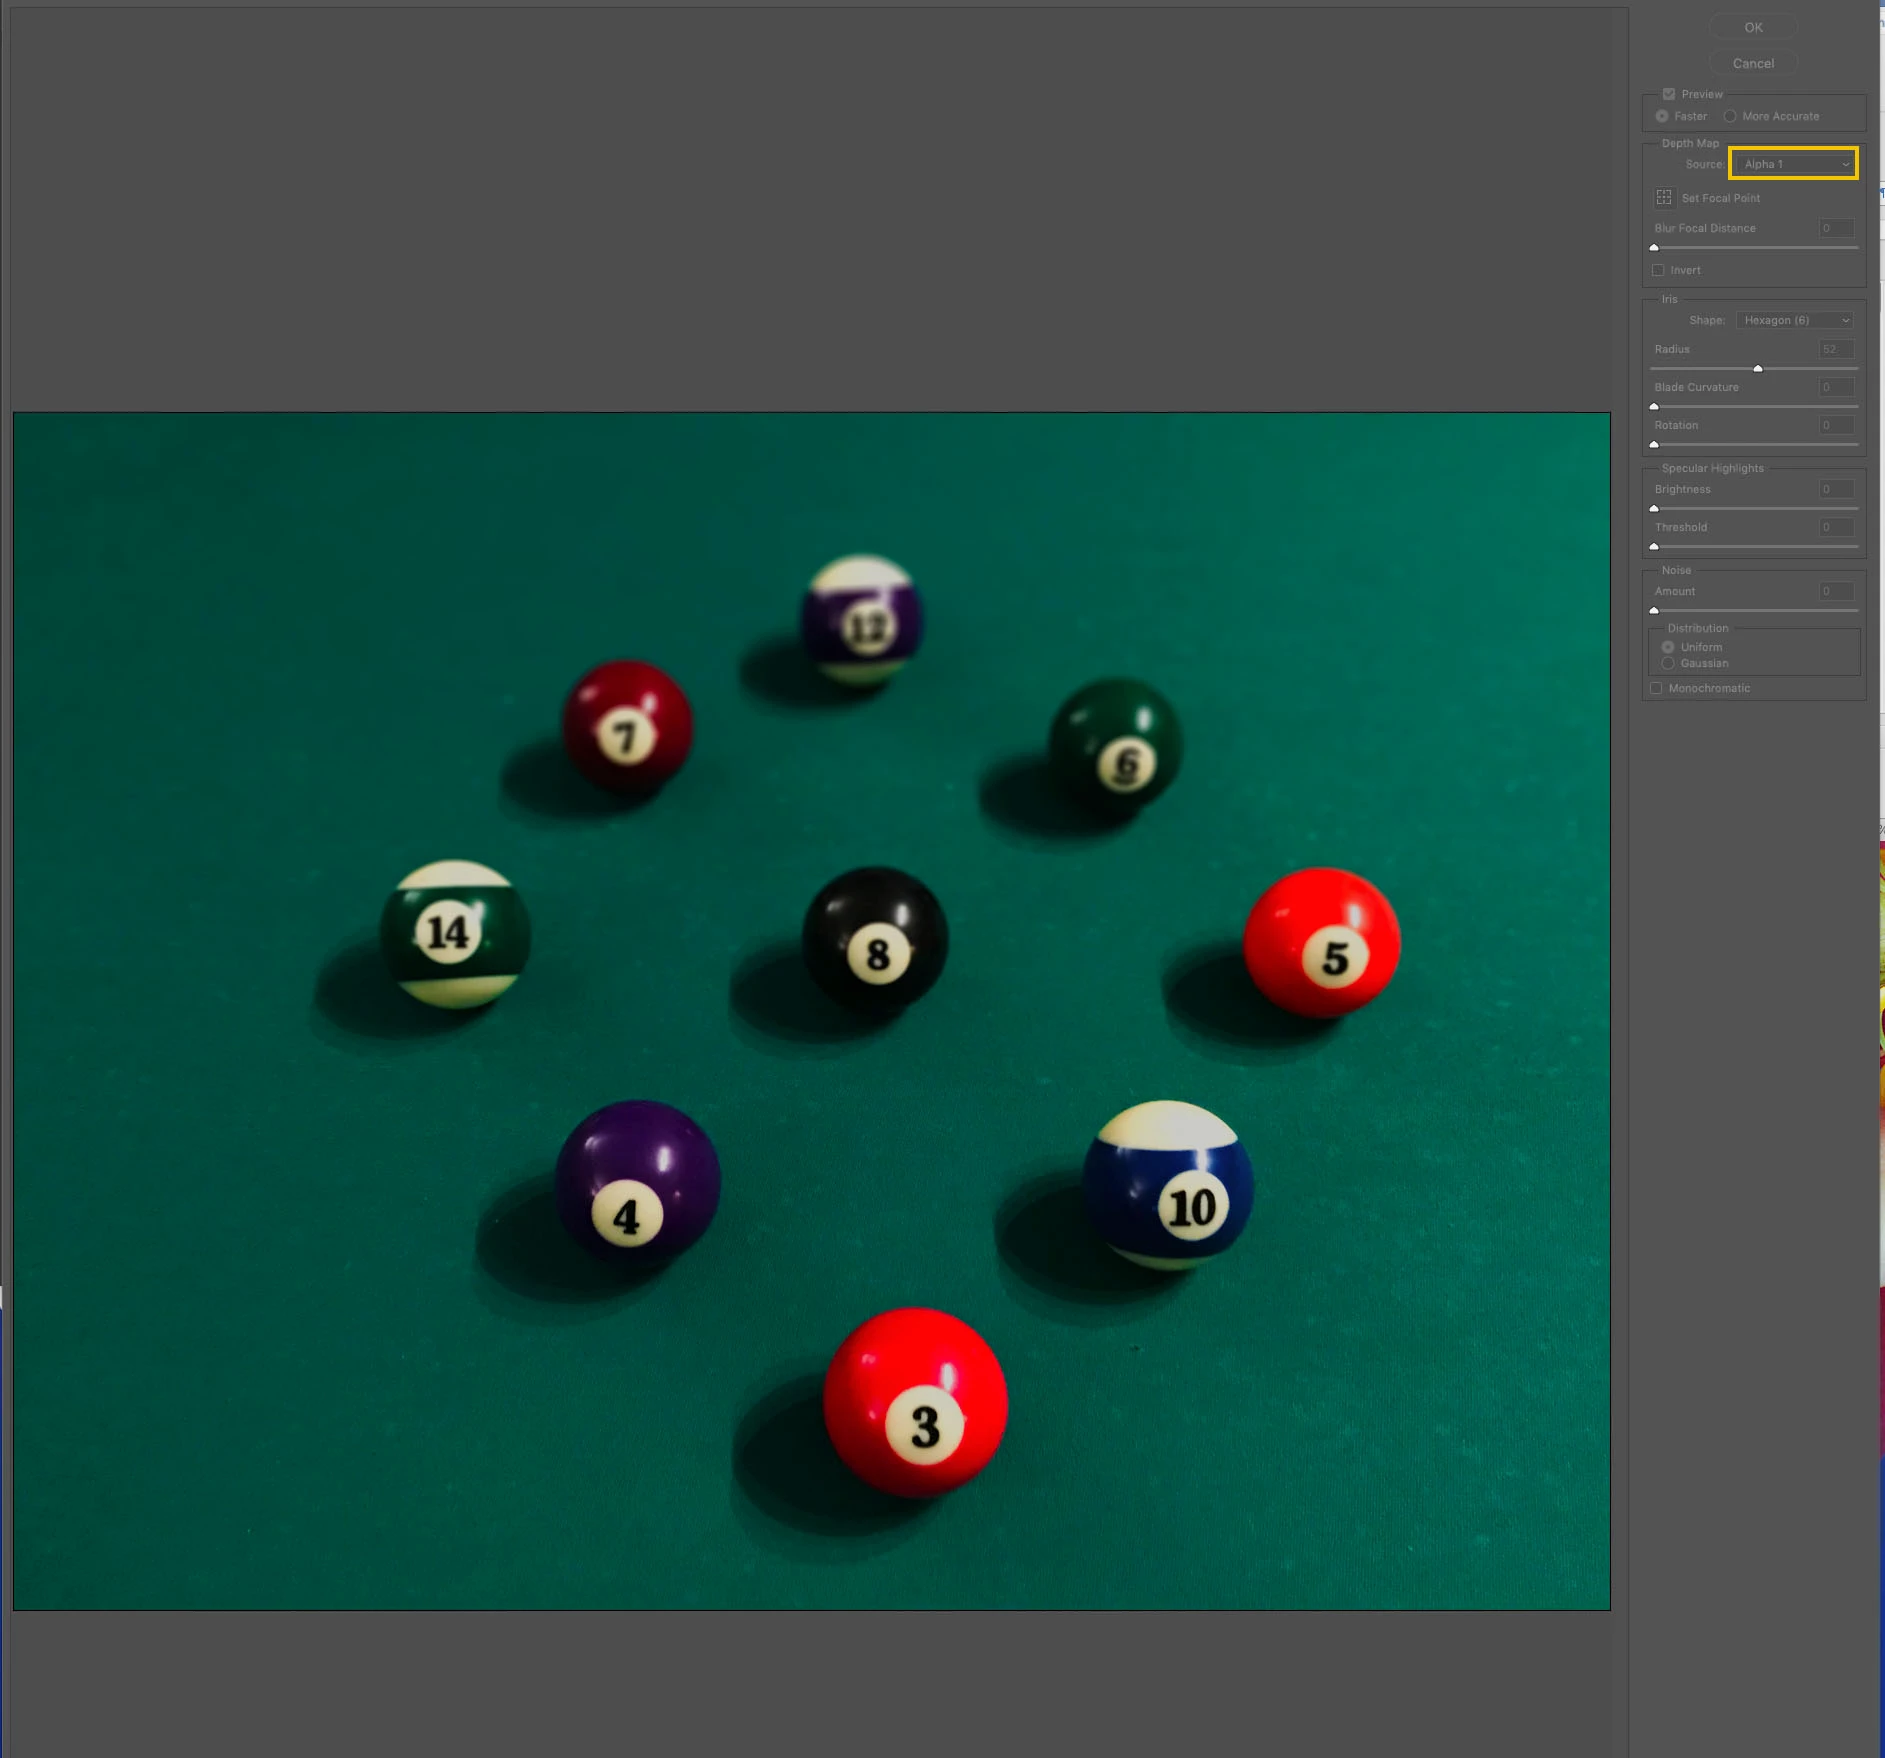
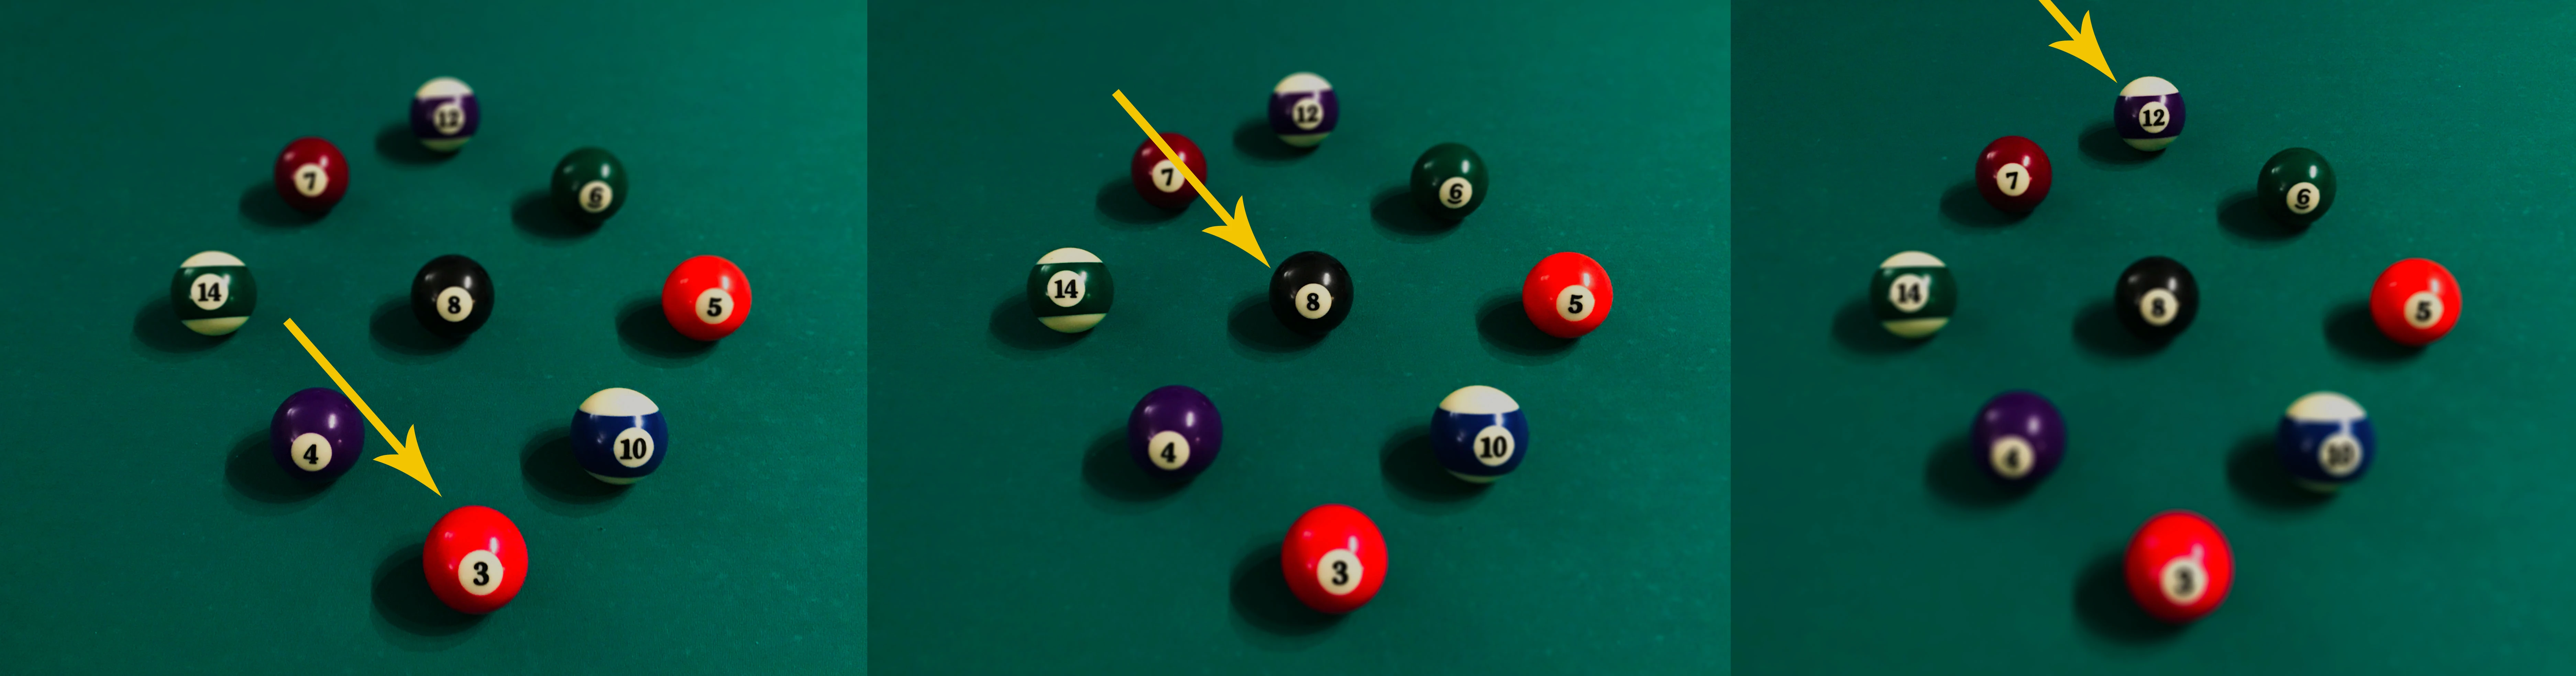
  • This ensures that the Alpha channel gradient you just made will be used as the depth map. You will note that the background is very blurry, the middle ground is somewhat blurry, and the foreground is clear.  If you want the focus on a different area, then just click on it and the blur will change. Here is an example of the blur when the depth map was applied, when I clicked on the middle ball, and when I clicked on the 12 ball in the back. You can see how the blur changed. 

    6-focus.jpg


  • Click OK at the top right to accept the settings


Related links:

Add lens blur

Save selections and alpha channel masks


TOPICS
macOS , Windows

Views

20.3K

Translate

Translate

Report

Report
Community guidelines
Be kind and respectful, give credit to the original source of content, and search for duplicates before posting. Learn more
community guidelines
Adobe
LEGEND ,
Mar 26, 2020 Mar 26, 2020

Copy link to clipboard

Copied

I would use Dimension

focus 3 ballfocus 3 ball

Votes

Translate

Translate

Report

Report
Community guidelines
Be kind and respectful, give credit to the original source of content, and search for duplicates before posting. Learn more
community guidelines
Community Expert ,
Mar 26, 2020 Mar 26, 2020

Copy link to clipboard

Copied

Thanks Pattie.  It's useful to know when things change.


In this instance I had to go the other way and use Photoshop to simulate a depth of field not available when taking the shot, because of needing to balance available light and flash.  So everything this side of the cue ball is fake, and the background a composite.   It's all Photoshop working for us though. As is always the case with projects like this, I look at it now and see things I'd have done differently. 

Pool.jpg


Votes

Translate

Translate

Report

Report
Community guidelines
Be kind and respectful, give credit to the original source of content, and search for duplicates before posting. Learn more
community guidelines
New Here ,
Mar 28, 2020 Mar 28, 2020

Copy link to clipboard

Copied

Lense blur is good but sometimes we get color banding due to lens blur.


Web link removed by Moderator.

Votes

Translate

Translate

Report

Report
Community guidelines
Be kind and respectful, give credit to the original source of content, and search for duplicates before posting. Learn more
community guidelines
Community Expert ,
Mar 28, 2020 Mar 28, 2020

Copy link to clipboard

Copied

This is very useful! Thanks for sharing Patti-F!

Votes

Translate

Translate

Report

Report
Community guidelines
Be kind and respectful, give credit to the original source of content, and search for duplicates before posting. Learn more
community guidelines
New Here ,
Apr 11, 2020 Apr 11, 2020

Copy link to clipboard

Copied

Nice job 

Votes

Translate

Translate

Report

Report
Community guidelines
Be kind and respectful, give credit to the original source of content, and search for duplicates before posting. Learn more
community guidelines
New Here ,
Oct 13, 2020 Oct 13, 2020

Copy link to clipboard

Copied

Thank you! Great job 👍

Votes

Translate

Translate

Report

Report
Community guidelines
Be kind and respectful, give credit to the original source of content, and search for duplicates before posting. Learn more
community guidelines
Community Beginner ,
Nov 11, 2022 Nov 11, 2022

Copy link to clipboard

Copied

Hi, 


I have serched the last 3 hours for a reliable source and it seems that is here but on my Photoshop is not working. I have V24 installed and when I select lens blur on the screen I see only the gradient but not the picture.  I said, ok no problem, I will adjust the settings to see a result but after applying the filter nothing changes. What am I doing wrong?Screenshot 2022-11-11 at 21.26.10.pngScreenshot 2022-11-11 at 21.33.56.png

Votes

Translate

Translate

Report

Report
Community guidelines
Be kind and respectful, give credit to the original source of content, and search for duplicates before posting. Learn more
community guidelines
Community Expert ,
Nov 11, 2022 Nov 11, 2022

Copy link to clipboard

Copied

LATEST

@Dăuceanu 

It appears that you are applying the filter to the alpha channel - not to the image content. Before applying the filter, activate the RGB channel in the channel palette and make the alpha channel invisible with your gradient by clicking on the eye.


You have also activated and visible the alpha channel in the finished image. This hides the lower part of the image.

Votes

Translate

Translate

Report

Report
Community guidelines
Be kind and respectful, give credit to the original source of content, and search for duplicates before posting. Learn more
community guidelines