

- Home
- Photoshop ecosystem
- Discussions
- Straightening a tie in a photo?
- Straightening a tie in a photo?

Copy link to clipboard
Copied
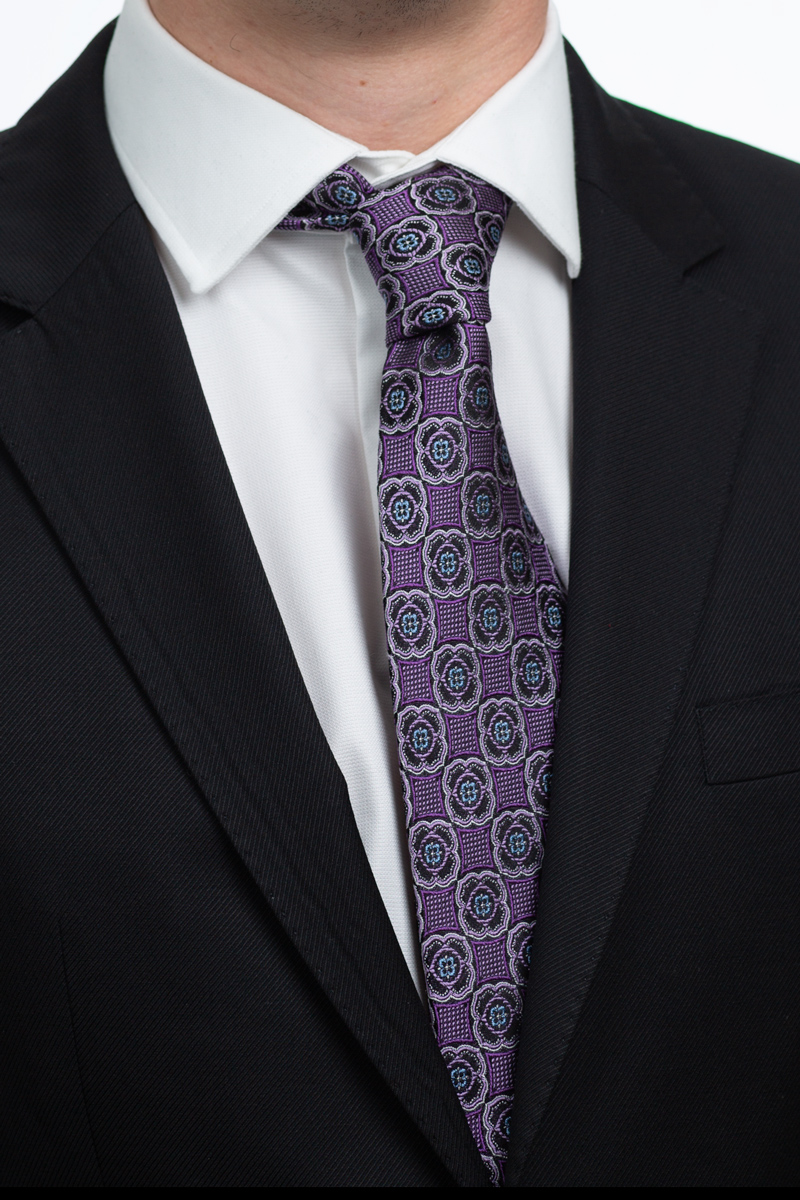
I noticed the tie of my subjects is off to the side. What is a good (retaining shirt texture around it etc.) way to fix this?


 1 Correct answer

There are a few steps to this.
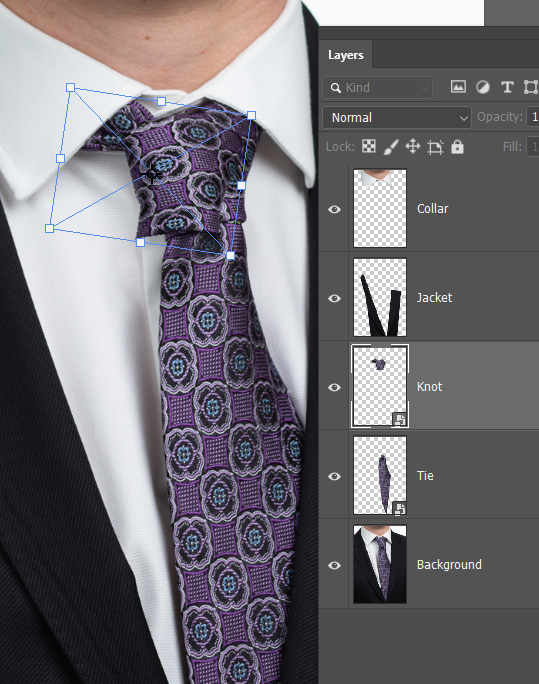
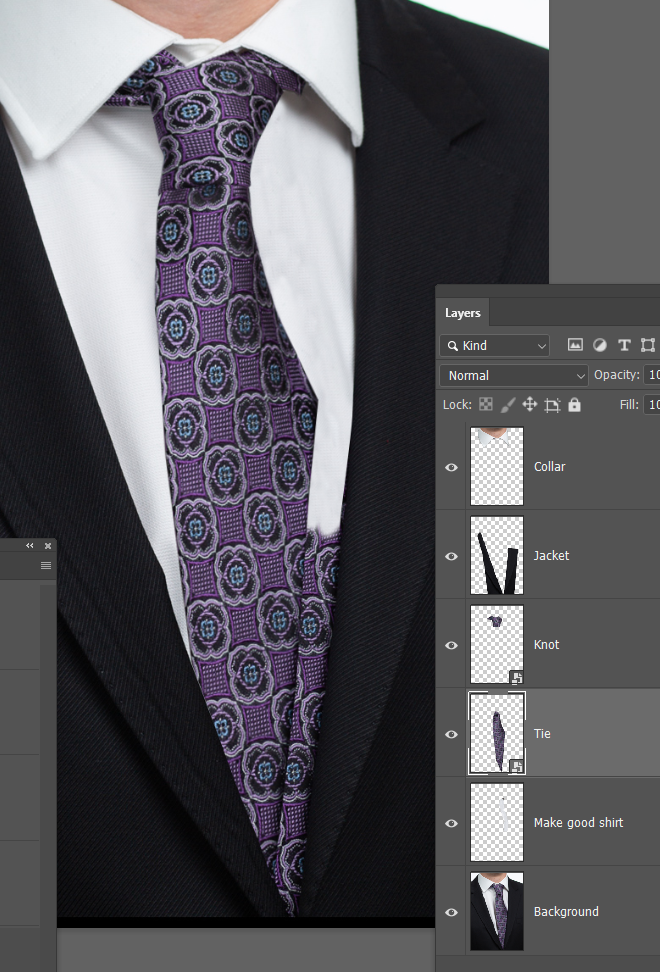
First separate the component parts onto their own layers. The pen tool is the way to go with straight sided objects like this.
The layer order is important, because the higher layers need to overlap the lower layers. (the collar overlaps the tie after we move the tie)

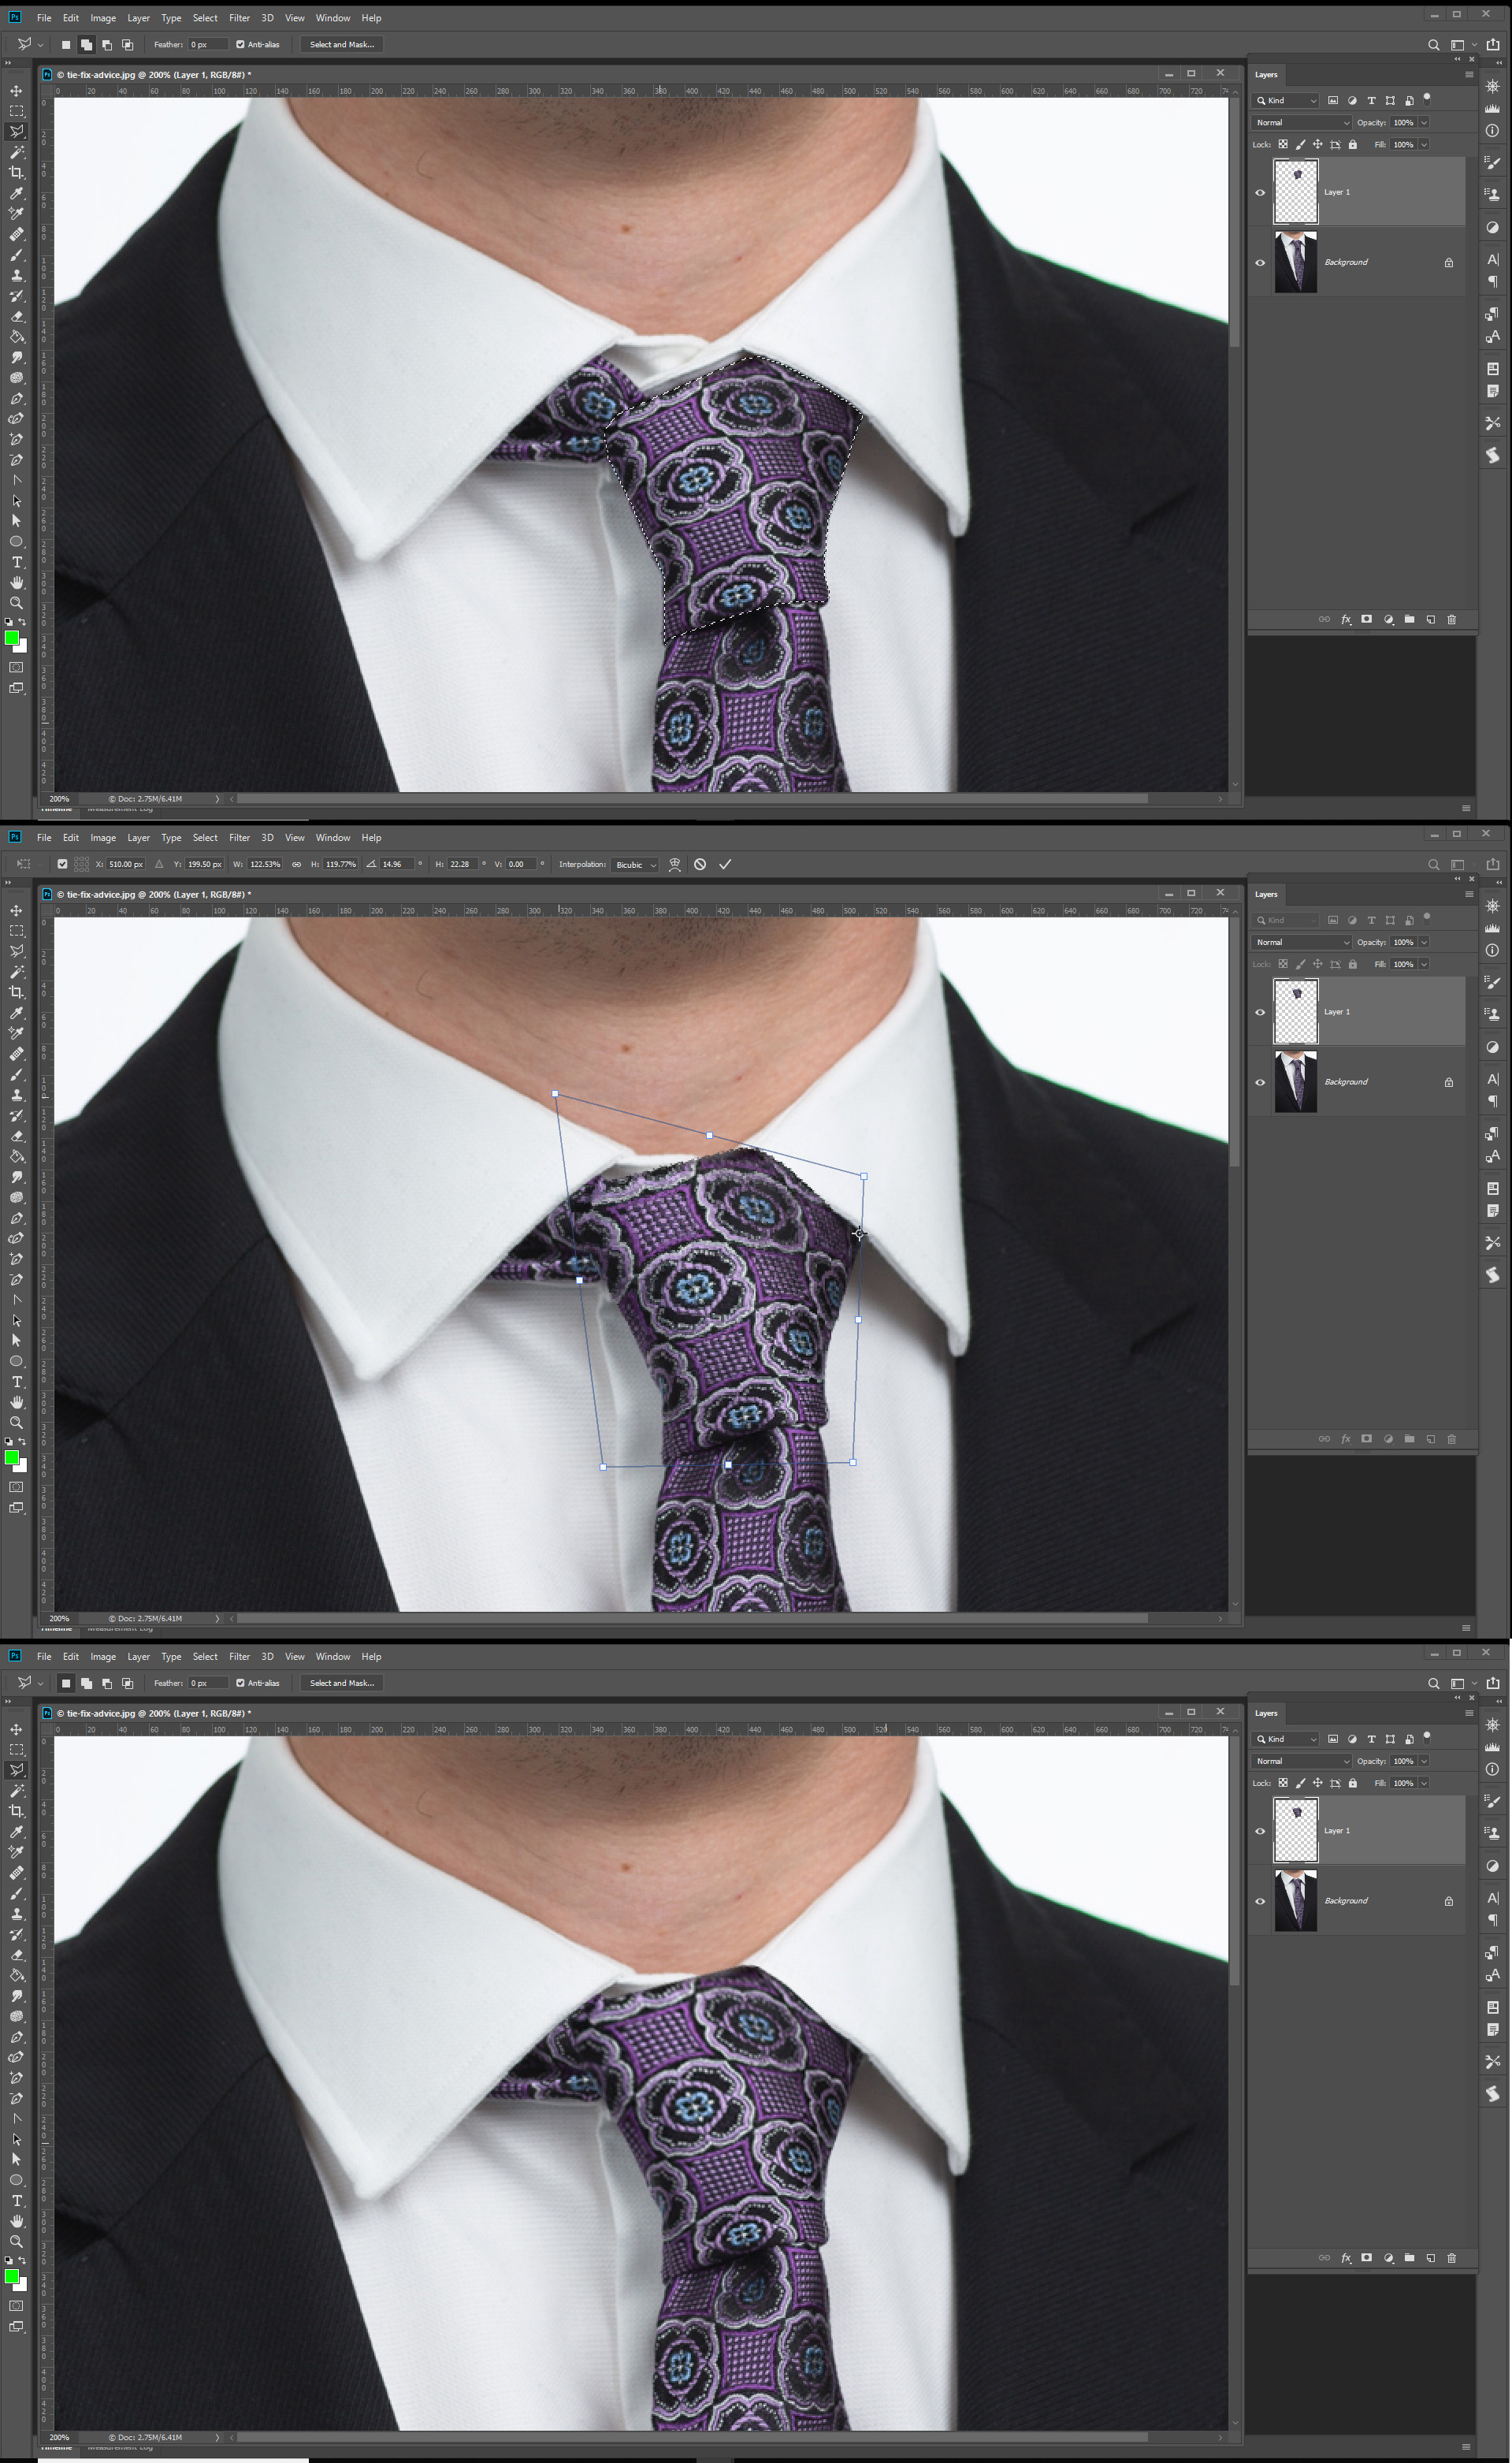
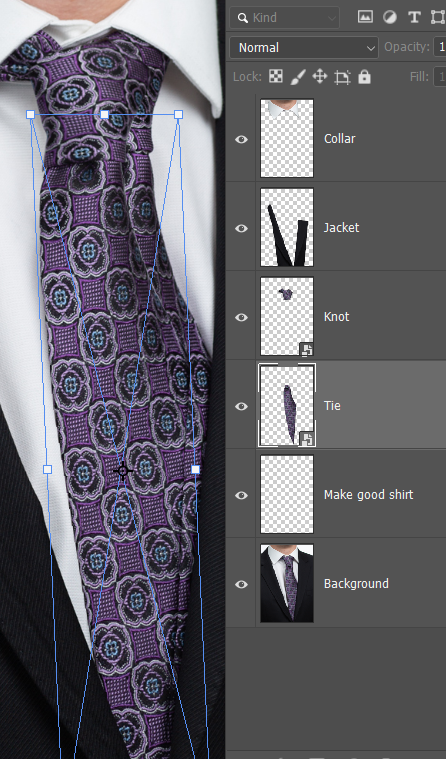
Then move things int place with Free Transform starting with the knot.
We need to make the layers that will be moved into Smart Objects, because we are likely going to need to move them more than once,
...Explore related tutorials & articles
 10
Replies
10
10
Replies
10

Copy link to clipboard
Copied
Hello andrei_says_eboda, The fast, easy way to fix this is to use the clone tool.
Set it at 20-25 and work at 100 % magnification - fill in the fabric in where you need it. Match the pattern carefully. Darken upper edge at the top. I did it and it works very well. Be careful, save the original file and play with another test one. Let me know how it goes. Best regards, JH

Copy link to clipboard
Copied
I would distort the knot.
 ]
]
Copy link to clipboard
Copied
Thank you.
Copy link to clipboard
Copied
There are a few steps to this.
First separate the component parts onto their own layers. The pen tool is the way to go with straight sided objects like this.
The layer order is important, because the higher layers need to overlap the lower layers. (the collar overlaps the tie after we move the tie)

Then move things int place with Free Transform starting with the knot.
We need to make the layers that will be moved into Smart Objects, because we are likely going to need to move them more than once, and we don't want to lose the corner handle positions.
So I have moved the knot which presents two issues. 1) we need to make good the exposed shirt , and 2) the top right corner of the knot needs to be faked.
I've moved the tie as well, and made a new layer below the tie and knot layers to fake the missing shirt area
OK, I have move the knot and tie some more (I said it was likely) and made good the exposed area of shirt, and now we have a tricky bit. With it being such a nice sharp image, trying to blend in new tie to fill the gap is going to be hard to get right, so I am going to try cheating.
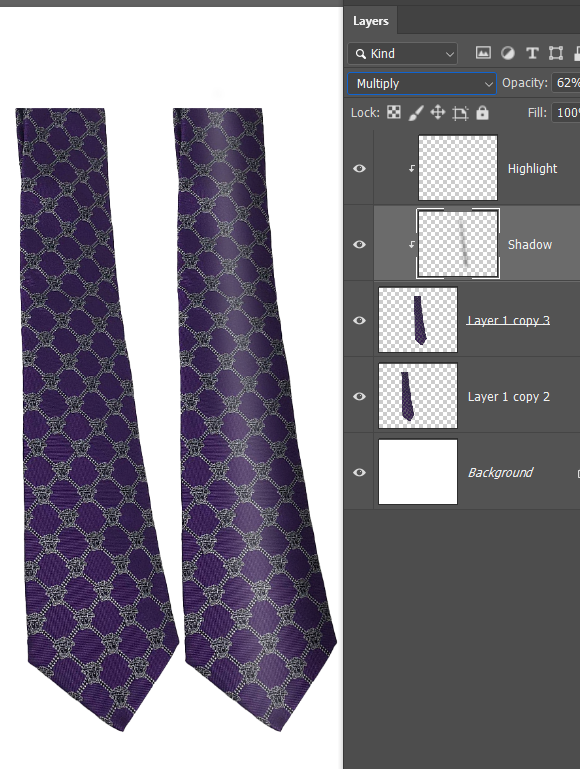
I've stretched and pulled the tie with Free Transform (FT) > Warp, which blows up the pattern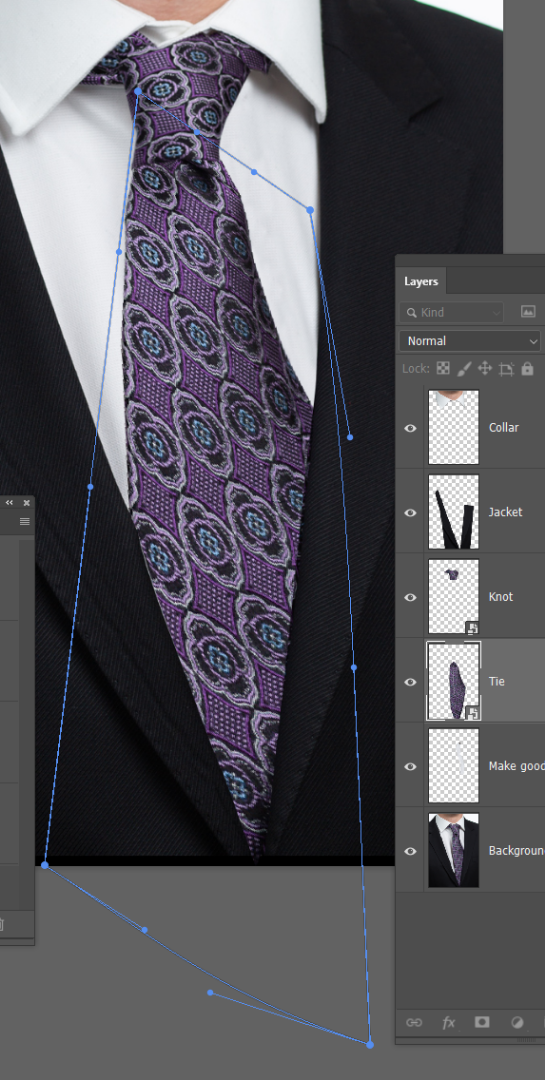
Moving the tie layer up the stack above the jacket, shows how much I have had to stretch it to fill the gap

I've added drop shadows to the tie and knot. Two drop shadows to the tie in fact, one either side.
The knot has a problem in that the shadow extends downwards as well, which you don't want
So I have set Layer mask to hide effect
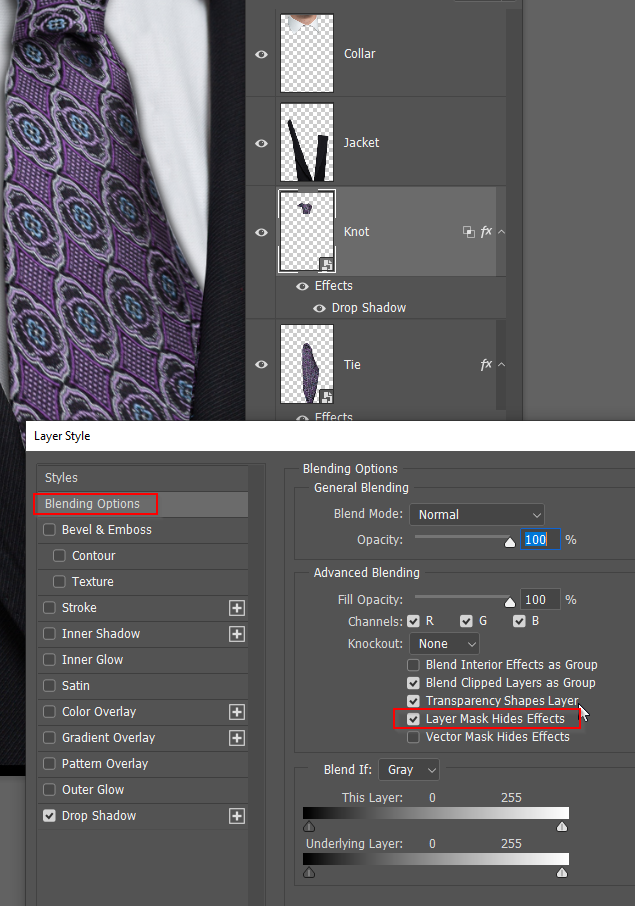
Added a layer mask and painted out the problem bit with black in the mask
I decided to give the knot another drop shadow as well

You could call this a day, and I doubt anyone would notice, but if you have that tie, you could photograph it and composite just the lower bit below the knot. You'd need to try and get the curve going, but you can fake that with some shading
Copy link to clipboard
Copied
Thank you so much for this answer -- it is very useful to me as it covers multiple steps and explains the logic behind them. I appreciate your time!
Copy link to clipboard
Copied
Hello again, Well, you are given several methods to make your tie straight. Each one works. Which one you are comfortable with is up to you. The clone is quick and takes skill. The others take more time. Best regards, JH
Copy link to clipboard
Copied
Hi, This one is fast, 4 min. Free transform tool. JH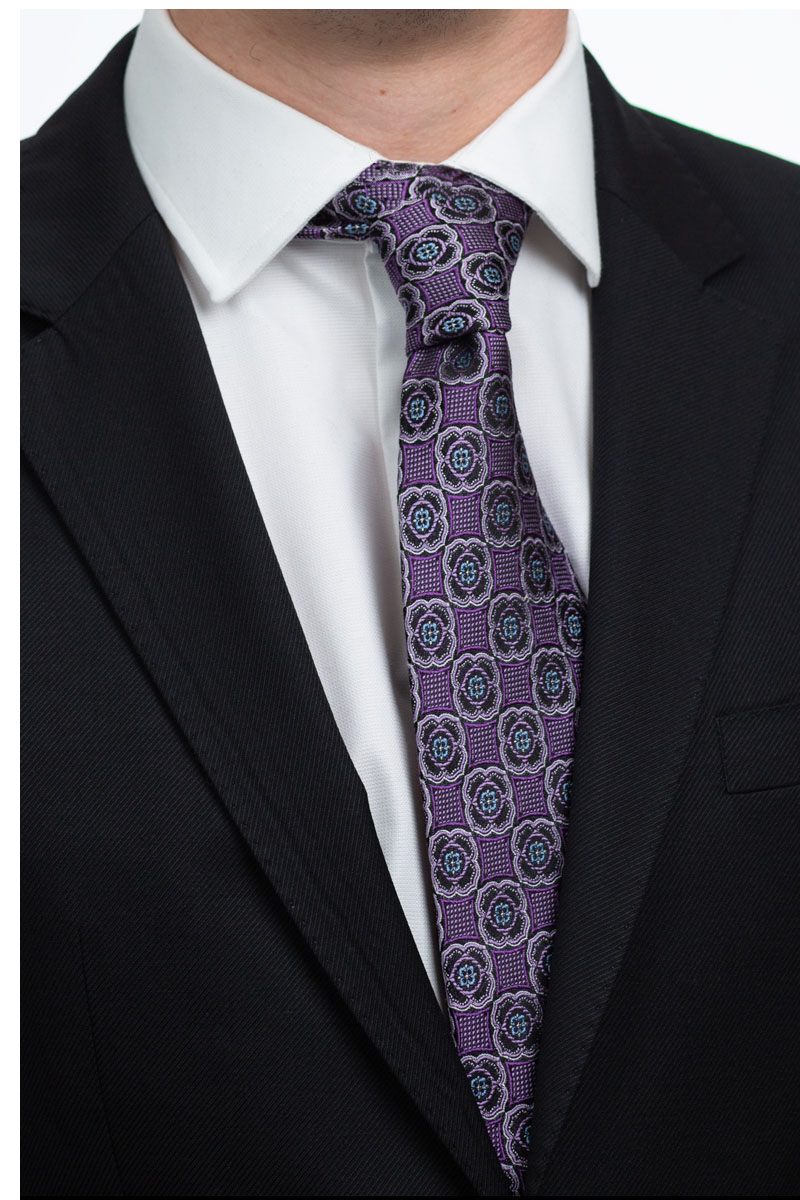

Copy link to clipboard
Copied
Hey there, could you please tell me how you did that in 4 minutes? I'm a PS beginner, but I'm getting fast into new software. Thank you very much in advance!
Copy link to clipboard
Copied

Copy link to clipboard
Copied


Find more inspiration, events, and resources on the new Adobe Community
Explore Now
 AdChoices