

New in Beta:Curl Noise – Swirling, Animated 2D Noise (26.3x46)
We've been having a lot of fun with a new effect we're calling Curl Noise, and we want you to try it.
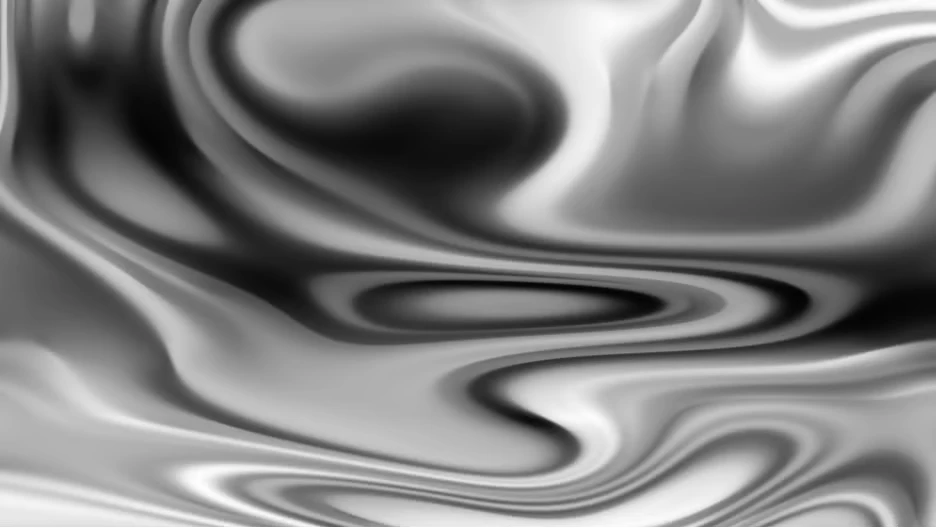
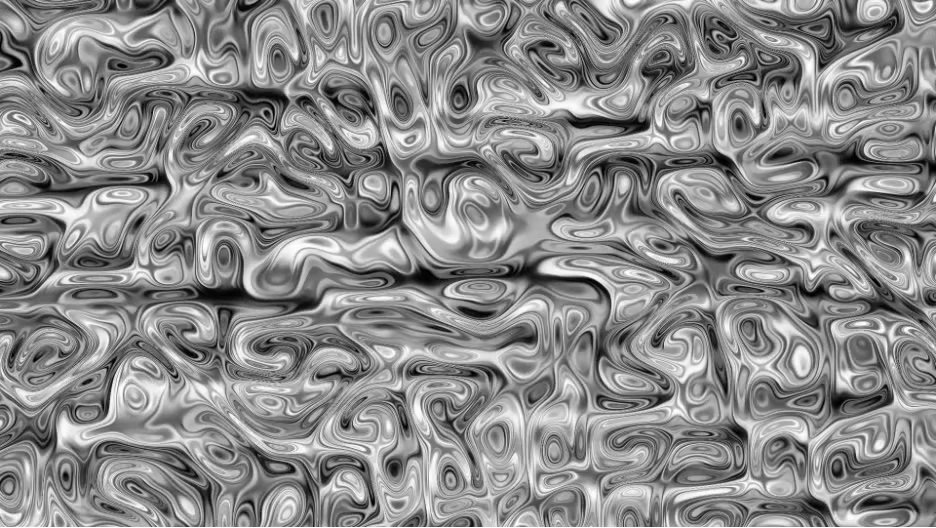
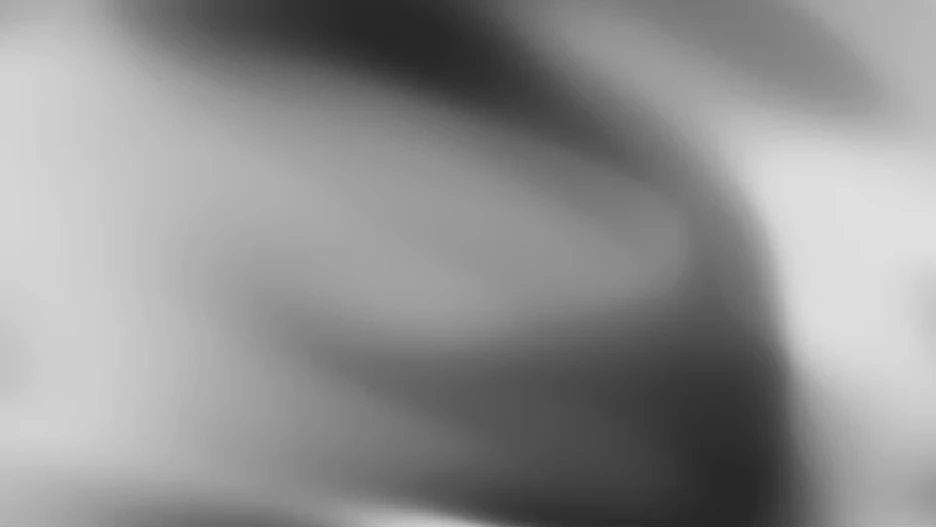
If you've ever wanted a noise effect that feels less like static grain and more like smoke, flowing water, or swirling ink— that's the space Curl Noise is aimed at. It generates smooth, animated 2D noise with a fluid, organic quality that's naturally well-suited to backgrounds, texture overlays, abstract motion, and anywhere you want movement that flows rather than flickers.
The reason it feels different from other noise effects is in how the noise field is curled — the vectors that define the noise are rotated so they always flow tangentially, which is what gives the result that characteristic fluid quality. Crank up Swirl and it starts to coil and spiral. Push Turbulence Speed and it churns. Keep things subtle and it just... drifts.
Here are some examples…
and some examples when animated…
How the Controls Work

Input Noise
Input Noise is where you choose what drives the effect.
Source gives you three options — Internal, This Layer, or Other Layer — and your choice here determines which other controls in this group are active.
-
Internal uses noise generated by the effect itself. This is the most self-contained option and the only one that enables Speed and Direction. Speed (0–100) controls how fast the noise field drifts over time — at 0, it's completely static. Direction sets the angle the field moves in.
-
This Layer uses the luminance of the layer the effect is applied to as the noise input. The brighter areas of your layer become the peaks of the noise field, and the curl is then computed from the gradients in that image. Speed and Direction are disabled in this mode since the layer's own content drives the field.
-
Other Layer lets you pick any other layer in your comp as the input. You can use a separate animated layer, a gradient, a blur, or anything else to modulate the curl. The layer picker becomes active, along with two controls specific to this mode:
-
Source Mapping (Fill or Center) controls how the source layer is mapped onto the curl layer if they differ in size.
- Fill stretches the source to fill the layer.
- Center uses a 1:1 pixel mapping, centering the source; if the source is smaller than the curl layer, the surrounding area is treated as neutral (mid-gray, which produces no gradient and therefore no curl at the edges); if the source is larger, it's cropped around the center.
-
Mirror at Edge (Off or On, also available in This Layer) controls what happens when the curl calculation samples coordinates outside the source bounds.
- Off fades smoothly to neutral at the edges, which gives a natural falloff where curl dies out toward the edge of the source.
- On mirrors the source at the edges, creating a seamlessly tiling pattern that extends the field indefinitely in all directions without any edge artifacts.
-
Softness (0–100, only available with layer-based sources) blurs the input noise field. At 0, the source is used as-is. Increasing it smooths out fine detail in the source, which produces gentler, more gradual changes in curl direction. If your source has sharp edges or rapid brightness changes raising Softness is usually the fix.
Curl Noise
The Curl Noise group is where the character of the output is shaped, with three subgroups:
Transform (Scale, Offset, Rotation, etc.) positions and sizes the noise field spatially. This section works similarly to the Transform group found in Fractal Noise.
Curl Generation is where most of the interesting stuff happens:
- Evolution is a rotation angle applied globally to every swirl calculation. Animating it over time cycles the whole pattern through different states — great for loops or for nudging the overall look without changing the underlying structure. If you want a looping Evolution pattern, make sure Turbulence Speed and Input Noise Speed are set to 0.
- Turbulence Speed (0–200) controls how quickly the noise field changes over time. At 0, the turbulence is frozen. Higher values make it boil and seethe faster. It's independent of Input Noise Speed - think of it as how fast the internal perturbation evolves, rather than the Input Noise moving.
- Swirl (-360 to 360) is the main character control. Higher values create tighter, more dramatic swirling and coiling. Lower values are more gentle and flowing. Negative values reverse the direction of the swirl.
- Density (-100 to 100) controls how tightly packed the variation in the noise is. Positive values pull complexity toward the center; negative values push it outward. At 0 it's evenly distributed.
- Smoothness (0–100) controls how sharp or soft the curl structure is. At 0 you get fine, detailed curl. Higher values soften and smooth it out.
- Blend X/Y (0–100) shifts the dominant direction of the flow between horizontal and vertical. At 0 the flow runs mostly horizontal; at 100 mostly vertical.
Flow Options controls how the characteristic long, flowing lines in the Final Render look and feel. Think of this group as styling the output: how long the lines are, how sharp their edges are, and how evenly or organically they're distributed.
- Sample Count (3–24) controls how smooth and continuous the flow lines look. More samples give longer, more cohesive lines; fewer gives a rougher, more broken-up result.
- Sample Radius (0-200) at 0 you get the soft underlying noise with no flow lines; at 200 you get the full crisp, elongated line structure. Larger values favor broader, more sweeping structures; smaller values pick up finer detail.
- Flow Softness (0–100) controls how much contrast there is between the bright flow lines and the darker areas around them. Low values give a softer, more diffuse result where everything blends together gradually. Higher values make the bright lines stand out more crisply against a darker background.
- Edge Definition (0–100) at low values the flow lines have soft, feathered edges that blend into each other. Higher values push toward sharper, brighter, more distinct strands.
- Flow Falloff (0–100) at 0 the flow lines are uniform across the frame. Higher values make the result feel more organic and uneven, with some areas brightening and others fading.
Output
Output has a View dropdown (Input Noise, Curl Generation, Final Render) that lets you inspect each stage of the pipeline — useful for understanding what your Input Noise source looks like before it's curled, or what the raw curl field looks like before the flow coherence pass turns it into the final result.
The remaining controls, Contrast, Brightness, Clip HDR Results, and Channel (RGB or individual channels and Alpha) — are your final output adjustments.
A Note about Masks, Text and Shapes with Curl Noise
When using Internal noise, masks, text and shapes on your layer behave as you'd expect — they simply reveal or hide the curl output, without affecting the noise pattern itself.
When using This Layer or Other Layer, it's different: the mask, text and shape edges on those layers become part of the noise field that drives the curl calculation. This means a shape drawn on your layer won't just cut out the result — its edges will influence the flow of the curl around them, which can produce some interesting effects but may also give you unexpected results if you're just trying to crop the output. If you want to mask the final result without influencing the curl generation, pre-comp the layer with the Curl Noise effect and mask the pre-comp.
Performance
Curl Noise is GPU-only — it requires Mercury GPU acceleration. On an Apple M3 Ultra with a 1920×1080, 8bpc composition, we are seeing around ~300 fps in a simple preview scenario. Your results will vary with resolution, hardware, and where you push the controls. We'd love to hear how it holds up on your machine.
We need your feedback
Please try out the effect and tell us:
- Parameter names — Do they match what you expect? Anything you'd call something different?
- Ranges — Do the min/max values feel right for real work, or do you constantly bump up against the ends?
- Confusion — What was unclear the first time you used it?
- Performance — How does playback and interactivity feel on your system, especially at higher resolutions or with Sample Count pushed up?
- Presets — If you make something that looks great, would you be willing to share it? Screenshots, clips, or the project file are all welcome — we may turn standout looks into presets that ship with the effect.
Happy curling — we're excited to see what you make with it.

