VictoriaNece
Community Manager
Community Manager
February 23, 2026
News

New in Beta: Displacement of Substance 3D Materials on Parametric Meshes

  • February 23, 2026
  • 1 reply
  • 270 views

Hello AE Beta users,

We have a very fun new feature for you to try in After Effects beta 26.2x31: Parametric Meshes now support displacement of Substance 3D Materials

Displacement uses the material’s height data to push the mesh’s geometry into 3D space. It can add a subtle texture to increase realism and dimension or turn simple shapes into complex, detailed models. 

Substance 3D materials with displacement can take a simple 3D shape from this:
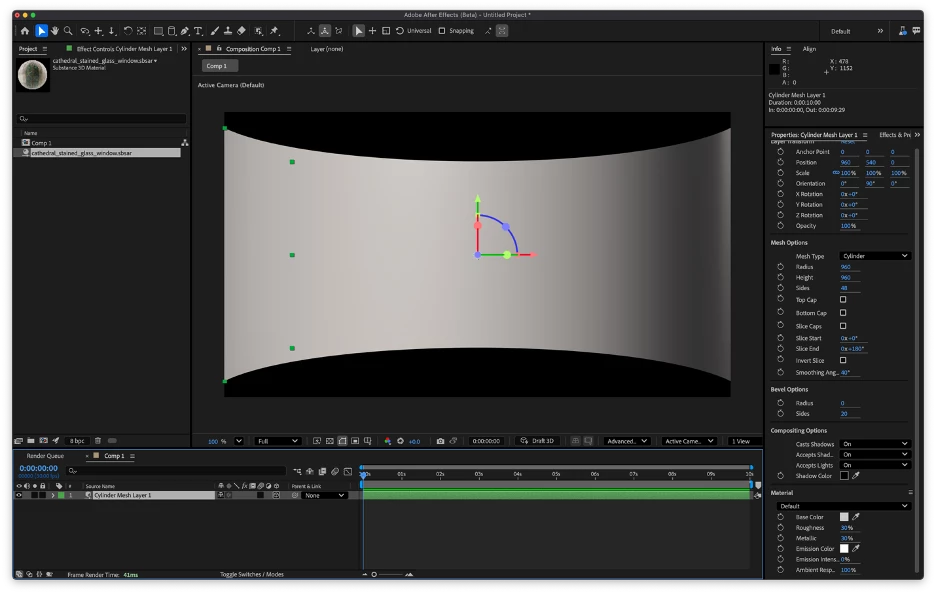
to this!

A complex 3D material of stained glass windows in a stone wall applied to a sliced 3D cylinder mesh


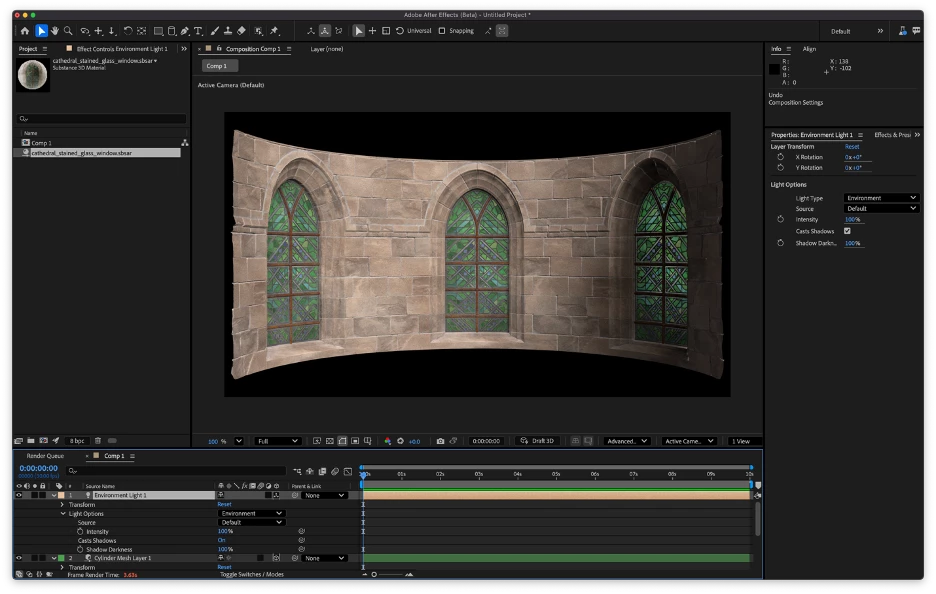
In addition, Substance 3D materials that include emissive textures will now render correctly, creating the glow visible in the stained-glass windows above or this fracturing planet:

Material with both displacement and emissive properties

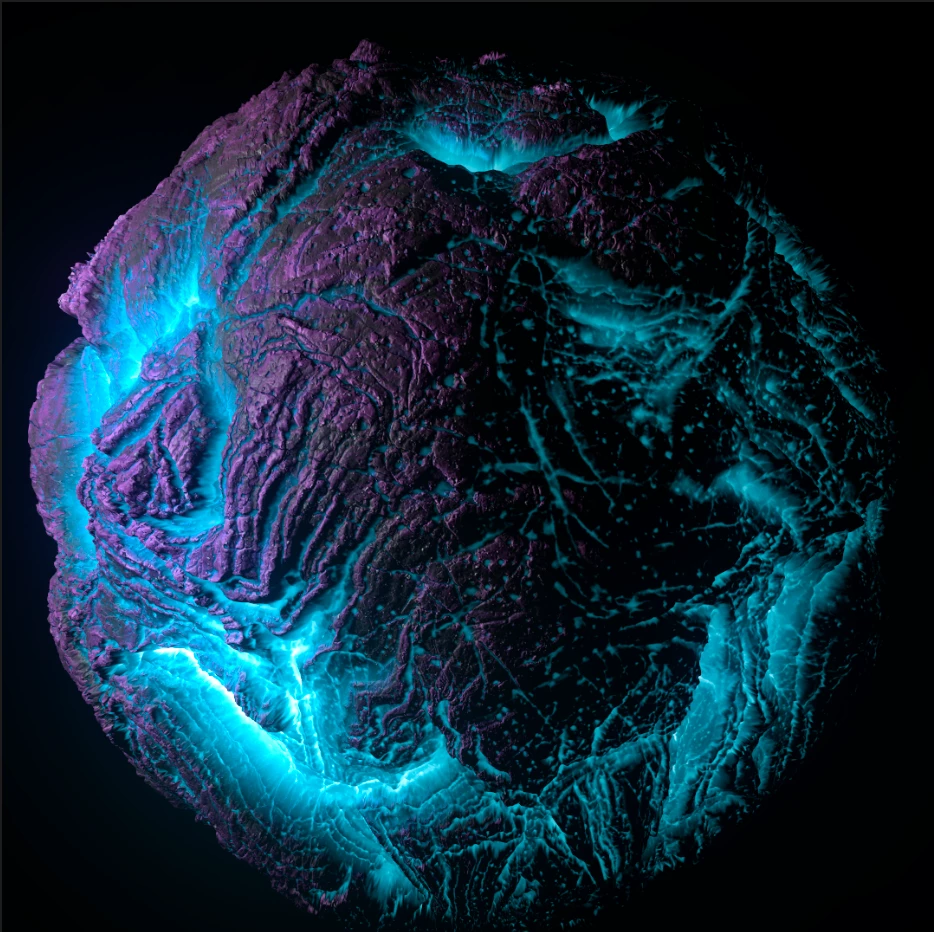
Note that Advanced 3D doesn't support true emission; the material will light up, but it won't cast light onto other objects.


Getting Started

Apply a Substance 3D material (SBSAR) that supports displacement to any parametric 3D mesh. 

Displacement appearance is controlled by two properties in a new Displacement Options group, accessible in both the Timeline and the Properties panel:

  • Adjust Intensity to change how much the material’s height is pushed in or out of the shape. This property can be animated. 
  • To increase displacement detail, raise the Subdivision Count. This changes how many times the model’s geometry is subdivided before it is displaced. Higher values can use exponentially more memory, so keep this value as low as you need for acceptable visual results.

Because they affect a mesh’s geometry, displaced materials will respond to a scene’s lights and shadows like any 3D model.


Two Substance 3D materials applied to 3D planes

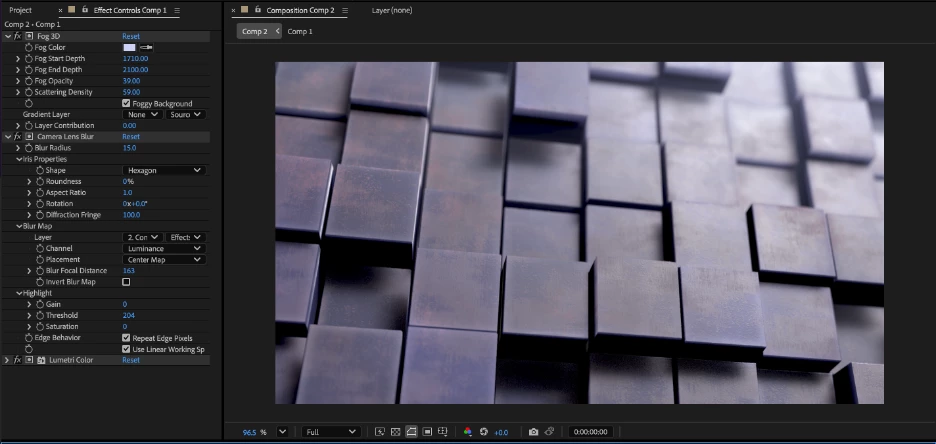
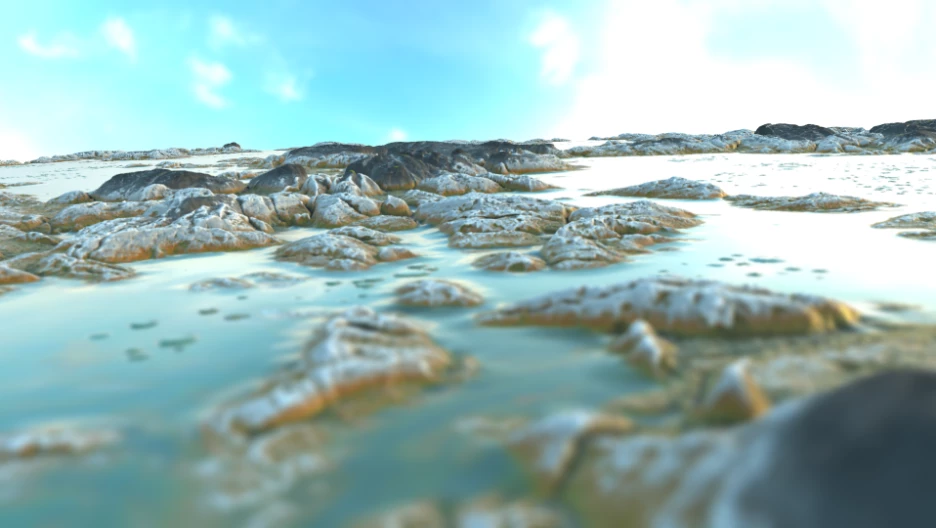
Displacement can also be used to drive effects. Pre-compose your 3D scene and apply 3D Channel Extract to get the scene’s depth map or apply a 3D channel effect like Fog 3D or Depth of Field to the pre-comp to access the depth data directly. 

Displaced material on a 3D plane with depth-based effects applied

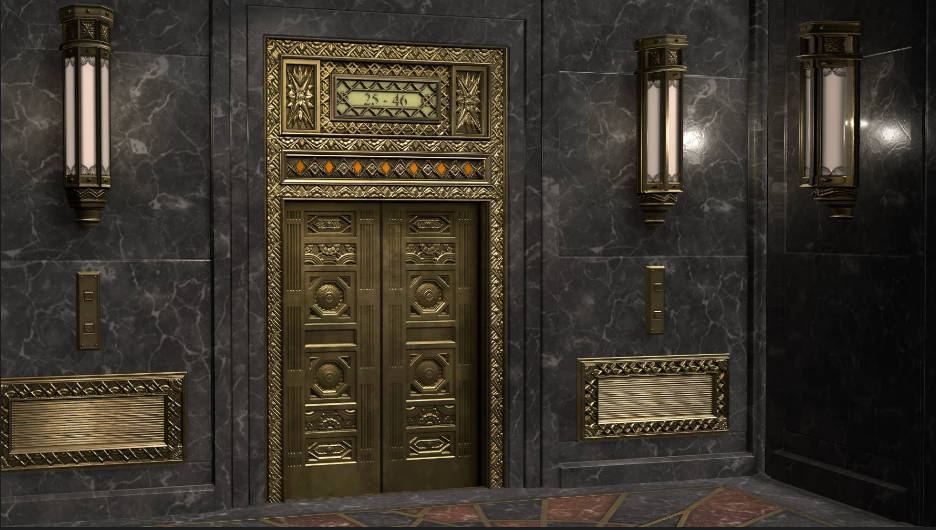
Here are a few more examples of things you can create:

  • Build realistic, dimensional product shot backdrops that react naturally to your scene’s lights and shadows.
  • Make 3D objects appear to pulse, bulge or crack by animating displacement intensity.
  • Clean up a composite by tracking the camera and adding objects or set pieces to your footage.
  • Add subtle textural detail like fabric weave to elevate flat or minimal designs. 
  • Add a custom Environment light source for extra realism:
Terrain created by displacing a 3D plane

Looking forward to your feedback!


    1 reply

    Shebbe
    Community Expert
    Community Expert
    February 25, 2026

    I've briefly tried it out and have the following feedback:


    • AE v26.2.0b32 → There seems to be a bug where all .sbsar files are ‘removed’ from the project after save->close->reopening a project.
    • Default value of 100% is way too much for most materials unless it attempts to really represent some large detail like the examples above. But ‘basic’ mats for surfaces like wood/fabric/metals do not need more than 10% typically. Maybe consider the default being 1-10% or even 0%. Or if at all possible extract percentage amount from .sbsar data so it dynamically switches on material swap.
    • A lot of the free .sbsar files with ‘smoother’ surfaces seem to have noise as displacement map. I'm not sure if this makes sense but especially also shows the reason why the default 100% displacement is maybe not a good idea. Below an example of rust material. Mats like that shouldn't have any displacement but maybe some bump map data only.
    • In the image above you can also see a shadow casting issue. (cuts off halfway on primitives) Not really related to this thread but maybe worth noting. Changing the render settings bounding box does not fix it. Tested with env light using german_town_street_4k.hdr from Polyhaven.
    David.Arbor
    Community Manager
    Community Manager
    February 25, 2026

    Hey ​@Shebbe , thanks for the feedback!

    Regarding the bug where the SBSARs are removed from the project: That just got fixed and should be in the next beta or two, 26.2.0x34 or later. The good news is that the SBSARs are still in your project, so if you don't save over it now,  re-opening the .aep in a build with the fix will restore the them.


    Regarding Displacement default values: This is a tricky one and it completely depends on the size and density of your mesh, in addition to the material.

    I can see from your screenshot that your plane is only 200x200. I’m guessing you either created it from the menu or double-clicked the tool icon, right? Then you scaled it up to over 900%. So you’re actually displacing a very tiny plane, which is going to lead to extreme results. Here’s the same SBSAR with the default Displacement Intensity of 100%, but I drew my plane and didn’t touch the layer scale.


    I recommend leaving your layer scale at 100% and changing the Mesh Properties for the most accurate results. But our two methods of creating the same mesh illustrates one of the few reasons why there’s no such thing as an “ideal default” for Displacement Intensity. People are going to create meshes however they want to, and that’s how it should be; but it does create challenges for consistency.

    The other thing is that you have 0 subdivision levels on your plane. So the mesh itself doesn’t have much detail. You’re correct that the height map (really, the whole material) is basically noise, so in order to show the fine detail, you’ll need many more triangles in your mesh, which would require you to crank up the Subdivision Count. 

    And lastly, mesh type will also affect how the displacement looks when you apply the material (because each mesh type can have different triangle counts depending on their settings).

    For example, create a sphere with:

    • A radius of 500
    • Displacement Intensity of 10%
    • Subdivision Count of 4
    • SBSAR resolution of 4096.

    The displacement looks pretty good. Now shrink that sphere to a radius of 100 and zoom the camera in or scale the layer up. Even 10% intensity is too much here.


    So as you can see, it is definitely a tricky thing to solve, but we absolutely want to improve the workflow where we can. Can you tell me why you prefer to increase the layer size for the mesh vs change the Mesh Options? Would a notification of some sort be useful if you try to use displacement but your layer scale is above 100%? I don’t know if that’s an ideal solution, but it just came to mind while typing.


    Thanks,

    -David, After Effects Engineering Team 

    Shebbe
    Community Expert
    Community Expert
    February 25, 2026

    Hey ​@David.Arbor,


    Thanks for the clarification on my plane setup! I didn't notice/realize that planes still have a scale factor along their sort of real dimensions which is why I scaled it up by using the viewer. Perhaps this should ‘intuitively’ change the width/length instead and radius in the case of a sphere etc? Or maybe a mesh adjust tool needs to be designed? Sort of like the black and white arrow in Illustrator maybe? Could be useful as a white ‘direct select’ tool could also serve to select shape vertices without diving into a specific shape before using the normal select tool.