



Analyze Colors and Skin Tones with the Vectorscope
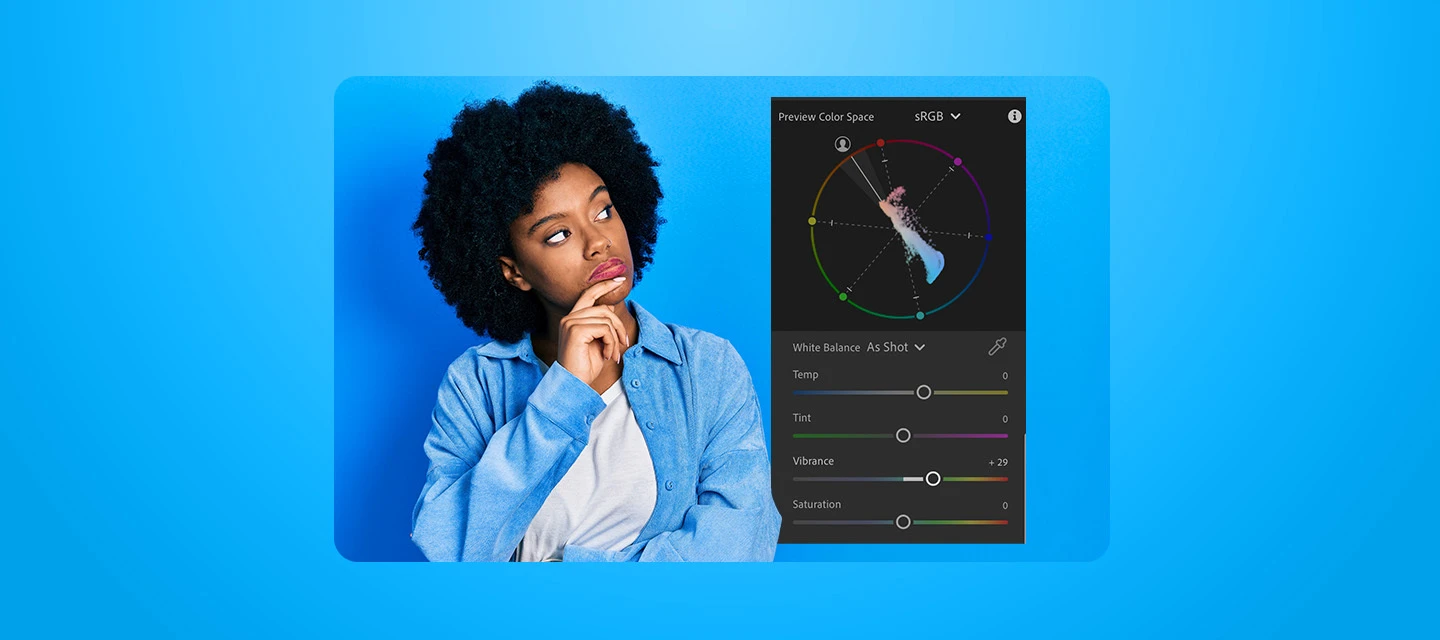
Read your photo’s hue and saturation at a glance, check skin tones, and spot color casts as you edit.
Not sure if your colors are off, or why skin looks a little too orange? The Vectorscope plots your photo’s hue and saturation on a circle, so you can check color instead of eyeballing it. Here’s how to read it and use it.
Before You Start:
Version: Lightroom 10.0.
Credits/usage: None
Hardware/OS: Check out the System Requirements
How to Get Started:
STEP 1: Learn how to read the Vectorscope
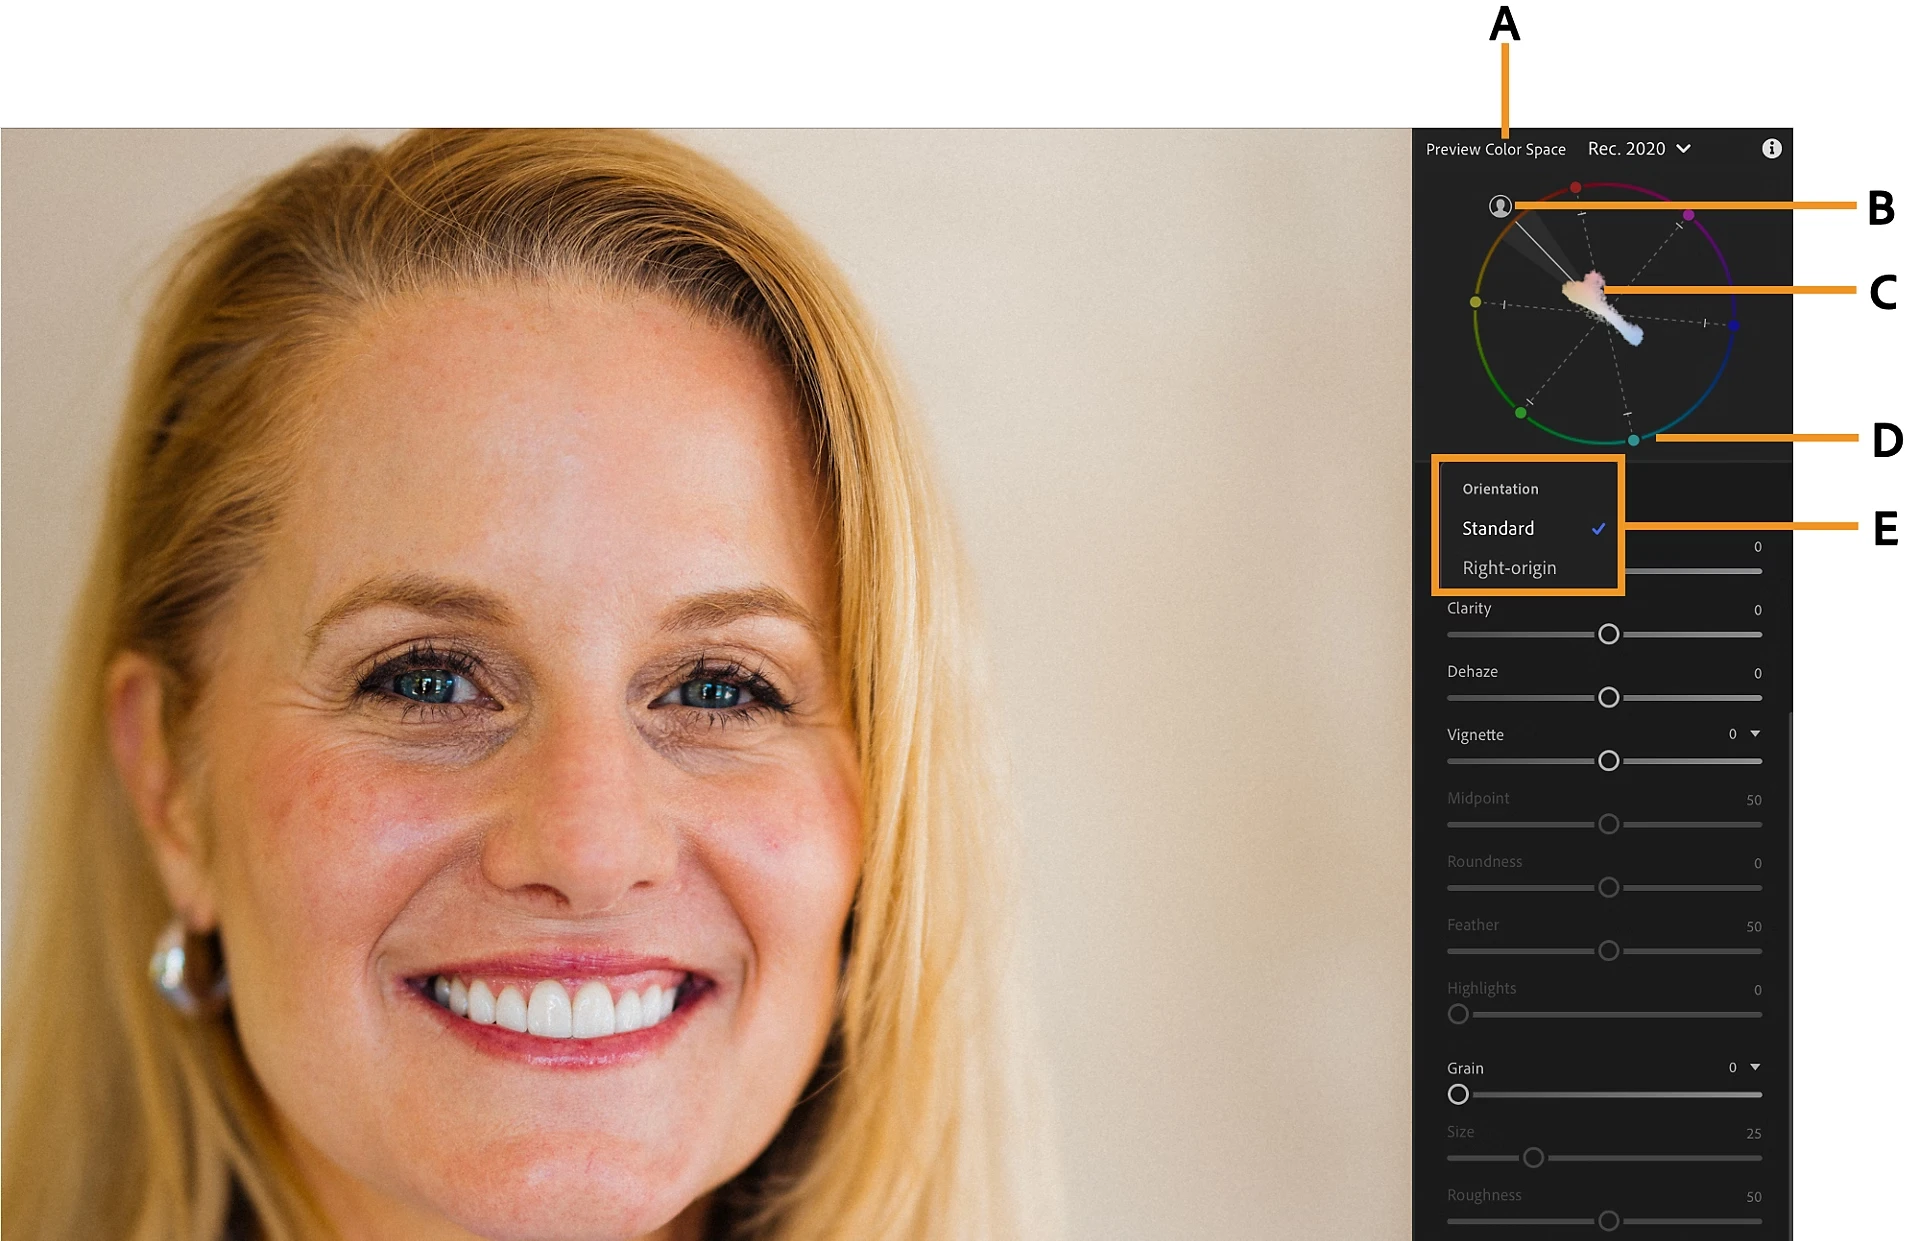
Think of it as a circle. The angle shows hue, and the distance from the center shows saturation. Here’s what you’re looking at:
- Center: Neutral colors like whites, grays, and blacks sit here.
- Angle: The direction from the center shows the hue.
- Distance from center: The farther out a color is, the more saturated it is.
- Color points: Six markers show where red, green, blue, cyan, magenta, and yellow fall. Hover over a point to see the color name.
- Skin: A diagonal line with a shaded area around it shows where natural skin tones typically fall.
STEP 2: Turn on the Vectorscope
Open your photo in the Detail view. You can also use a masked photo from the Masking panel. Select the more icon in the right panel, then select Show Vectorscope. You can also find it under View > Edit Panels.
STEP 3: Hover over your photo in the Masking panel
Working in the Masking panel? Hover over your photo to see where the color under your cursor lands on the Vectorscope.
STEP 4: Pick a Preview Color Space
Use the Preview Color Space dropdown menu to choose which color space the Vectorscope uses to plot your colors:
- sRGB: The standard for the web, social media, and most screens. Best for photos you’ll share online.
- Display P3: A wider space used by modern Apple devices and many newer phones and monitors.
- Adobe RGB: A wider space often used for print. It covers more greens and cyans than sRGB.
- ProPhoto RGB: A very wide space that keeps almost all the color your camera captures. Commonly used for editing and archiving.
- Rec. 2020: A very wide space for HDR and video. Useful when you edit in HDR.
STEP 5: Switch the orientation
Right-click the Vectorscope and pick an option:
- Standard (default): Red is near the top.
- Right-origin: Rotates the whole Vectorscope about 90° clockwise. It matches the layout in many video editing apps.
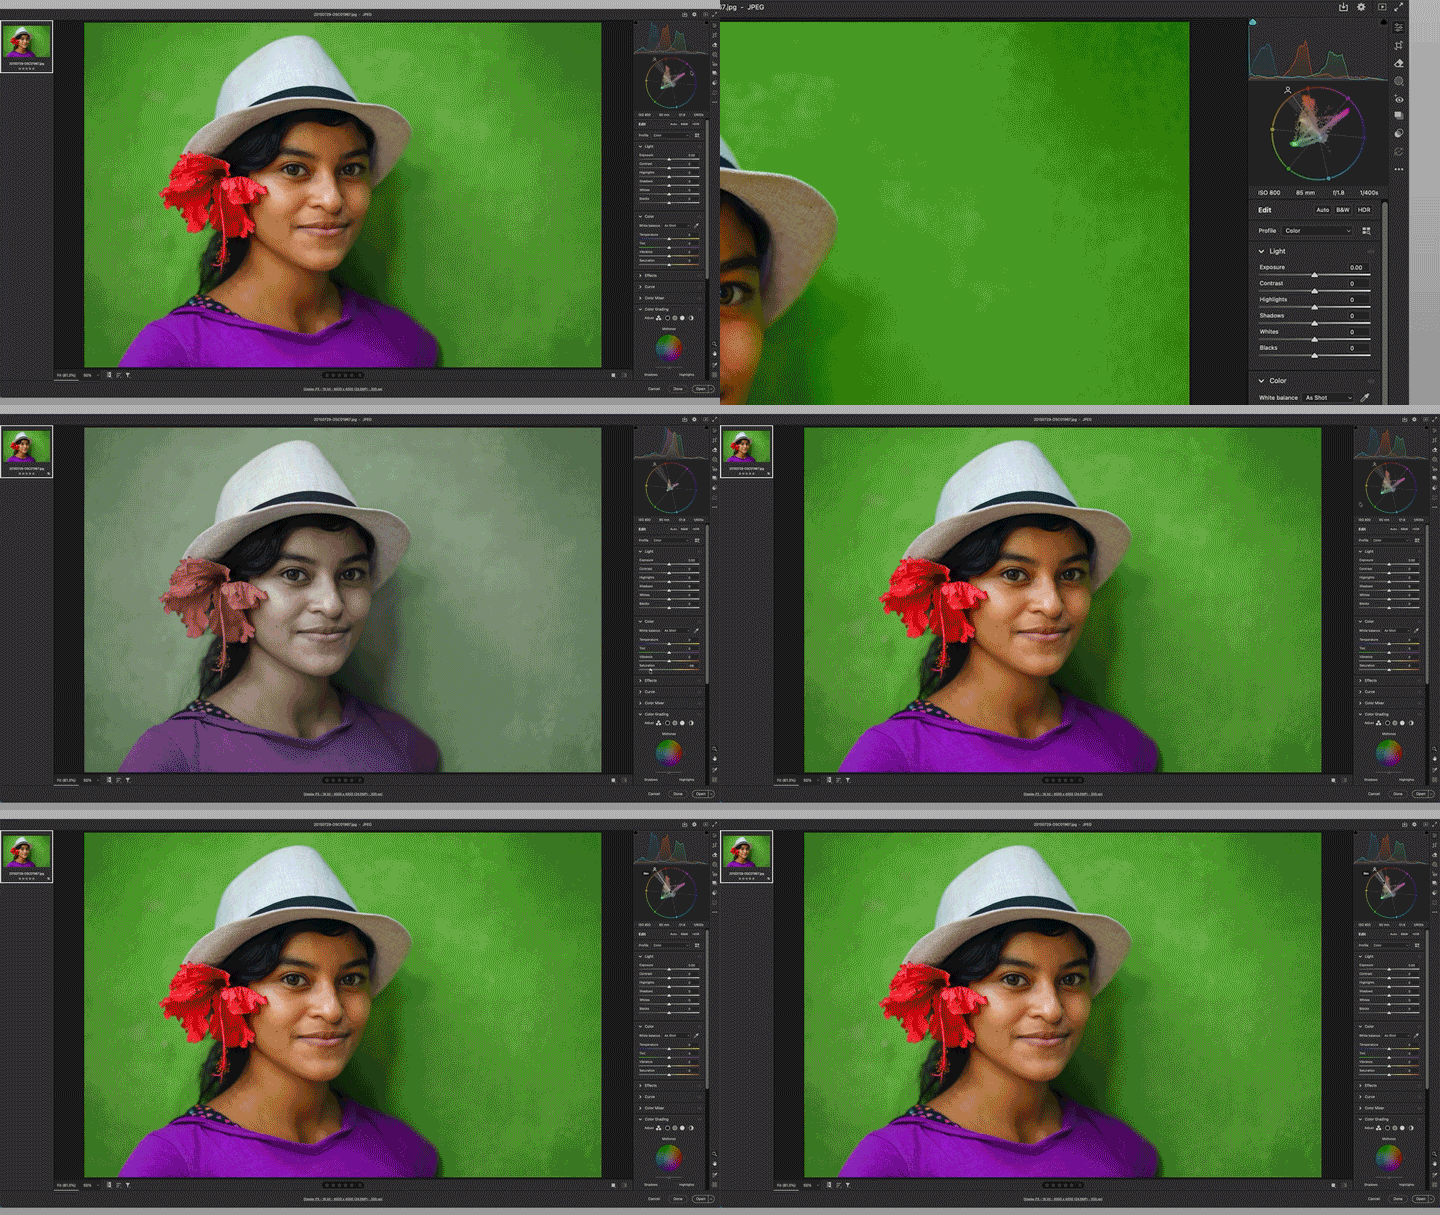
STEP 6: Edit and watch it update
As you edit, the Vectorscope updates to show how your changes affect hue and saturation. Pull a slider and watch your colors move. It’s a quick way to catch a color cast or check that skin stays near the Skin line.
👉 Download the latest version of Lightroom here. For more information, check out our HelpX article about tethering in Lightroom.
 AdChoices