



Capture Photos Straight Into Lightroom with Tethered Capture
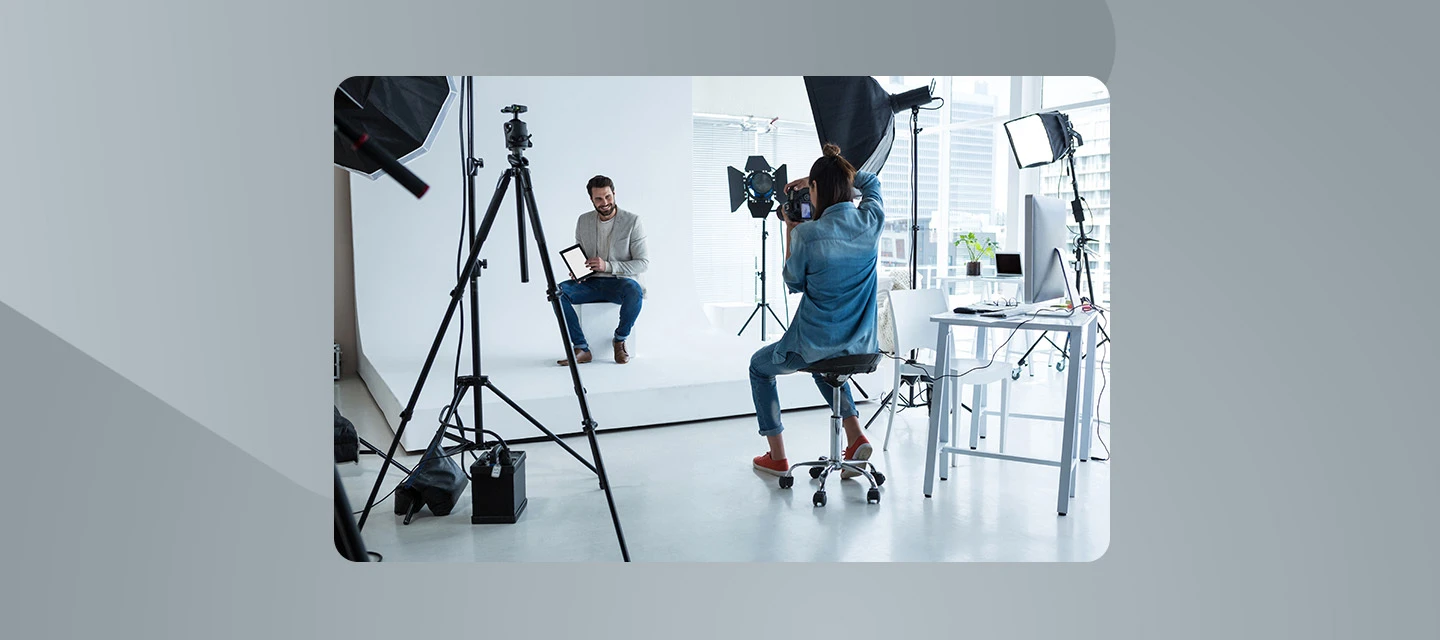
Shoot straight into Lightroom, set up your frame in Live View, and review every photo the moment you take it.
Skip the card swap and see your shots big, right as you take them. Here’s how to connect your camera, set up a session, and review photos as you shoot.
Before Your Start:
Version: Lightroom on desktop 10.0
Credits/usage: none
Hardware/OS: You need a compatible camera and a USB cable.
Limitations: The settings you see depend on your camera, lens, and shooting mode. On macOS, if your camera’s SD card holds a huge number of images, camera detection may be slow.
How to get started
STEP 1: Start a Tethered capture session
Open Lightroom, connect your compatible camera to your computer with a USB cable, and you’re ready to set up. In the Connected Camera dialog, select Tethered Capture. Then, in the Tethered Capture Settings dialog, choose:
- Session and File naming: Name your session, and pick a naming template. The session name is used as the custom name.
- Destination: Use Add to to pick an album, or select New to make one.
- Presets and Metadata: Pick a preset for incoming photos (or None), and add keywords.
- Auto Advance: Toggle on to show your latest capture automatically. Toggle off to keep reviewing the selected photo while you shoot.
Select Start when you’re set. Want to change something later? Select the Capture Assistant icon in the Edit panel.
STEP 2: Check your camera settings
Open the Camera panel to see your connection status, battery level, and current capture settings. Select any setting to change it:
- Focus, Shutter, and Aperture: Set your focus mode, how long the sensor sees light, and the lens opening.
- W.B. and ISO: Match your lighting, and set brightness. Higher ISO helps in low light but can add noise.
- Format: Choose RAW or JPEG, for example.
Want more? Expand Camera Settings for Image Quality, AF/MF, and Shooting Settings. You can also change exposure with the Exposure slider.
STEP 3: Turn on Live View
In the Camera panel, toggle on Live View. Lightroom shows a live preview from your camera. Prefer more room? Select Open live view in window to pop it out, and Dock Live view to bring it back.
STEP 4: Fine-tune your preview with the Live View toolbar
Use the toolbar to set up your shot before you press the shutter:
- Crop Guides: Show a Grid, Thirds, Golden Ratio, and more.
- Overlay: Select Browse to add an overlay image, or None to remove it.
- Aspect ratio: Pick 3:2, 4:3, 16:9, 1:1, and more.
- Zoom in: Check focus and fine detail.
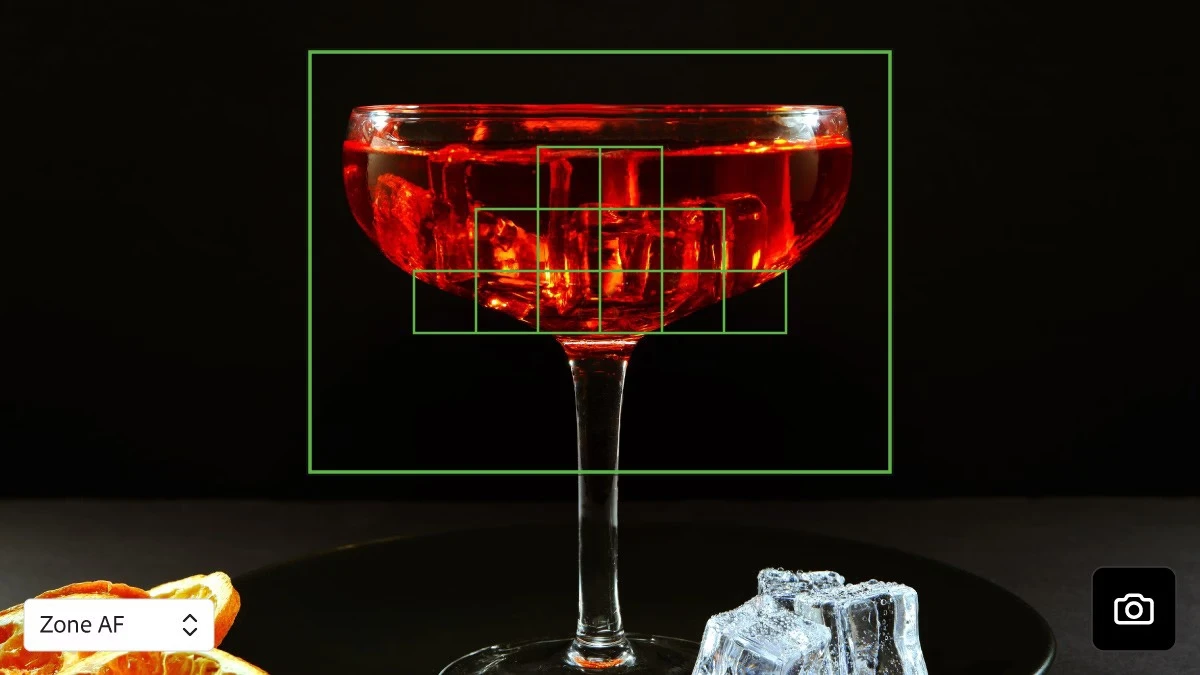
You’ll also find Rotate, Focus area, and More options, where you can enable Click to Focus, hide focus rectangles, or move and lock the toolbar. You can also use the arrow keys to change focus points.
STEP 5: Capture and review as you go
Select the Camera icon in the Camera panel to take a photo. Then check it out in Lightroom. Want to look at an earlier shot? Select its thumbnail in the filmstrip.
STEP 6: Edit while you shoot
Select the Edit icon to adjust a photo in the Edit panel with Light, Color, Effects, Detail, and Optics. Want those edits on your next shot? Open Capture Assistant and toggle on Apply edits to next shot.
STEP 7: Wrap up your session
When you’re done, select End Session in the Capture Assistant panel, then select Yes in the End Tethered Capture dialog.
👉 Download the latest version of Lightroom here. For more information, check out our HelpX article about tethering in Lightroom.
 AdChoices