



Refine Masking with New Controls: Feather and Edge Sliders
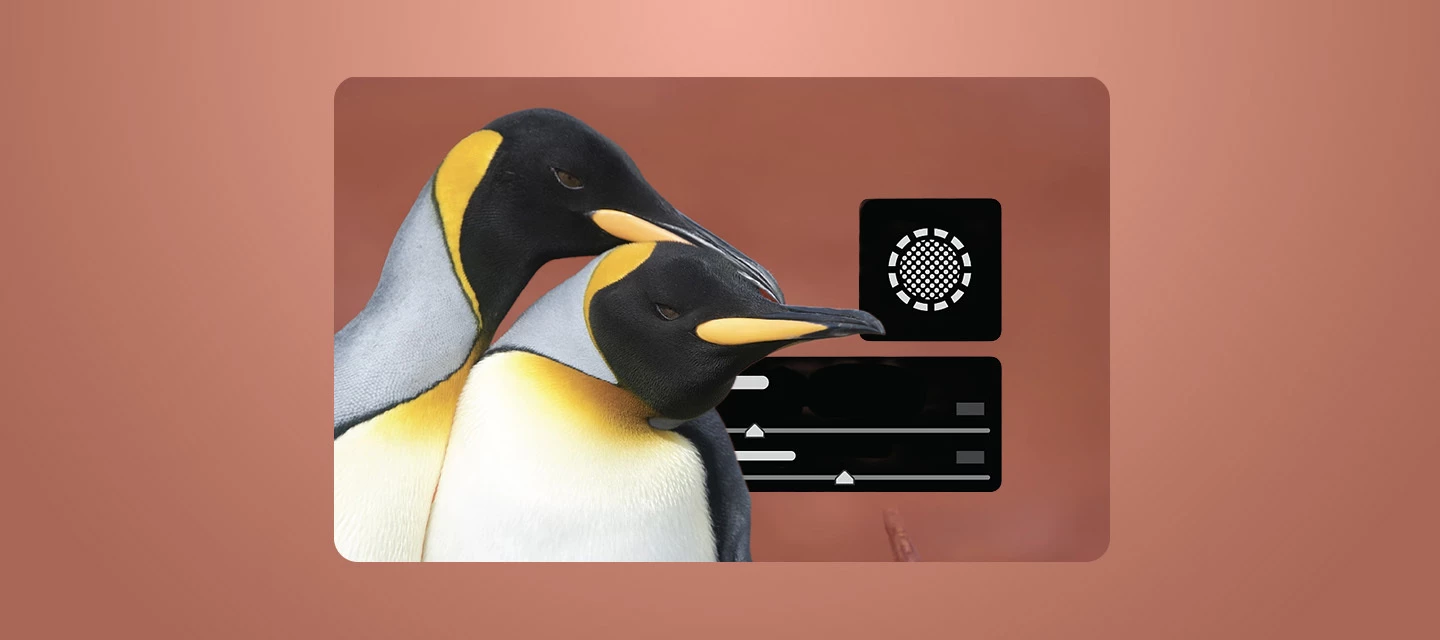
Try the new Feather and Edge sliders for more control, better creative effects, and smoother transitions when masking.
The latest release brings improvements to the Masking panel sliders: Feather and Edge. Together, they give you more control over how a mask blends into your photo, so you can get smoother transitions, better creative effects, and results that look natural straight out of the gate.
New Masking Tools:
However you build a mask — Select Subject, Select Sky, Select People, a hand-painted Brush stroke, or a Range Mask — the edge of that mask is what makes or breaks the edit. A boundary that's too hard reads as "obviously edited." A selection that's slightly off grabs a bit too much background, or misses a sliver of your subject. Feather and Edge let you fix both in seconds, right in the panel you're already working in. Spend less time troubleshooting the edges of your mask, and more time on the creative part of the edit.
How it Works:
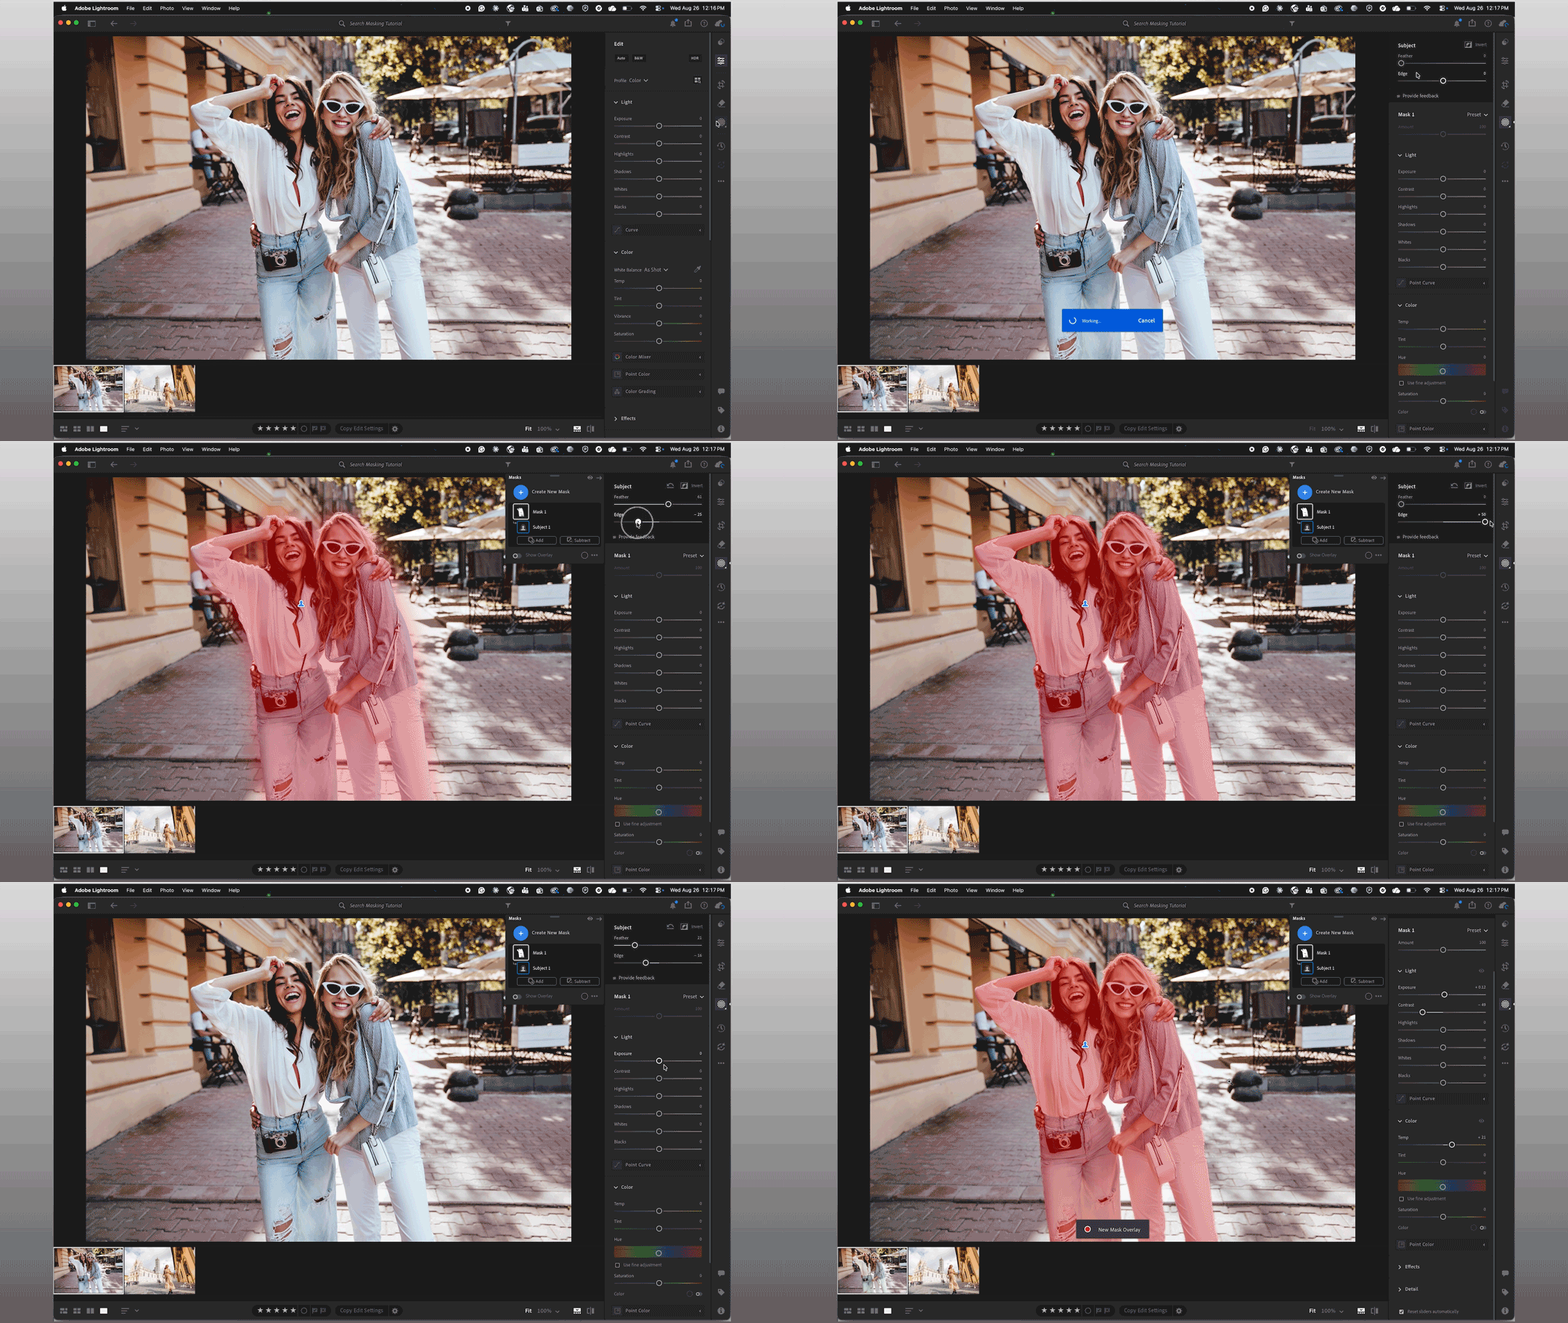
- Feather softens the edges of your mask, so an adjustment fades in gradually instead of stopping at a hard line.
- Edge expands or contracts the mask boundary itself, so you can tighten a selection or grow it to fully cover your subject.
Try it yourself:
- Open a photo and select Masking from the right panel.
- Build a mask with any tool. Select Subject or Select Sky are great places to start.
- Scroll to the adjustment sliders and find Feather and Edge near the top.
- Increase Feather for a smoother, more gradual blend — perfect for sky replacements or portrait retouching.
- Nudge Edge in or out until the mask boundary matches your subject exactly.
Use Add and Subtract to shape the underlying selection first, then reach for Feather and Edge as your finishing touch.
Make it yours
Try pairing a soft Feather with a wide Radial Gradient for a dreamy, vignette-style portrait look. Or use a tight Edge value with Select Subject to punch up a product shot with crisp, precise contrast. Whether you're polishing client work or experimenting with a personal project, these two sliders give you a lot more flexibility for very little extra effort.
👉 For the full rundown of every masking tool and slider, check out Apply Masking for local adjustments.
Join the conversation
Have you tried Feather and Edge yet? Share your before/after shots below. We'd love to see what you're creating with them!


 AdChoices