


Create Realistic Shadows in Photoshop
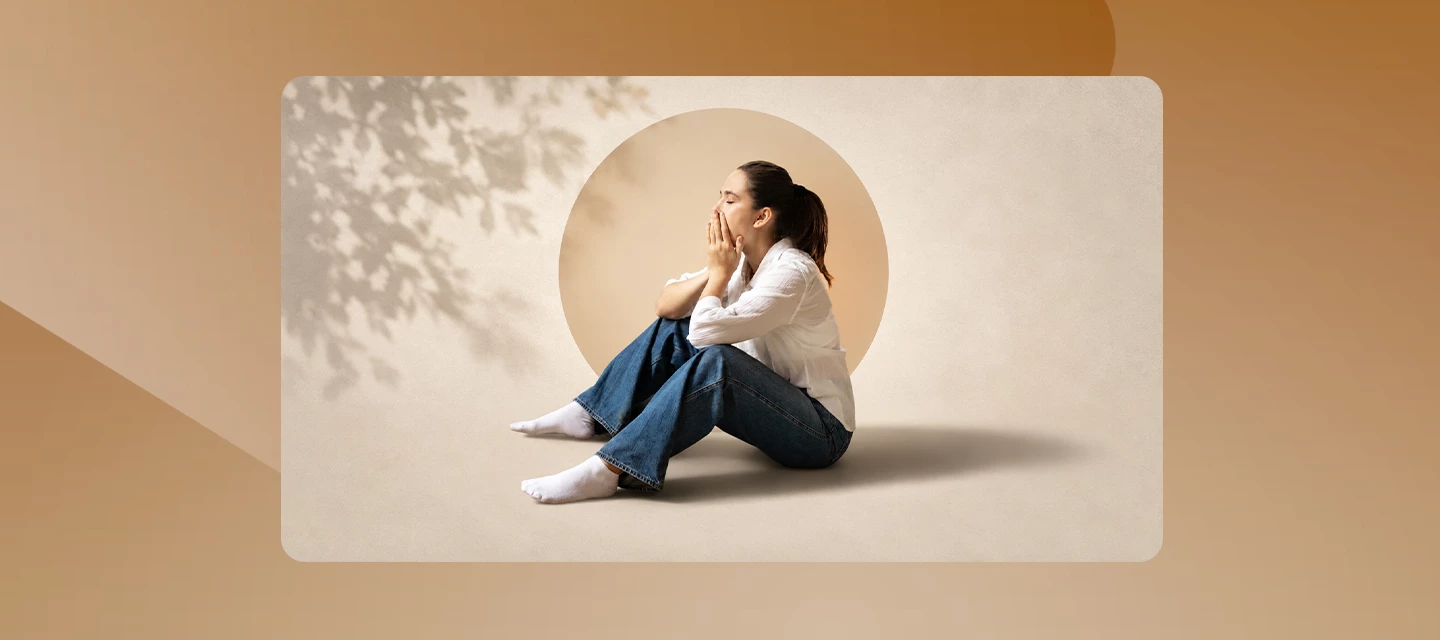
A realistic shadow helps your subject feel grounded in the scene. In Photoshop, there are several ways to create one, depending on your subject and lighting. Based on workflows shared by experts in the Photoshop community, we've brought together a few of the most effective techniques here. Choose the method that best fits your workflow.
Method 1: Using Generative AI
AI can speed up the setup, but you will still get the best results by refining the shadow yourself.
- Use Select Subject or Remove Background to quickly isolate your object.
- Use Generative Fill to extend the surface where the shadow will fall. Learn more.
- You can also use Harmonize. It analyzes the lighting, color, and tone of the scene, and can also generate a matching shadow to help the subject feel more naturally integrated. Learn more.
- Refine the generated shadow manually using one of the methods above for the most realistic result.
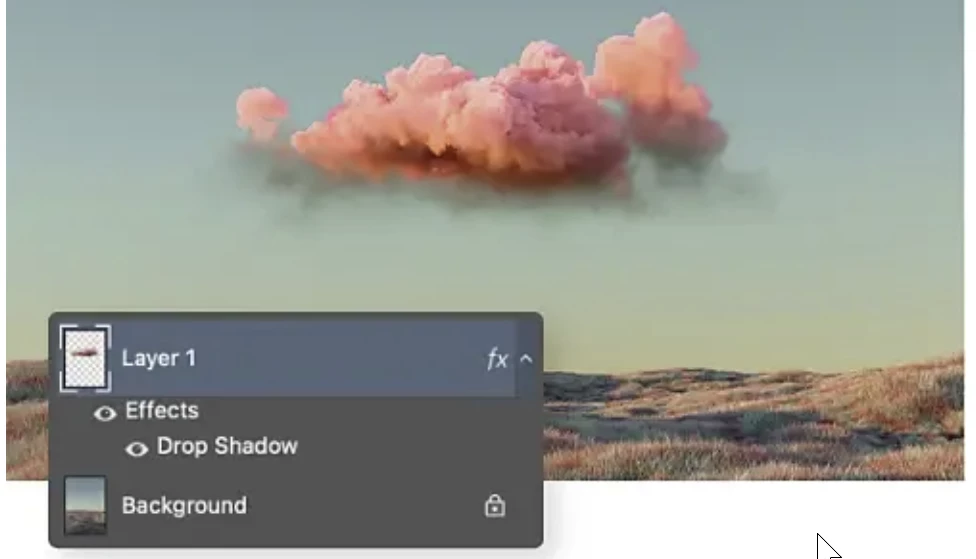
Method 2: Drop Shadow Effect
This is the quickest way to add depth and separation to elements that sit on top of an image. It works well for design elements that exist on their own layer. Here is a link with more details.
✅ Best for: Text, graphics, logos, and objects added to an existing image.
⚠️ Limitation: This method does not work for objects that are already part of a flat image or photograph. For those cases, use one of the manual shadow techniques below.
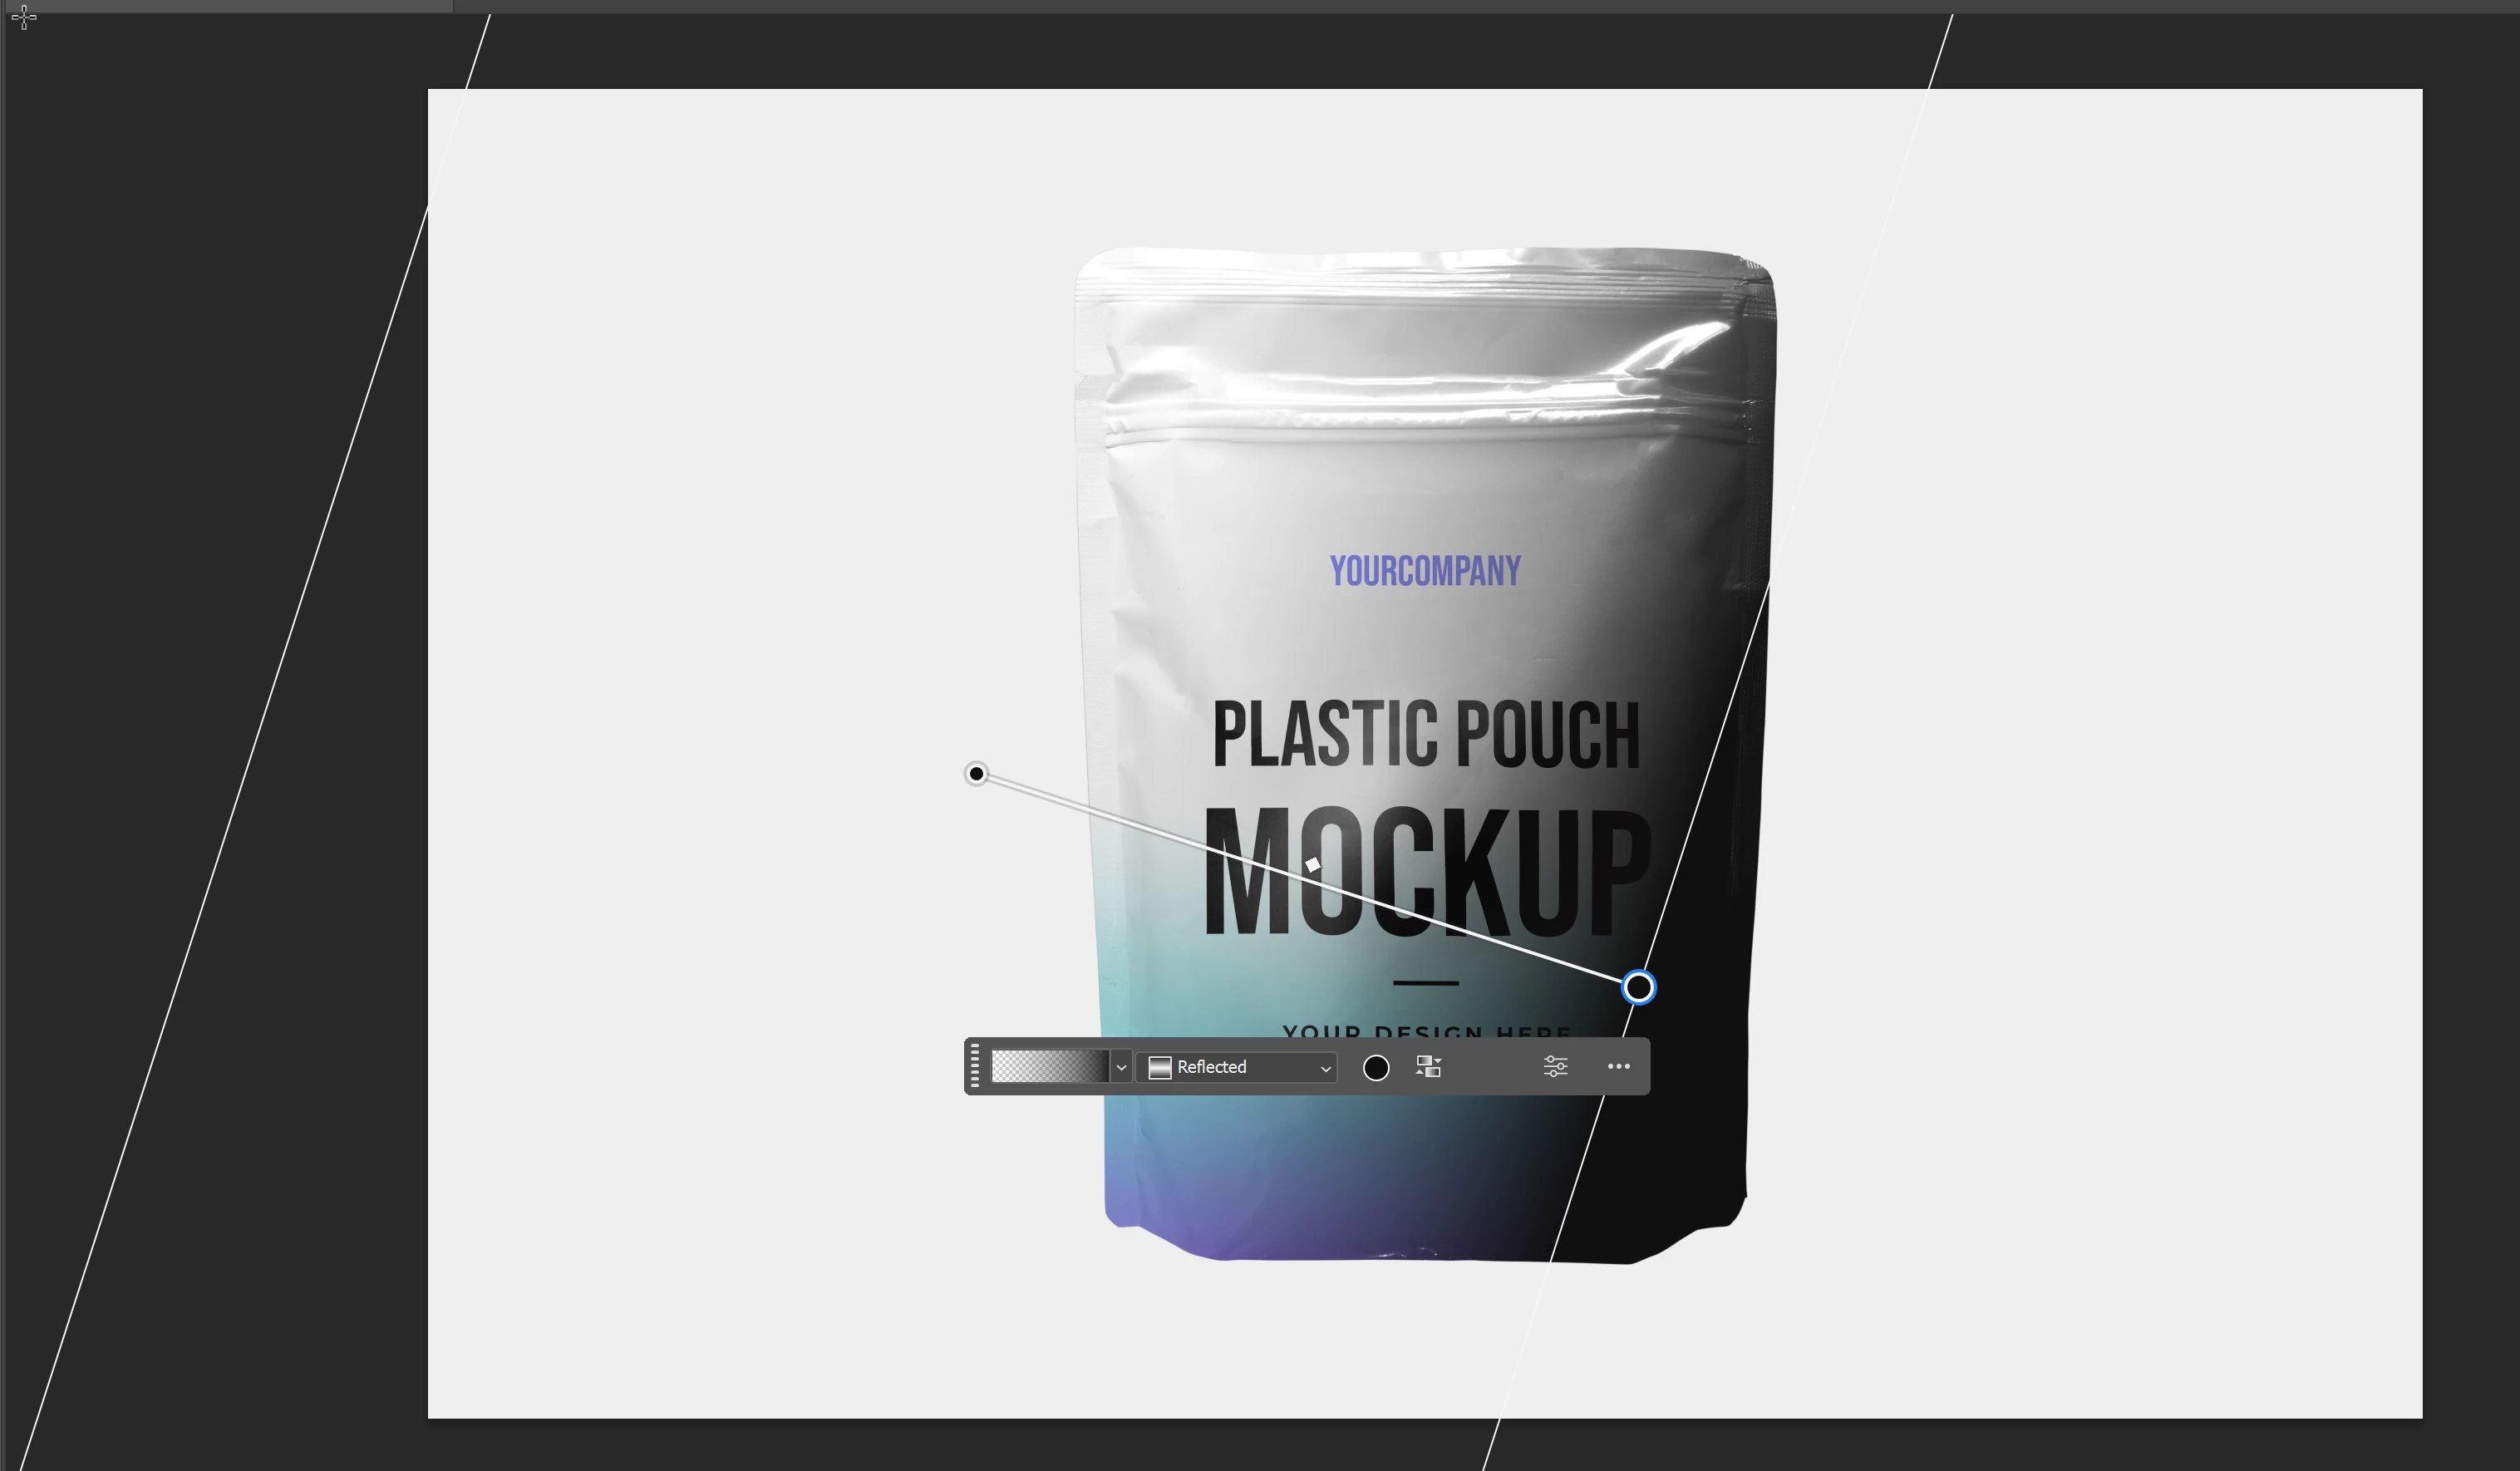
Method 3: Multiply Gradient
- Create a new layer.
- Draw a black-to-transparent gradient from the point where the object meets the surface.
- Set the layer blend mode to Multiply.
- Clip the layer to the subject (Alt/Option + click between layers).
- Lower the opacity and adjust the position.
This method is fast but works best for simple shadow shapes.
✅ Best for: UI elements, packaging mockups, simple product cards
⚠️ Limitation: Lacks shape complexity
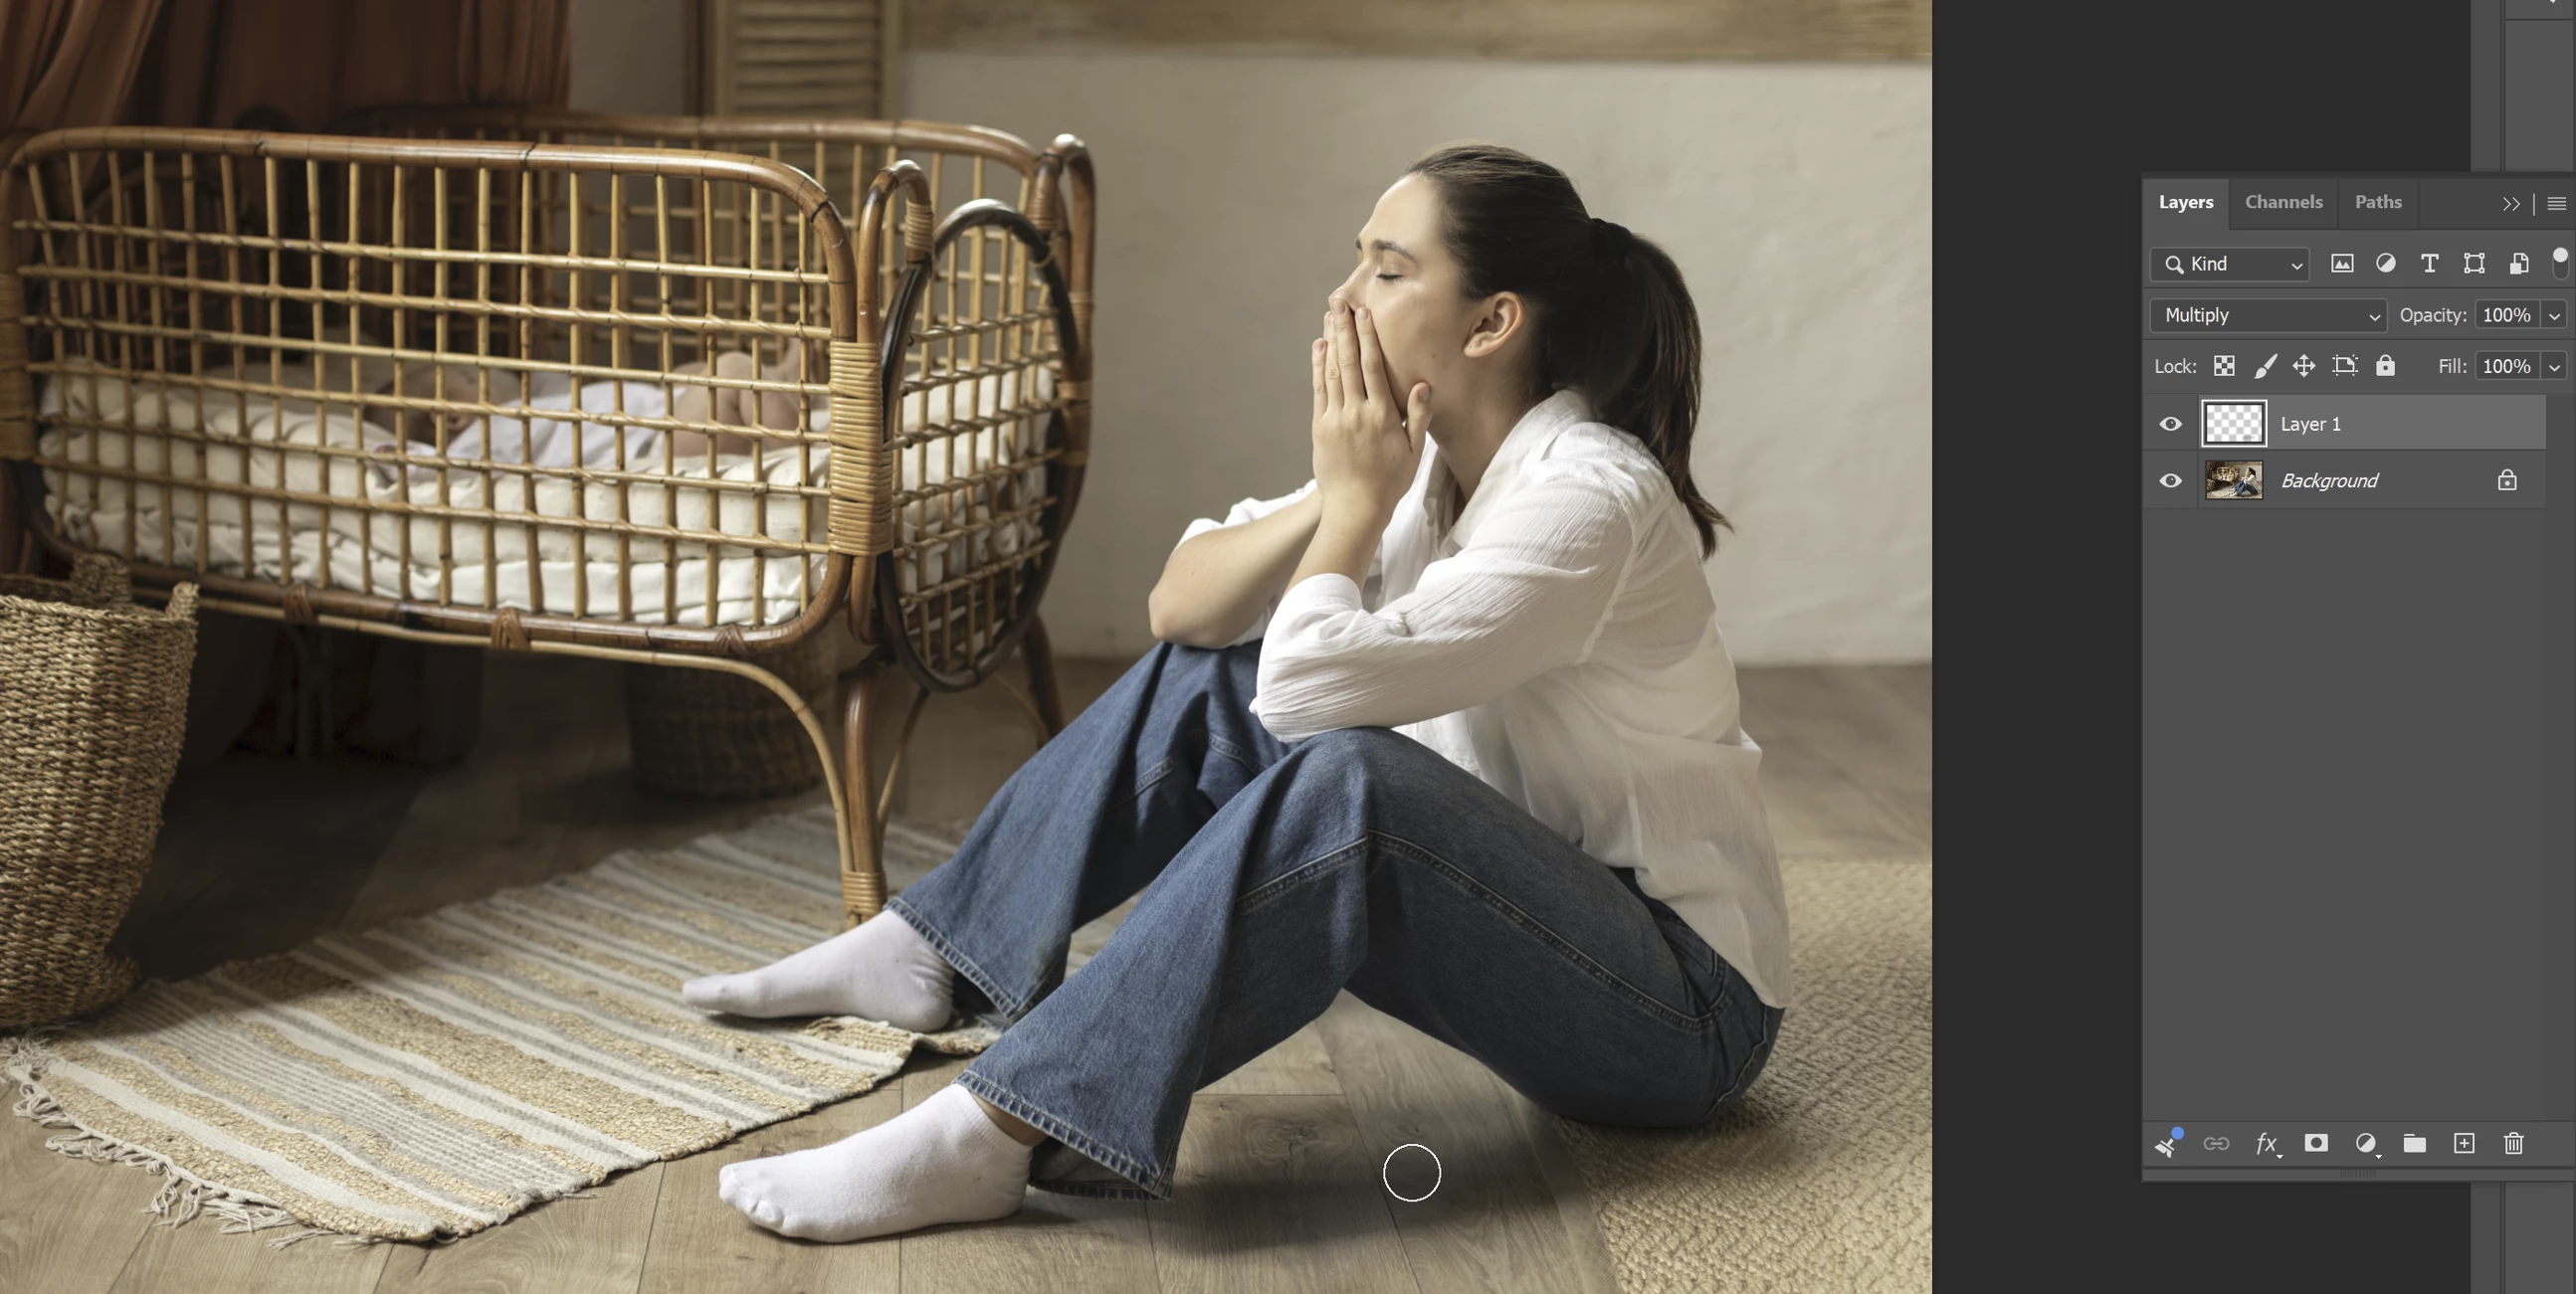
Method 4: Hand-Painted Shadow
- Create a new layer and set it to Multiply.
- Select a Soft Round Brush with 0% Hardness and 20–25% Opacity.
- Paint where the object touches the surface.
- Build the shadow gradually using multiple strokes.
Refine the shadow
- Use Quick Mask (Q) and apply Gaussian Blur to soften selected areas.
- Use the Smudge Tool to stretch and soften the edges.
This method gives you the most natural-looking results.
✅ Best for: People, lifestyle photos, compositing into real scenes
✅ Key advantage: Natural variation and control
Method 5: Duplicate & Distort
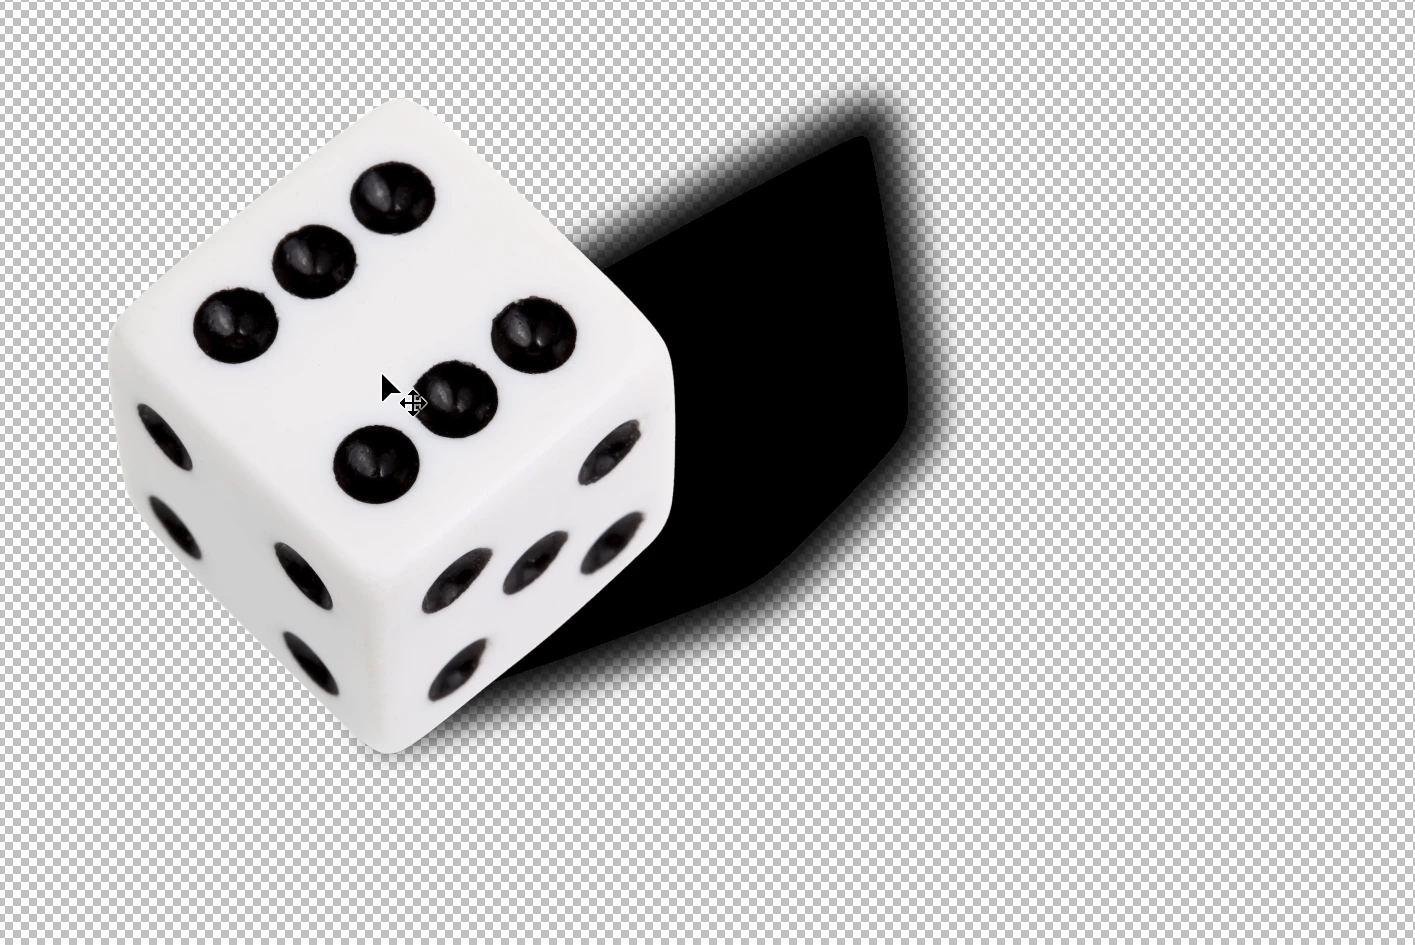
- Duplicate the subject layer.
- Fill the duplicate with black and place it below the original.
- Go to Edit > Transform > Distort.
- Stretch and skew the shadow to match the light direction.
- Apply a slight Gaussian Blur (1–2 px).
- Reduce the opacity until the shadow blends naturally.
This method gives you precise control over direction and perspective.
✅ Best for: Product photography, angled lighting
✅ Key advantage: Correct perspective and direction
Method 6: Channel-Based Shadow
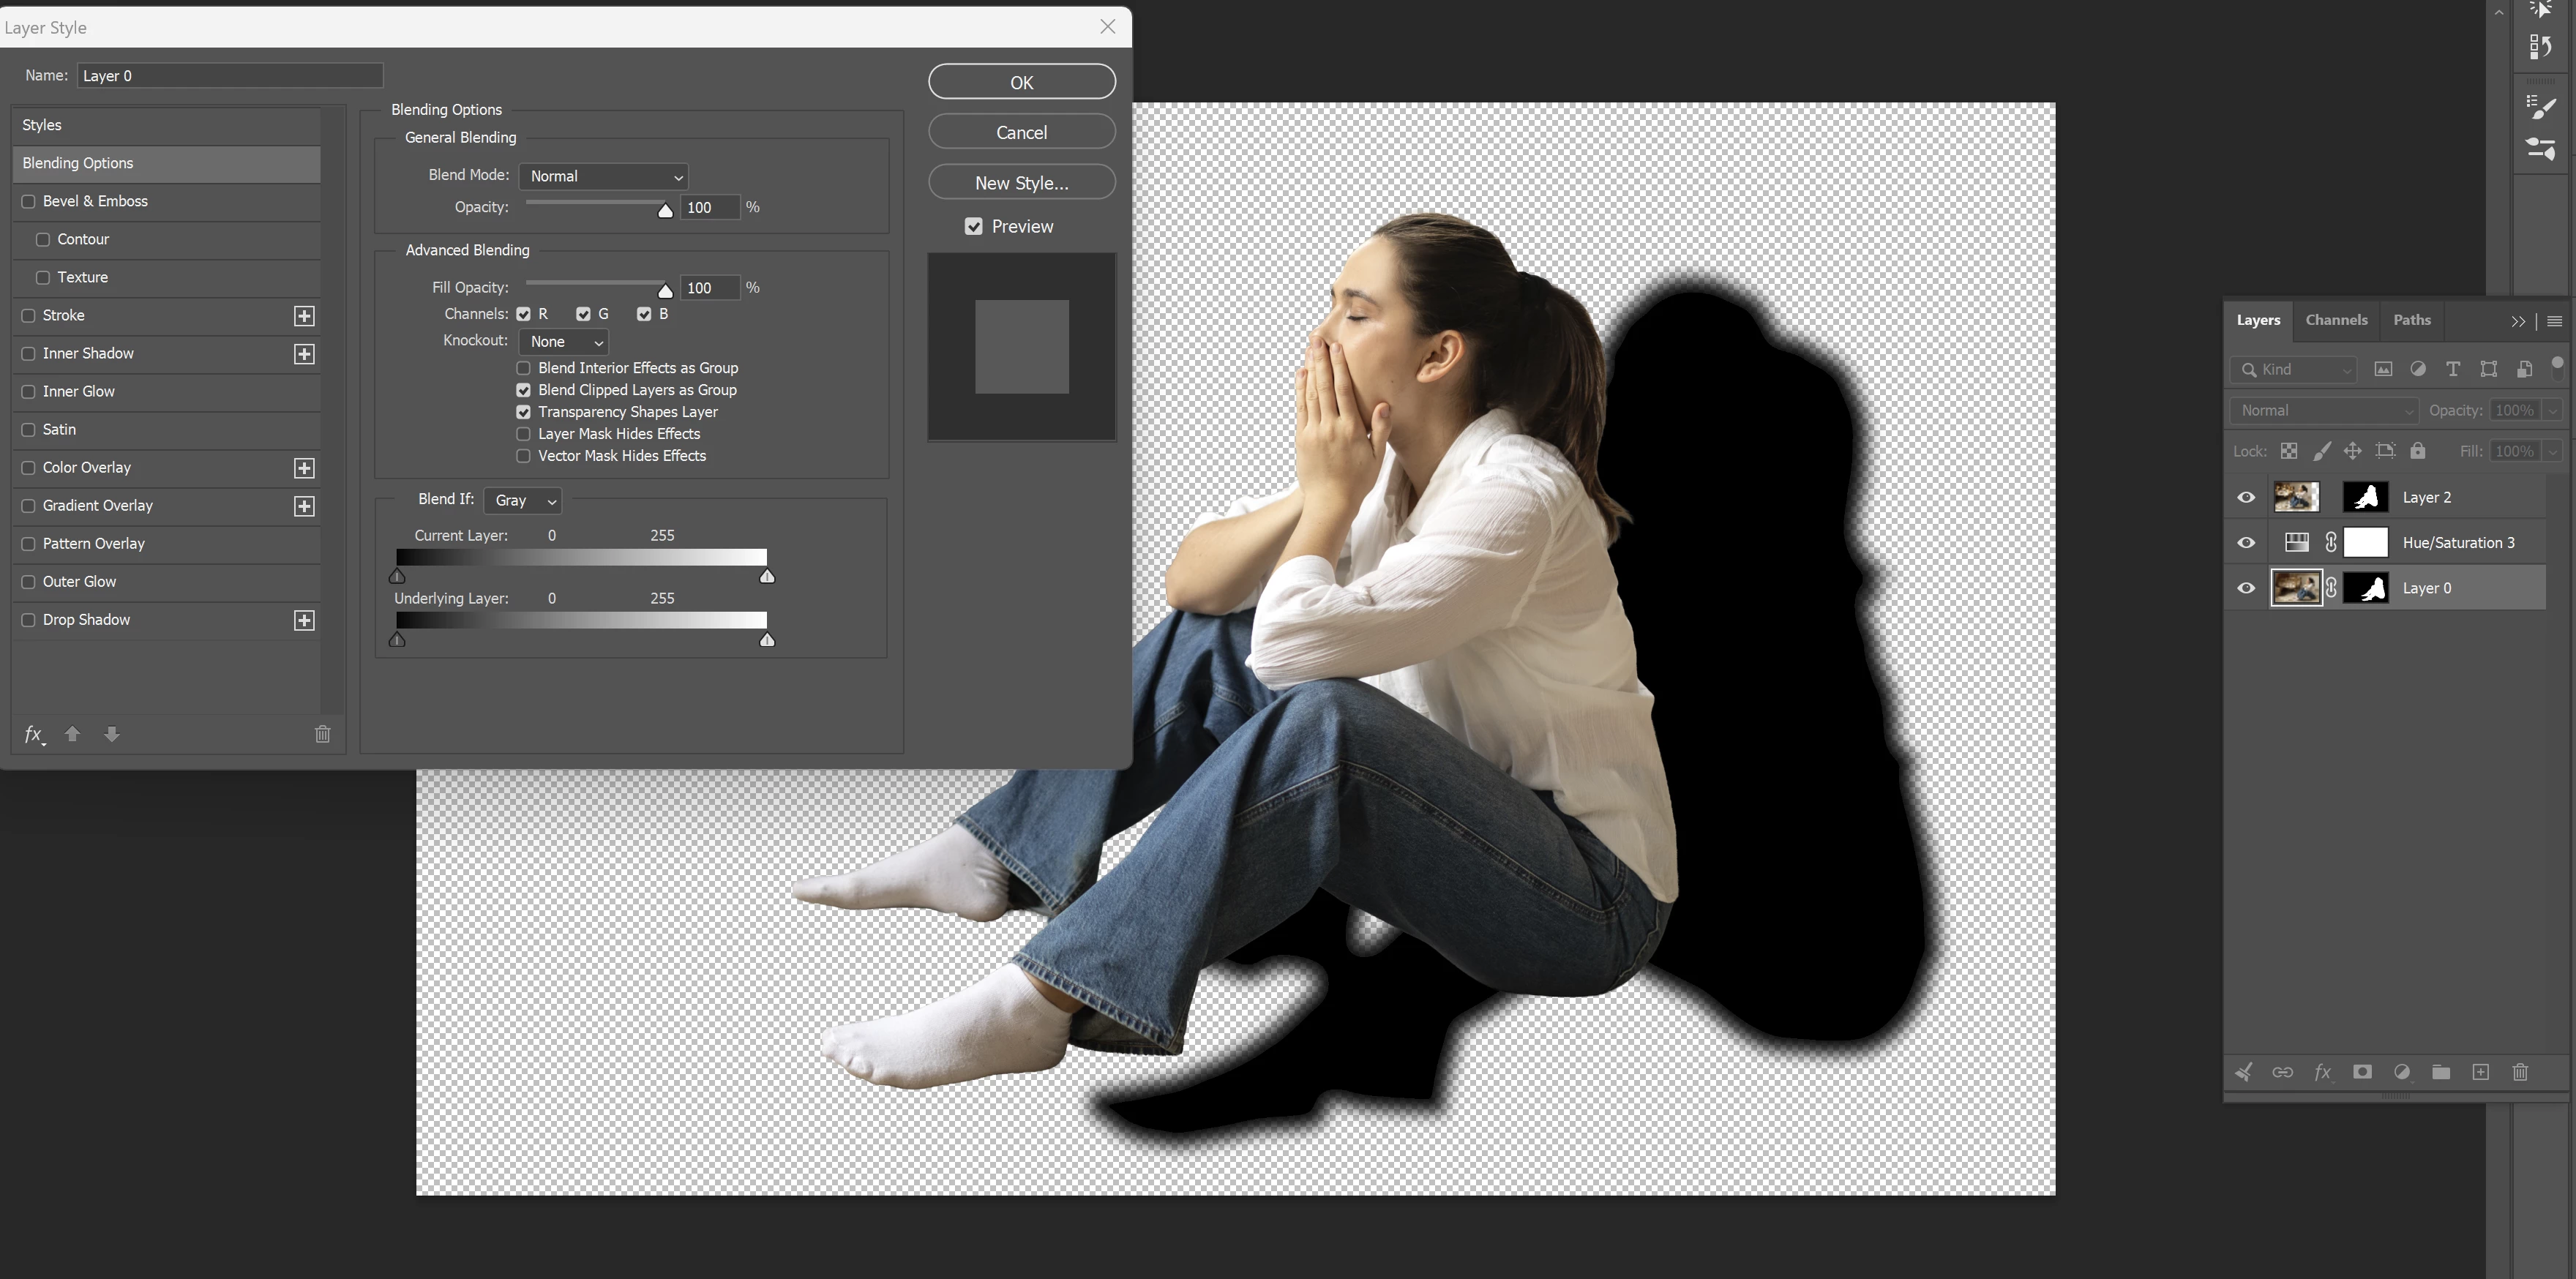
- Open the Channels panel.
- Duplicate the Red channel, or the channel with the highest contrast.
- Paste it as a new layer.
- Open Layer Style > Blend If and split the Highlights slider to reveal shadow detail.
- Adjust the shadow with a Lightness adjustment if needed.
- Use Edit > Transform > Distort to match the scene.
This method keeps realistic photographic shadow detail intact.
✅ Best for: Maintaining real photographic shadow detail
⚠️ Requires a suitable source image
💡 Pro tips:
- If your shadow needs to wrap across walls or other 3D surfaces, Photoshop cannot generate it automatically. Create the shadow in a 3D application using a shadow catcher, then composite the rendered shadow back into Photoshop.
- The most realistic shadows are darkest and sharpest near the object. As the shadow moves away, it becomes softer and lighter. Matching the shadow to the direction and intensity of your light source makes the composite feel believable.
Join the conversation 💬
Which method do you rely on most in your workflow: fast gradients, painted shadows, or full distortion setups? If you’ve experimented with combining techniques (for example, distortion + hand painting for extra realism), share your before/afters.


 AdChoices