



Fine-tune your AI edits with Generative restyle
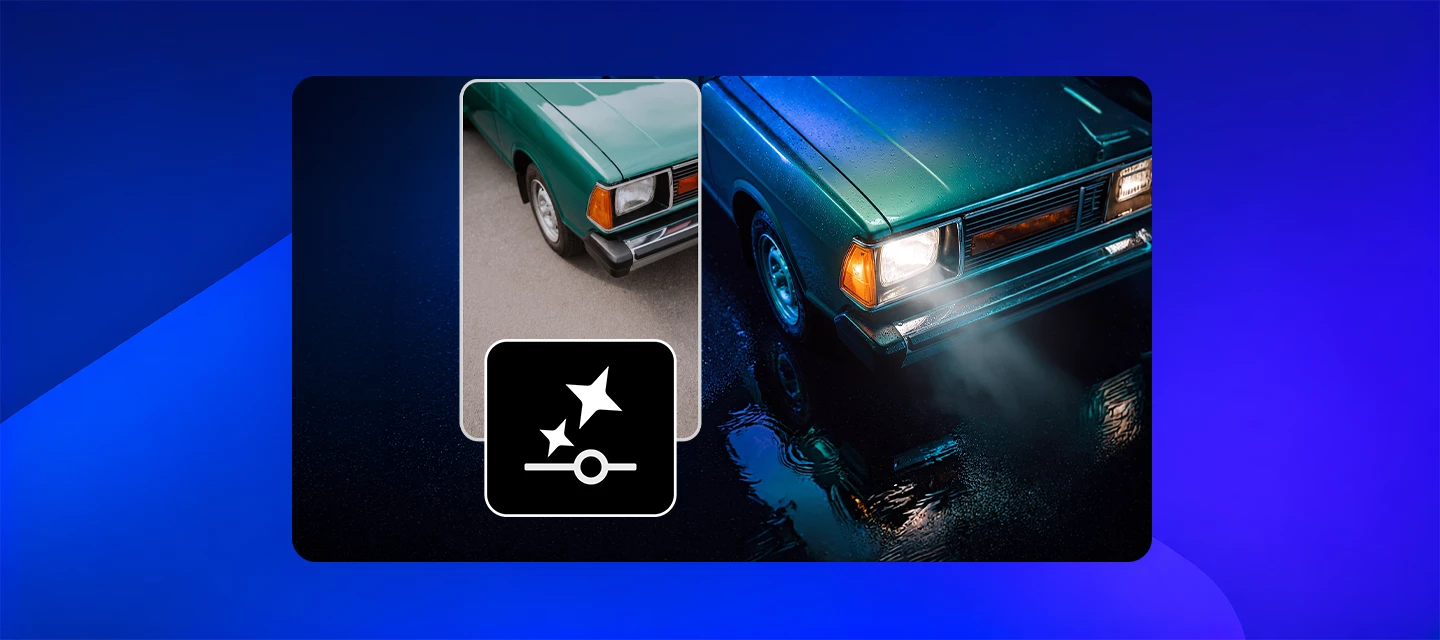
Ever generated an edit that was almost right, but wished you could dial the effect up or down without generating another variation? With Generative restyle in Adobe Photoshop on desktop, you can turn an edit created with Prompt to edit into an adjustable experience, then fine-tune image attributes using a custom slider.
Instead of repeatedly generating new variations, Generative restyle lets you refine the existing result. Once converted, the effect stays editable, so you can revisit the layer and adjust it whenever you need.
Heads up on credits
Creating a Generative restyle layer uses 80 generative credits. You also need a Prompt to edit result first, so factor that in before you start experimenting.
Why you'll love it
- Fine-tune generated image attributes with an intuitive custom slider.
- Increase or decrease the intensity of an effect without generating new variations.
- Keep your result editable with a dedicated Generative restyle layer.
- Experiment with adjustments directly from the Properties panel or Contextual Task Bar.
- Capture the result as a layer or export the transformation as a video.
Where it shines
- Color and mood: Prompt for a brighter, more colorful look, then use the slider to find just the right intensity.
- Creative exploration: Experiment with how strongly a generated style or attribute influences your image without repeatedly generating variations.
- Subtle refinements: Dial an effect back when the initial generated result feels too strong.
- Before-and-after storytelling: Use Export Video to share how your image changes as the restyle effect is adjusted.
How it works
Open an image and select the entire image, then enter a prompt describing the change you want and generate it using Prompt to edit. Once the generated edit appears, select Generative restyle from the Contextual Task Bar. Photoshop converts the result into a Generative restyle layer and adds a custom slider to the Properties panel and Contextual Task Bar.
Move the slider to fine-tune the image attributes and control the intensity of the generated result. When you're happy with the adjustment, select Capture as Layer to save the result as a layer, or Export Video to export the transformation as a video.
The best part? The Generative restyle layer stays editable, so you can return to it and continue fine-tuning the effect.
A few things to know
- You’ll first need to create an edit using Prompt to edit before converting it to a Generative restyle layer.
- Fine-tuning happens through a custom slider available in the Properties panel and Contextual Task Bar.
- You can Capture as Layer or Export Video once you’ve achieved the result you want.
Jump In!
What would you fine-tune with Generative restyle? Would you dial up the color and atmosphere, pull an effect back for something more subtle, or experiment with different intensities until the image feels just right? Share how you’d use it in your Photoshop workflow.
 AdChoices