

Changing Track Size (Timeline Track Height)
📏 Changing Track Size in the Timeline
TL;DR
- Track height affects visibility, not playback or export
- Taller tracks reveal more waveform detail
- This is a timeline view preference — not a sequence setting
- Multiple methods exist: drag, scroll shortcuts, keyboard shortcuts, and saved presets
The Common Confusion
Users often assume track size affects:
- Audio loudness ❌
- Waveform resolution ❌
- Export output ❌
It only affects what you see while editing.
Why Adjust Track Size
Increase track height to:
- Make waveform transients clearer
- Align edits more precisely
- Reduce eye strain on dense timelines
How to Adjust Track Height
Manual drag
Hover over the dividing line between tracks in the track header area and drag up or down. Easy to find, but harder to get consistent sizes across tracks.
Double-click the track header
Double-click the gray track header to toggle between standard and expanded height. Quick way to reset a track if it's gotten out of hand. Audio tracks will also expand to reveal their L/R channel breakdown.
Scroll shortcuts
- Shift + Scroll — resizes all tracks at once
- Shift + Ctrl (PC) / Shift + Cmd (Mac) + Scroll — same, but slower and more precise
- Alt (PC) / Option (Mac) + Scroll — resizes only the track under your cursor
- Alt/Option + Ctrl/Cmd + Scroll — single track, slow and precise
Keyboard shortcuts for video and audio separately
- Ctrl/Cmd + Plus or Minus — increases or decreases video track height only
- Alt (PC) / Option (Mac) + Plus or Minus — increases or decreases audio track height only
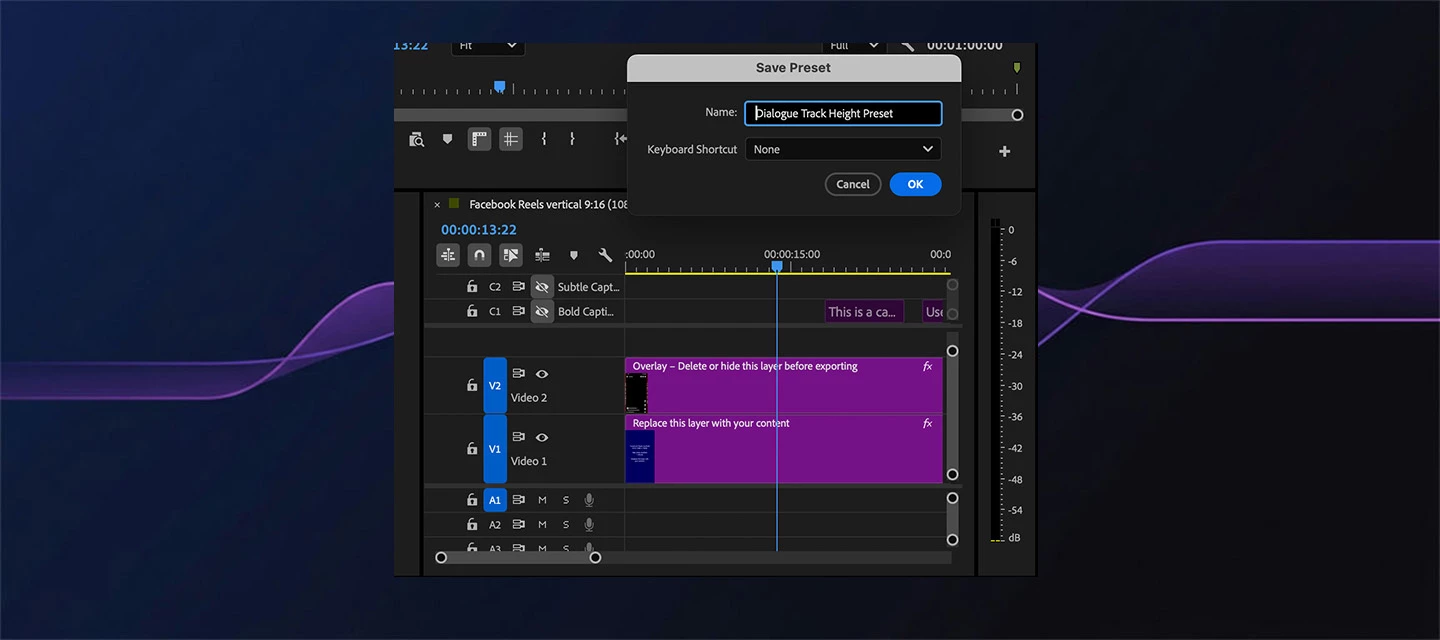
Save a track height preset (power tip)
Get your tracks sized exactly how you like them, then open the keyboard shortcut editor with Ctrl+Alt+K (PC) / Cmd+Option+K (Mac), search for "height," and assign a shortcut to your saved Track Height preset — something like Shift+Y. From then on, one keystroke snaps your timeline back to your preferred layout no matter how scrambled it gets.
📎 Resources:
Edit Track Appearance
Default Timeline preferences
