



New in Adobe Premiere 27.0: Meet Color Mode
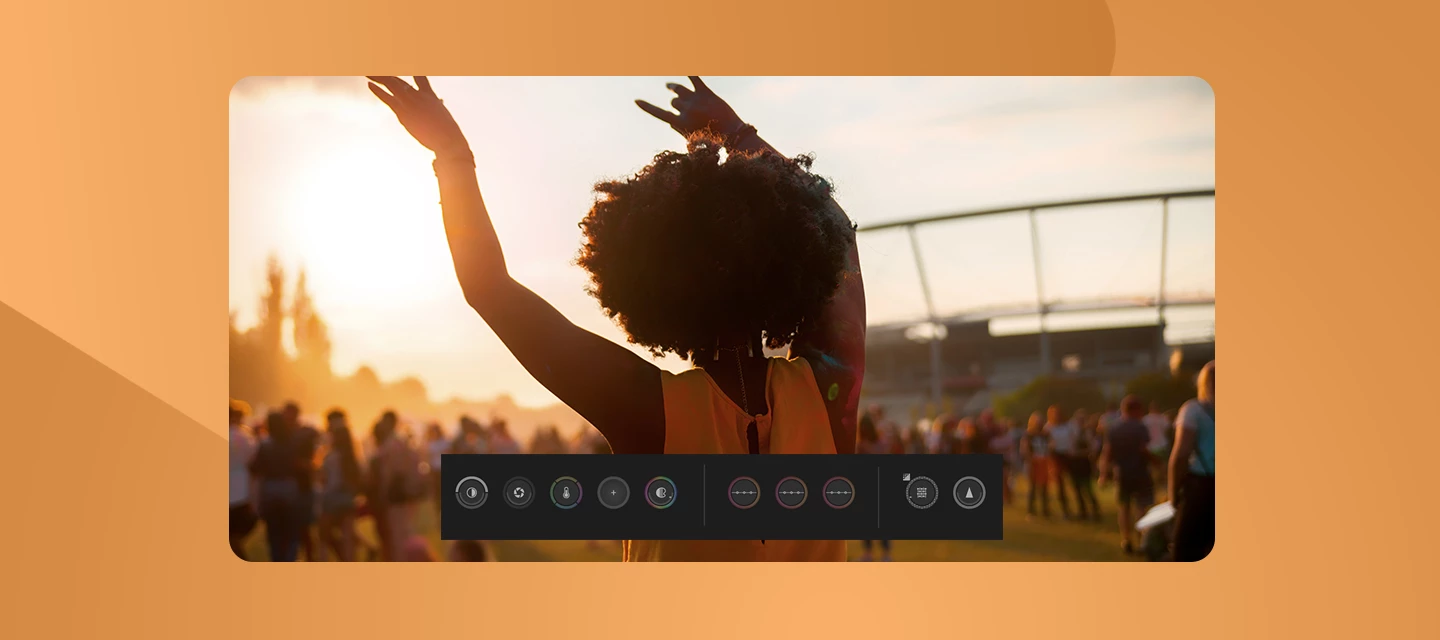
Color grading in Premiere just changed.
Adobe Premiere 27.0 introduces Color Mode, a dedicated color-grading workspace designed to help you correct individual shots, create consistent looks, and manage color across an entire sequence.
It works differently from Lumetri Color, so here's a quick tour to get you started.
Before you start
Version: Adobe Premiere 27.0
Where to find it: Select the Color tab next to Edit in the upper-left corner of Premiere.
Existing projects: Previous projects using Lumetri Color are preserved and appear as before. You can continue editing existing Lumetri Color effects in the Effect Controls panel.
Color management: Before you start grading, check that your sequence is using the correct color setup. Changing the color setup after making color adjustments can change the appearance of your clips.
Performance: Color Mode supports a wide range of media, although 8K media may have performance issues when working at 8K sequence resolution.
Last verified: November 3, 2026
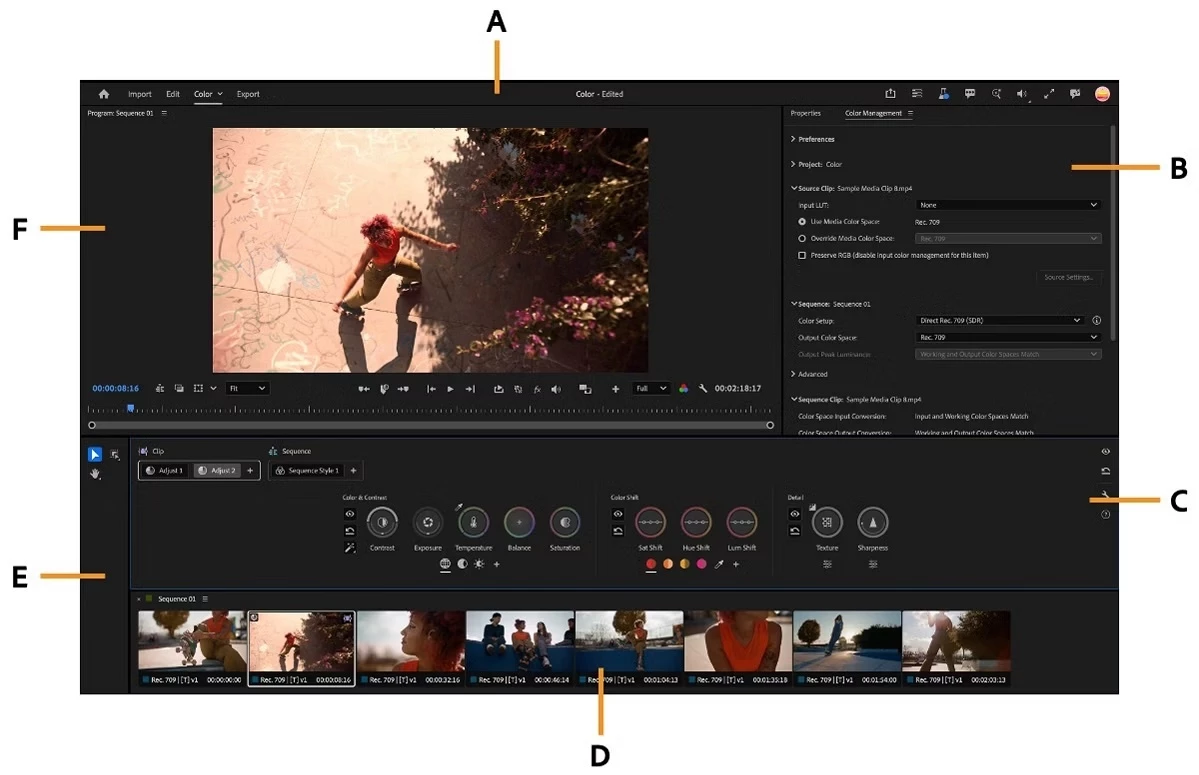
Color Mode provides a dedicated workspace for adjusting and managing color in Premiere.
What's new in Color Mode
1. See your whole sequence with the Clip Grid
The Clip Grid lets you see the clips in your sequence at a glance. Use it to navigate between shots, identify clips that need attention, and manage your grades without constantly moving around the timeline.
You can:
- Filter and sort clips
- Make multiple selections
- Copy and paste color operations
- Add clips to or remove them from groups
The Clip Grid is available only in Color Mode.
2. Grade with Adjust, Style, and LUT operations
Color Mode provides three types of operations for correcting and grading your clips:
- Adjust: Includes controls for making corrections, including Auto Color for automatically adjusting exposure and white balance.
- Style: Includes creative controls such as Midtones, Variable Vibrance, Film Color, and Vignette.
- LUT: Lets you incorporate LUTs into your color workflow.
Use these operations together to correct individual shots and build the look you want for your sequence.
3. Apply color to clips, groups, or the sequence
One of the biggest changes in Color Mode is the ability to manage color at different levels of your project.
For example, you can:
- Correct exposure on an individual clip.
- Use a group to apply adjustments across related shots.
- Apply a broader look across the sequence.
This makes it easier to separate shot-by-shot corrections from adjustments intended to affect multiple clips.
4. Keep related shots consistent with groups
Working with shots from the same camera, scene, or setup? Groups make it easier to manage related clips together.
Use the Clip Grid to make selections and create groups for grade management. You can also add clips to or remove them from groups directly from the Clip Grid.
This can be especially useful for interviews, multicamera footage, or groups of shots captured under similar conditions.
5. Stay focused on the picture
Color Mode introduces a dedicated Color Monitor and Color Controls panel designed around the grading workflow.
Color Monitor lets you switch between Sequence and Clip playback modes, depending on whether you want to navigate the overall sequence or concentrate on an individual clip.
You can also use Solo mode to temporarily disable overlays and composited elements while evaluating your adjustments.
Color Mode also supports masking controls, giving you additional control when making targeted adjustments.
What about Lumetri Color?
The Lumetri Color panel is being retired in Premiere 27.0, but Lumetri isn't disappearing completely.
Here's what you need to know:
- The Lumetri Color effect remains available.
- Existing projects using Lumetri Color import with their existing color adjustments preserved.
- Existing Lumetri Color effects can still be adjusted using Effect Controls.
- You can continue adding Lumetri Color effects from the Effects panel.
For new projects, Adobe recommends using Color Mode rather than combining new Lumetri Color effects with Color Mode. Mixing the two approaches can limit some of the grading capabilities available in the dedicated Color workspace.
If you're finishing an existing project that relies heavily on Lumetri, consider completing that work in Premiere 26.x before moving the project to the new Color Mode workflow.
A quick note about color management
Color Mode is designed to work with Premiere's Color Management system across supported color spaces, including log, raw, SDR, and HDR workflows.
Before grading, verify that your sequence is using the appropriate color setup. For HDR work, select a supported HDR output color space such as Rec. 2100 HLG or PQ and use an HDR-capable display when evaluating HDR highlights.
Your turn
Have you tried Color Mode in Premiere 27.0?
What part of the new workflow has made the biggest difference for you: the Clip Grid, groups, Color Controls, or the dedicated Color Monitor?
Tell us in the comments!
Learn more
Learn more: Color Mode in Premiere
 AdChoices