



Now in Beta: Auto-update Keyframes for Audio Ducking in Premiere
Hey everyone! We're excited to share a refinement to Ducking that just landed in Premiere Beta 26.5 (Build 12): Auto-update keyframes.
This new option is enabled by default and is designed to keep your ducking in sync as your timeline evolves. No more manually regenerating keyframes every time you tweak a clip.
What's New?
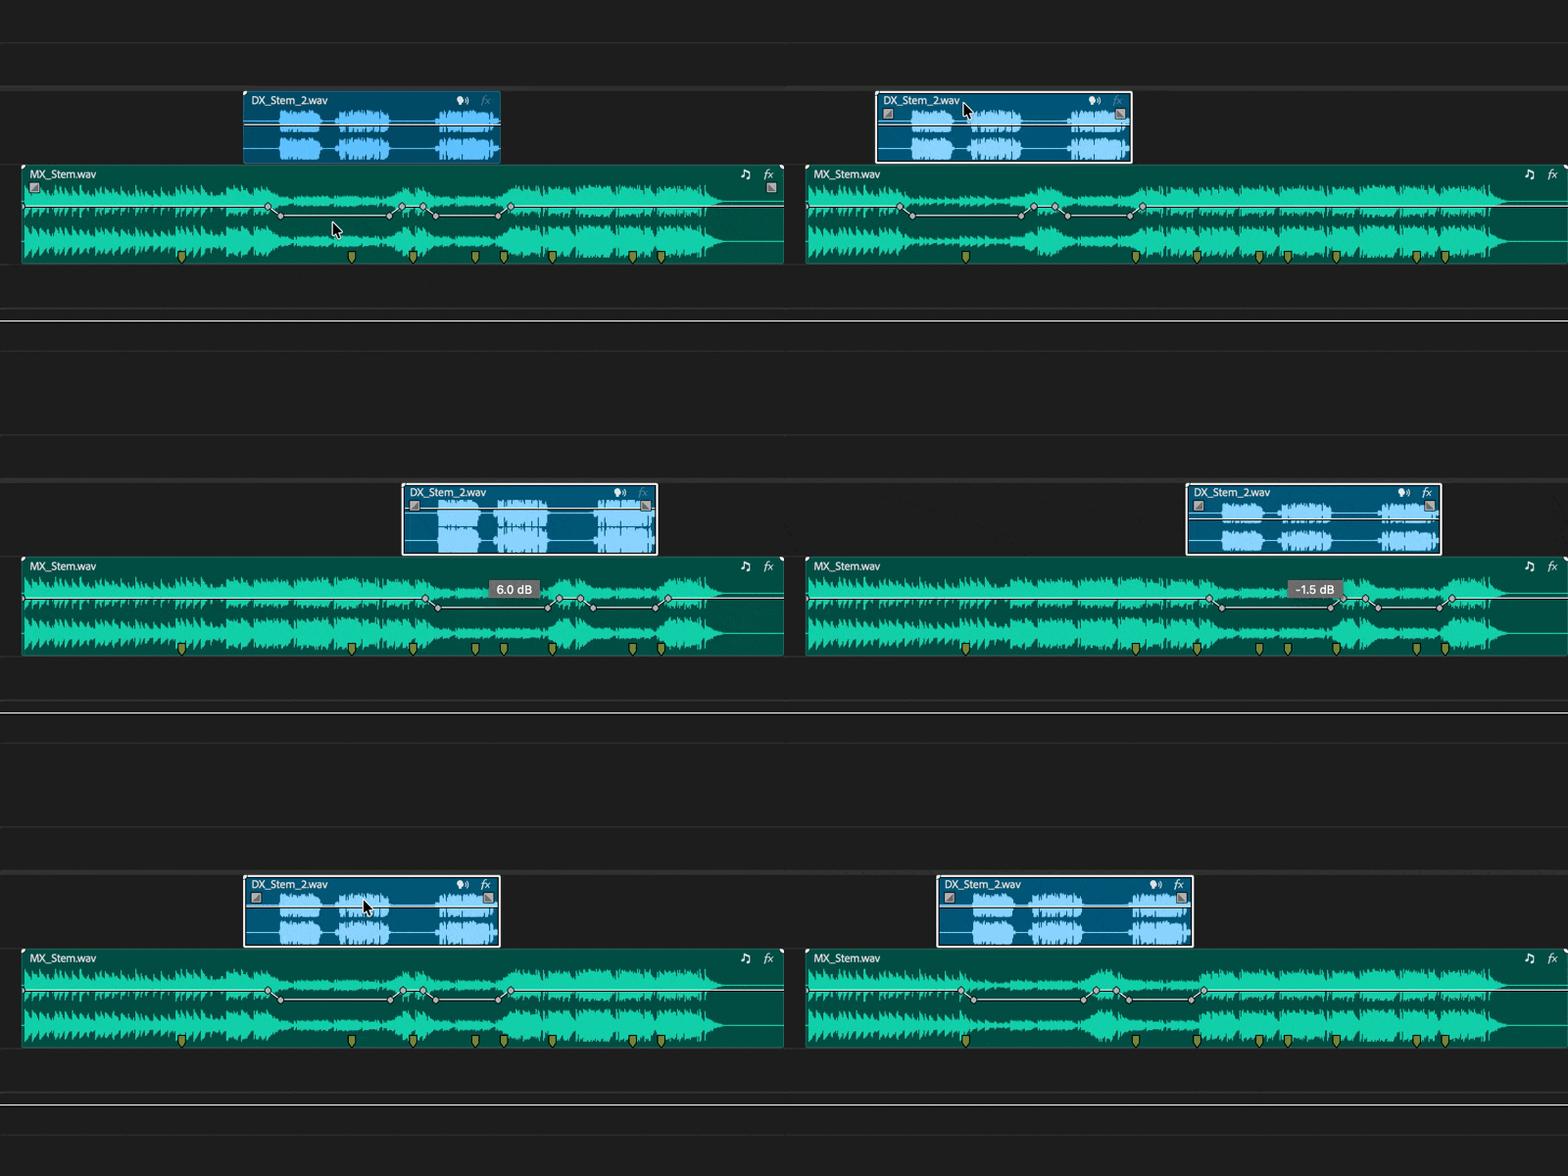
With Auto-update keyframes turned on, Ducking now follows your clip changes automatically. As you trim, move, or swap out the audio you're ducking toward, the music ducking keyframes update on their own to match. Your mix stays in step with your latest edit decisions, without you having to think about it.
Where to find it
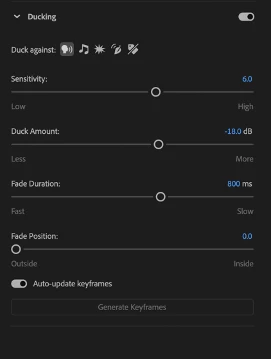
You'll see the new toggle in the Ducking section of the Essential Sound panel, right above the Generate Keyframes button. It's on by default, but you can switch it off any time if you'd rather drive keyframe generation manually.
Why this matters
Editing is iterative. You move a clip, swap a VO take, re-time a section, and suddenly your music ducking is out of sync with the new picture. Auto-update keyframes removes that friction by tying the ducking behavior directly to the target audio you want your music to mix toward.
You can:
- Keep music ducking aligned with VO, dialogue, or SFX as your edit evolves
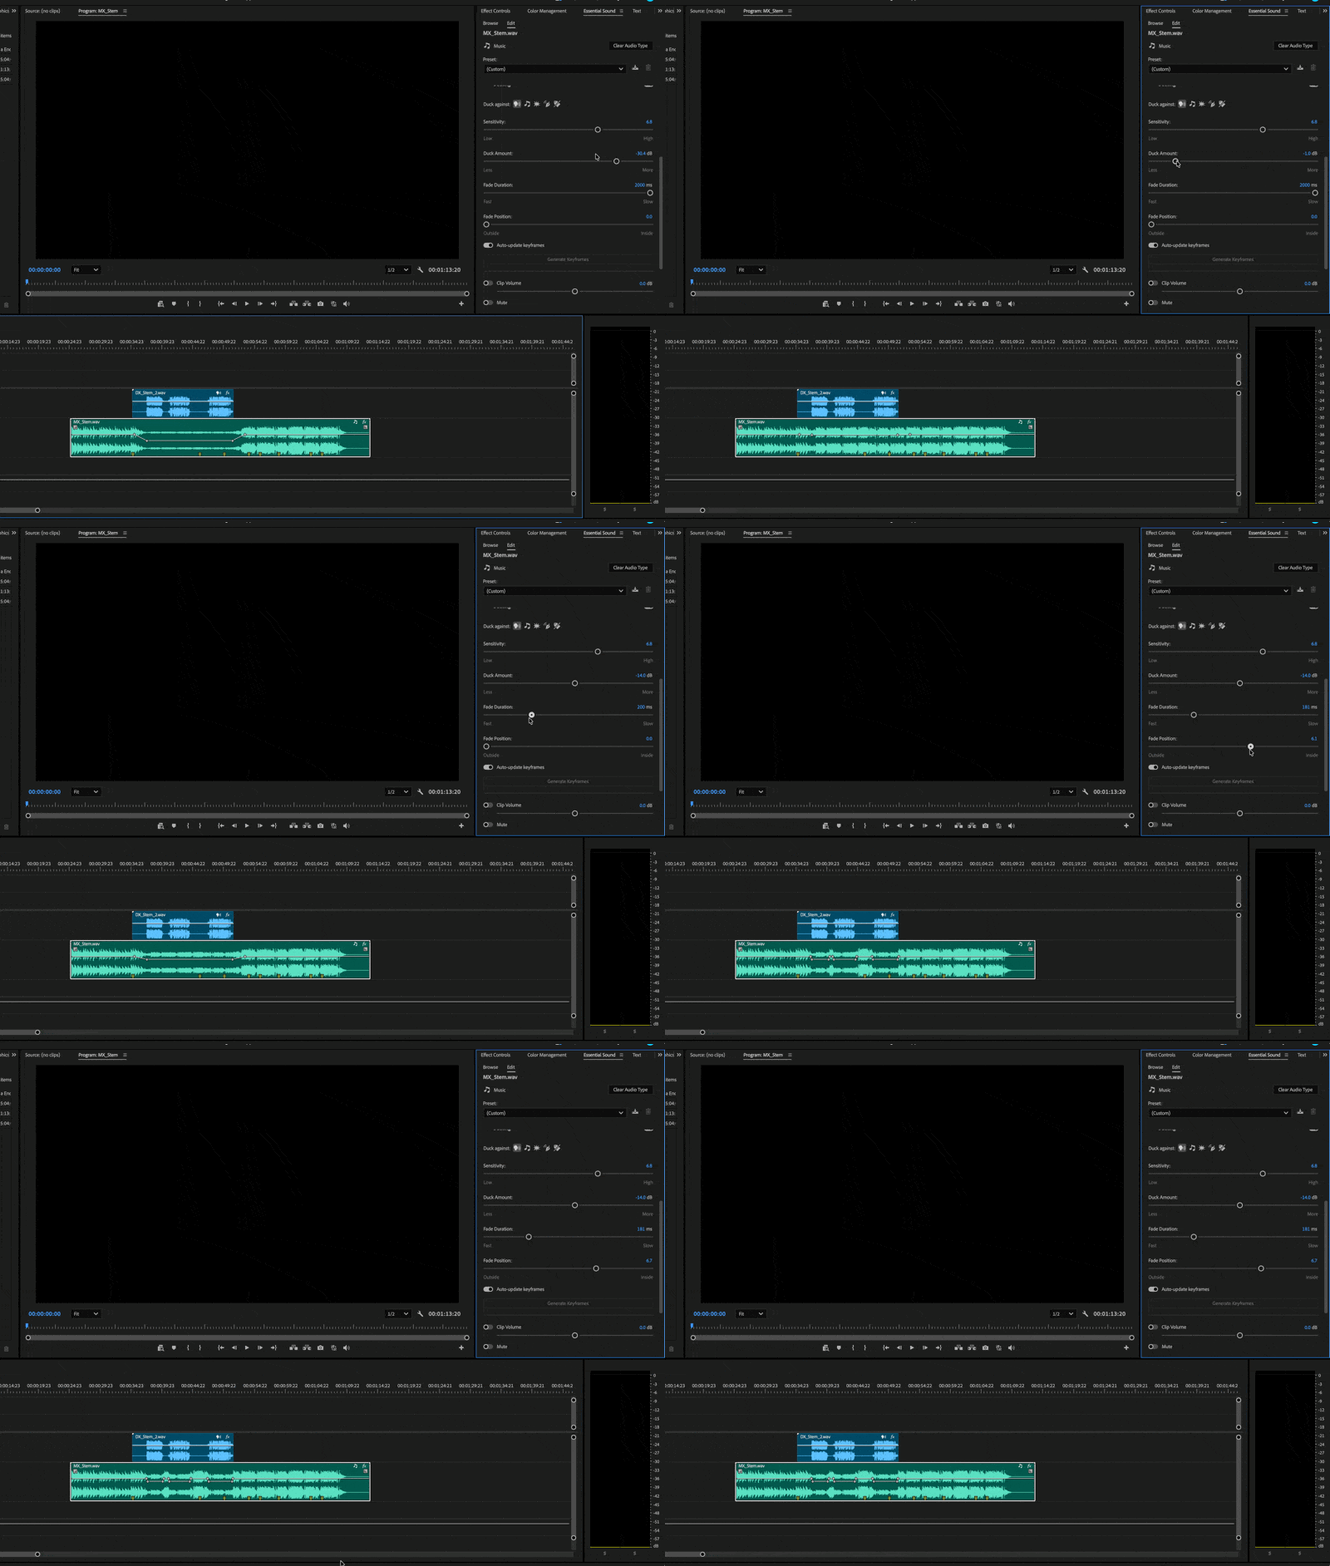
- Dial in Sensitivity, Duck Amount, Fade Duration, and Fade Position with live feedback
- Skip the back-and-forth of regenerating keyframes after every clip adjustment
- Turn it off when you want full manual control
Try It Out
This feature is available now in the latest Premiere Beta build (26.5, Build 12). Give it a spin with your usual ducking workflows and let us know how it feels. Your feedback helps shape how Ducking keeps evolving.
Happy editing!
Note: We're still polishing some interactions, so expect to see improvements as we iterate.
 AdChoices