




Now in Beta: Generative Remove in Premiere
A boom mic sneaking into the shot. A light stand that missed its cue to leave. That background distraction you didn’t notice until you started editing. We’ve all been there—and fixing it can take a lot more work than spotting it.
Meet Generative Remove, now available in Premiere (beta). Mask the object you want gone, and Generative Remove fills only the selected area—everything outside your mask stays unchanged. It’s non-destructive, too: your original footage is preserved, so you can experiment, generate again, or revert to the original at any time.
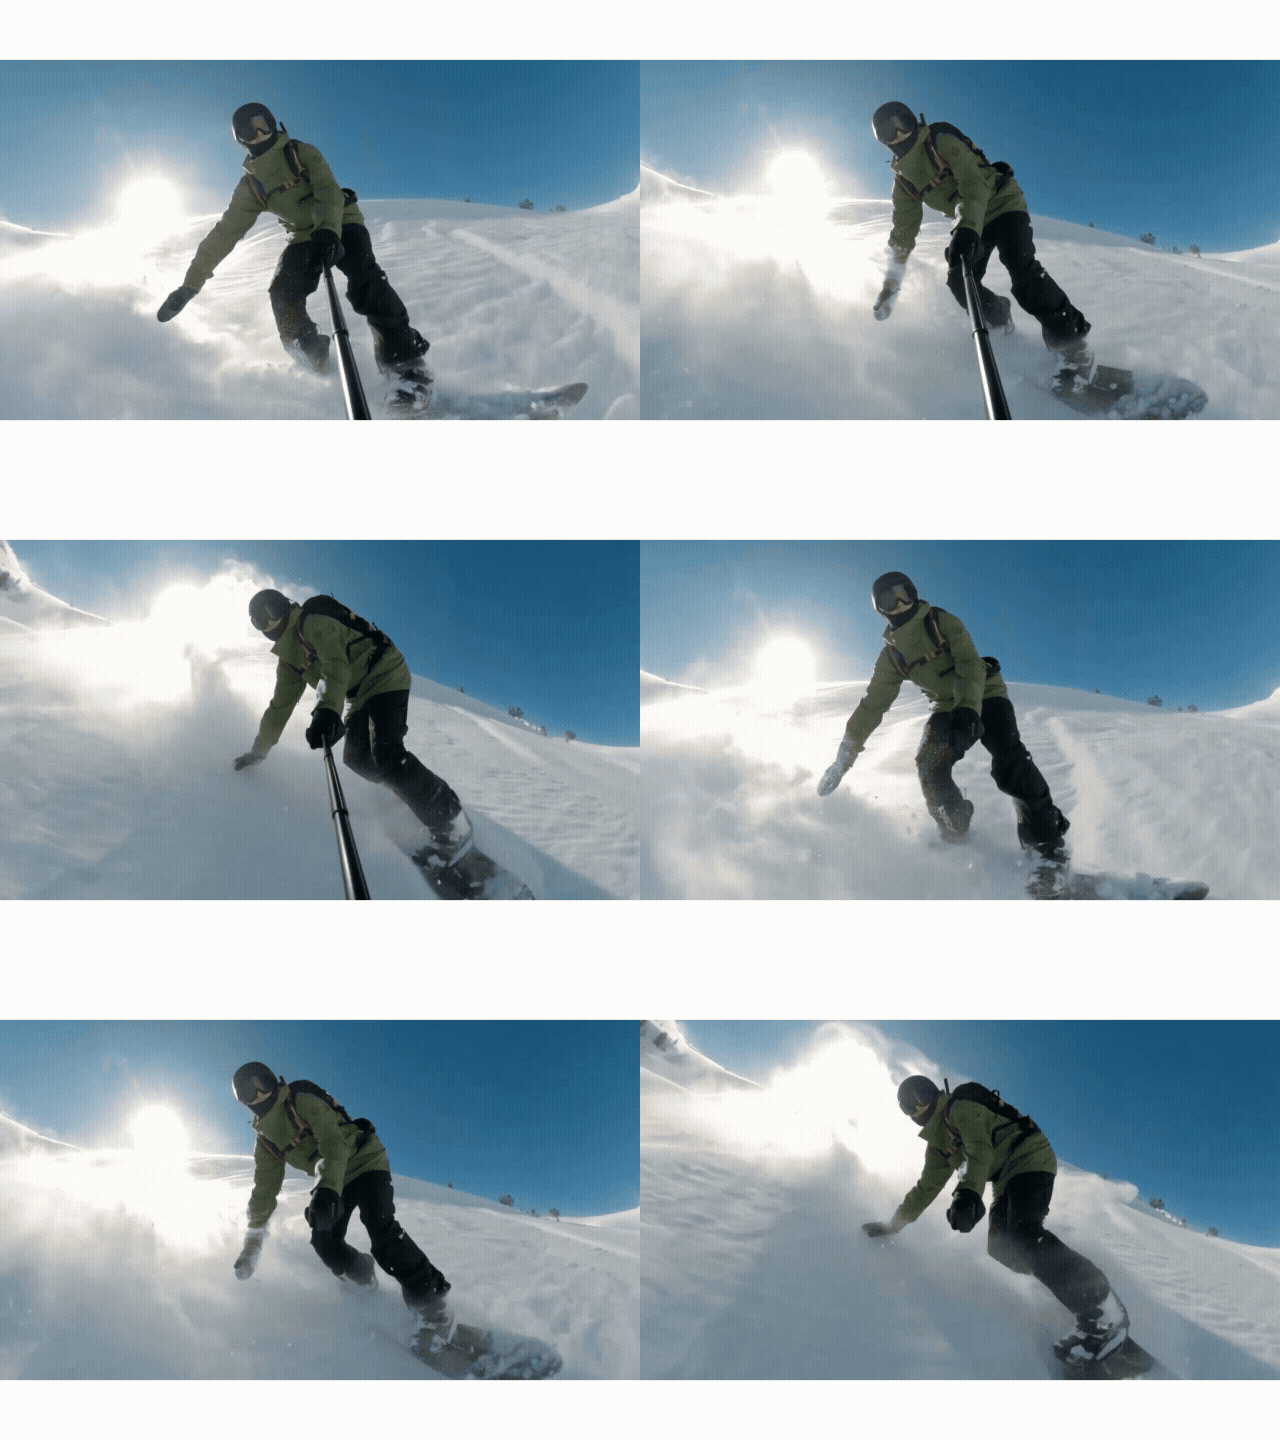
From “we’ll fix it in post” to actually fixing it
Generative Remove builds on Premiere’s masking and tracking tools to help you clean up your shots without breaking your editing flow.
- Choose what goes: Create and track a mask around an unwanted object to control the removal.
- Keep editing: Removal processes in the background, so you can continue working while your result generates.
- Try another take: Generate again or adjust your mask and retry. You can also revert to your original footage.
- Clean up more than one distraction: Create separate masks for multiple objects, then select those masks to remove them in a single generation.
Give it a try
- Open a project in Premiere (beta) and select a clip with an object you’d like to remove.
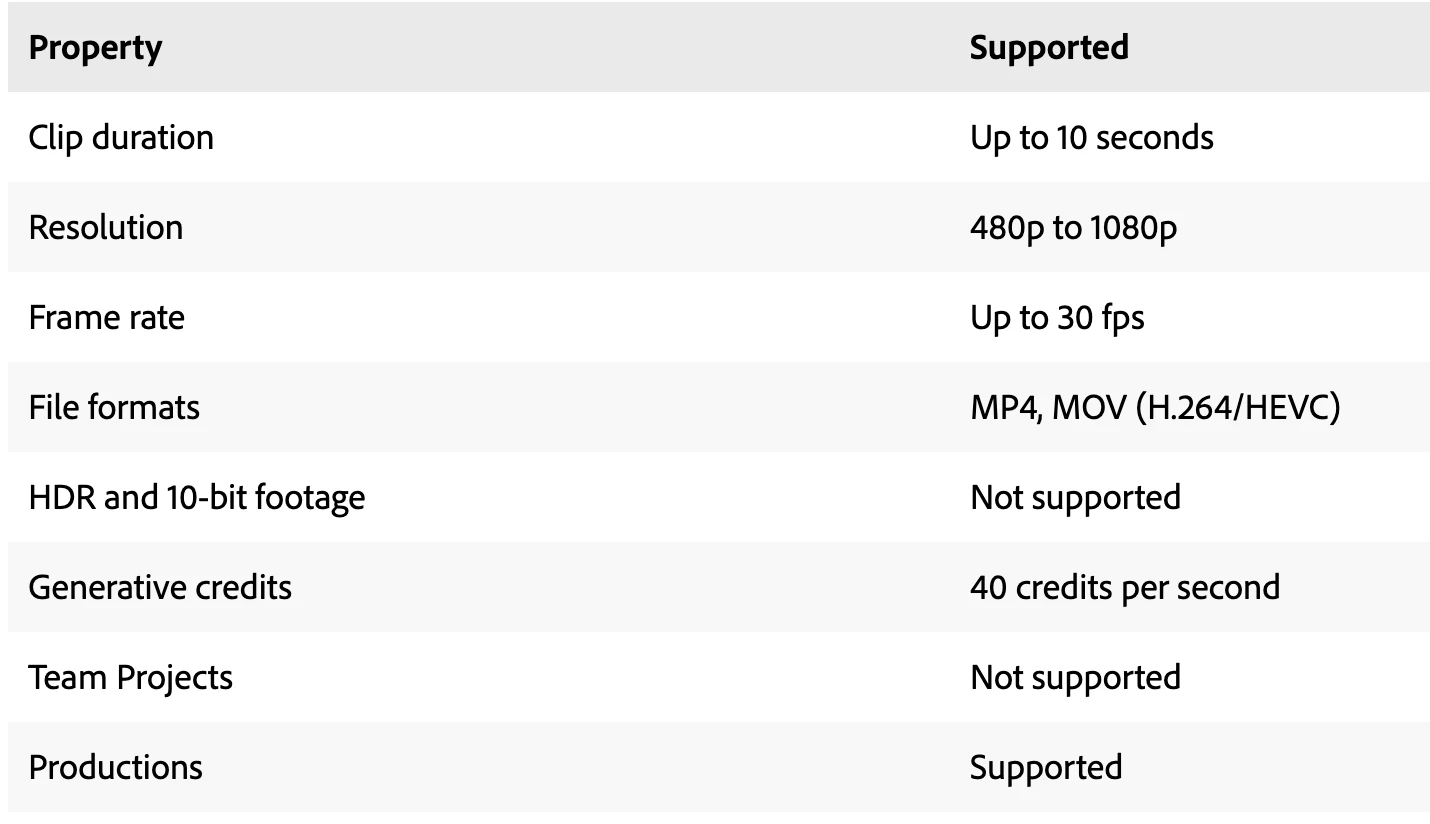
- Currently it supports 480p to 1080p SDR files, up to 30 fps, up to 10 sec
- Create a mask around the object, then track it through the shot.
- Scrub through the clip to check your mask. Include any shadows or reflections you want removed, too.
- Select Remove from the masking controls at the bottom of the Program Monitor, review the generative credit cost, and confirm.
- Review the result on your timeline. Select the clip’s AI badge to generate again, revert to the original, or rate the output.
💡A tip before you hit Remove: A well-tracked mask makes a difference. Make sure the entire object stays inside the mask throughout the shot—not just on the frame where you drew it. For a tightly fitted mask, a slight expansion can help keep the object fully covered.
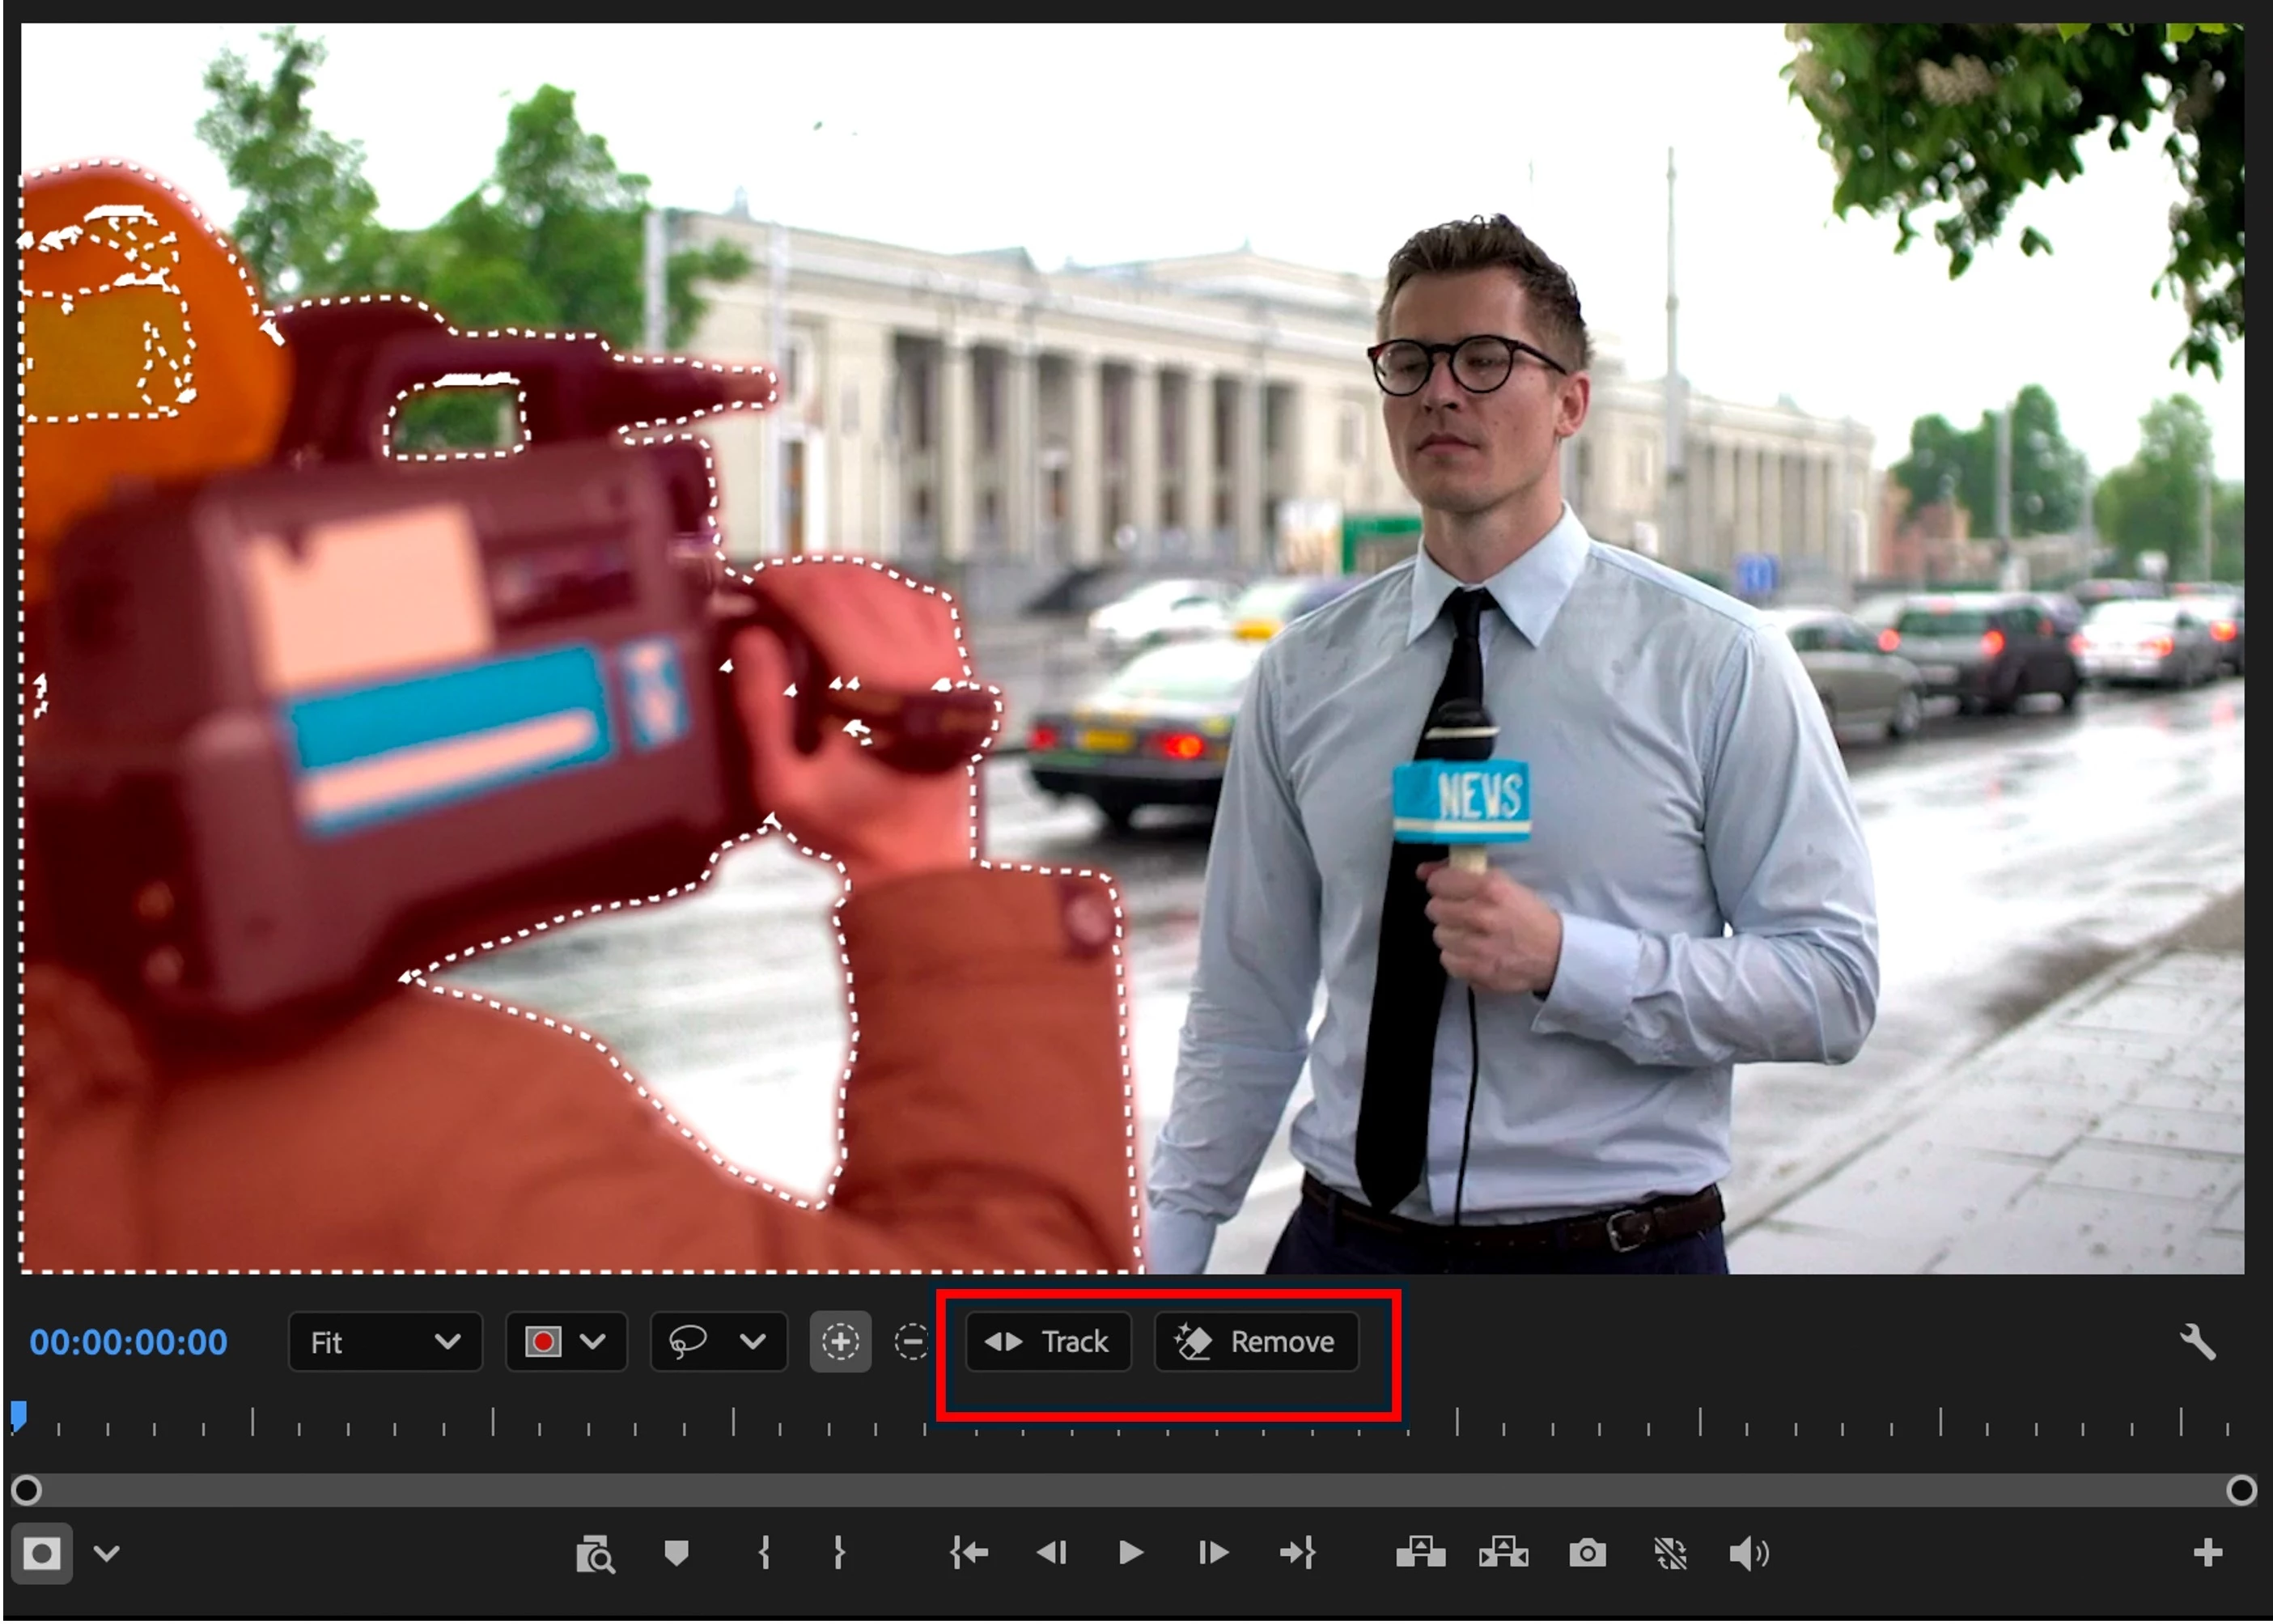
We want your feedback and we can’t wait to see what you make disappear.
Take Generative Remove for a spin on your footage and tell us how it goes. We’d especially love to hear about:
- Getting started: Was it clear how to go from selecting an object to generating a removal?
- Masking and tracking: Could you easily select everything you wanted removed and keep it covered throughout the shot?
- Results: Did the generated area blend into the scene and stay consistent during playback?
Use Good Output or Poor Output from the clip’s AI badge menu to rate a result, or share your experience in the replies below. If something didn’t work as expected, include your beta build, system details, clip properties, and steps to reproduce. Alternatively, you may also share your feedback by submitting the feedback form.
A few things to know during beta
Generative Remove requires an internet connection and processes footage in the cloud.
For a removal that spans an entire clip, generate it in one pass where possible. Processing separate segments can produce fills that don’t match across the cuts.
Current beta support includes:
 AdChoices