
Now in Beta: Show Markers in Transcript
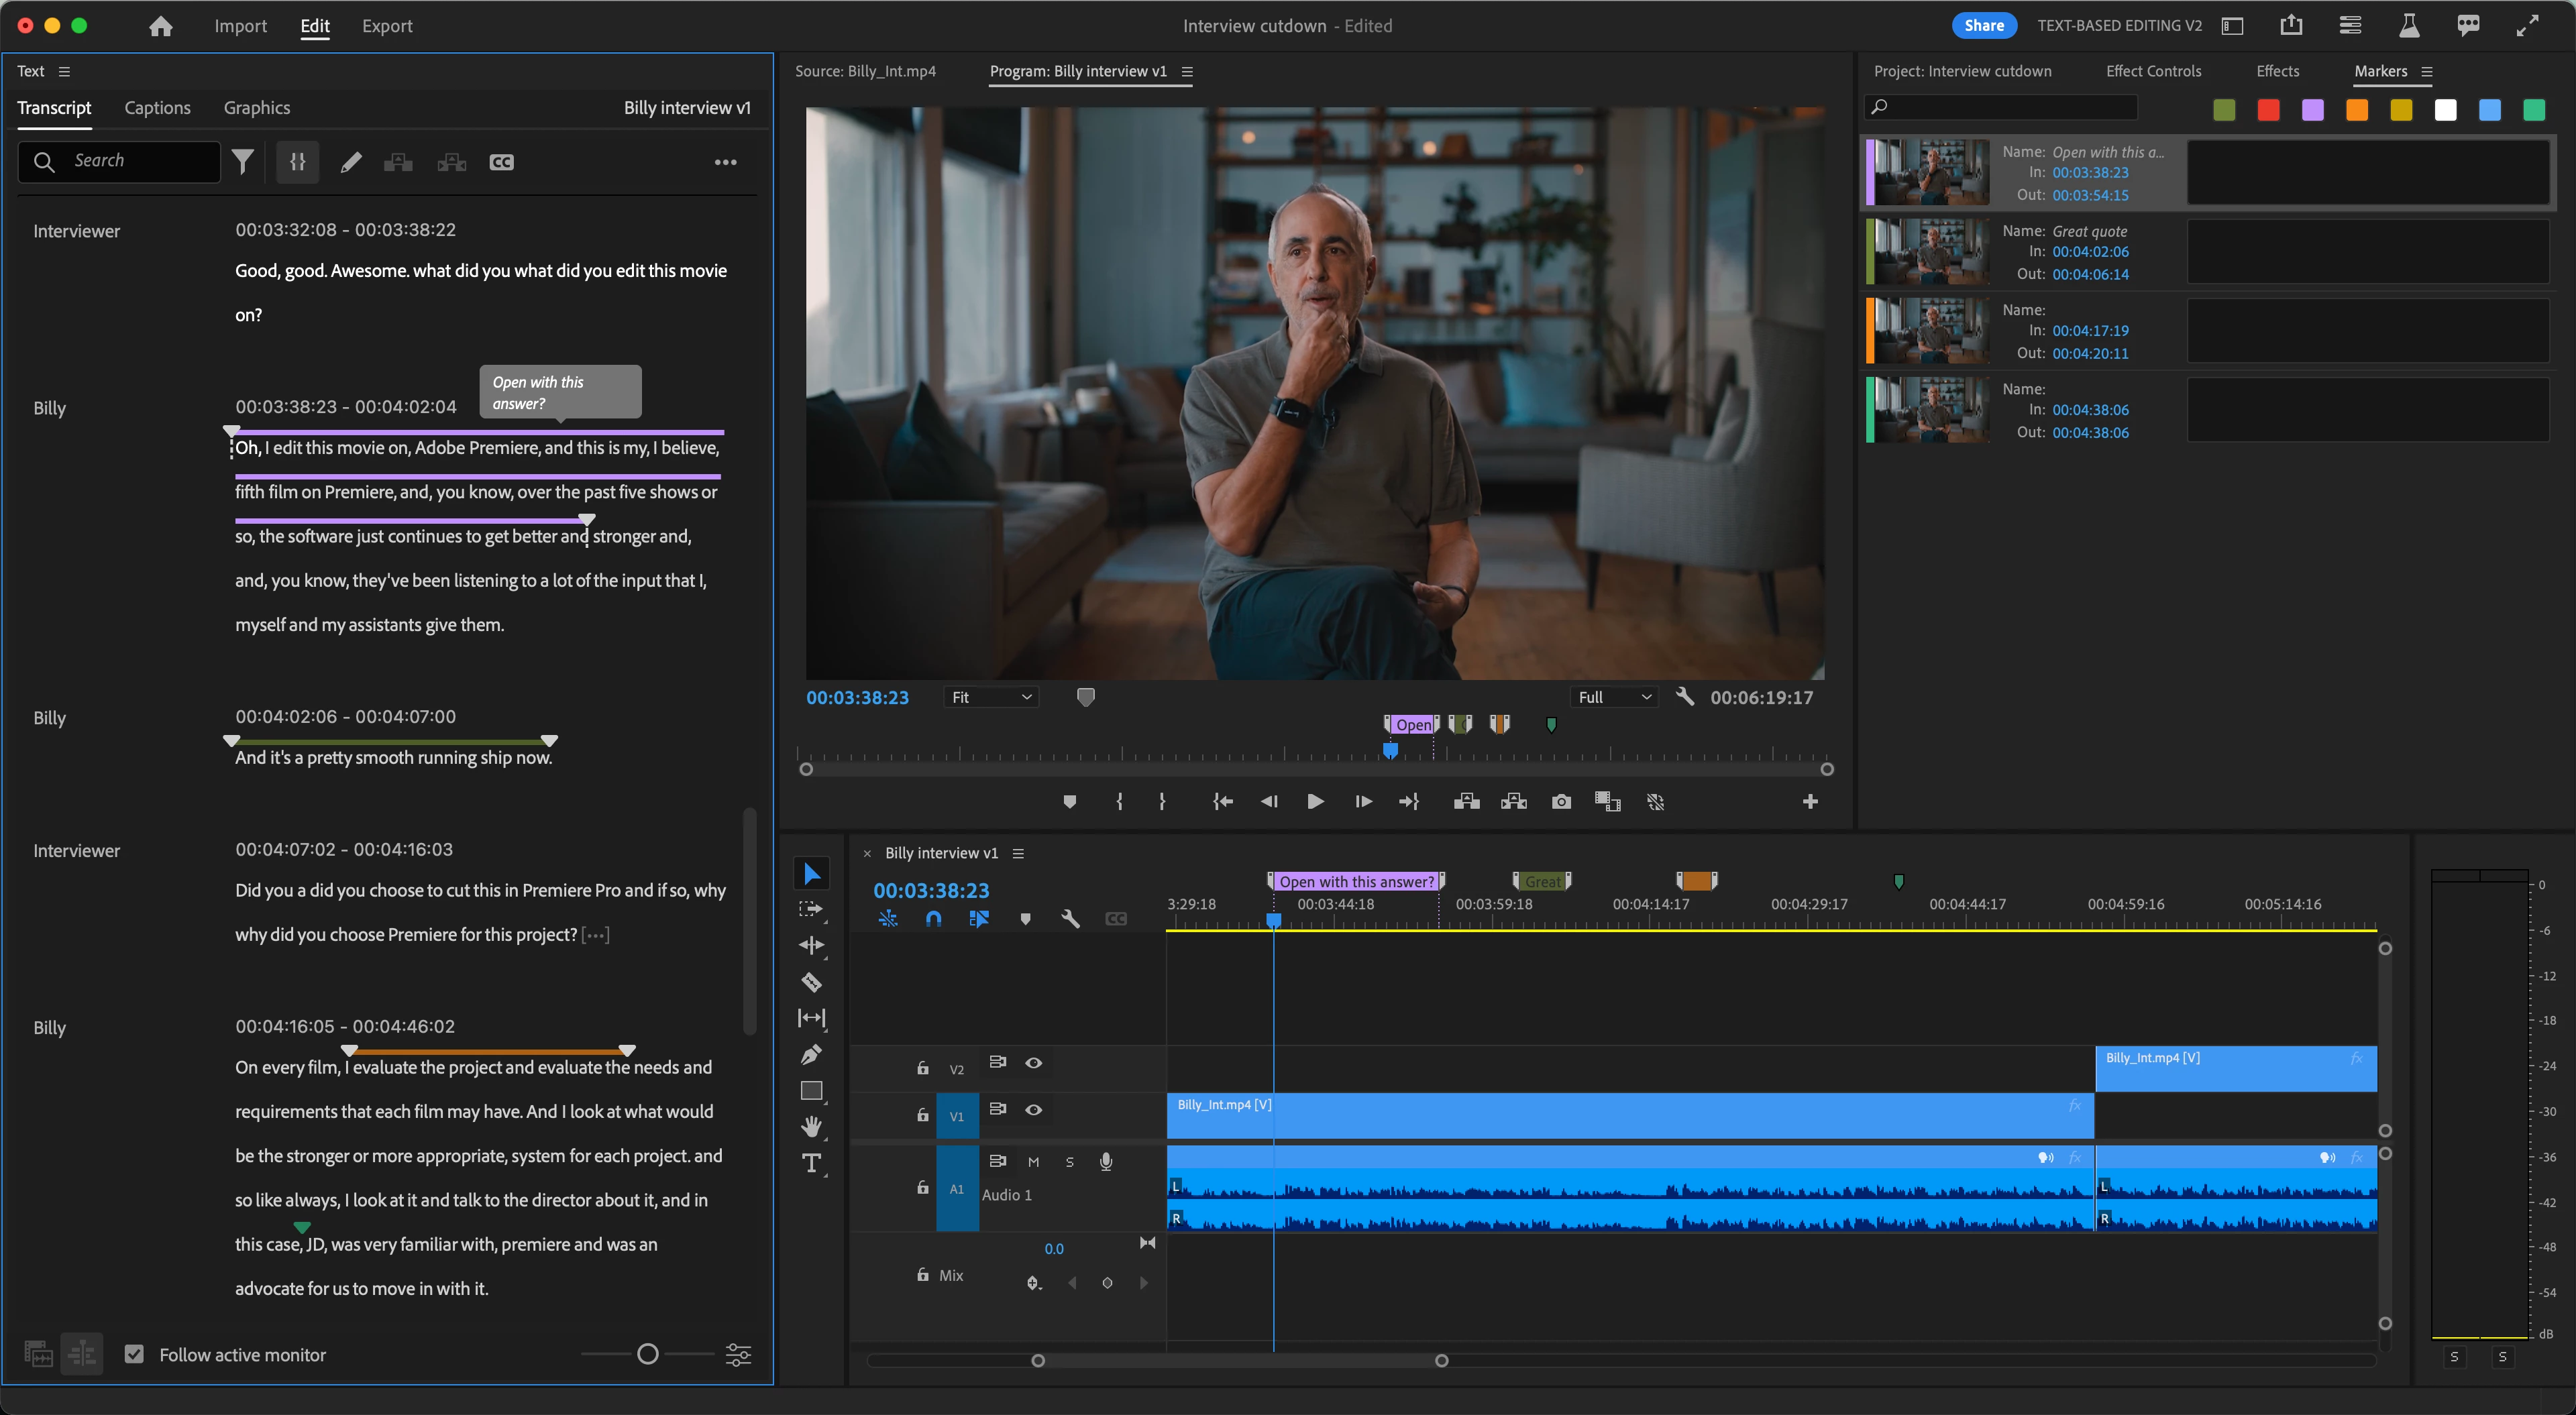
New in Premiere Pro (beta) you can choose to show markers in your transcripts in the Text panel so you can leave notes or place bookmarks in the transcript as you’re working! Give it a try and let us know what you think.
We’ve added support for both source clip markers and sequence markers. Markers on source clips are shown when viewing a source clip’s transcript, and markers on sequences are shown when viewing the sequence transcript. However, markers on source clips are not shown when viewing a sequence transcript.
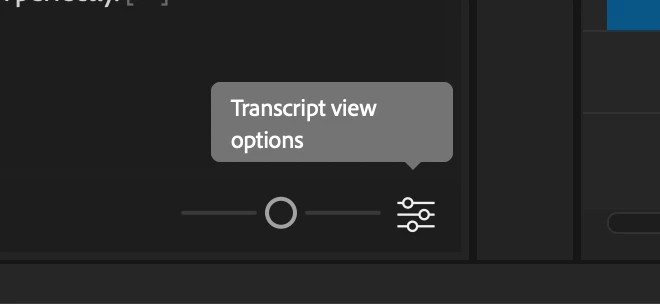
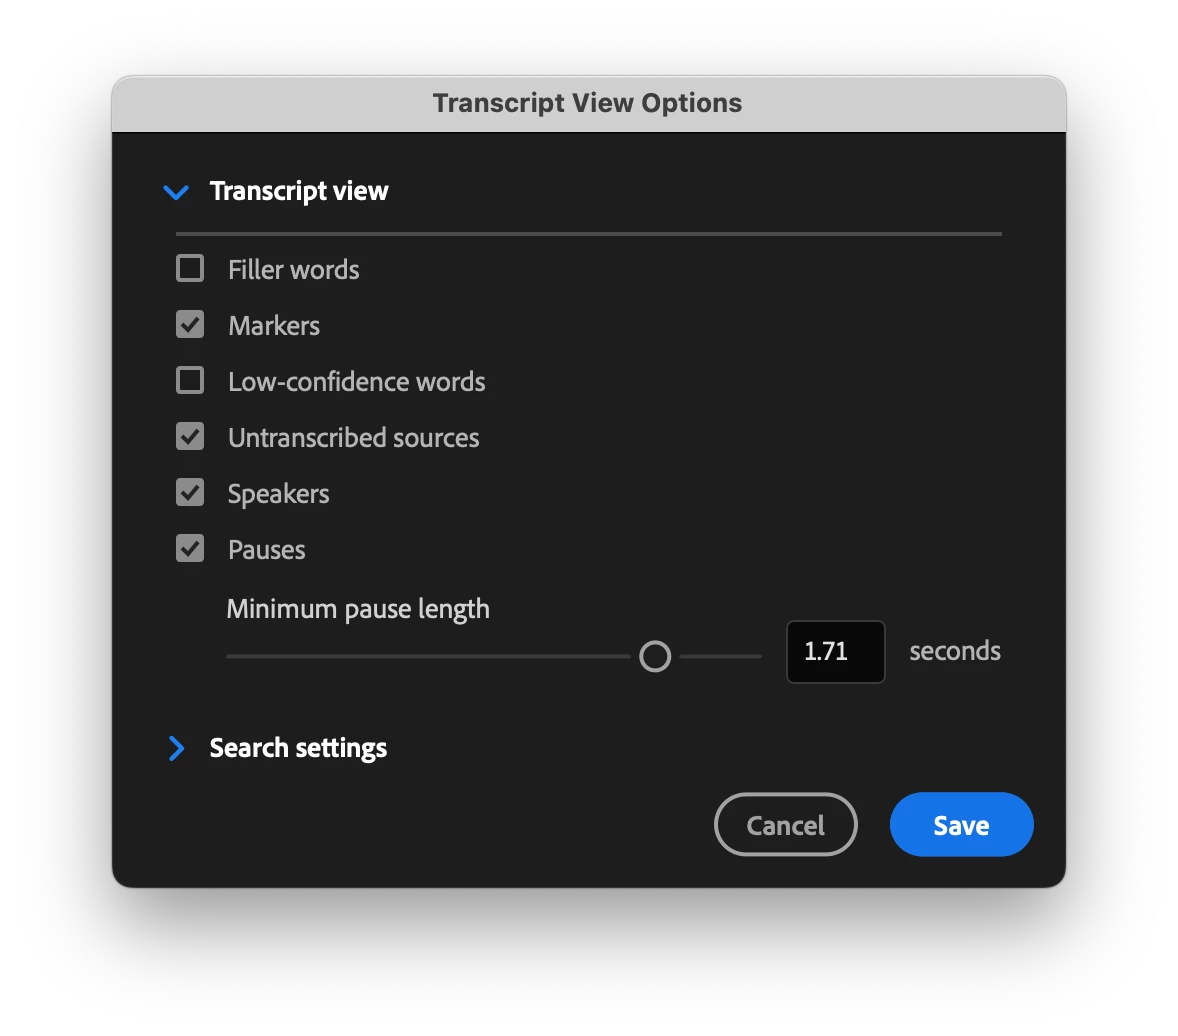
To enable markers, click on the Transcript View Options button in the bottom right of the Text panel, then check the box for Markers. Your transcript will show extra line spacing even if no markers are present.
Work is still underway on this feature, but here is what you can try so far:
- Add a single marker: Place your cursor somewhere in the transcript and use the Add Marker keyboard shortcut (Default: M) to add a green marker.
- Add a ranged marker: Make a selection in your transcript and use the Add Marker keyboard shortcut (Default: M) to add a green ranged marker over the entire selection.
- Filter markers: Use the marker color checkboxes in the Markers panel (Window > Markers) to control which marker colors are visible across Premiere Pro, including the Text panel.
- Right click in your transcript and choose “Add Marker”.
- Use the Add [Color] Marker keyboard shortcut to add a marker or ranged marker of a specific color.
- Double click on an existing marker to open the Edit Marker dialog.
- Hover your cursor over a marker to see a tooltip with the marker Name and Comment.
We’ve been continuing to build more features for Text-Based Editing workflows, and we’re excited to bring you this top request. Please give markers in your transcript a try and let us know how it’s working for you and what other functionality you’d like to see us build!
