Inspiring
May 14, 2026
Open for Voting

Dynamic Keyframes that Move Automatically When You Trim a Clip

  • May 14, 2026
  • 1 reply
  • 23 views

I saw a PP MOGRT in the Graphics Templates called “Loading Screen Overlay” and put it on the timeline out of curiosity, and saw something interesting.

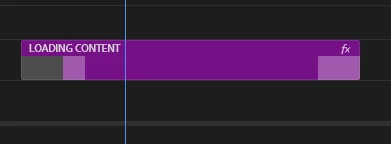
In the Effects panel, even though it has keyframes at the start and end of the clip to animate the loading bar, if you stretch or trim the clip’s length in the Timeline, the keyframes follow to make sure they stay at the start/end.


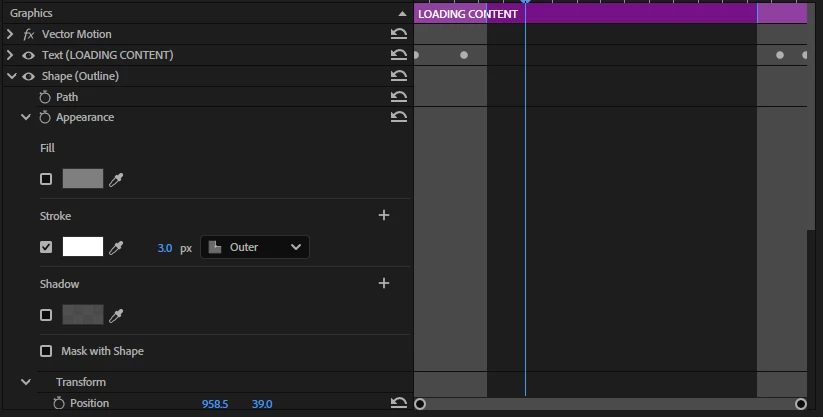
It even shows a unique gray overlay at the ends of the clip on both the Timeline and the Effects windows.


I’d want to be able do this with my own effects/custom presets. This is really useful so I don’t have to manually realign my keyframes every time I need to change the length of a clip. But I couldn’t find anything online on how to do this.


Please add this as a feature Adobe.

    1 reply

    jrwing
    Inspiring
    May 14, 2026

    Yes, this would be handy indeed.

    In the meantime I have a few workaround suggestions that could be more helpful to you than re-aligning keyframes manually:

    1 - match back to clip in source monitor, find the new in point you’d like to try, and realign where you want it to start on the timeline (presumably the first frame of the clip. With the clip in question selected on your timeline, use the mysteriously hidden command under Clip > replace with clip > from source monitor, match frame - this will basically swap the clip for whatever is in your source monitor, synced from the start of the same frame of wherever you have your playheads parked (in both source/program monitors). In short, I use this all the time if I know I want to keep my keyframes where they are but change the length or slip a shot which would normally screw up my keyframes.

    2 - sometimes if I need to do something more complex with re-timing the clip, I will copy the original first on the track above > remove all keyframes > retime the clip as needed > copy/paste attributes from the original clip which will carry over keyframes from the same point of where I have the playhead parked, and then delete the old clip.


    Both these methods are easier than manually readjusting keyframes but totally – I’d love in the future if I didn’t have to do them at all haha.