You first have to understand exactly how time remapping works. You must apply it to a layer that has no other animation. Your bouncing ball has to be pre-composed. If the layer you want to loop is a trimmed movie then it is also a good idea to pre-compose that footage moving all attributes so the nested comp (pre-comp) layer has a start and end. If you just apply time remapping to a 2-minute video that has been trimmed so you are only using the middle 2 seconds of the movie the time remapping keyframes will both be outside the timeline at the start and end of the clip. Here's an important point that most users miss. The Current Time Indicator and the Time Indicator in After Effects always is parked at the start of a frame, but that frame has not played yet so you can see the last frame. When you apply Time Remapping to a layer the first keyframe is set at the start of the first frame and the last keyframe is set to the end of the last frame, NOT the start of the last frame. If you use the K key to move the CTI to the last keyframe you will not see anything because the keyframe is at the end of the layer, not the beginning of the last frame. You will also want to have some room in the timeline so you can loop or extend the layer you are working on.
Here's how to apply Time Remapping to an animated layer and create a loop.
- Select the layer
- Move the CTI to the end of the animation by going to the last keyframe
- If you want a seamless loop and the first and last keyframe are identical, move back 1 frame and trim the layer
- If the first and last frame are not identical stay at the last keyframe
- Trim the layer
- Pre-compose the layer making sure to move all attributes and trim the comp to the layer duration
- Apply Time Remapping - easiest with the keyboard shortcut Alt/Option + Ctrl/Cmnd + t
- This should add Time Ramap to the layer, set two keyframes and extend the out point of the layer (the pre-comp) to the length of the comp and show you the keyframes
- If the layers out point did not change to the last frame of the comp, do it manually by moving to the last frame of the timeline, select the layer and press Alt/Option + ]
- Use the K (or J) key to move to the last Time Remap keyframe - the image should disappear
- Use Shift + Ctrl/Cmnd + left arrow to move back one frame in the timeline and the image should re-appear
- Use the Add or remove keyframe icon in the timeline, the diamond enclosed by < and > to add a new keyframe at the start of the last visible frame of the movie
- Select the last Time Remap keyframe and delete it
- Hold down the Alt/Option key and click the Time Remap stopwatch to add an expression
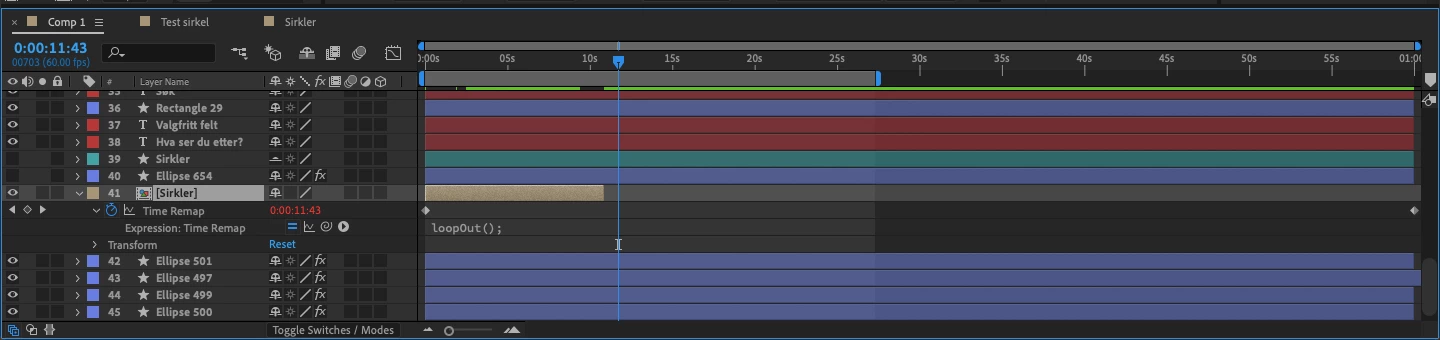
- Enter this expression loopOut()
That's it. This is actually explained fairly simply in the User Guide. You can access the User Guide right inside After Effects by using the Search Help field in the top right corner of the app. Your time remapped layer would look something like this when you are done: