Participating Frequently
May 1, 2026
Answered

Copying and pasting keyframes and reversing?

  • May 1, 2026
  • 1 reply
  • 25 views

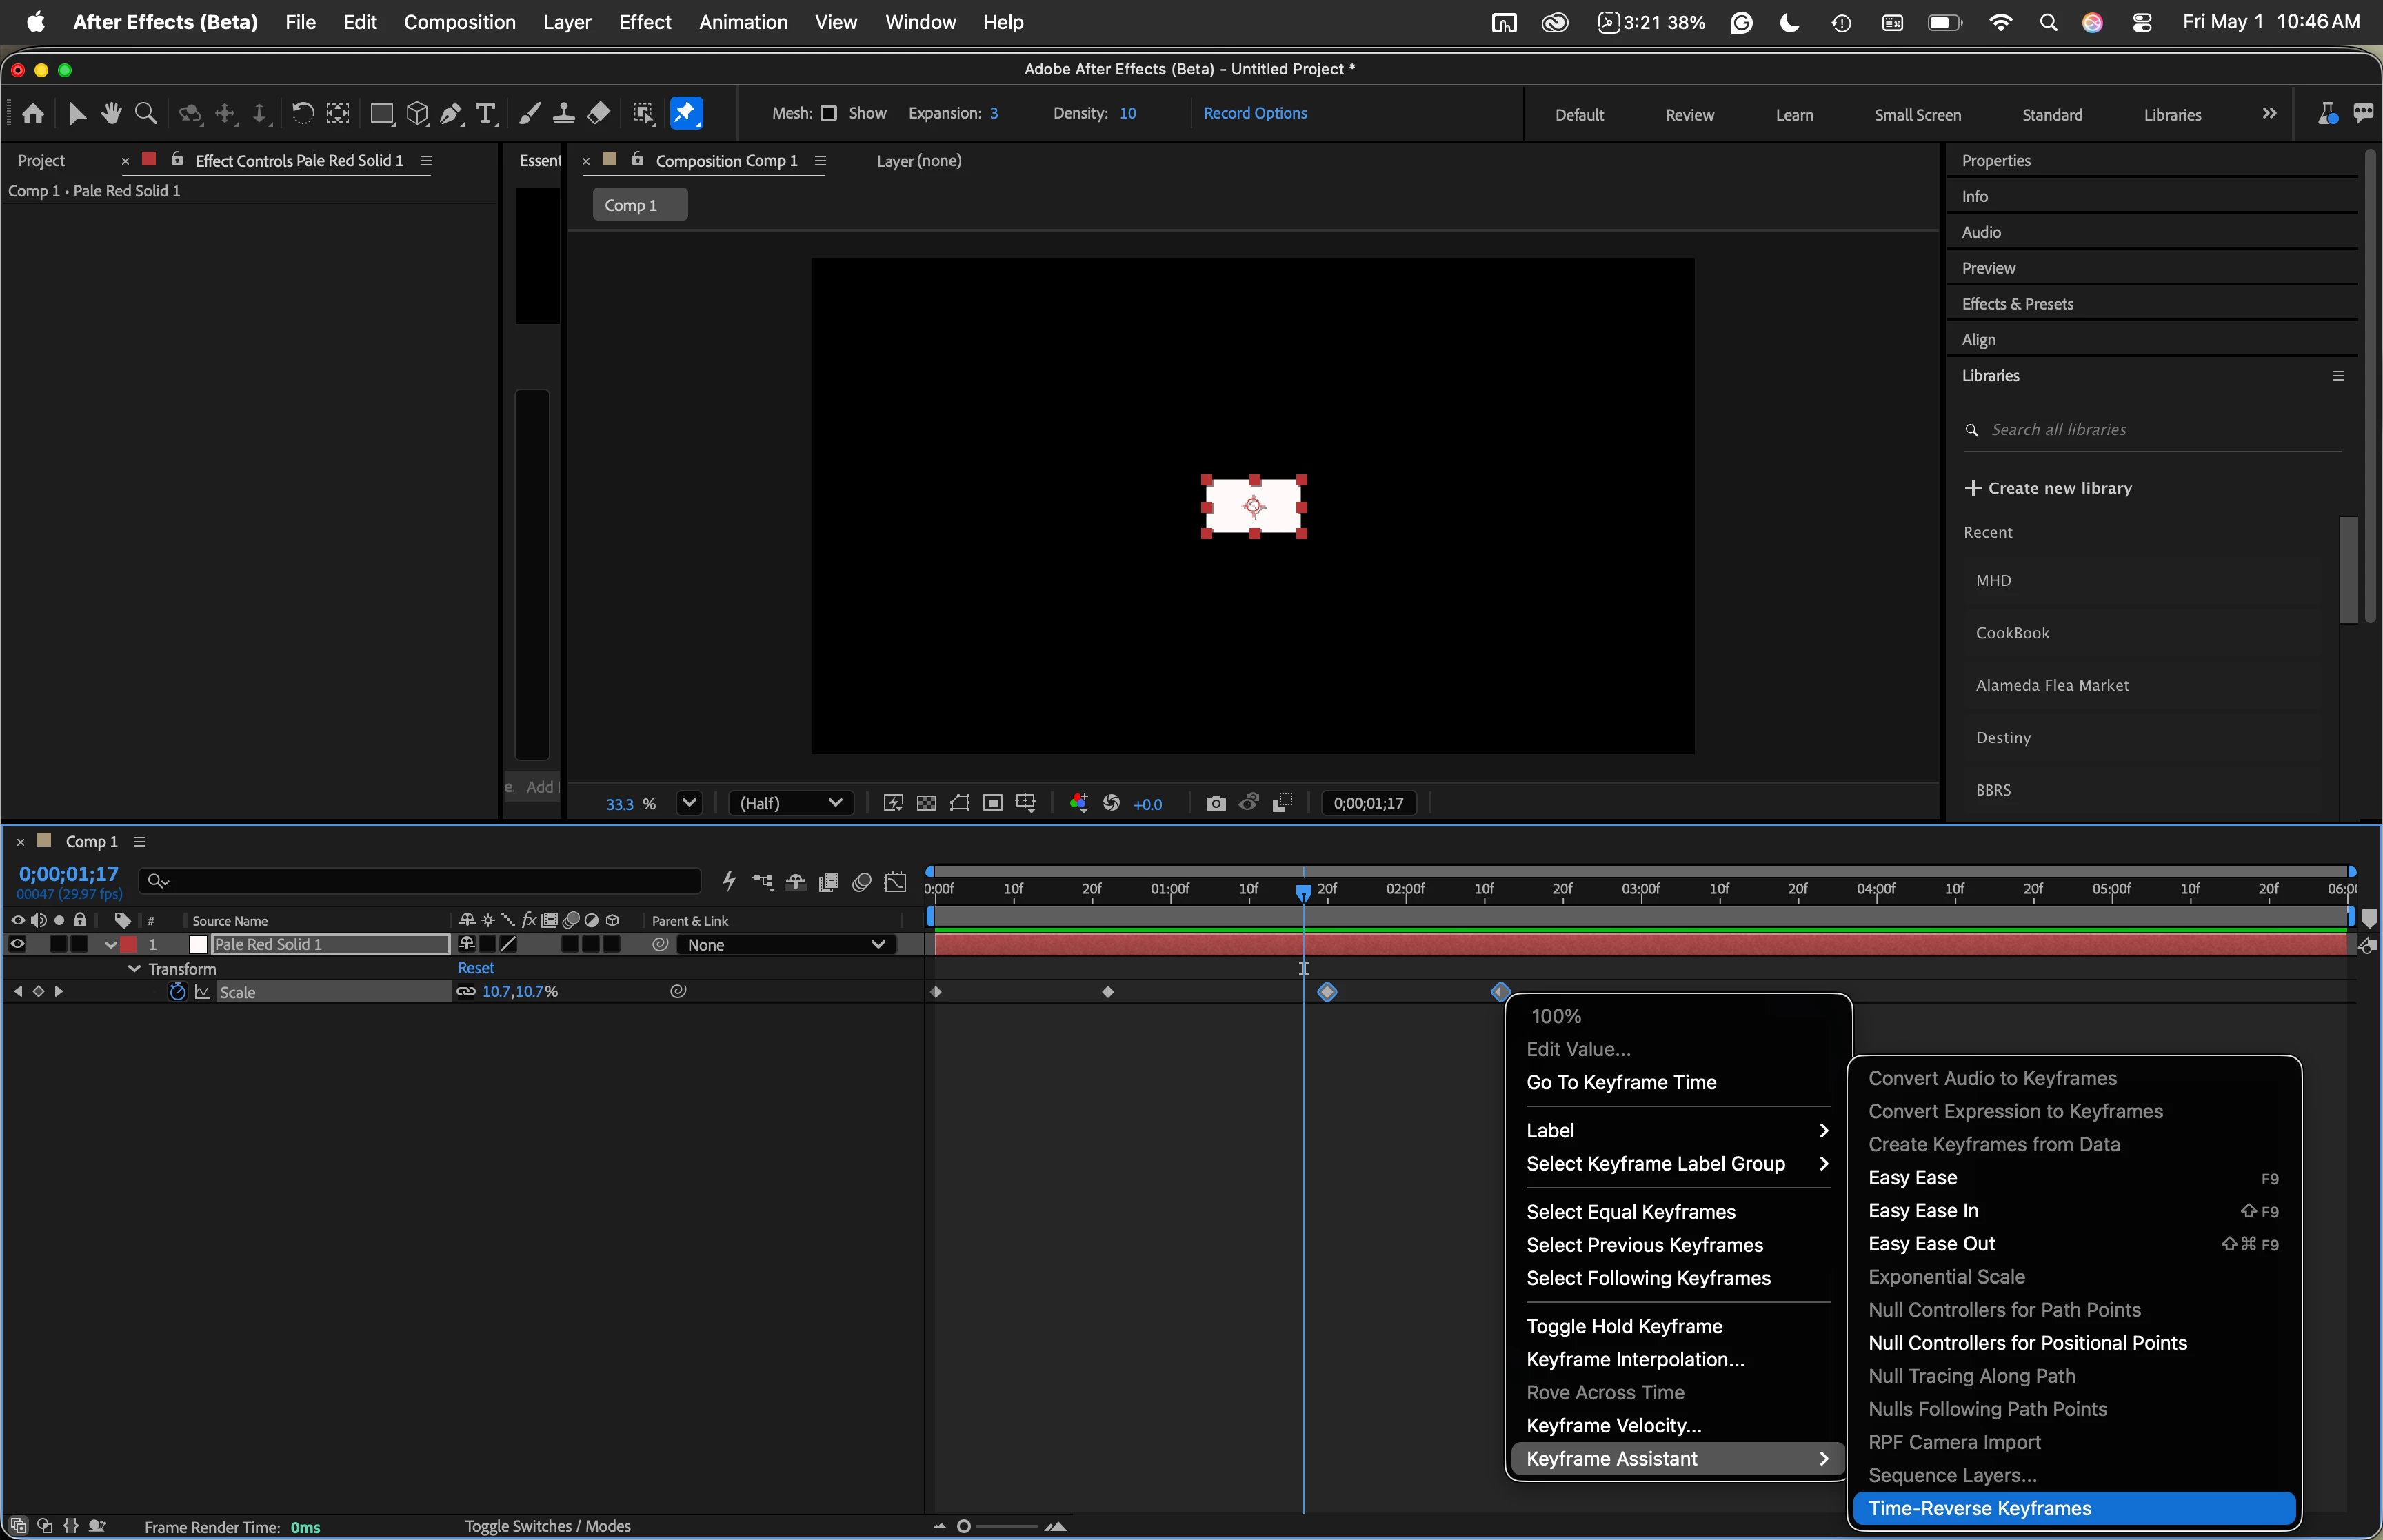
I have some simple keyframing for a shape that scales up and I want to simply select the keyframes, copy them, paste them, and reverse them so that after it scales up, it reverses by scaling back down. After pasting the keyframes on the same layer I realize that it automatically scales it back down.

  1. When pasting the keyframes should they be placed on the same layer, or on a blank layer or does it not matter?
  2. Is this an ok way to achieve the simple effect that I wanted, or should I be doing this some other way, and right clicking on the keyframes to reverse it?

Thanks

    Correct answer Rick Gerard

    When you copy keyframes on any property, move the CTI (current time indicator), then paste, all of the keyframes that you copied are added to the property, with the first keyframe in the group added to the timeline at the current time position.


    1. Set a scale keyframe at 0:00 for 0% and another at 1:00 for 100%
    2. Drag a selection around those 2 keyframes and copy (Ctrl/Cmnd + c)
    3. Move the CTI down the timeline to 2:00 and paste (Ctrl/Cmnd + v)
    4. Check the layer - it will scale from 0 to 100% in the first second, then scale from 100 back to 0% starting at the second second, then back to 100% ending at the third second
    5. Drag a selection around the last 2 keyframes, right-click, and choose Keyframe Assistant>Time Reverse Keyframes
    6. The layer will now scale from 0 to 100%, hold at 100% for 1 second, then. scale back down to 0%

    That is the proper way, and the most efficient way to animate any property, hold the property for a time, then return the property to it’s original setting.


    1 reply

    Rick GerardCommunity ExpertCorrect answer
    Community Expert
    May 1, 2026

    When you copy keyframes on any property, move the CTI (current time indicator), then paste, all of the keyframes that you copied are added to the property, with the first keyframe in the group added to the timeline at the current time position.


    1. Set a scale keyframe at 0:00 for 0% and another at 1:00 for 100%
    2. Drag a selection around those 2 keyframes and copy (Ctrl/Cmnd + c)
    3. Move the CTI down the timeline to 2:00 and paste (Ctrl/Cmnd + v)
    4. Check the layer - it will scale from 0 to 100% in the first second, then scale from 100 back to 0% starting at the second second, then back to 100% ending at the third second
    5. Drag a selection around the last 2 keyframes, right-click, and choose Keyframe Assistant>Time Reverse Keyframes
    6. The layer will now scale from 0 to 100%, hold at 100% for 1 second, then. scale back down to 0%

    That is the proper way, and the most efficient way to animate any property, hold the property for a time, then return the property to it’s original setting.