Participant
January 21, 2021
Answered

Depth of Field automatic on fixed background

  • January 21, 2021
  • 2 replies
  • 563 views

Hi guys, 


I don't know much about AE, as I'm just starting. I'm trying to improve some sport shots I'm editing in Premiere. I've found a lot of tutorials regarding fake depth of field, but using a mask frame by frame.


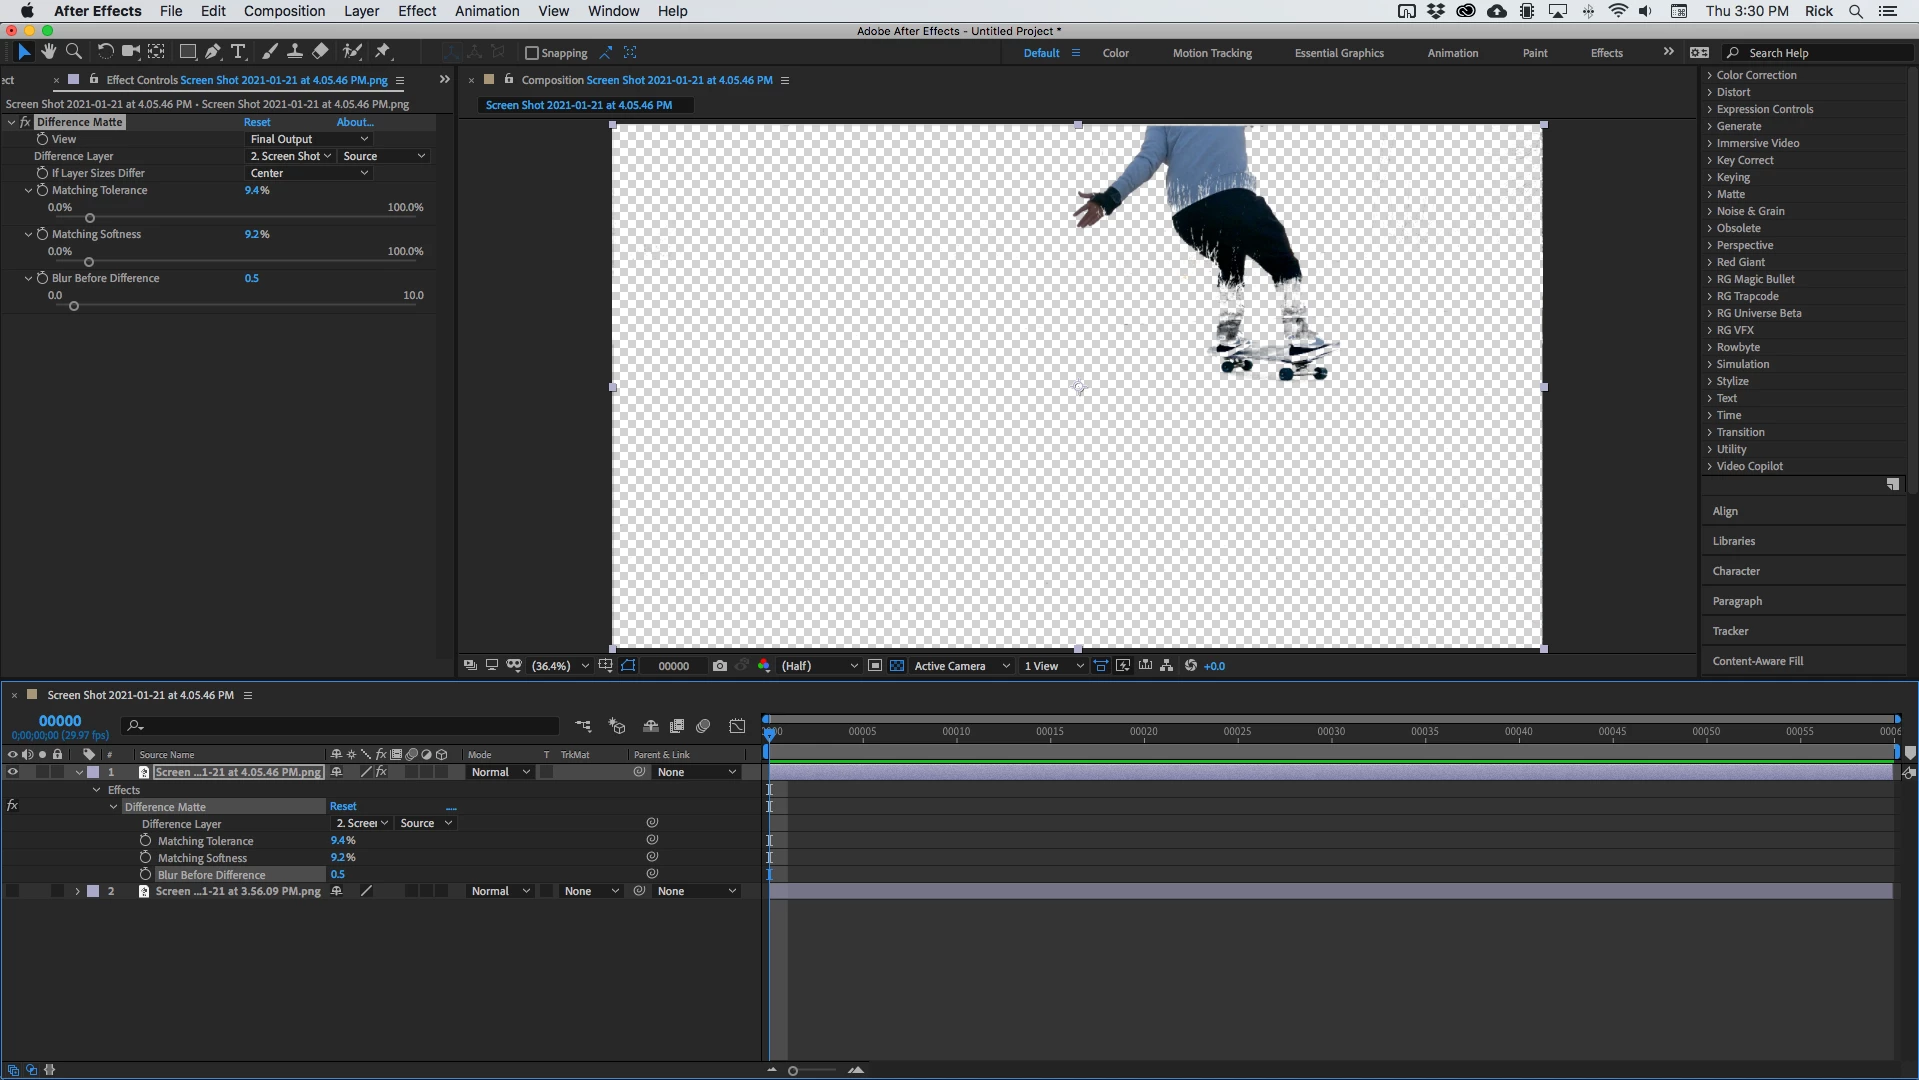
In my situation, I have fixed camera on a tripod, filming in a skatepark. The shot starts with the background only, completely fixed. Then the subject comes in, performs a trick and goes out of the frame. Hence, only the subject on the skateboard is moving.


Is there any 'easy' way to create a fake depth of field kind of automatically (like if it was a green screen essentially)?


Thanks a lot! 

This topic has been closed for replies.
Correct answer Rick Gerard

Difference matte isn't going to get you all the way there because the black pants are the same color as the black parts of the background and the blue shirt is the same color as the sky in some parts of the shot. This is what I got with your two shots:


Some hand roto could fix those problems a little bit but this shot is just not suited to a simple solution. If I had to do the shot and then it was 300 frames long I'd want a couple of hours to hand roto the shot. As long as there is not too much motion blur on the skater it should be kind of doable using the multiple path track matte workflow in the tutorial I shared. To get a true depth of field look, you will also have to create a gradient to control the camera blur on the pavement. You can't just blur the whole thing and get it to look realistic.

2 replies

Rick GerardCommunity ExpertCorrect answer
Community Expert
January 22, 2021

Difference matte isn't going to get you all the way there because the black pants are the same color as the black parts of the background and the blue shirt is the same color as the sky in some parts of the shot. This is what I got with your two shots:


Some hand roto could fix those problems a little bit but this shot is just not suited to a simple solution. If I had to do the shot and then it was 300 frames long I'd want a couple of hours to hand roto the shot. As long as there is not too much motion blur on the skater it should be kind of doable using the multiple path track matte workflow in the tutorial I shared. To get a true depth of field look, you will also have to create a gradient to control the camera blur on the pavement. You can't just blur the whole thing and get it to look realistic.

DYurbAuthor
Participant
January 22, 2021

Got it! 

Yeah that's what I thought for the colors. But good to know which tools can be used, for later, better shots.

It is going to be a lot of work for what I want to do, but going to try the hand roto for a couple frames. It's 60fps, and moving quite fast, I can't imagine how much time it'll take me haha! 


Good point for the gradient, I'll keep that in mind as well. 


Thanks Rick, Mylenium!

Community Expert
January 21, 2021

Easy depends entirely on the background. You are going to have to separate the actor from the background by creating a duplicate layer and a mask or a matte. Sometimes Rotobrush is a good option, sometimes Rotoscope by hand or by using Mocha AE is a good option. Sometimes Motion Stabilizing the shot first, creating the matte, then putting the motion back in the shot and adding it to the matte is the best option. Sometimes you can create a procedural matte by creatively using the Channels or Color Correction effects to create a black and white copy of the footage that creates a clean edge between the actor and parts of the background. This Procedural matte can be combined with other masking or rotoscope techniques to simplify the creation of your matte (mask) layer. 


If you want specific suggestions we need to see the shot. Maybe these screenshots from a post I made a long time ago will give you some ideas. The original shot:

The Procedural Matte:

A shot that is going to be very difficult to use:

A very old quick tutorial I did on the basics of rotoscoping by hand:

I have spent 10 hours on a 7-second shot and I have had 20-second shots that took 10 minutes. The amount of work and the technique depends entirely on the shot. Show us the shot and we can give you some meaningful suggestions. 

DYurbAuthor
Participant
January 21, 2021

Hi Rick, 

Thanks for your complete answer. And I will look into the different options you suggested. 


Here are some screenshots, before any editing. I guess it is going into the category of shots with the one you qualified as 'difficult' because of the bad lighting and similar colors of background and subject. But I was wondering if there is a technique to:

  1. select the first one and say: "this is my background" - create a separate layer and add some effects 
  2. not aplpy the effects to all the pixels that will be different when the subject enters


Mylenium
Legend
January 21, 2021

Look into Difference Mattes whichg can be easily created using the Difference blending mode or using channel effects. If the camera has been locked off correctly and there is no jitter or otehr stuff that would require stabilization, this should be almost perfect, give or take a bunch of extra tweaks with additional effects and masks.


Mylenium