Inspiring
May 15, 2017
Answered

Editing Clone Stamp Effect

  • May 15, 2017
  • 1 reply
  • 2468 views

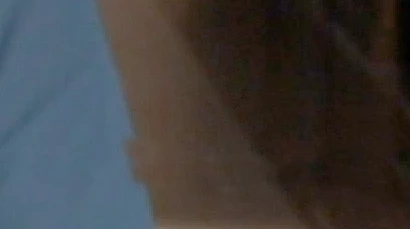
I'm looking to do 2 things as I learn the clone stamp tool in After Effects. I am trying to remove this cord from the shot:

1. I am using clone stamp on a completed Premiere Pro project. I only need to use the clone stamp on 1 shot that appears a few times in the video. I don't seem to be able to split individual clone strokes and delete the scenes in between shots that I am actually using it for. When I try and split the layer, it doesn't change the clone strokes.

2. How can I fix this smudging:

    This topic has been closed for replies.
    Correct answer Mylenium

    Simply puzzle it up. Duplicate the layer, find a suitable frame, do a Freeze Frame (Layer --> Time menu) slightly move and scale it to match the perspective, create a basic mask to cut off the excess with some room to spare, hit Ctrl+Shift+C to pre-compose choosing "Move all Attributes". Then apply yet another mask to that layer in your parent comp and animate it to follow the motions of the subject. Rinse-repeat as needed. You may need different masking for different segments and use cross-fades on teh masked layers to even them out.

    Mylenium

    1 reply

    Mylenium
    Legend
    May 15, 2017

    You cannot actually remove motion blur. It's a native shutter artifact. You may try the new deblur tool in CC 2017.2, though, as well as using third party plug-ins like Revision FX RSMB Pro and Smoothkit. For the cord simply create a clean still frame and overlay it with a mask. using the clone stamp for such a task makes no sense at all.

    Mylenium

    Inspiring
    May 15, 2017

    Thanks for the suggestion! I'm excited about the possibility of not having to use clone stamp for this.

    Not sure what you mean about creating a clean still frame and overlaying it with a mask.

    Are there any tutorials you could direct me to?

    Mylenium
    MyleniumCorrect answer
    Legend
    May 15, 2017

    Simply puzzle it up. Duplicate the layer, find a suitable frame, do a Freeze Frame (Layer --> Time menu) slightly move and scale it to match the perspective, create a basic mask to cut off the excess with some room to spare, hit Ctrl+Shift+C to pre-compose choosing "Move all Attributes". Then apply yet another mask to that layer in your parent comp and animate it to follow the motions of the subject. Rinse-repeat as needed. You may need different masking for different segments and use cross-fades on teh masked layers to even them out.

    Mylenium