I oversimplified things without thinking about it very much. The solution I gave kind of works with straight lines but fails to take into account the perspective changes, and I failed to remember that the start and end tangents are parented to the vertices when you use the extended version of the Create Nulls from Paths script. It's going to take some more complicated math to get this to work with curved lines. Instead of simply using an L.toWorld([0, 0, 0]) function to attach a 2D point to a layer's 3D space, I'm going to need to calculate the distance from and the angle to the camera to adjust the position of the points for accurate 3D. I will then also need to calculate the change in position of the in and out handles based on the relationship between the path points and the 3D nulls they are following. The math is going to take some research, and I don't have time for that now. Maybe Dan Ebberts, one of the best expressions and scripting men in the world, will see this post and provide a quicker solution for the expressions.
As far as the workflow to generate your 3D nulls for the Points with no curves, try this:
- Select the path and apply Points Follow Nulls to generate a new null for each point on the path
- Select all of the new paths (with Orange labels), duplicate them (Ctrl/Cmnd + D), Change the label color to red, and make them 3D
- Add a new Rotater Null and make it 3D, then position it at the center of rotation
- Select all the Red layers from the Label Group tab and Parent them to the Rotation null
- Select the first Orange Null created by the script and add the toWorld expression to it
- Use the file menu or right-click to Copy the expression only
- Select the Orange Label Group again and paste, verifying that the expression was added to all layers using the P key
- Manipulate the Rotation properties of the Rotater null
Selecting a label group and changing colors is done by right-clicking on the layer label.
You now have an orthographic 3D representation of a moving 3D layer. Orthographic means no perspective.
If I figure out how to compensate for the camera and give you perspective, or better yet, figure out how to fix the curves problems with the start and end handles generated by Create Nulls From Paths Extended, I'll post the solution and probably create a tutorial.
The expression for this workflow:
L = thisComp.layer(index -1);
L.toWorld([0, 0, 0]);
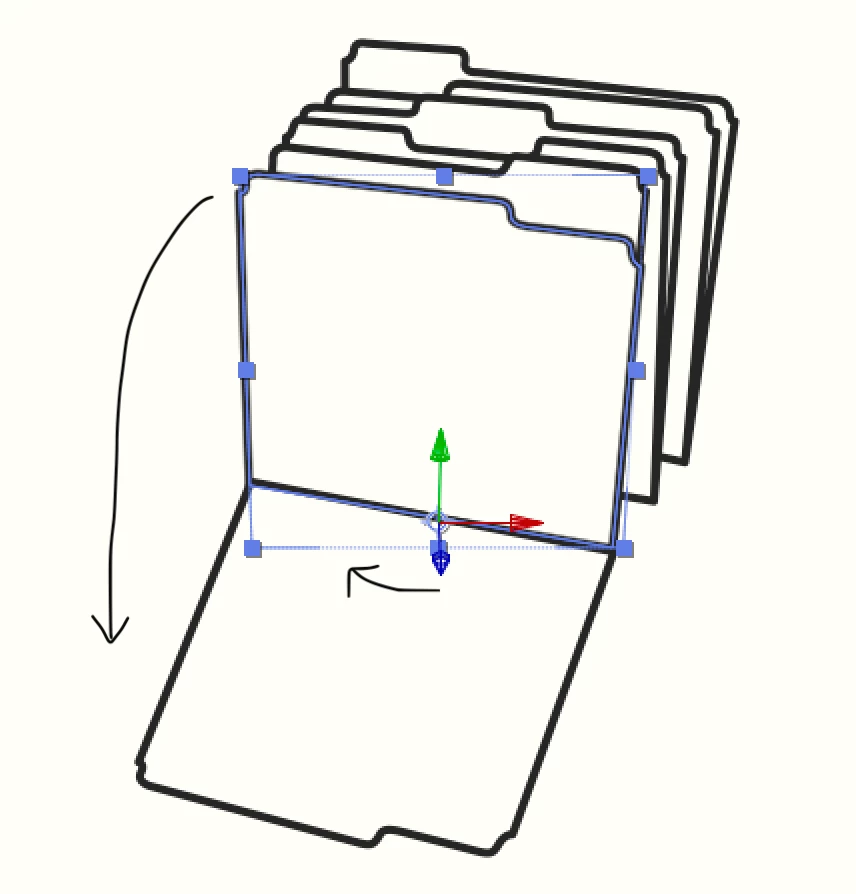
Here's what the workflow looks like:
I hope this helps a bit.