Participating Frequently
February 9, 2024
Answered

How to synchronize video clips that are close but not perfect?

  • February 9, 2024
  • 3 replies
  • 1401 views

I am trying to combine two clips with camera movement, one with greenscreen-elements removed, one without.  If you saw any of the behind-the-scenes work of how they shot 2020's Invisible Man, you have an idea of what I'm trying to accomplish.  In that movie, they had an expensive robot camera that could perfectly replicate camera movement across multiple takes.  One take would have greenscreen-suit guy doing something, one would just be the background.


I've tried doing this with a programmable gimbal.  The problem is that while multiple takes are close, they aren't exactly the same.  And if you mask something from the top clip, you can definitely tell that the bottom clip doesn't perfectly line up.  I guess a thousand-dollar gimbal just isn't capable of the same level of precision as a million-dollar robot camera.


So it occurred to me: is there a way to use After Effects to perfectly synchronize the two clips?  Then I could remove the greenscreen-suit guy from the top clip and get the effect that I'm looking for.


This isn't that hard to do without a stationary camera, but I really want to do it with camera movement.


Any suggestions?
 

This topic has been closed for replies.
Correct answer Rick Gerard

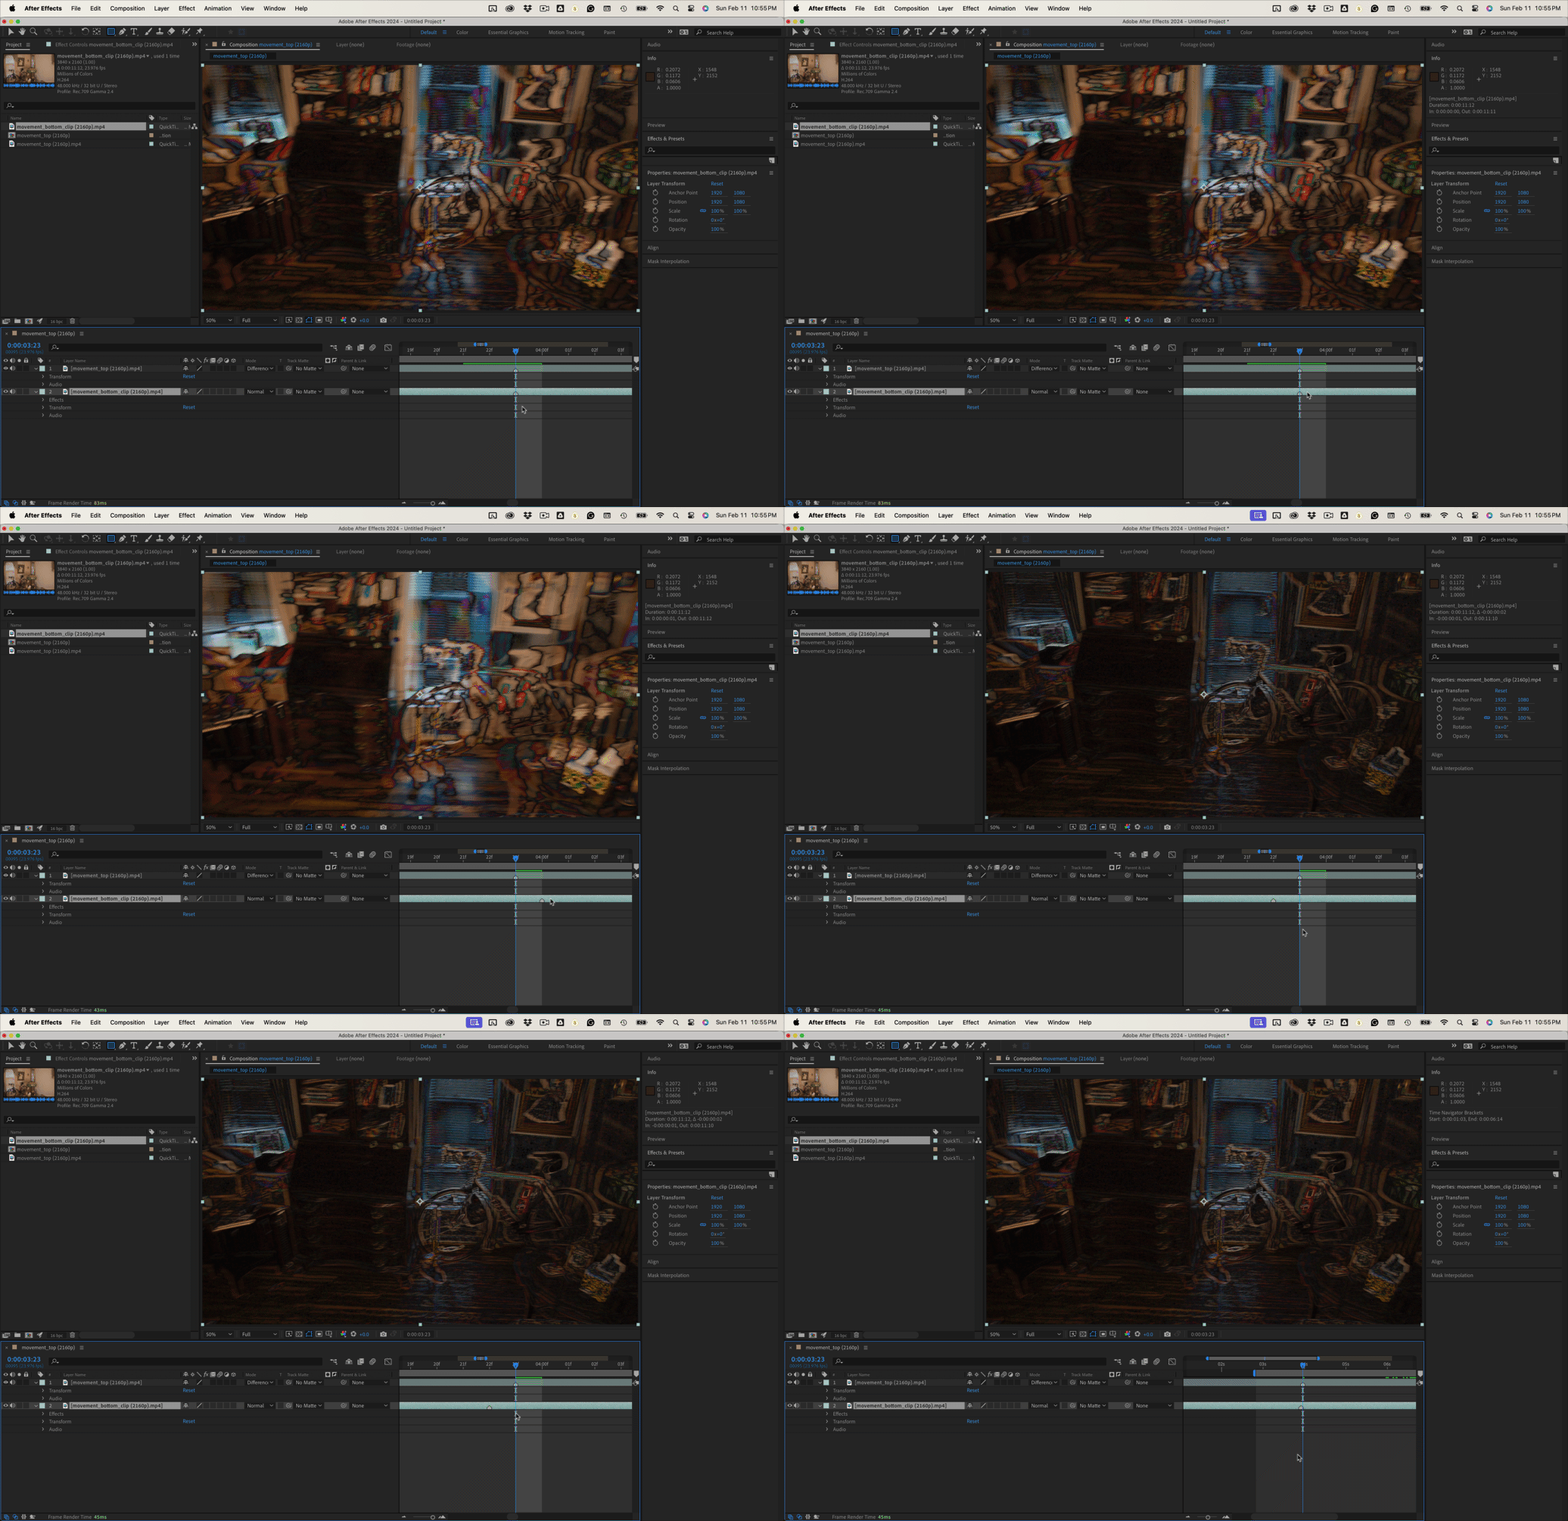
I took a look at the shots. The timing is off by one frame. I found that by setting the top layer's blend mode to Difference and offsetting the timing at the fastest part of the frame. I picked the frame at 03:23 and set a couple of layer markers. Then I offset the bottom layer until the timing looked as good as I could get it:

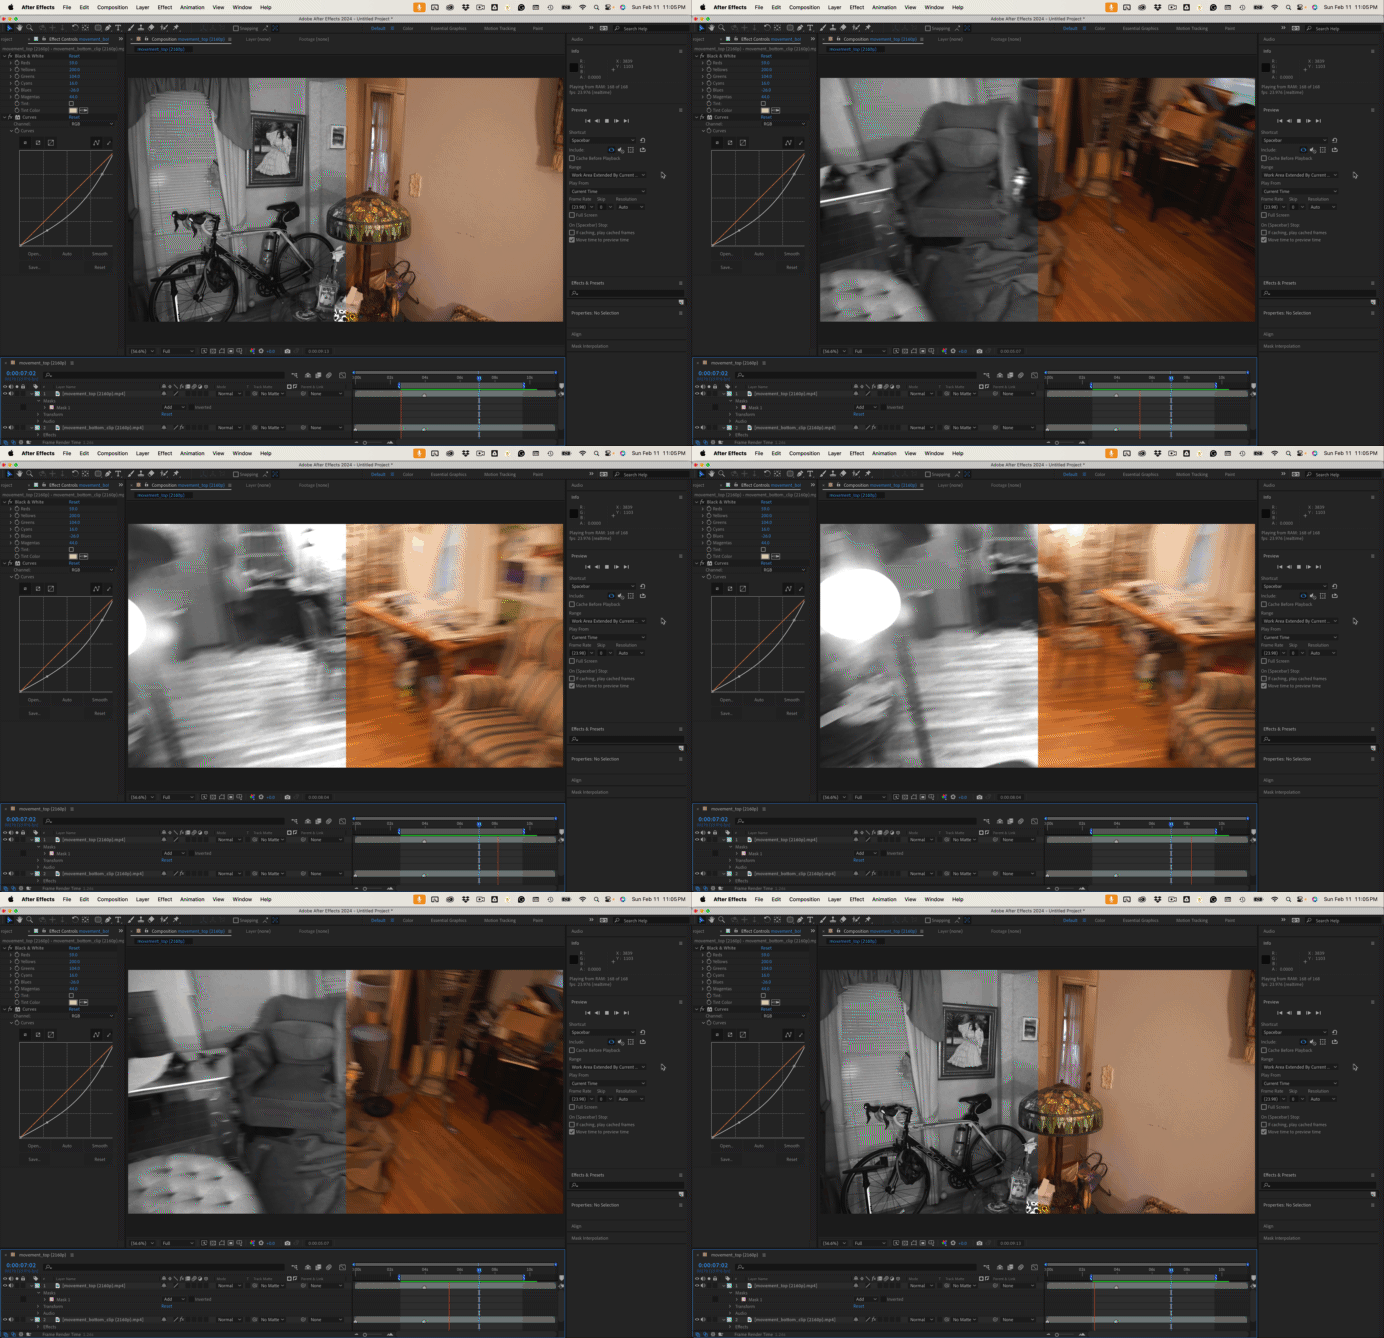
Switching the blend mode back to normal and creating a mask on the top copy, then adding the black and white filter to the bottom copy, gave me a good look at the matchup. The timing is a lot better, and the footage matches close enough that a real-time preview doesn't show any significant problems. Even this 7-fps gif looks pretty good.

Both shots are the same, so I'm not sure what you are trying to accomplish here. If you put another object in the shot, removed the background, and layered them in a composite, the shot would be good enough for TV or internet videos. 


I've included an AE 2024 file for you to fiddle with. It looks pretty good to me.


3 replies

DrDzoeAuthor
Participating Frequently
February 12, 2024

Here's three Vimeo links that show the issue.  The first two are clips I took with a Canon R5C on a DJI RS 3 Pro that had movement programmed using the Track functionality.  As you can see, they're awfully similar.

But I took the top clip, put it on top of the bottom clip using Premiere, then masked out half of the top clip.  The third link, Composite Video, shows the result.  As you can see, at first all looks (mostly) good.  But as soon as the camera starts to move, you can see that the clips don't line up perfectly, leaving a noticable line where the clips join.

Here's the links:

* Top clip (without mask): https://vimeo.com/manage/videos/912099017/99b7fd5288
* Bottom clip (without mask): https://vimeo.com/manage/videos/912099041/1556b45675
* Composite (masked top over bottom): https://vimeo.com/manage/videos/912098953/a7704bb7de

I allowed downloads on the clips so you can download and play with them if you want.

Mylenium
Legend
February 10, 2024

Agree with Rick. Sharing some screenshots zto illustrate the problem would be useful. Quite likely you're seeing some minor perspective alignment issues and those could probably be fixed easily with a pit of corner pin or the Transform effect plus a bit of pulling & tugging with distortion effects like the Puppet Tool or Mesh Warp.


Mylenium

Rick GerardCommunity ExpertCorrect answer
Community Expert
February 12, 2024

I took a look at the shots. The timing is off by one frame. I found that by setting the top layer's blend mode to Difference and offsetting the timing at the fastest part of the frame. I picked the frame at 03:23 and set a couple of layer markers. Then I offset the bottom layer until the timing looked as good as I could get it:

Switching the blend mode back to normal and creating a mask on the top copy, then adding the black and white filter to the bottom copy, gave me a good look at the matchup. The timing is a lot better, and the footage matches close enough that a real-time preview doesn't show any significant problems. Even this 7-fps gif looks pretty good.

Both shots are the same, so I'm not sure what you are trying to accomplish here. If you put another object in the shot, removed the background, and layered them in a composite, the shot would be good enough for TV or internet videos. 


I've included an AE 2024 file for you to fiddle with. It looks pretty good to me.


DrDzoeAuthor
Participating Frequently
February 12, 2024

Thanks so much!

These were just samples trying to illustrate what I was doing.  My plan is to do something like this, but in the top video have another object being carried/moved across the room by someone in a greenscreen suit.  Then I'd key out that person, leaving only the object being moved and whatever else was left of the room, but having the bottom video fill in where the key was.  They used a technique like this in the 2020 movie INVISIBLE MAN to do the invisible work while still allowing camera movement, but they had a very expensive robot camera that could guarantee a perfect sync between shots.  I was hoping to get the same effect with a much cheaper gimbal.

I've done similar things with a locked-down camera, but my goal is to achieve that effect with camera movement.

Community Expert
February 10, 2024

If the shots are close enough that the movements are similar and there is enough fixed geometry in both shots, you can use Mocha AE to motion stabilize both shots based on their camera movement, and then you can line up the inserts and effects and put the motion from the main shot (could be the background or the actor) back in all of the shots. I do this a lot with what I call an Advanced Corner Pin workflow, but it will also work with a simple Transform, Scale, Rotation, and maybe Shear track. It all depends on the shots. If you can share your shots, we may be able to suggest an efficient workflow.