You can use Track Motion to speed things up. When I Track Motion on a difficult shot the first thing I do is go into Preferences>Display and turn set This gets you from this mess:

To this kind of a display where you can actually see, without confusion, where your attach point actually is.

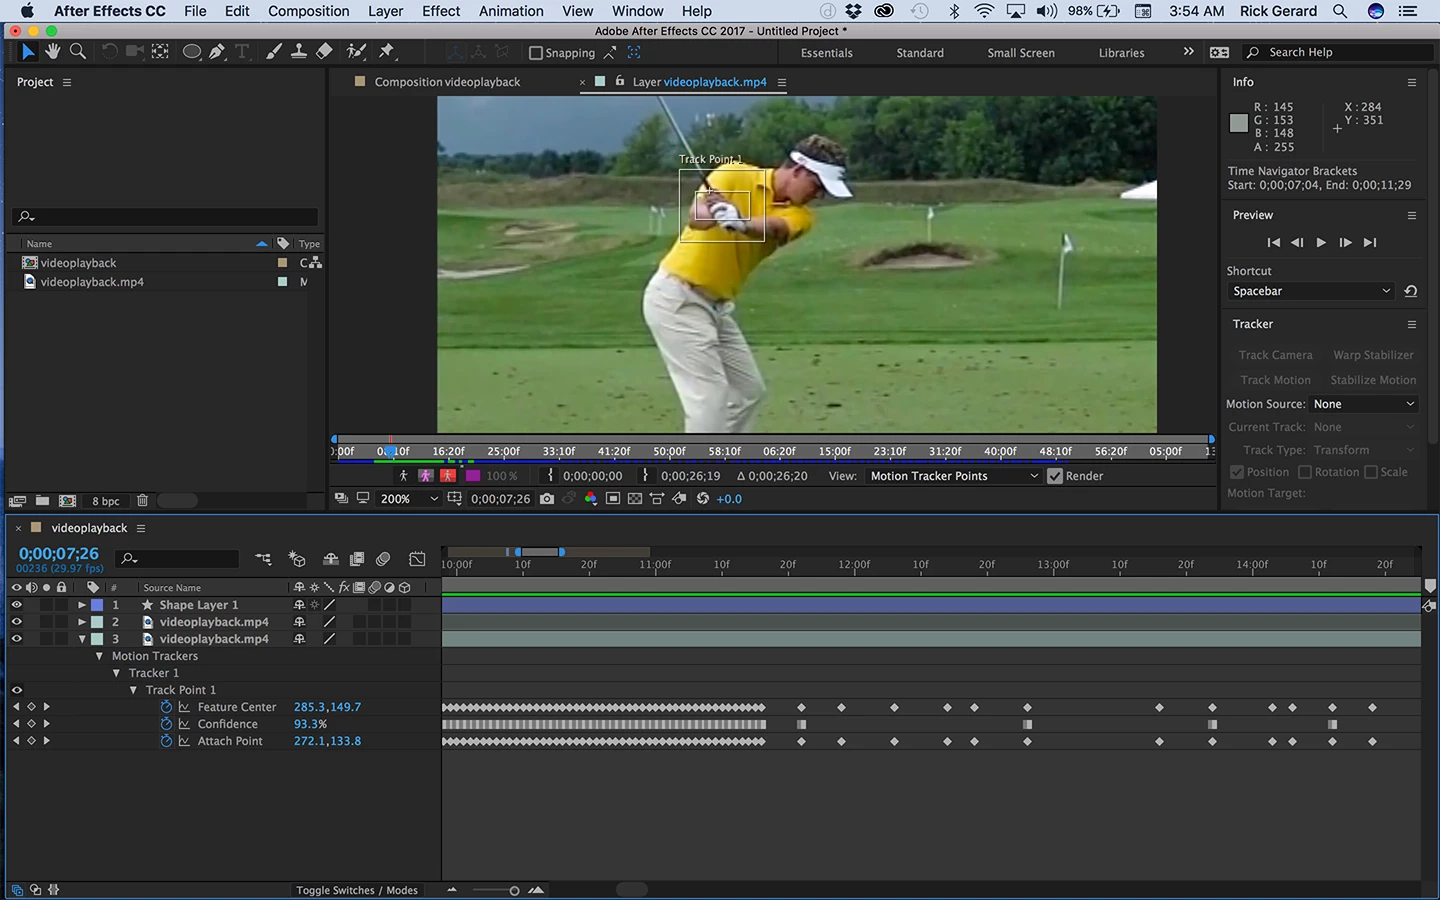
I pick an area of detail that I think will work pretty well for quite a few frames then I let the tracker run, keeping my finger on the stop button. As soon as the tracker looses position I stop, then I go back and check a few frames to see where the tracker fails. I click drag around the keyframes between the last good position and where I stopped the track, delete them, adjust the position of the tracker and the attach point on the last keyframe and start again. When I get to parts that I know won't track well I just skip ahead and move the tracker and the attach point to a new position. I then check between the keyframes and if necessary I make adjustments. This usually goes very quickly. The first part of your sample shot took me less than 5 minutes to track. I zoomed in on the timeline so you can see the big holes in the tracking where I just set the keyframes by hand.
I then attach my graphic to the attach point either through a null or through an expression by typing value + then dragging the pickwhip to the attach point. This allows me to add a few additional keyframes for the graphic to adjust the position throughout the shot.
I hope this gives you some ideas. When I'm through with the tracking I go back and turn on All Motion Keyframes in preferences. Used properly AE's motion tracker does a pretty good job. For this specific shot Track Motion was a better choice than trying to Track in Mocha AE. If the shot was framed differently Mocha AE would probably be a better option. There is no one best solution for all shots.

