Participant
May 21, 2018
Answered

Сamera itself creates points | cant control

  • May 21, 2018
  • 2 replies
  • 421 views

Greetings !

During work in new version of AE i got problem with camera movement.

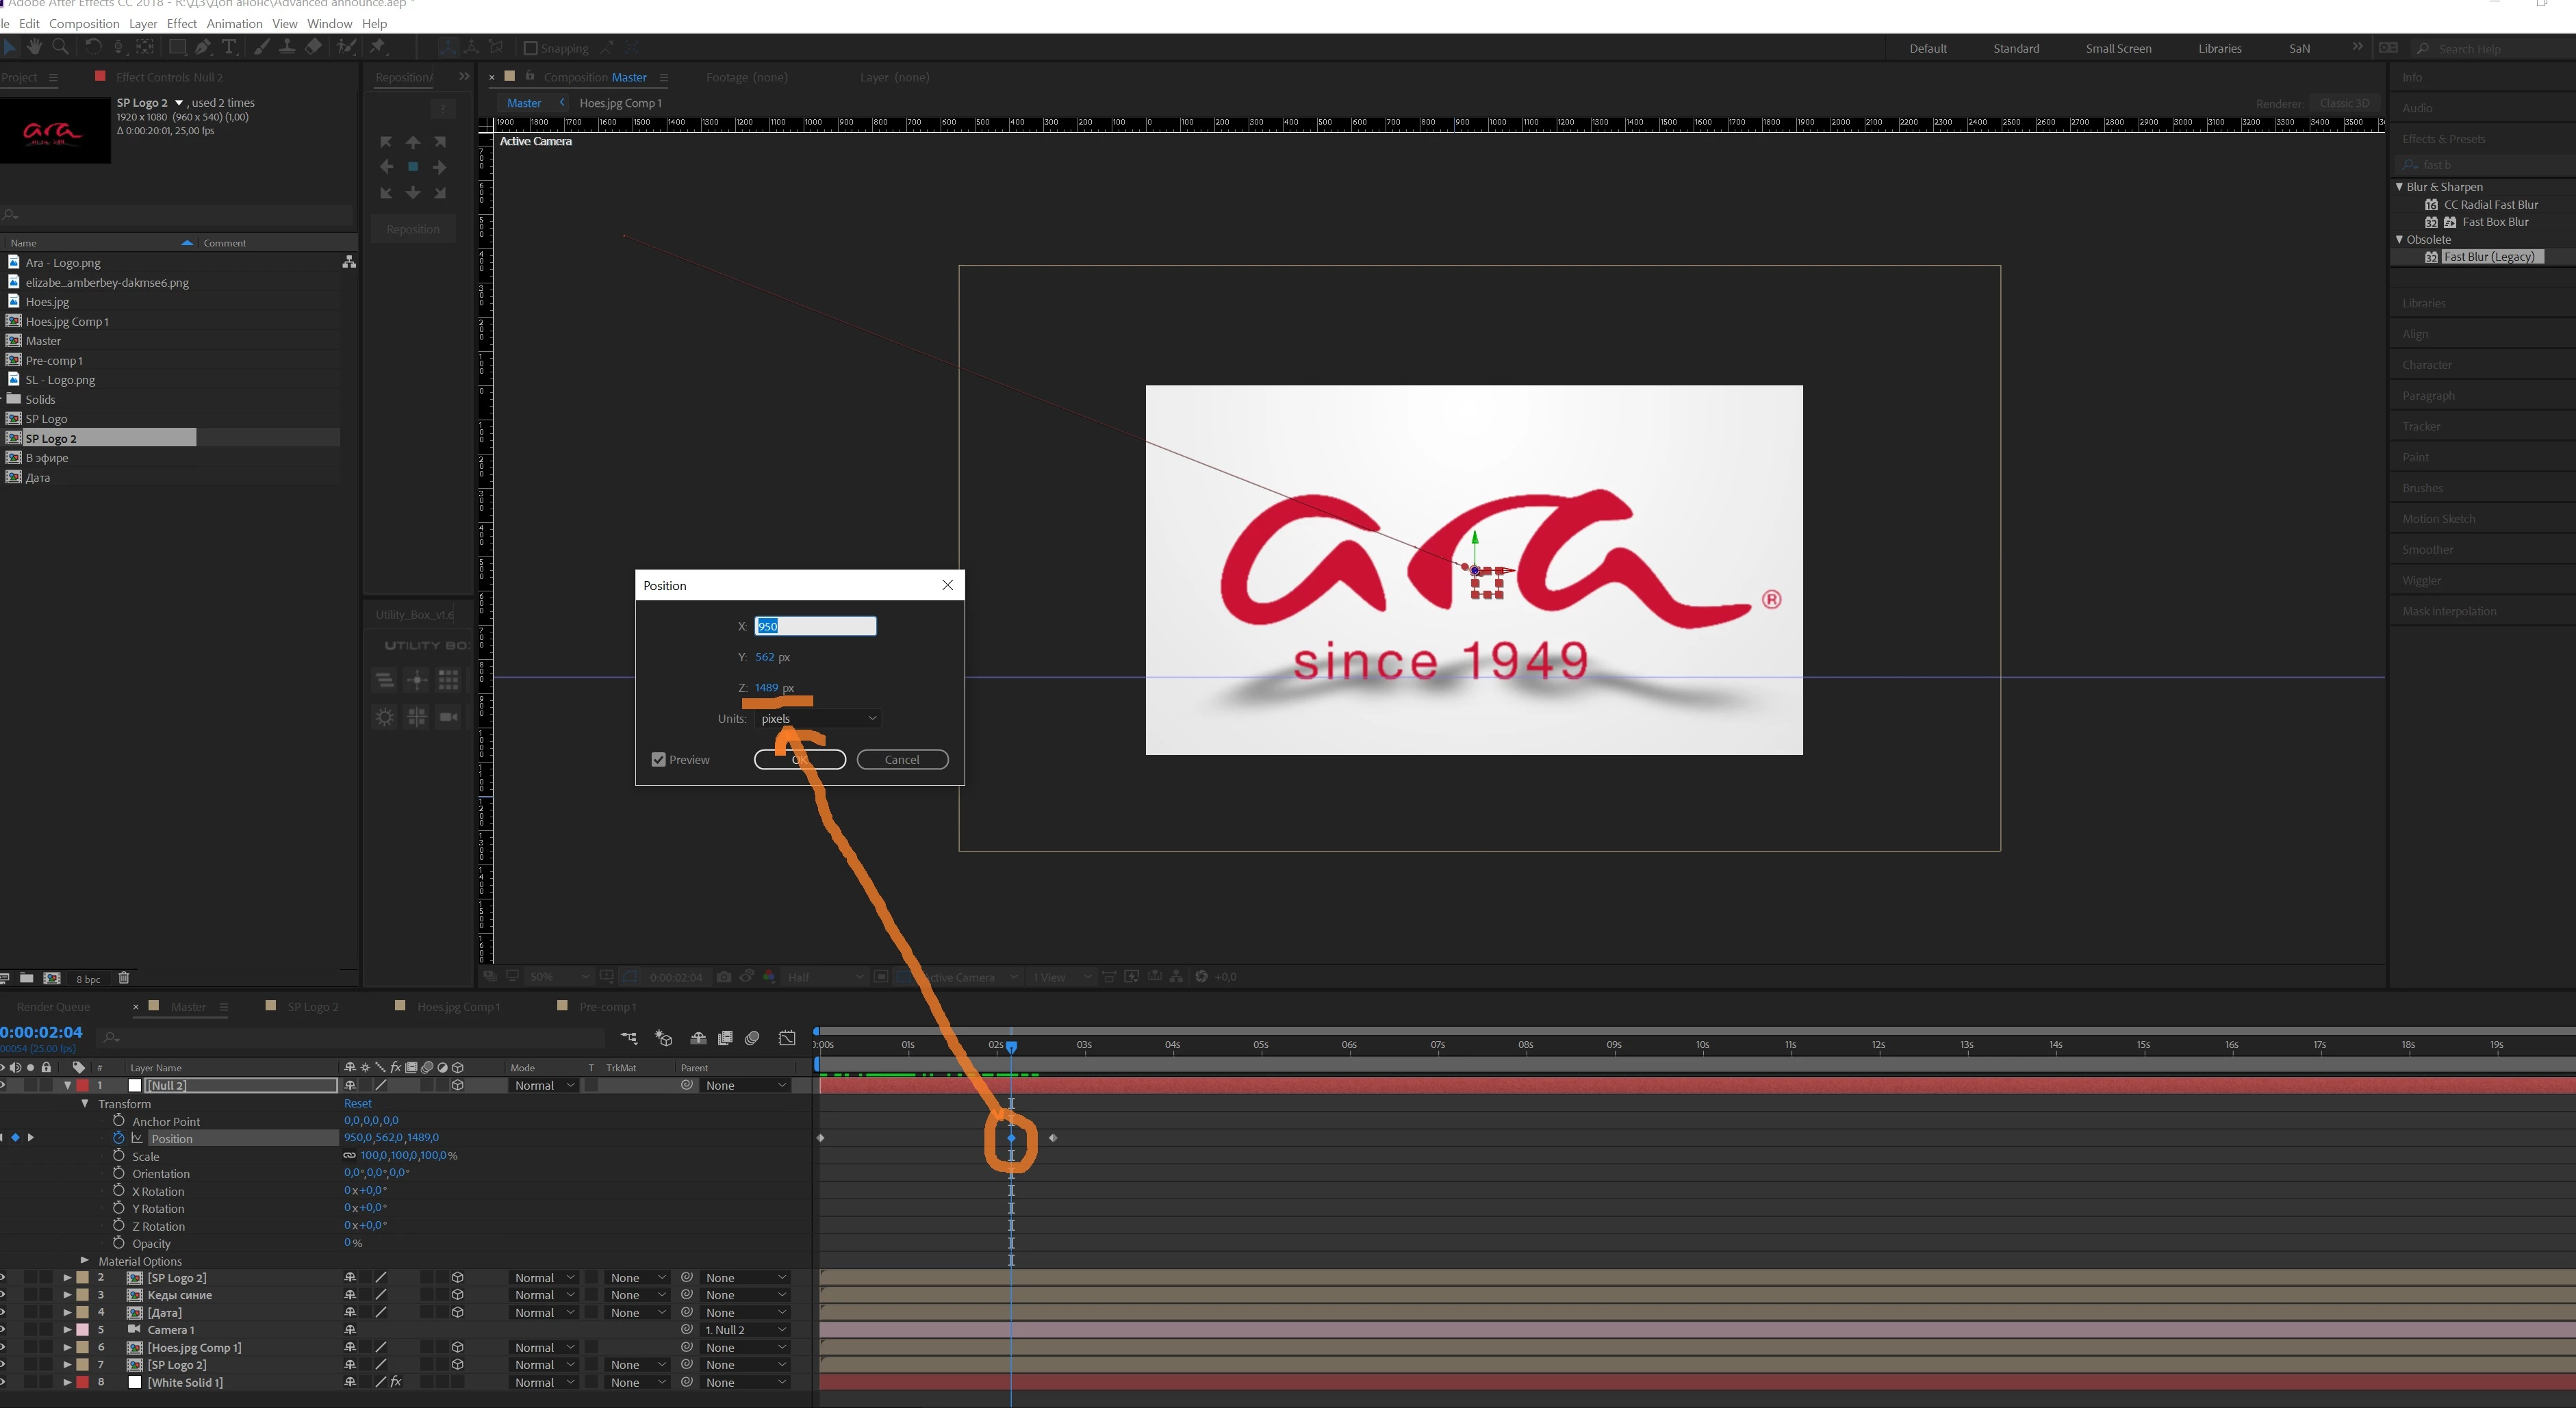
Imagine you creating two keyframes for "Z" position only  first is 1515, next is 1489 with that camera should move into the distance.
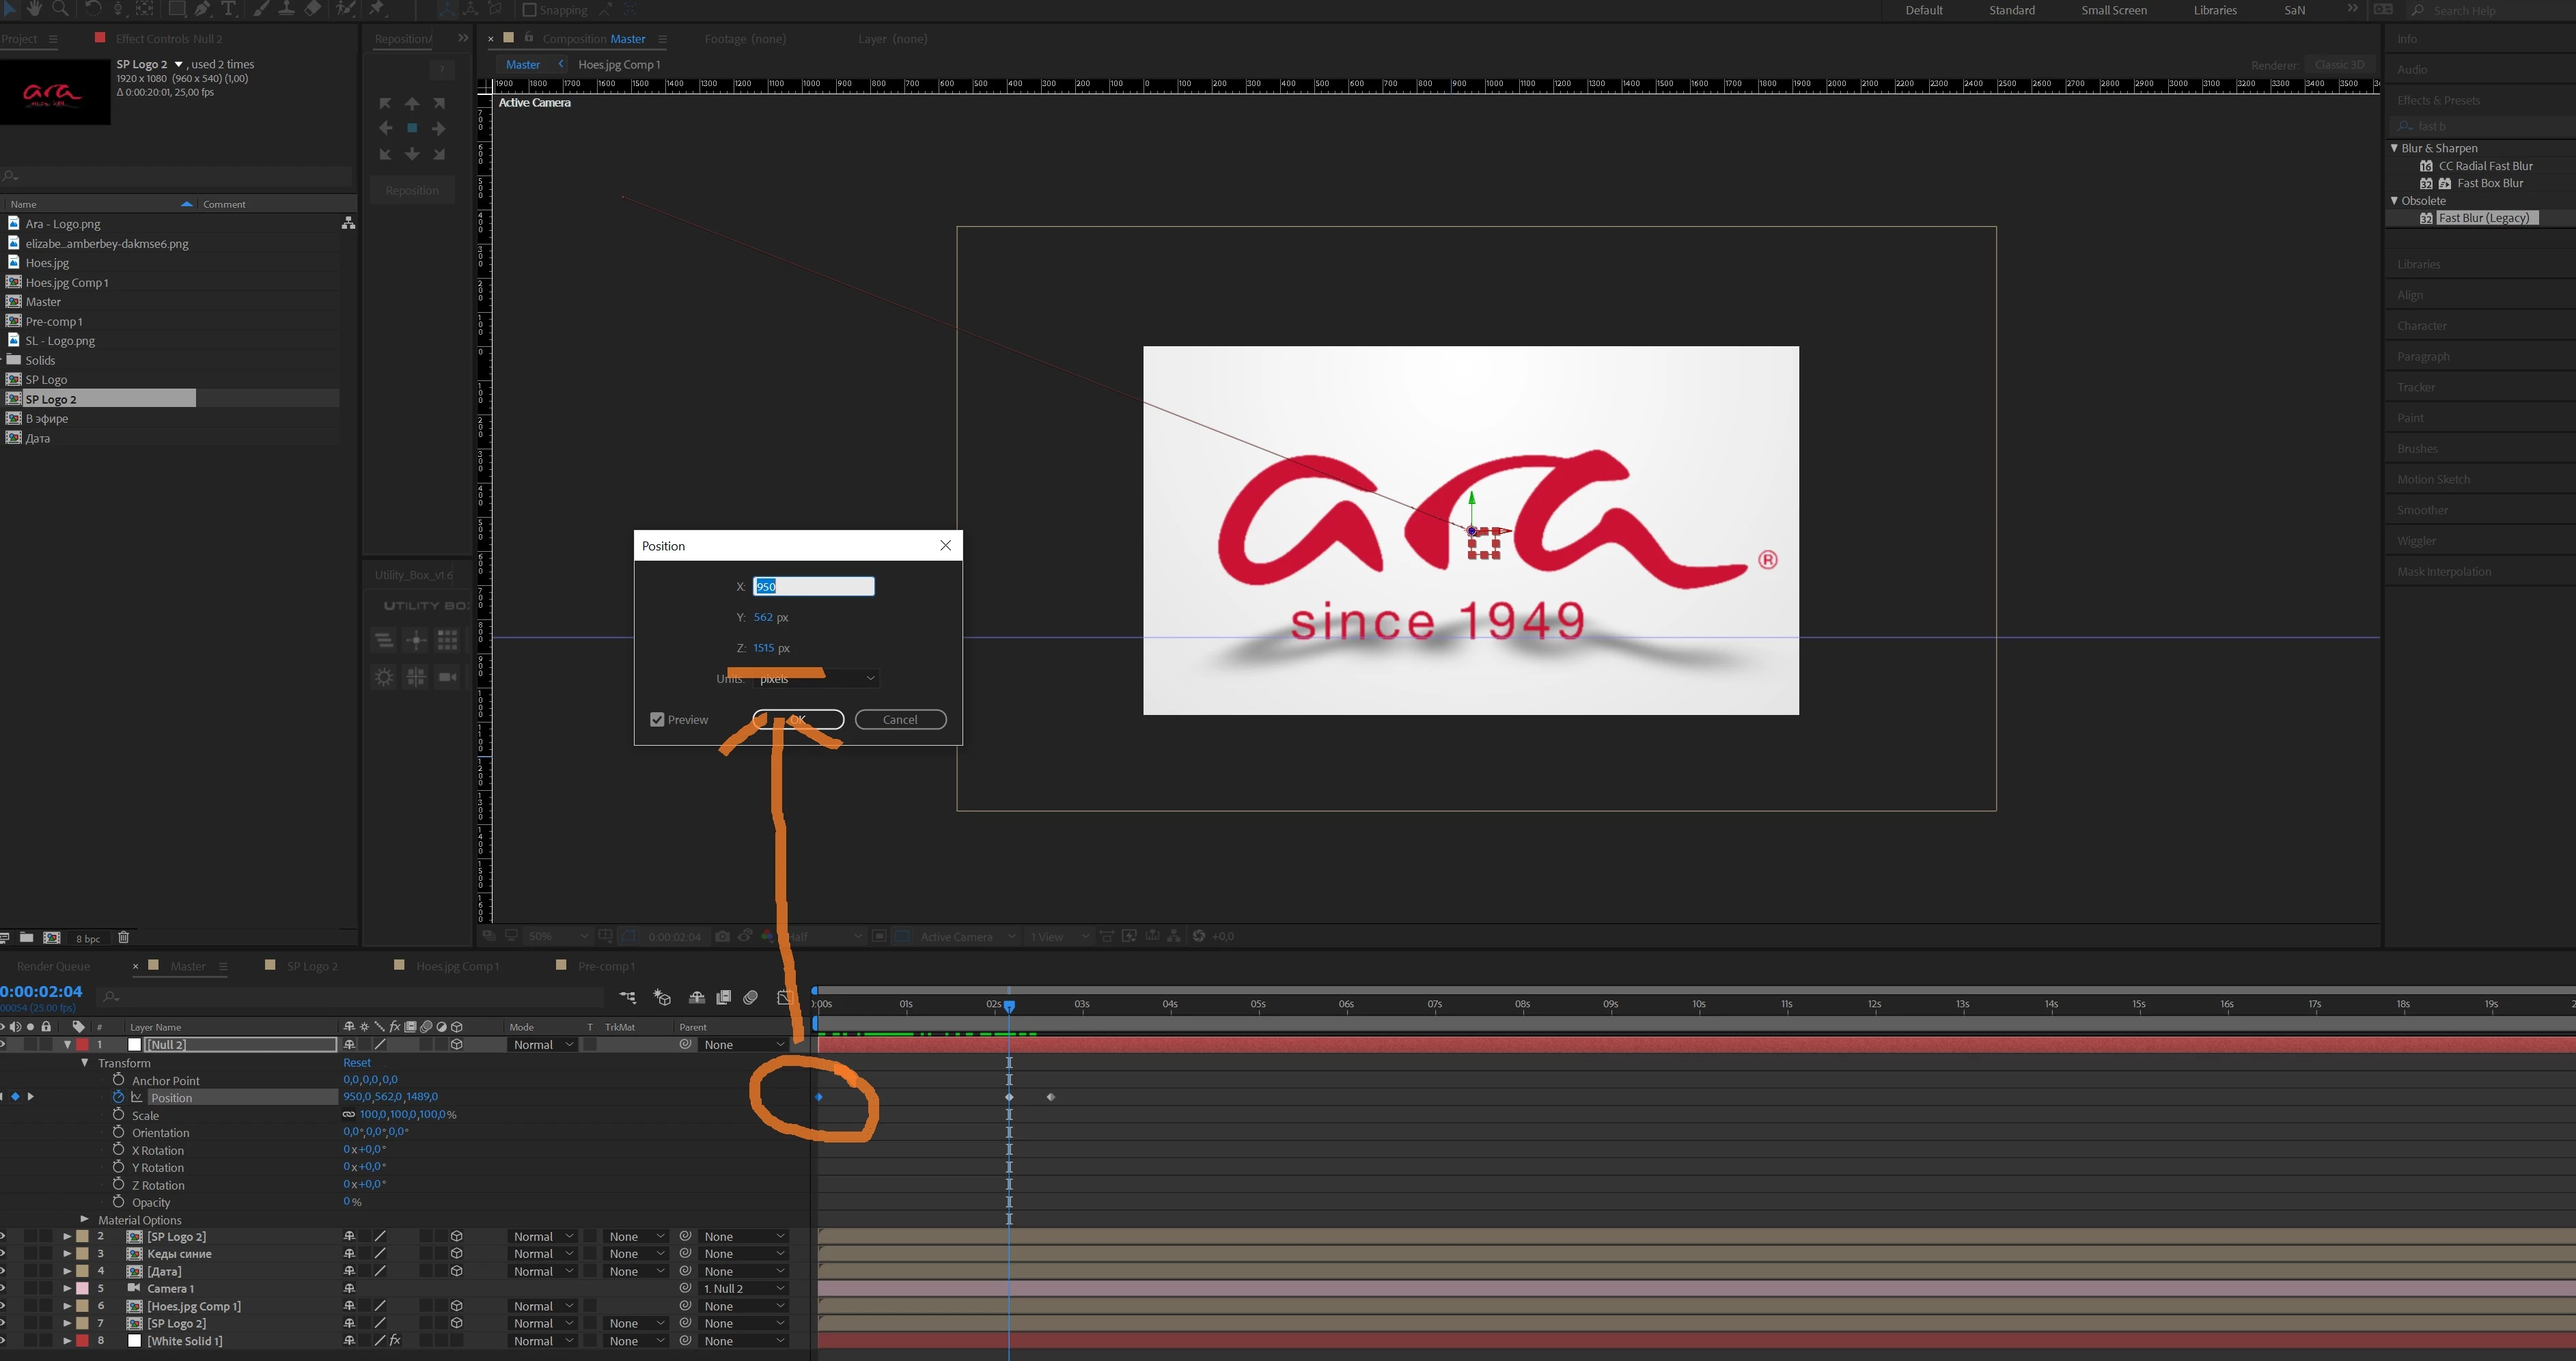
Between of that two point MUST NOT result more than 1515 or less than 1489. The camera should move from 1515 to 1489: 1514,1513 ...... 1489.

Everything is fine, until one more point is created
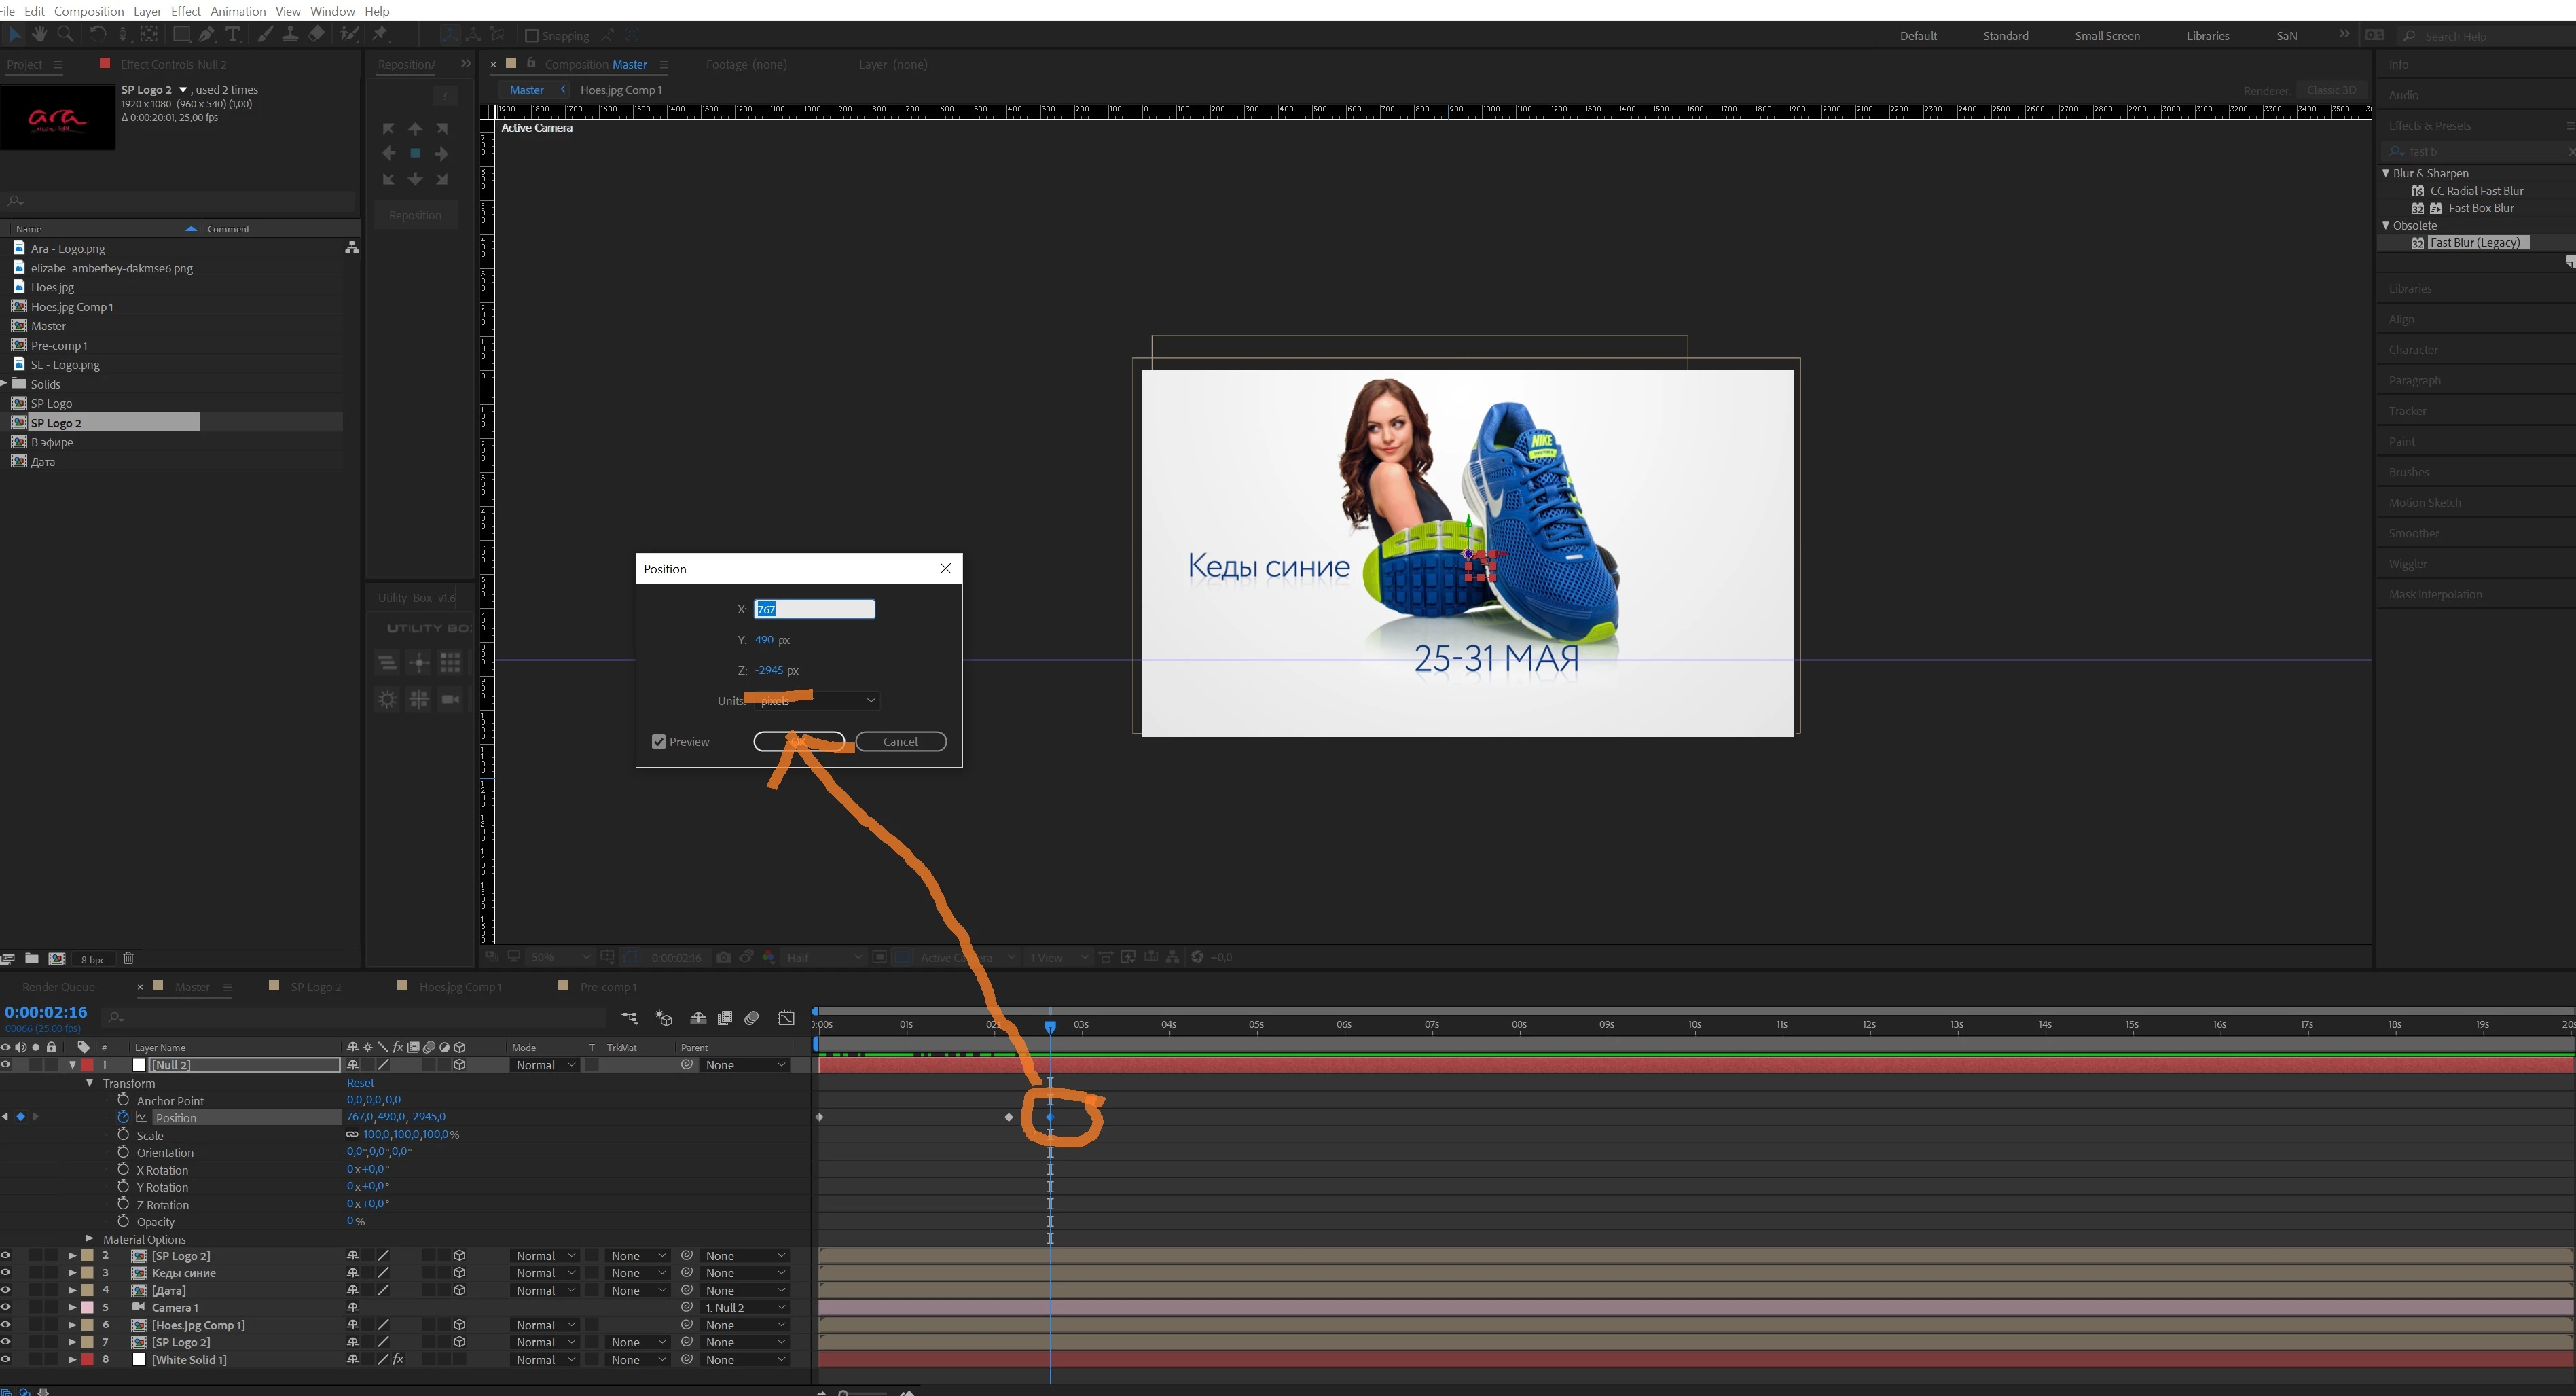
This point is -2945 on "Z" axis, just scrolling potision of null object for perfect position next scene for example.

And AE JUST RANDOMLY DESTROYS movement between first two point by ADDING random position without kefyrame.
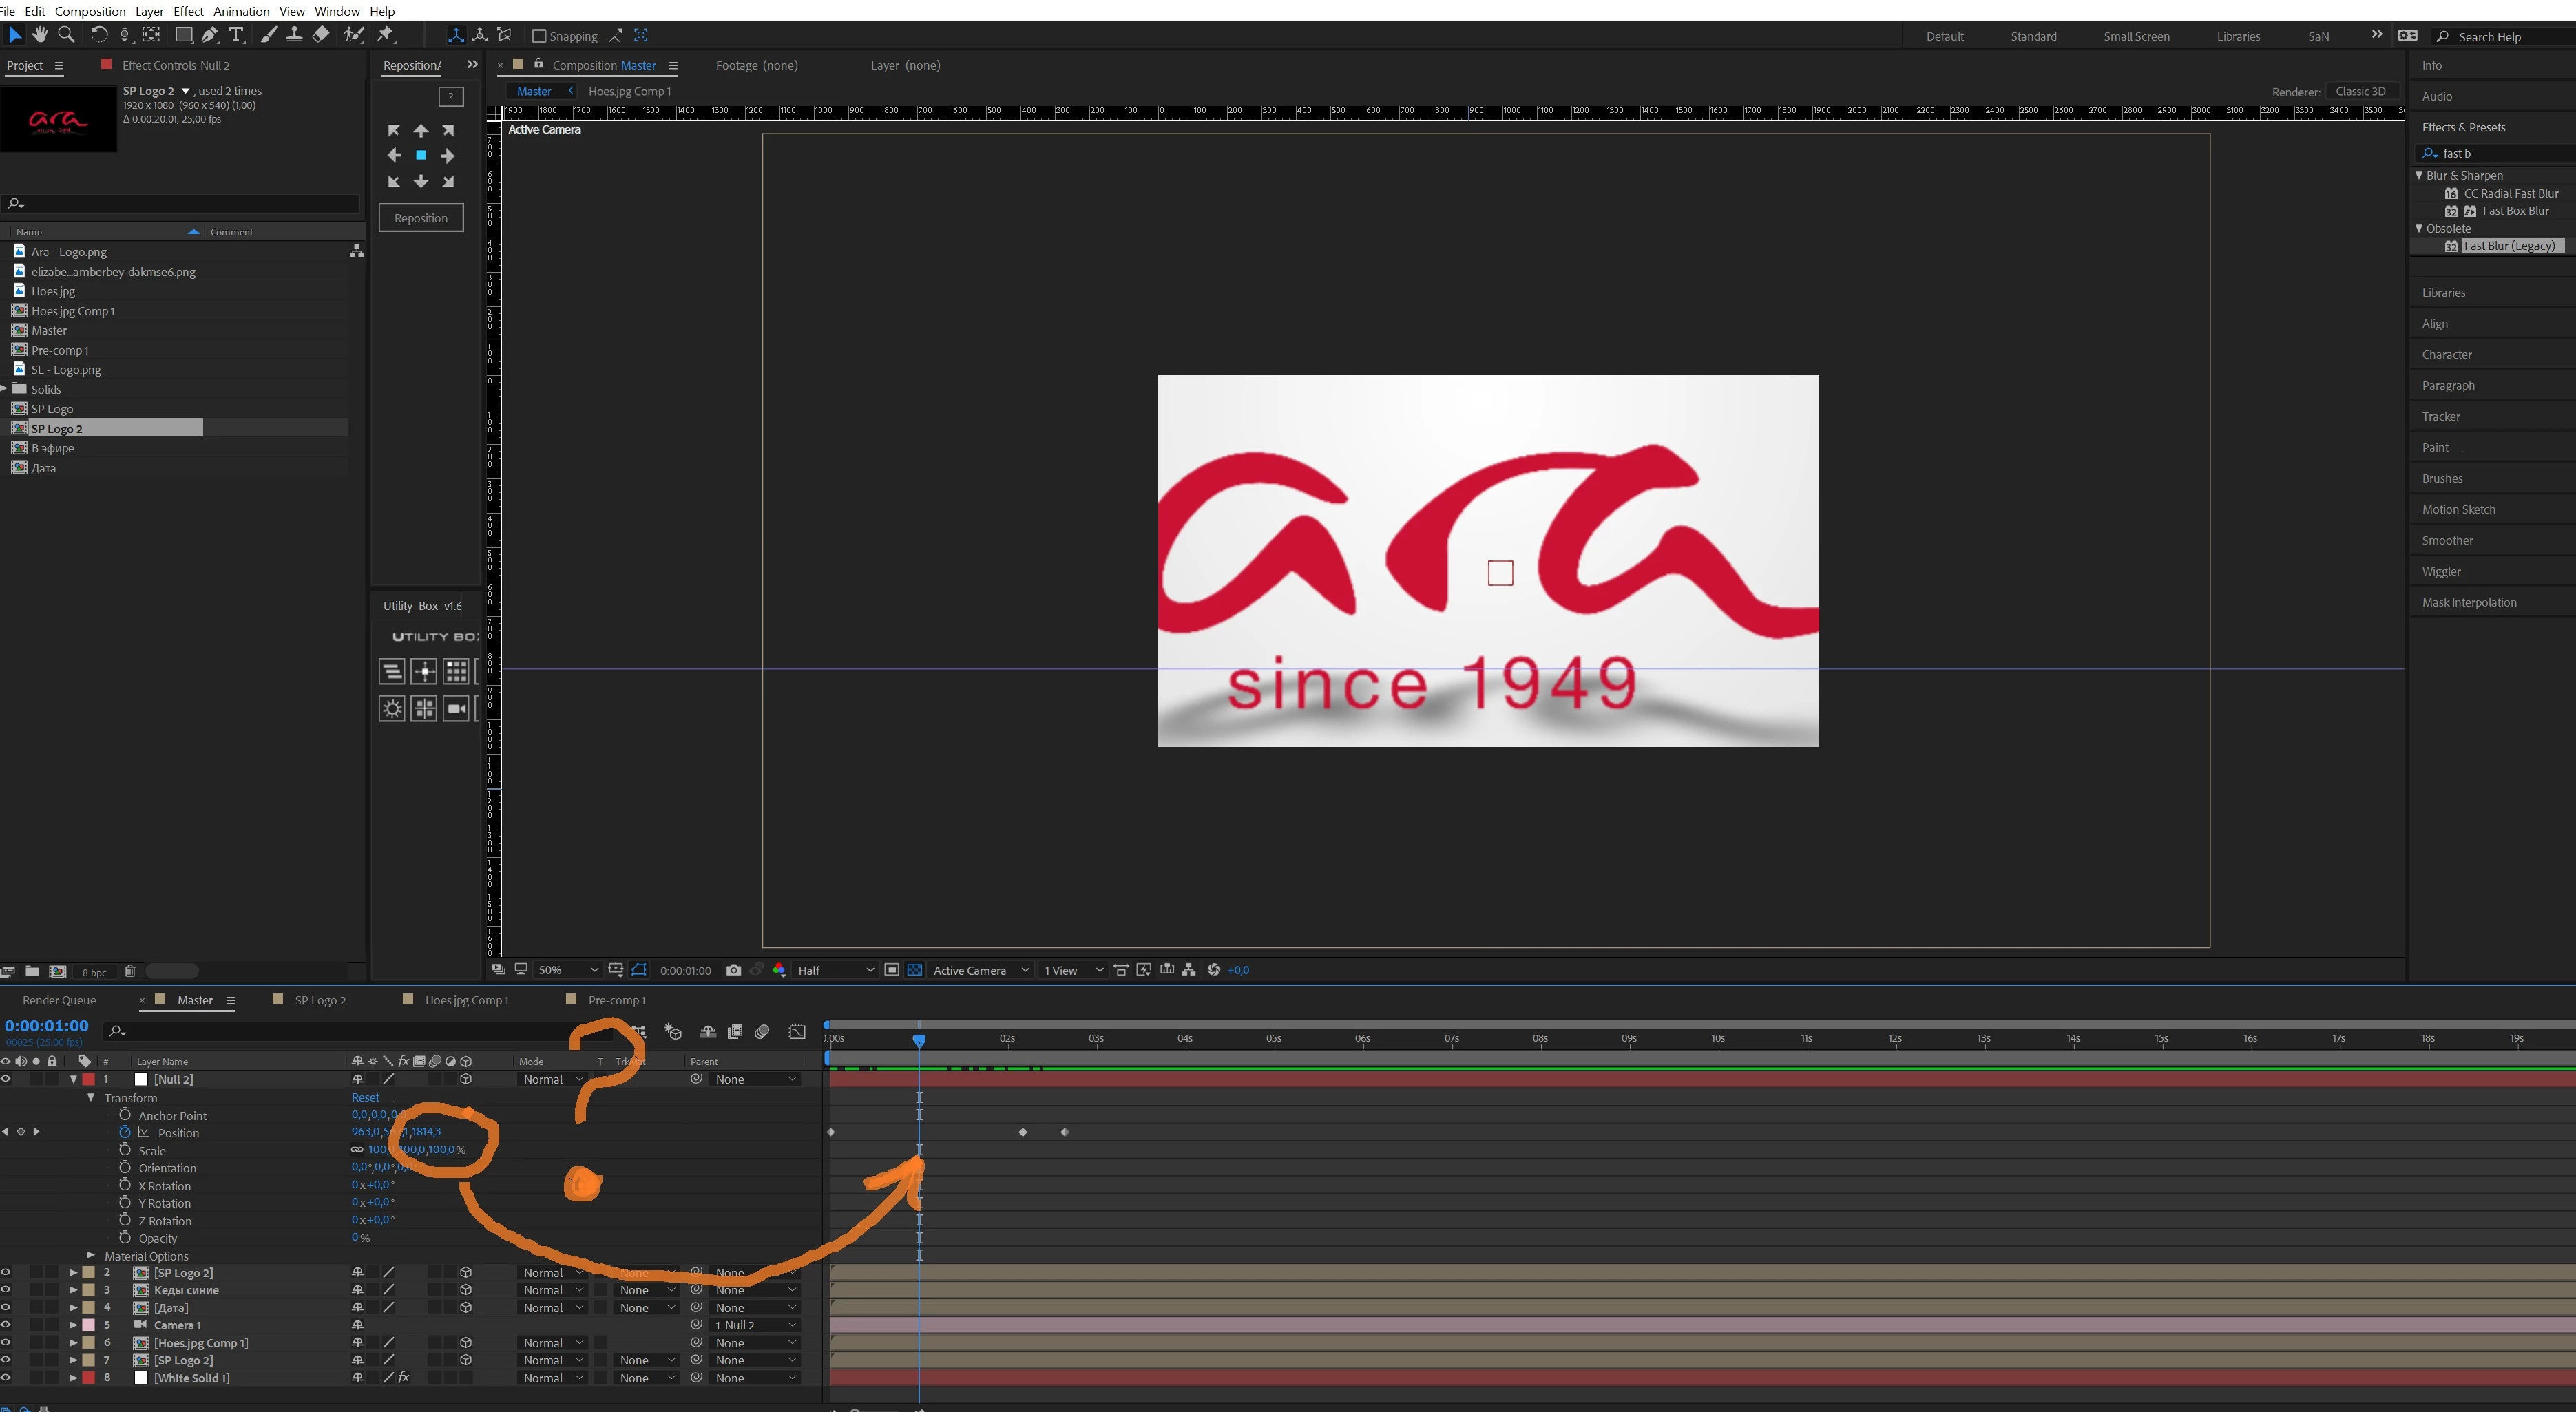
The movement looks like a sudden increase, scaling , which I can not control to remove.

Because AE just created point with 1812 distance by "Z" axis.

And there is no point with that settings between 1515 and 1489 , ofcourse shot looks like random scale.

And i cant delete it coz there is no keyframe.

I tried to animate position of null, of camera, Anchor point , i got same result, uncontroled camera movenet between two point in the centre.

Sorry for my english, hope you understand the problem and if you have solution i will be really appreciate it!
This topic has been closed for replies.
Correct answer Kyle Hamrick

As Mylenium says, you should probably do some reading on the basics of what's happening here. It'll serve you well going forward, as this is something you'll probably run into a lot.

It's not random; After Effects is "helping" by adding Auto-Bezier to your movement. You'll see this same behavior anywhere else when you add a third point that potentially affects the movement between the first two.


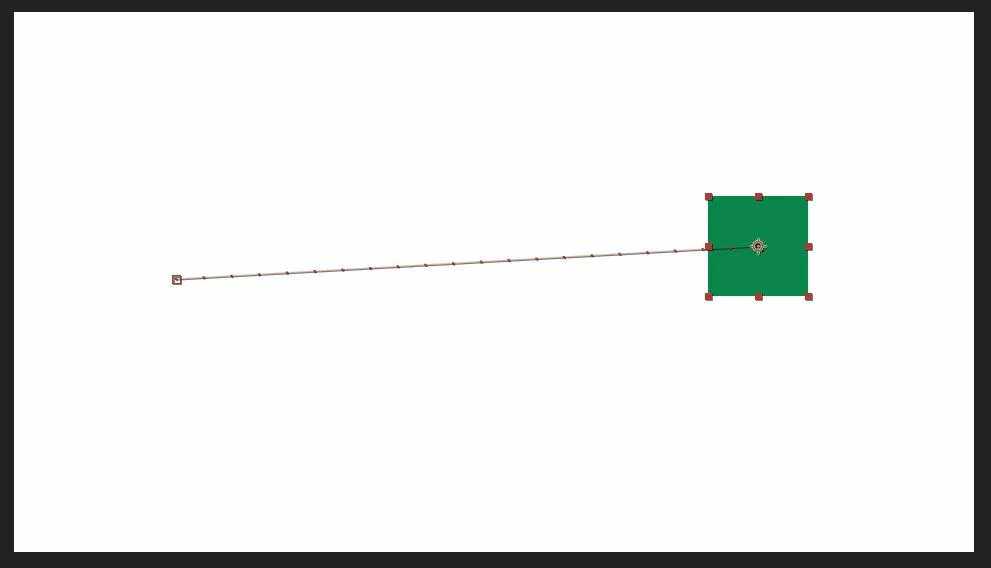
Here, a solid moves in a straight line between two points:

When a third point is added, AE assumes you want a smooth transition toward that new direction, so it rounds the path slightly:

This is the default behavior, though you can change that. If you never want this to happen, you can go to Preferences > General and check Default Spatial Interpolation to Linear.

If you just want to change this instance of it, you have a few options.

A. Select the keyframe(s) that aren't behaving the way you expect. Right-click on one and choose Keyframe Interpolation. Set Spatial Interpolation to Linear. For any keyframes set this way, the object will move in a perfectly straight line between those points.

B. Using the pen tool, adjust the motion path so the object moves the way you want. This is my preferred option, as it givs you the most control. You can intentionally curve a motion path between points to suit your taste. You can have rounded corners, hard corners - whatever you need. On a camera, you have the extra complication of working in 3d space, so you'll likely need to enable multiple views to get the right perspective on your motion path.

Good luck!

2 replies

Kyle Hamrick
Community Expert
Kyle HamrickCommunity ExpertCorrect answer
Community Expert
May 21, 2018

As Mylenium says, you should probably do some reading on the basics of what's happening here. It'll serve you well going forward, as this is something you'll probably run into a lot.

It's not random; After Effects is "helping" by adding Auto-Bezier to your movement. You'll see this same behavior anywhere else when you add a third point that potentially affects the movement between the first two.


Here, a solid moves in a straight line between two points:

When a third point is added, AE assumes you want a smooth transition toward that new direction, so it rounds the path slightly:

This is the default behavior, though you can change that. If you never want this to happen, you can go to Preferences > General and check Default Spatial Interpolation to Linear.

If you just want to change this instance of it, you have a few options.

A. Select the keyframe(s) that aren't behaving the way you expect. Right-click on one and choose Keyframe Interpolation. Set Spatial Interpolation to Linear. For any keyframes set this way, the object will move in a perfectly straight line between those points.

B. Using the pen tool, adjust the motion path so the object moves the way you want. This is my preferred option, as it givs you the most control. You can intentionally curve a motion path between points to suit your taste. You can have rounded corners, hard corners - whatever you need. On a camera, you have the extra complication of working in 3d space, so you'll likely need to enable multiple views to get the right perspective on your motion path.

Good luck!

Participant
May 21, 2018

Friend thank you alot !!!

All the time im trying to find that "bezier" thing in the "graph editor" and i dont know why he dosnt shows up that momevent.

He telling me that there is all linear but its not true.

Also im trying to find it on the lasso keyframe, and there is also all linear.

Probably I understand not correctly but now i know how to solve this problem.

Thank you so much for write this immages and spent time for me!

Using "A" method and trying to understand "B" method, coz i see only straight line by all 4 views.

Anyway thank you so much for this advice !!!

Kyle Hamrick
Community Expert
Community Expert
May 21, 2018

The graph editor isn't the place to fix this. That's for adjusting your temporal interpolation - i.e. the speed your object moves between values, particularly when easing is involved.

For adjusting motion paths/spatial interpolation, if you're doing my above suggestion of adjusting with the pen tool, that will be happening directly in your viewer.

Mylenium
Legend
May 21, 2018

Read up on how keyframe interpolation works and what the "lasso effect" is. Really nothing to it. You just haven't started with some essential basics.

Mylenium