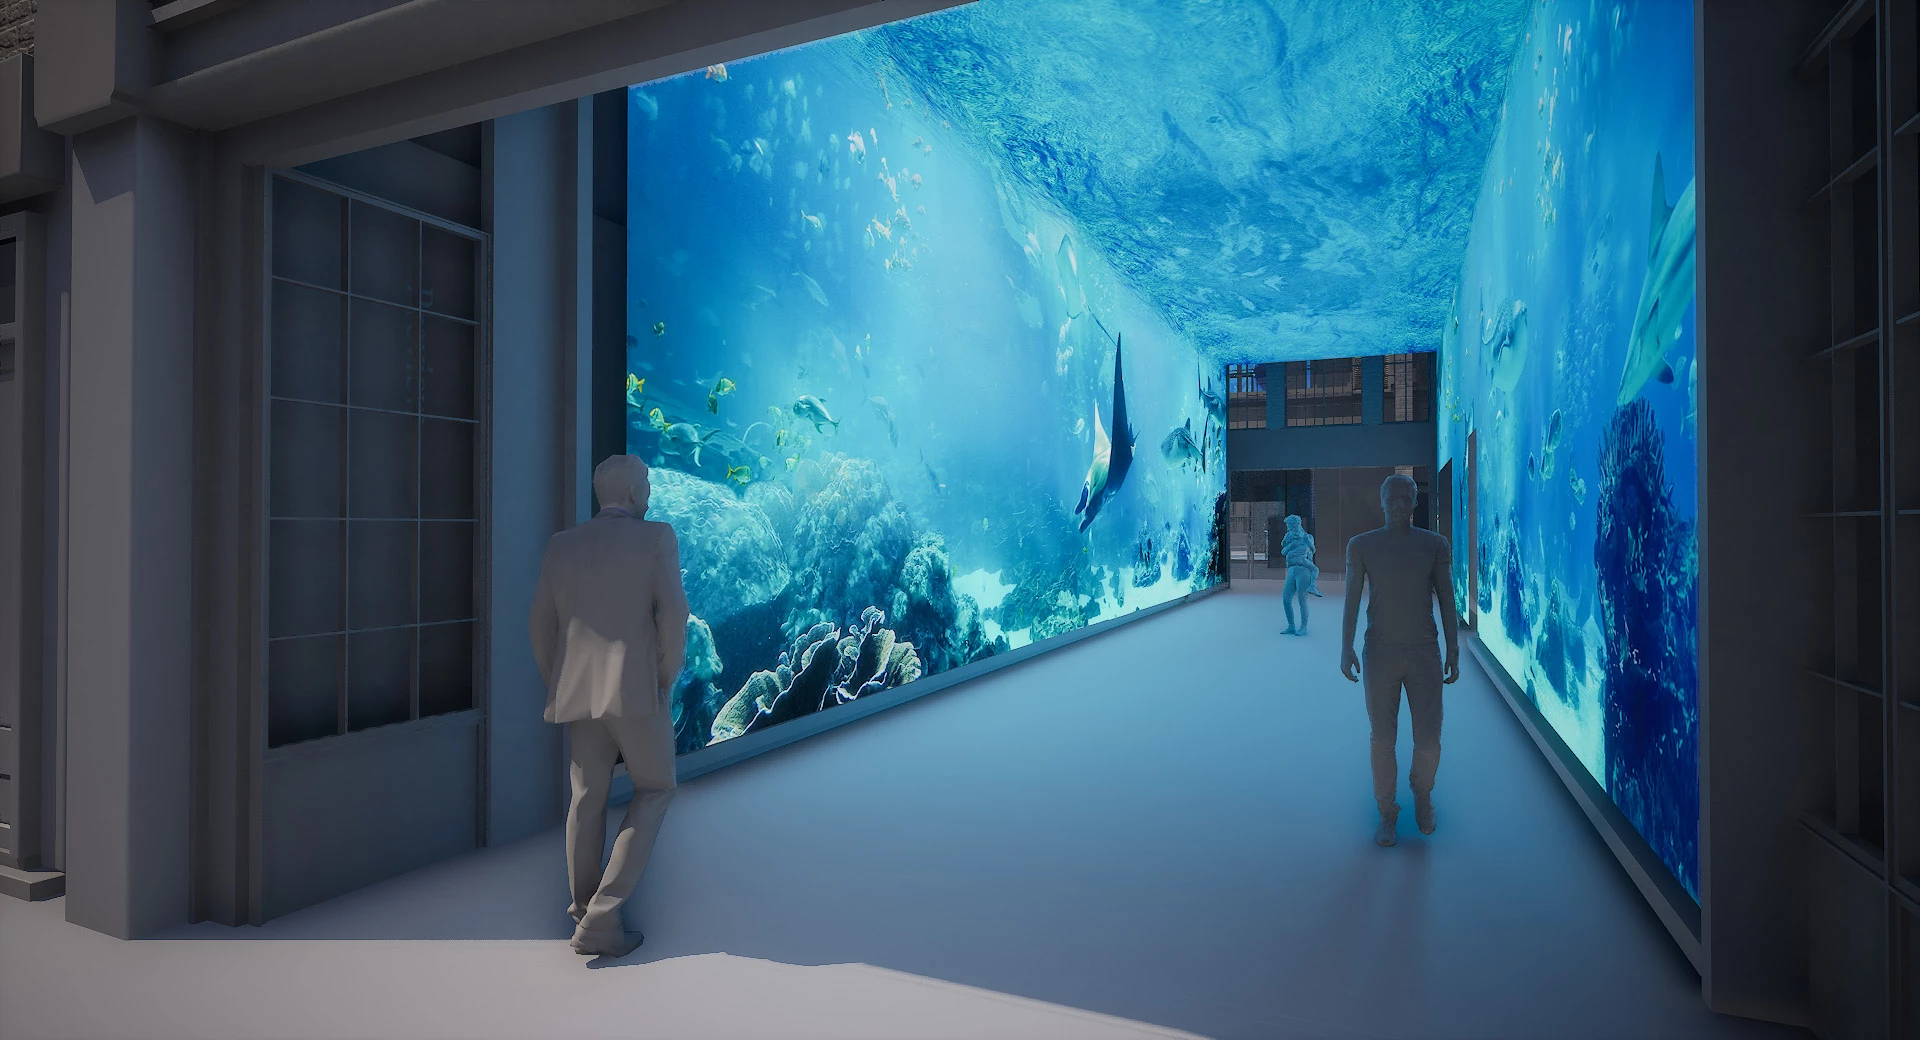
I think I understand what you are trying to do. I am not sure if you are trying to match actual footage for the master shot or just create a realistic 3D environment.
To create the walls of your scene start by arranging 4 comp-sized solids around the comp center with no camera. Comp center means [thisComp.width/2, thisComp.height/2, 0]
It is often easiest to position the ceiling, wall, and floor layers by adjusting the Z value of the anchor point and then rotating them using the X, Y, and Z rotation controls instead of Orientation. I also always a 3D null for the comp center so I can use that as the parent for the 3D layers and move the entire set around as necessary.
When that is done you can slide the walls back and forth easily by simply adjusting the Z value of the anchor point until you have set up your room. That first step would look something like this:
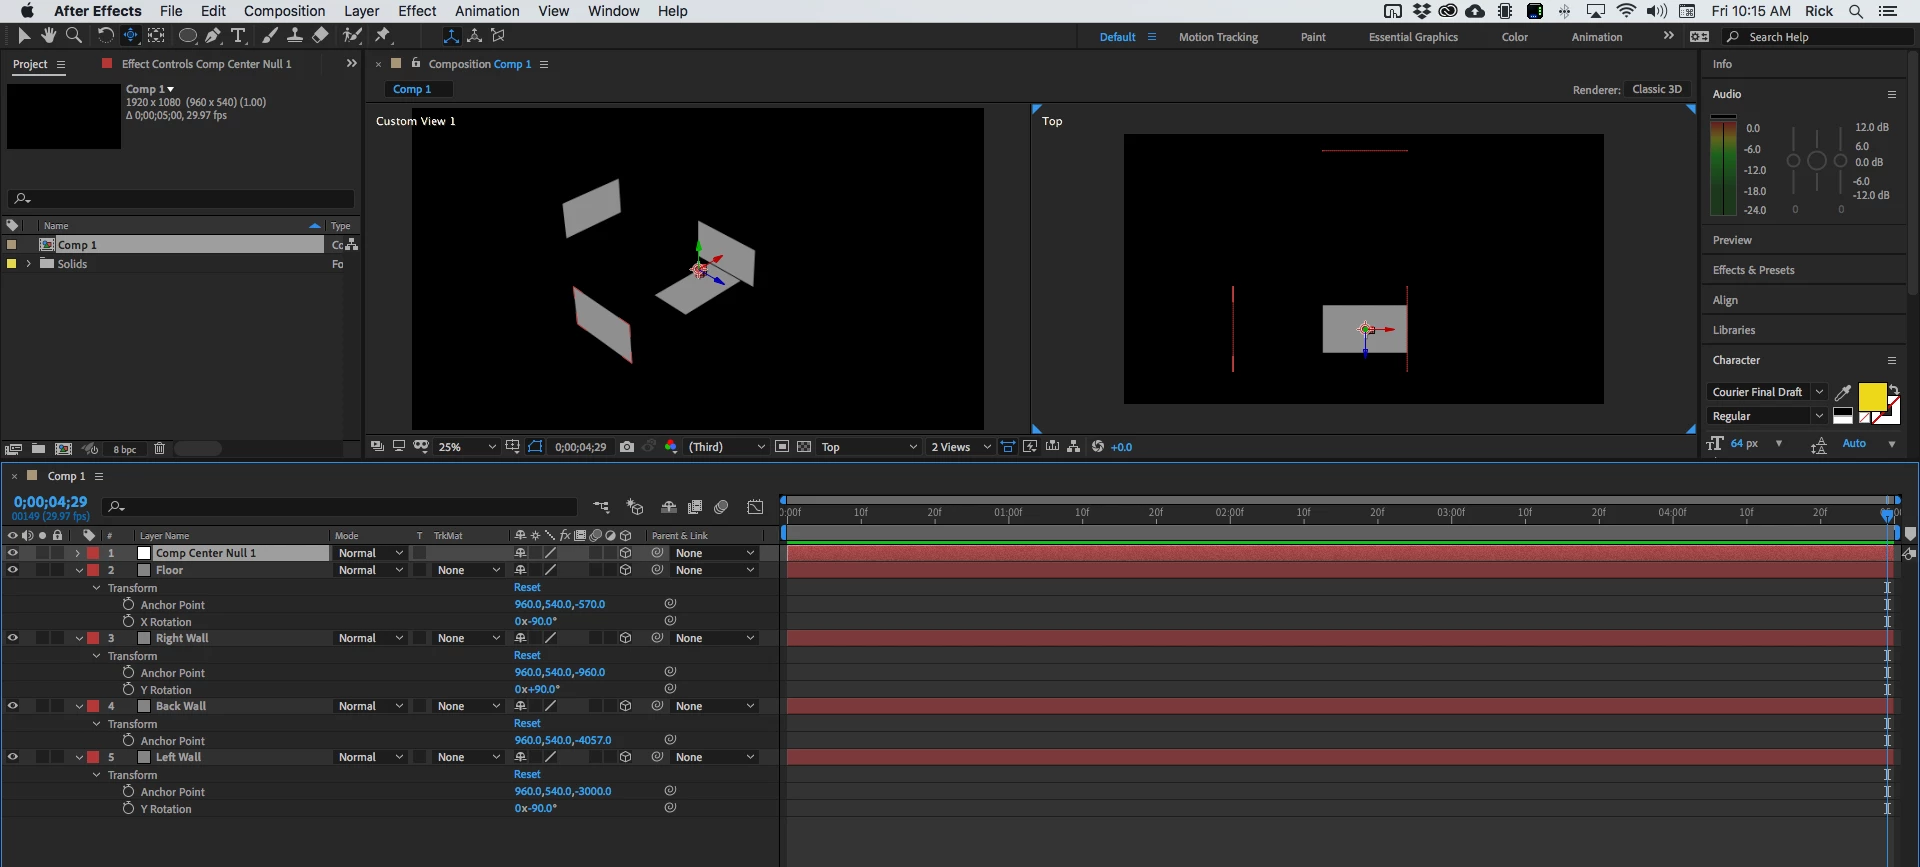
I used Top view and Custom View 1 for this setup and used the camera tools to widen the view of both so I could get a better look at the layers. You now have the backbone to start building your 3D set.
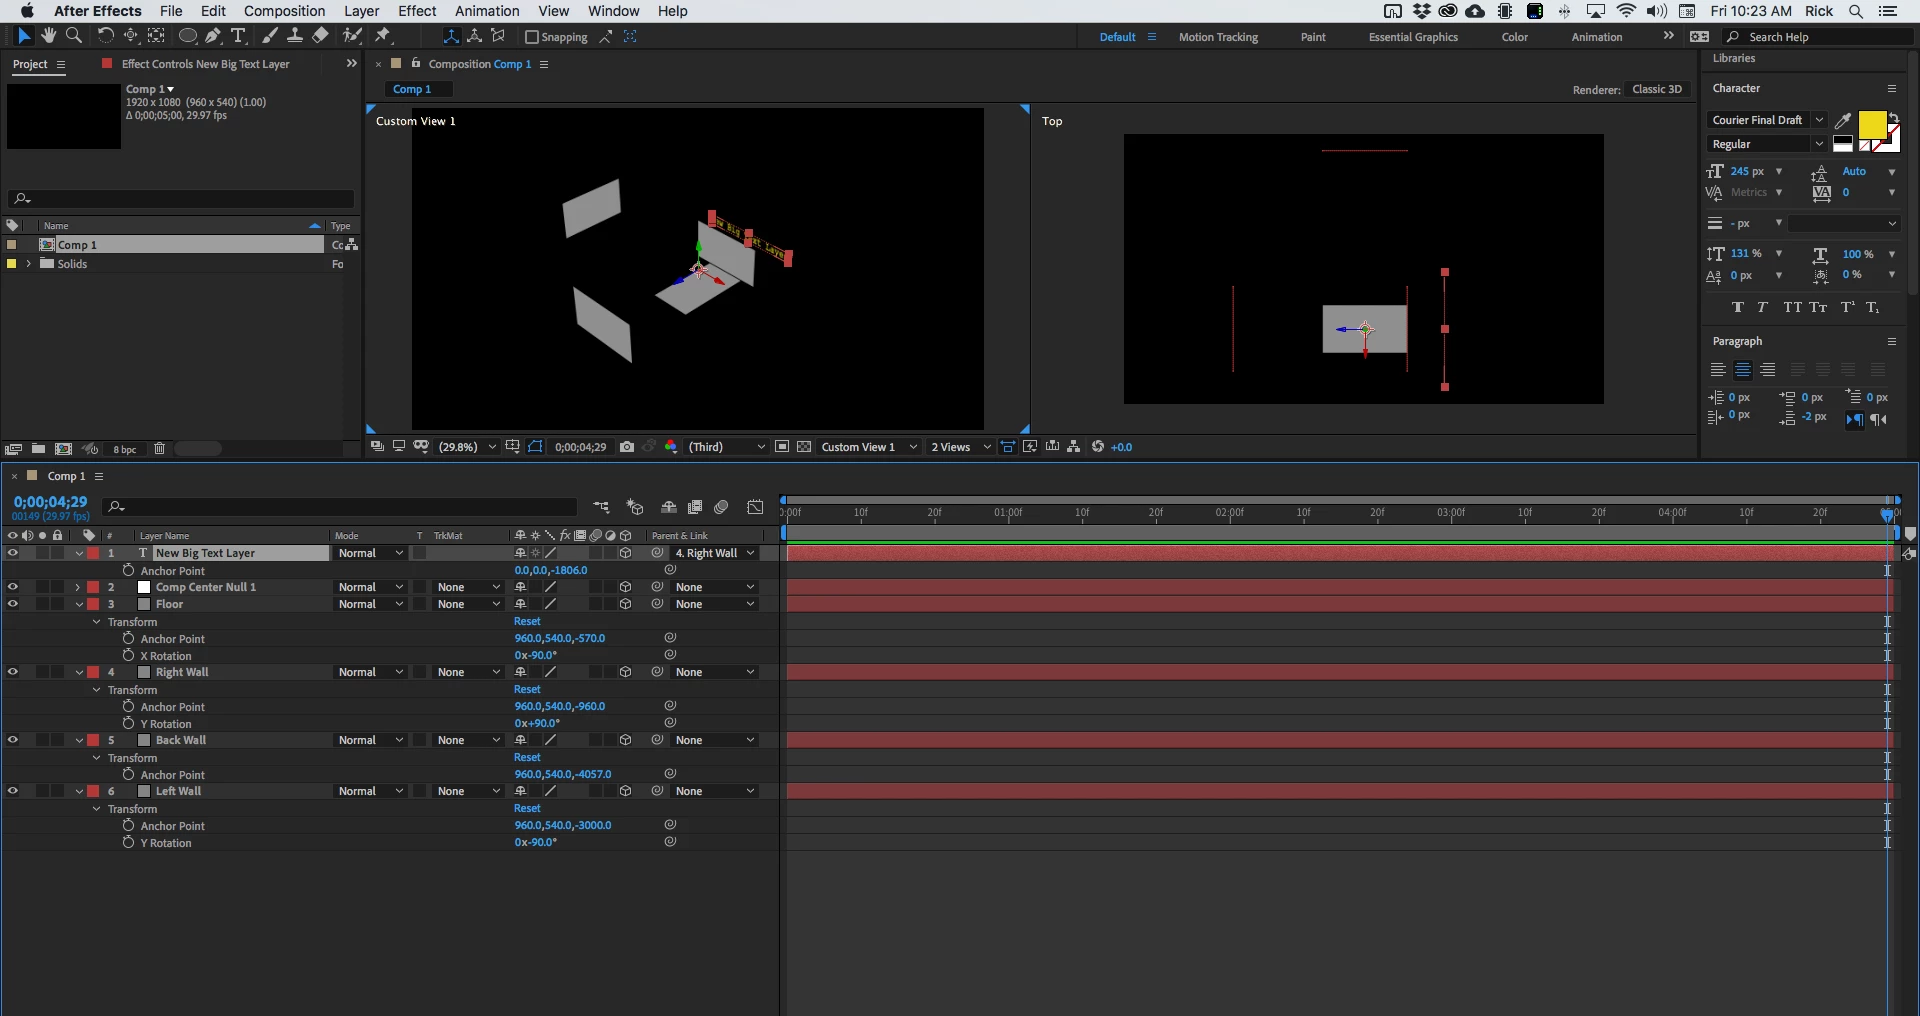
Now it is just a matter of adding additional elements to the scene and arranging them in 3D space. It is easy to snap a new 3D layer into the proper orientation by simply holding down the shift key and then parenting the layer to the proper wall. Here I have snapped a text layer to the Right wall then adjusted the Z anchor point to line it up behind the wall.
When you have all of the layers arranged and your set has been built you can pre-compose the various wall elements, collapse transformations, then add a camera normal camera to the Pre-comp and move it around to see how the layers are working and have your virtual 3D set complete. Cameras in Pre-comps are ignored in the main comp. Back in the main comp, you can move things around as needed, use Camera Tracking to line up your virtual 3D walls, and make everything work. I actually do this kind of thing quite often. I often keep the first wall layers as Guide layers so I know where I started and I can keep the set pieces lined up.
If that is not what you are trying to do, let us know.