Answered
squeezing 3D text
How do you squeeze a 3D text?

How do you squeeze a 3D text?
The procedure is not the same for 3D layers and extruded 3D layers (shapes and text) because when you use the C4D renderer or if you must and I don't recommend it, use the Ray-traced rendering option effects on the 3D layers are disabled.
On a standard text layer using the Classic Renderer - apply any of the distortion effects that you feel comfortable with. Liquify, Bezier Warp, Displacement Map, and animate the parameters to get the text to look like it is being pinched in the middle. To learn more about how to use these distort effects type the name of the effect in the Search Help field in the top right corner of AE and check out the help files and community resources. One method would be something like this:
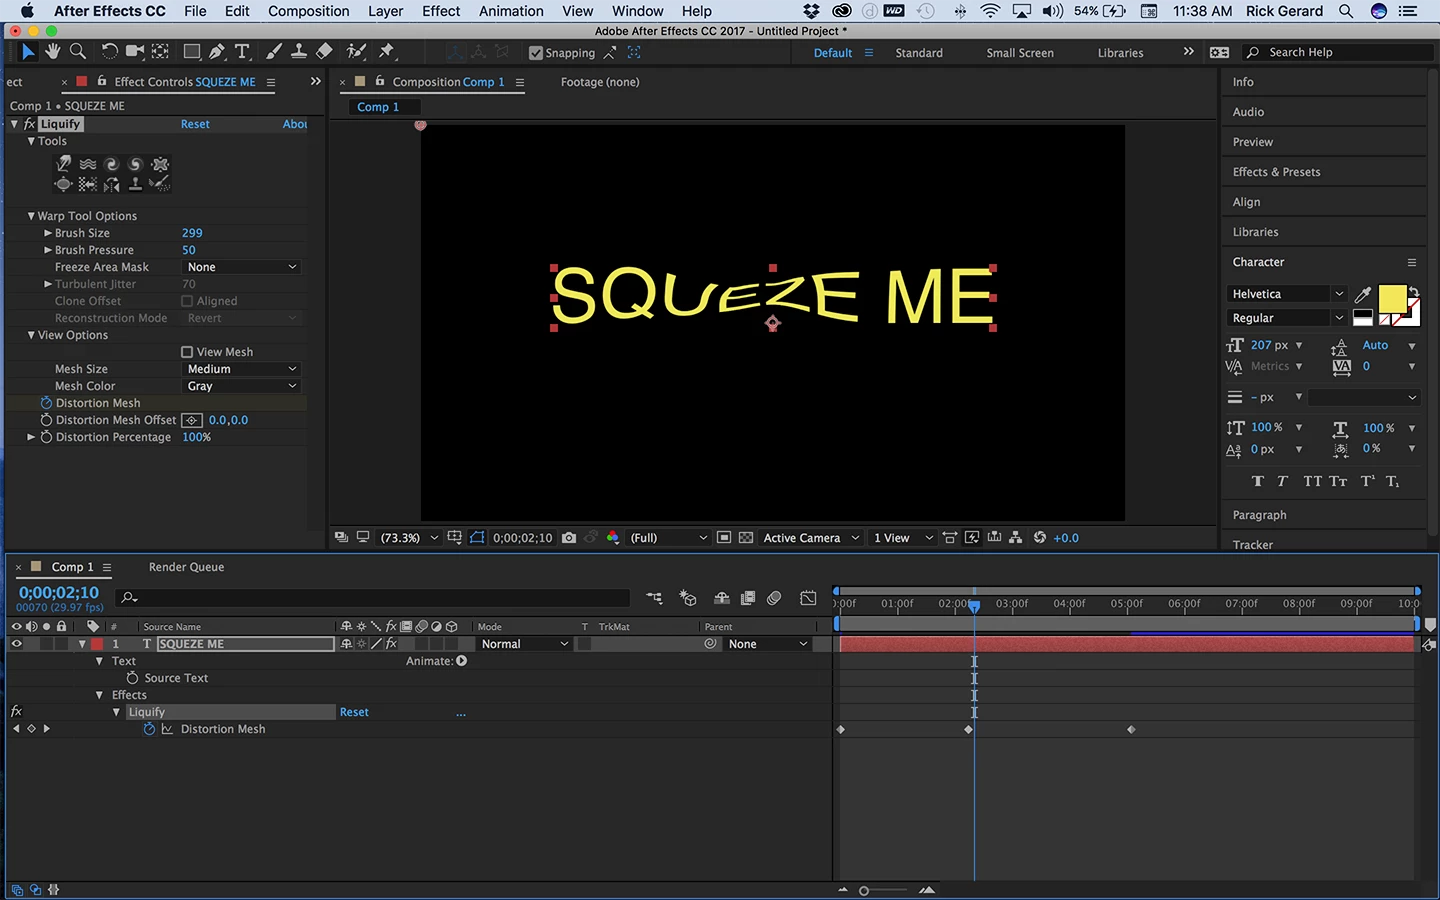
Different effects will create different looks and require different settings.
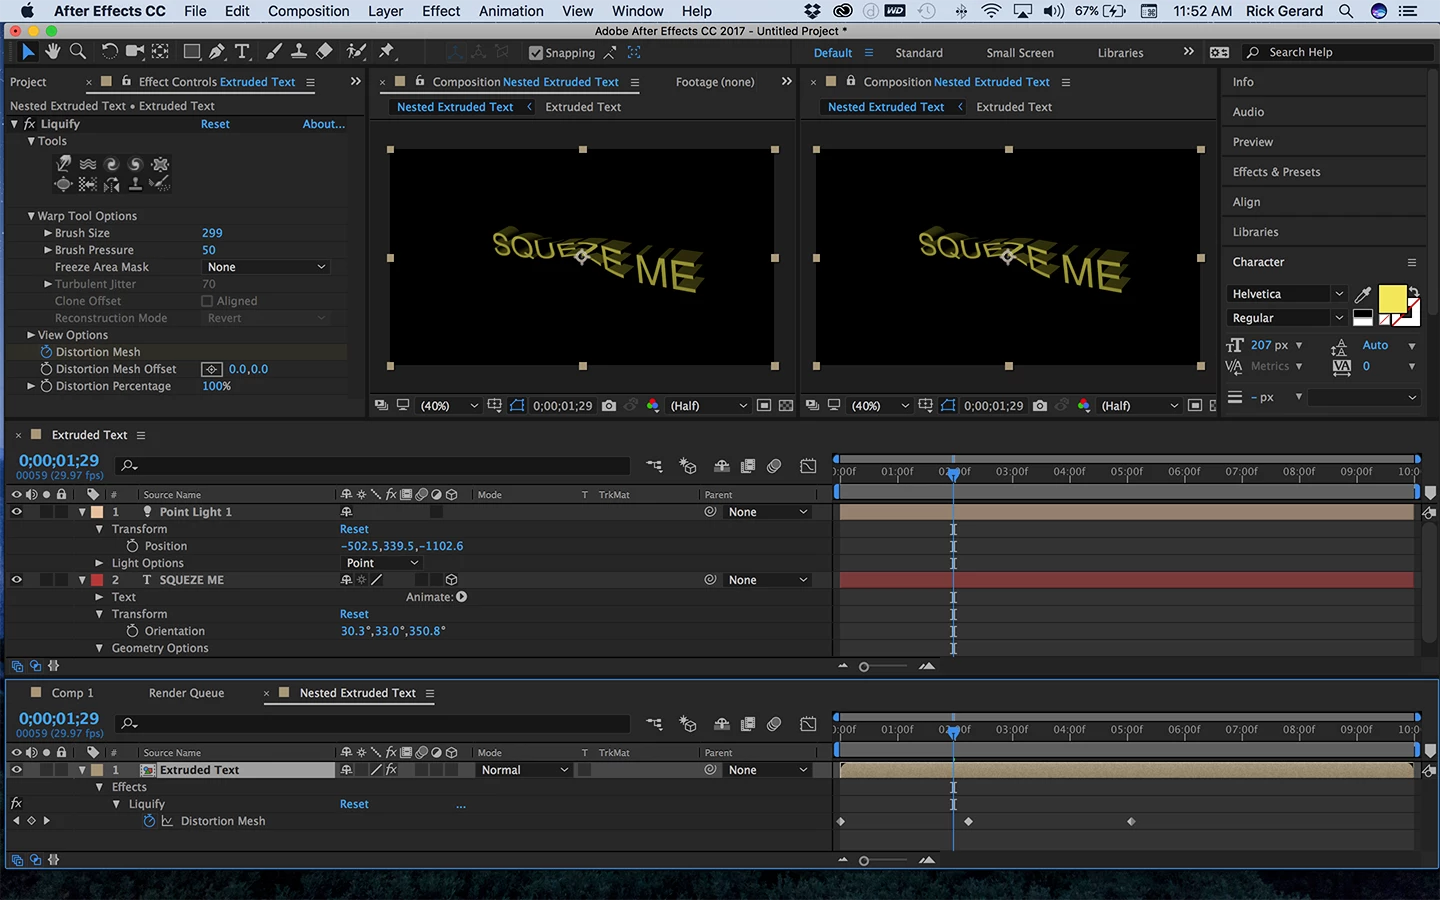
To achieve this look using extruded text you have to decide how you want to achieve the look. One option is to simply create your extruded text in a comp using the C4D renderer then nest that comp in a Classic 3D comp and apply one of the distortion filters. This would distort the whole image but that may be good enough for your job.
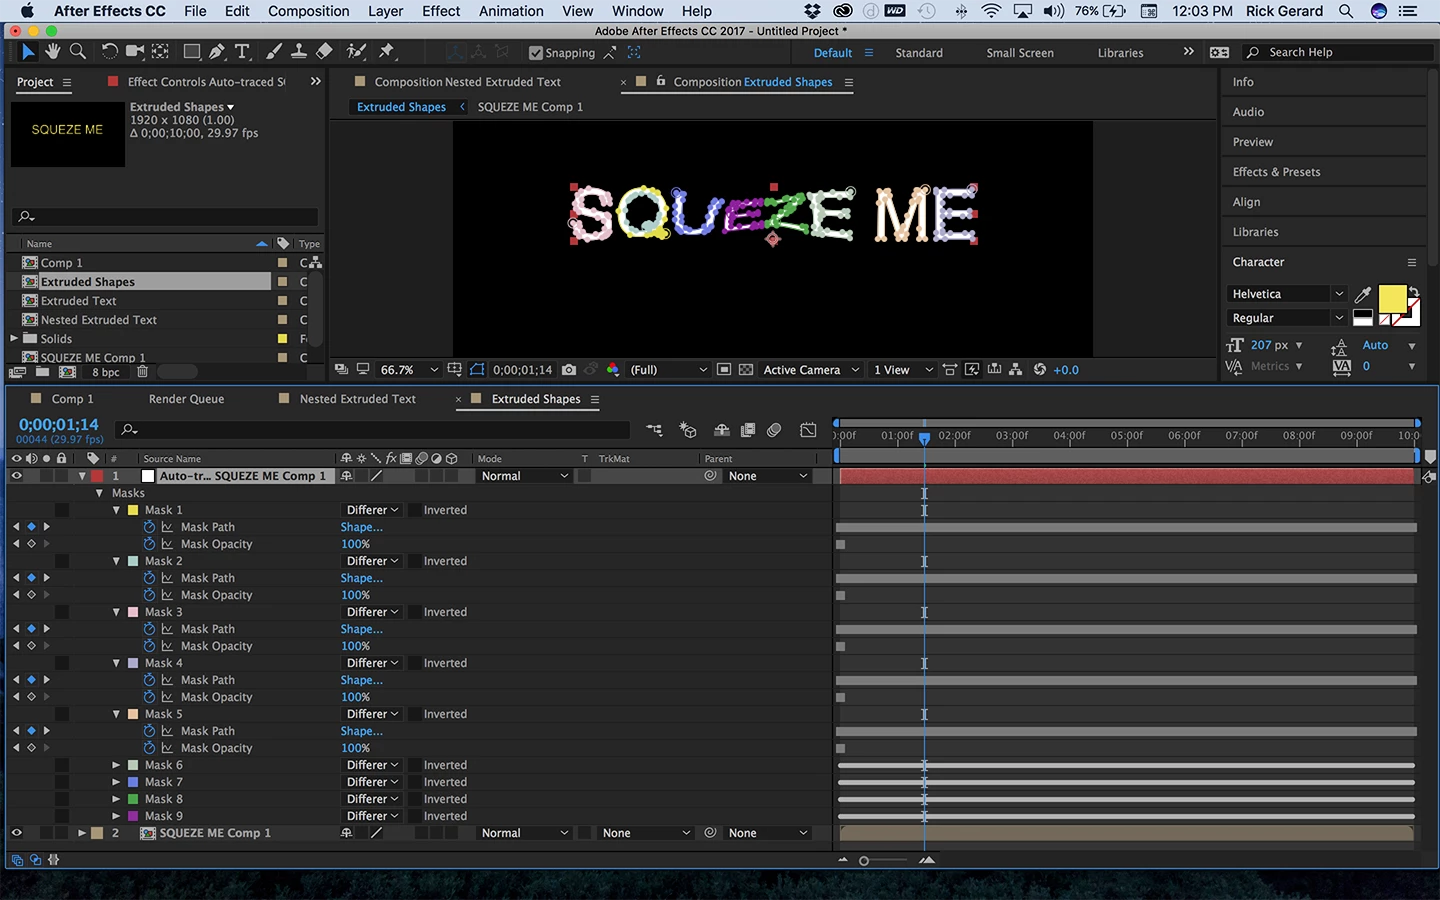
The other way would be to convert the distorted text layer like the one shown above into outlines, turn those outlines into shape layers, place the shape layers in a C4D Renderer comp and extrude the shape layers. You start by pre-composing the distorted text layer moving all attributes to the pre-comp. Then you apply Auto Trace from the Layer menu to the nested comp, your pre-composed text layer, and have it create a new layer. Make sure that the work area includes all of the animation so you get animated outlines. This may take a while if your animation lasts more than a couple of seconds. This will give you a new solid with a bunch of animated masks that looks something like this: (I collapsed some of the masks to show you all the layers in the comp)
You then need to create a new shape layer and select the pen tool. The workflow is to select each mask path and copy the keyframes, put the CTI at the first frame, select the empty shape layer and click anywhere with the pen tool and paste. This will turn the animated mask into an animated shape path that you can extrude. You have to do this for all masks and you will have to set up a group and merge paths for letters that have holes in them like the Q in this example. Here's what that would look like:
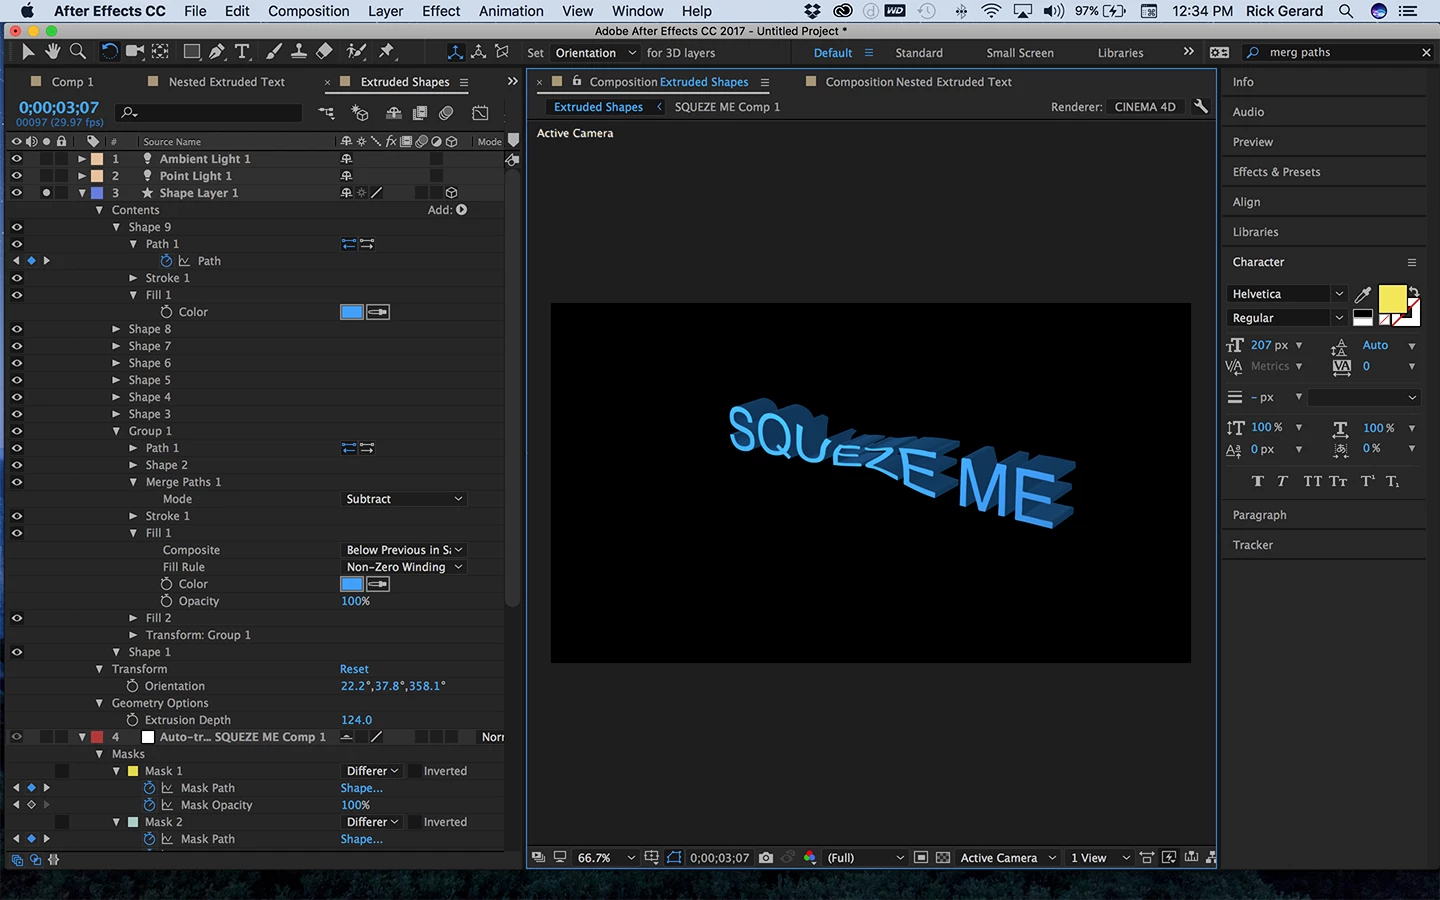
I've collapsed some of the properties and rearranged the panels so you can see what is going on. The group at the bottom is from the Q. Merge paths effects all of the layers above it in a group. It takes a bit of fiddling to understand how the Merge Paths feature works so be patient. This technique will only distort the extruded text layer in the X Y plane. To get it to distort in all directions you'll have to use a 3D app. Blender is a free open source 3D app that has the tools to do this kind of distortion and even create the rope that is squeezing the text. http://blender.org C4D lite that comes with AE is very limited and it would take a bunch of work to get the mesh to animate and distort.
So the answer is to decide what technique will give you the effect you want with the last amount of work. Personally, after writing this post I would probably just export a text layer and camera move to C4D, use C4D lite to extrude the text layer and light it, then apply Liquify to that pre-composed C4d layer and squeeze the text that way. It would be much faster to render than using the C4D rendering engine on extruded shape layers.
No, wait, there's even a faster way to simulate a squeeze on extruded text if there is no camera move. Set up a comp that is only a couple of frames long, add a text layer, change the renderer to C4D and extrude the text. Add lights as necessary to get the look you want, then export a single frame as a tiff or Photoshop file. Now bring your still image into your main comp and apply one of the distort filters like liquify to get the look you want and then render. No need for slow rendering extruded text in the final composition.
If this post tells you and others anything it should be that there are always more than one way to achieve a visual effect. The best approach is the one that gets you closest to the original design idea with the least amount of work and the shortest render time.
NOTE: for future reference for all, to show the process and potentially find problems I selected the layers I wanted to examine and pressed the U key twice. This shows all of the modified properties of the layer and gives you a good look at exactly what is going on. When you post questions it is a really good idea to show us screenshots like this so we can help you without asking you to explain yourself. On Windows a simple PrintScreen and paste will get your screenshot to the forum. On a Mac you have to take a screenshot using Shift + Ctrl/Cmnd + 3 and drag it in from the desktop.
Already have an account? Login
Enter your E-mail address. We'll send you an e-mail with instructions to reset your password.