Here's the workflow from Illustrator to After Effects
- Create a circular ellipse in the center of a comp-sized artboard in Illustrator with a stroke so you can see the path
- Copy the ellipse (Ctrl/Cmnd + C), then paste a copy in front (Ctrl/Cmnd + f)
- Turn off the bottom copy in the layer panel
- Change to the Direct Selection tool (a) and delete the vertex at 12 and 3 o'clock, leaving only the bottom left quarter of the ellipse
- Change to the Pen tool (p), click on the vertex at 6 o'clock, hold the shift key down, and then click to the right and back to the point to give you the ending part of the rollercoaster path
- Turn off the top copy of the ellipse in the Layer panel and turn on the bottom
- Add a new point using the Pen tool (p) at about 7 o'clock, then delete it, leaving 3/4 of the ellipse
- Hold down shift and click on the vertex at 6 o'clock and then complete the path from the left side to the bottom vertex of the ellipse
- Change to the Direct Selection tool (a) and drag a selection around the overlapping vertices at 9 o'clock
- Right-click and select Join, or use the Object/Path/Join menu to combine the two paths into one
- Copy the path
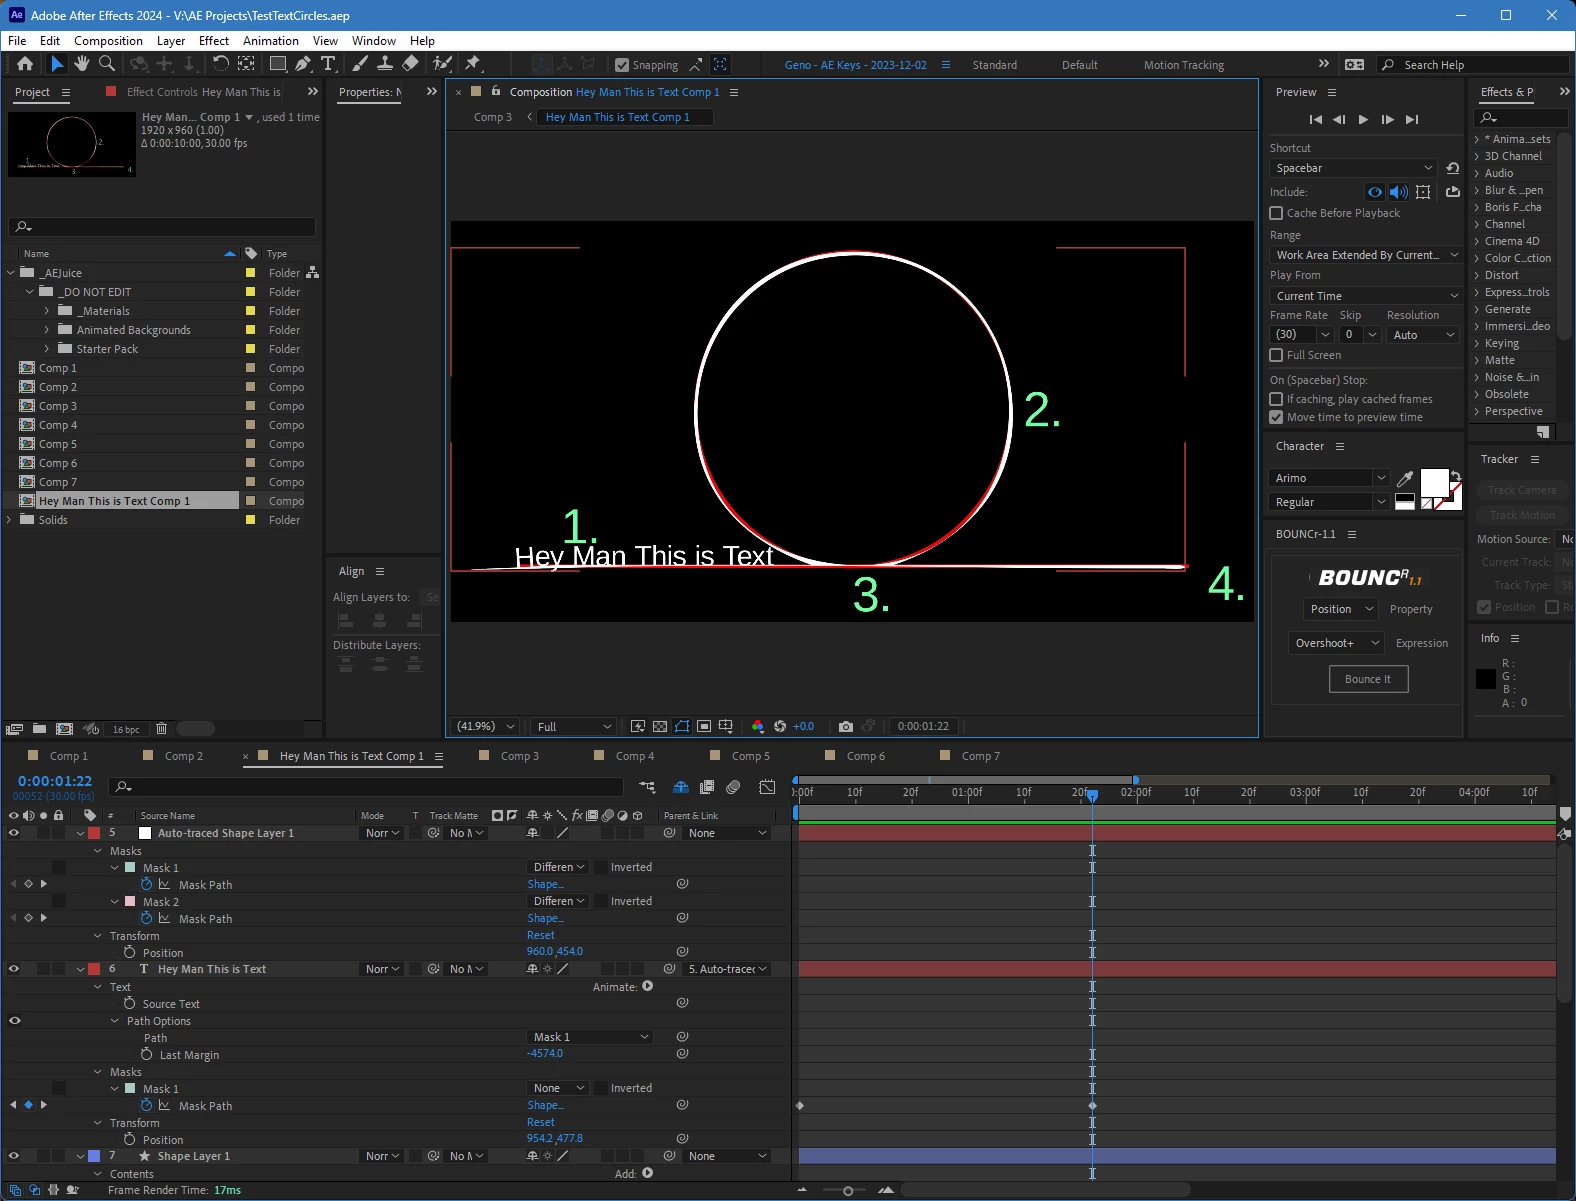
- Return to After Effects, select the pen tool and start a mask on a text layer, then Paste (Ctrl/Cmnd + v)
- Set the path options to use the new mask path
- Animate the First Margin
That should get you what you need without too much trouble. If you were really proficient with Illustrator, you could draw the whole thing just using the pen tool, but this approach gives you a perfect circle.
When you get into After Effects, you can select the start or the end point of the Mask path by revealing and selecting the Mask Path in the timeline, selecting the selection tool (v), and then shift + drag the starting or ending point far enough to the left or right side of the comp panel to prevent the text from flipping upside down.
That should get you started. Maybe one day, there will be a 'join' option inside After Effects.