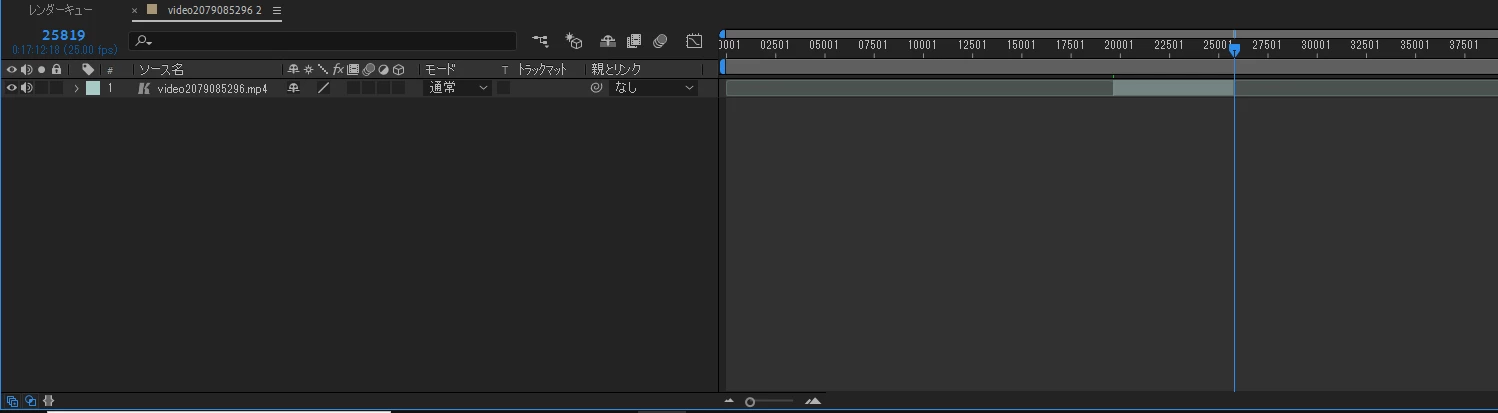
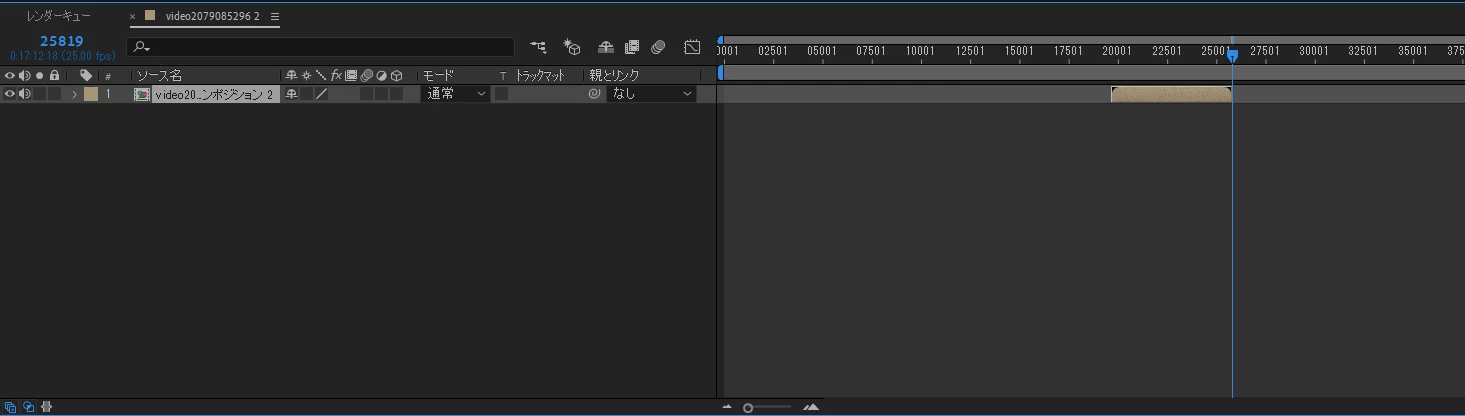
It's a little difficult to wrap your head around Time Remapping. If you want to slow down a layer to half speed, so a 2-second shot now takes 4 seconds, you need to trim the layer to two seconds, pre-compose, then apply Time Remapping to the layer. AE will automatically extend the out point of the time-remapped layer because it doesn't know if you want to speed up the layer or slow it down.
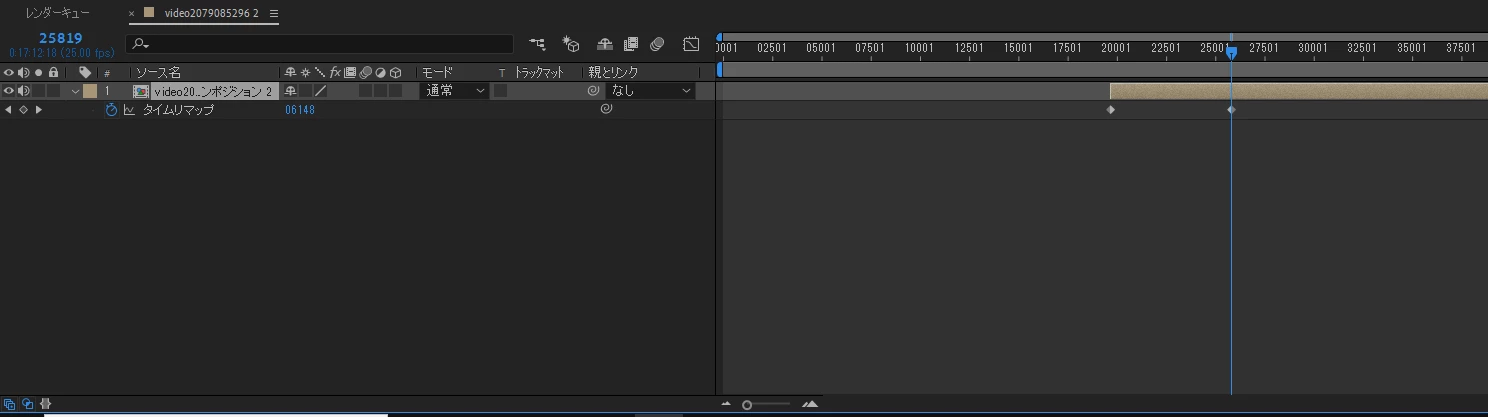
Time Remapping puts the last keyframe after the last frame. Keyframes are usually applied at the start of a frame. The layer will be empty if you go to the last TR keyframe. If you want to adjust the layer's timing and hold the last frame, you will need to set a new keyframe at the start of the last frame, then delete the last one.
Slowing down the layer means moving the last TR keyframe to the right, so the automatic extension is a time saver. If you drag the last keyframe to the left, you will speed up the clip, not show it down. Unless you add a new keyframe at the start of the last frame and remove the original last one, the pre-composed (nested) comp extended layer will not affect render time because there are no pixels after the original last keyframe. The only possible annoyance would be the lack of a visual representation of the end of the layer in the timeline.
I hope that helps. I find it annoying if Time Remapping does not extend the out point of a nested comp. It just adds one more step before I make any time adjustments to the layer.



 AdChoices