Participating Frequently
September 26, 2020
Question

Trim Paths on shape layer converted from Illustrator

  • September 26, 2020
  • 2 replies
  • 8208 views

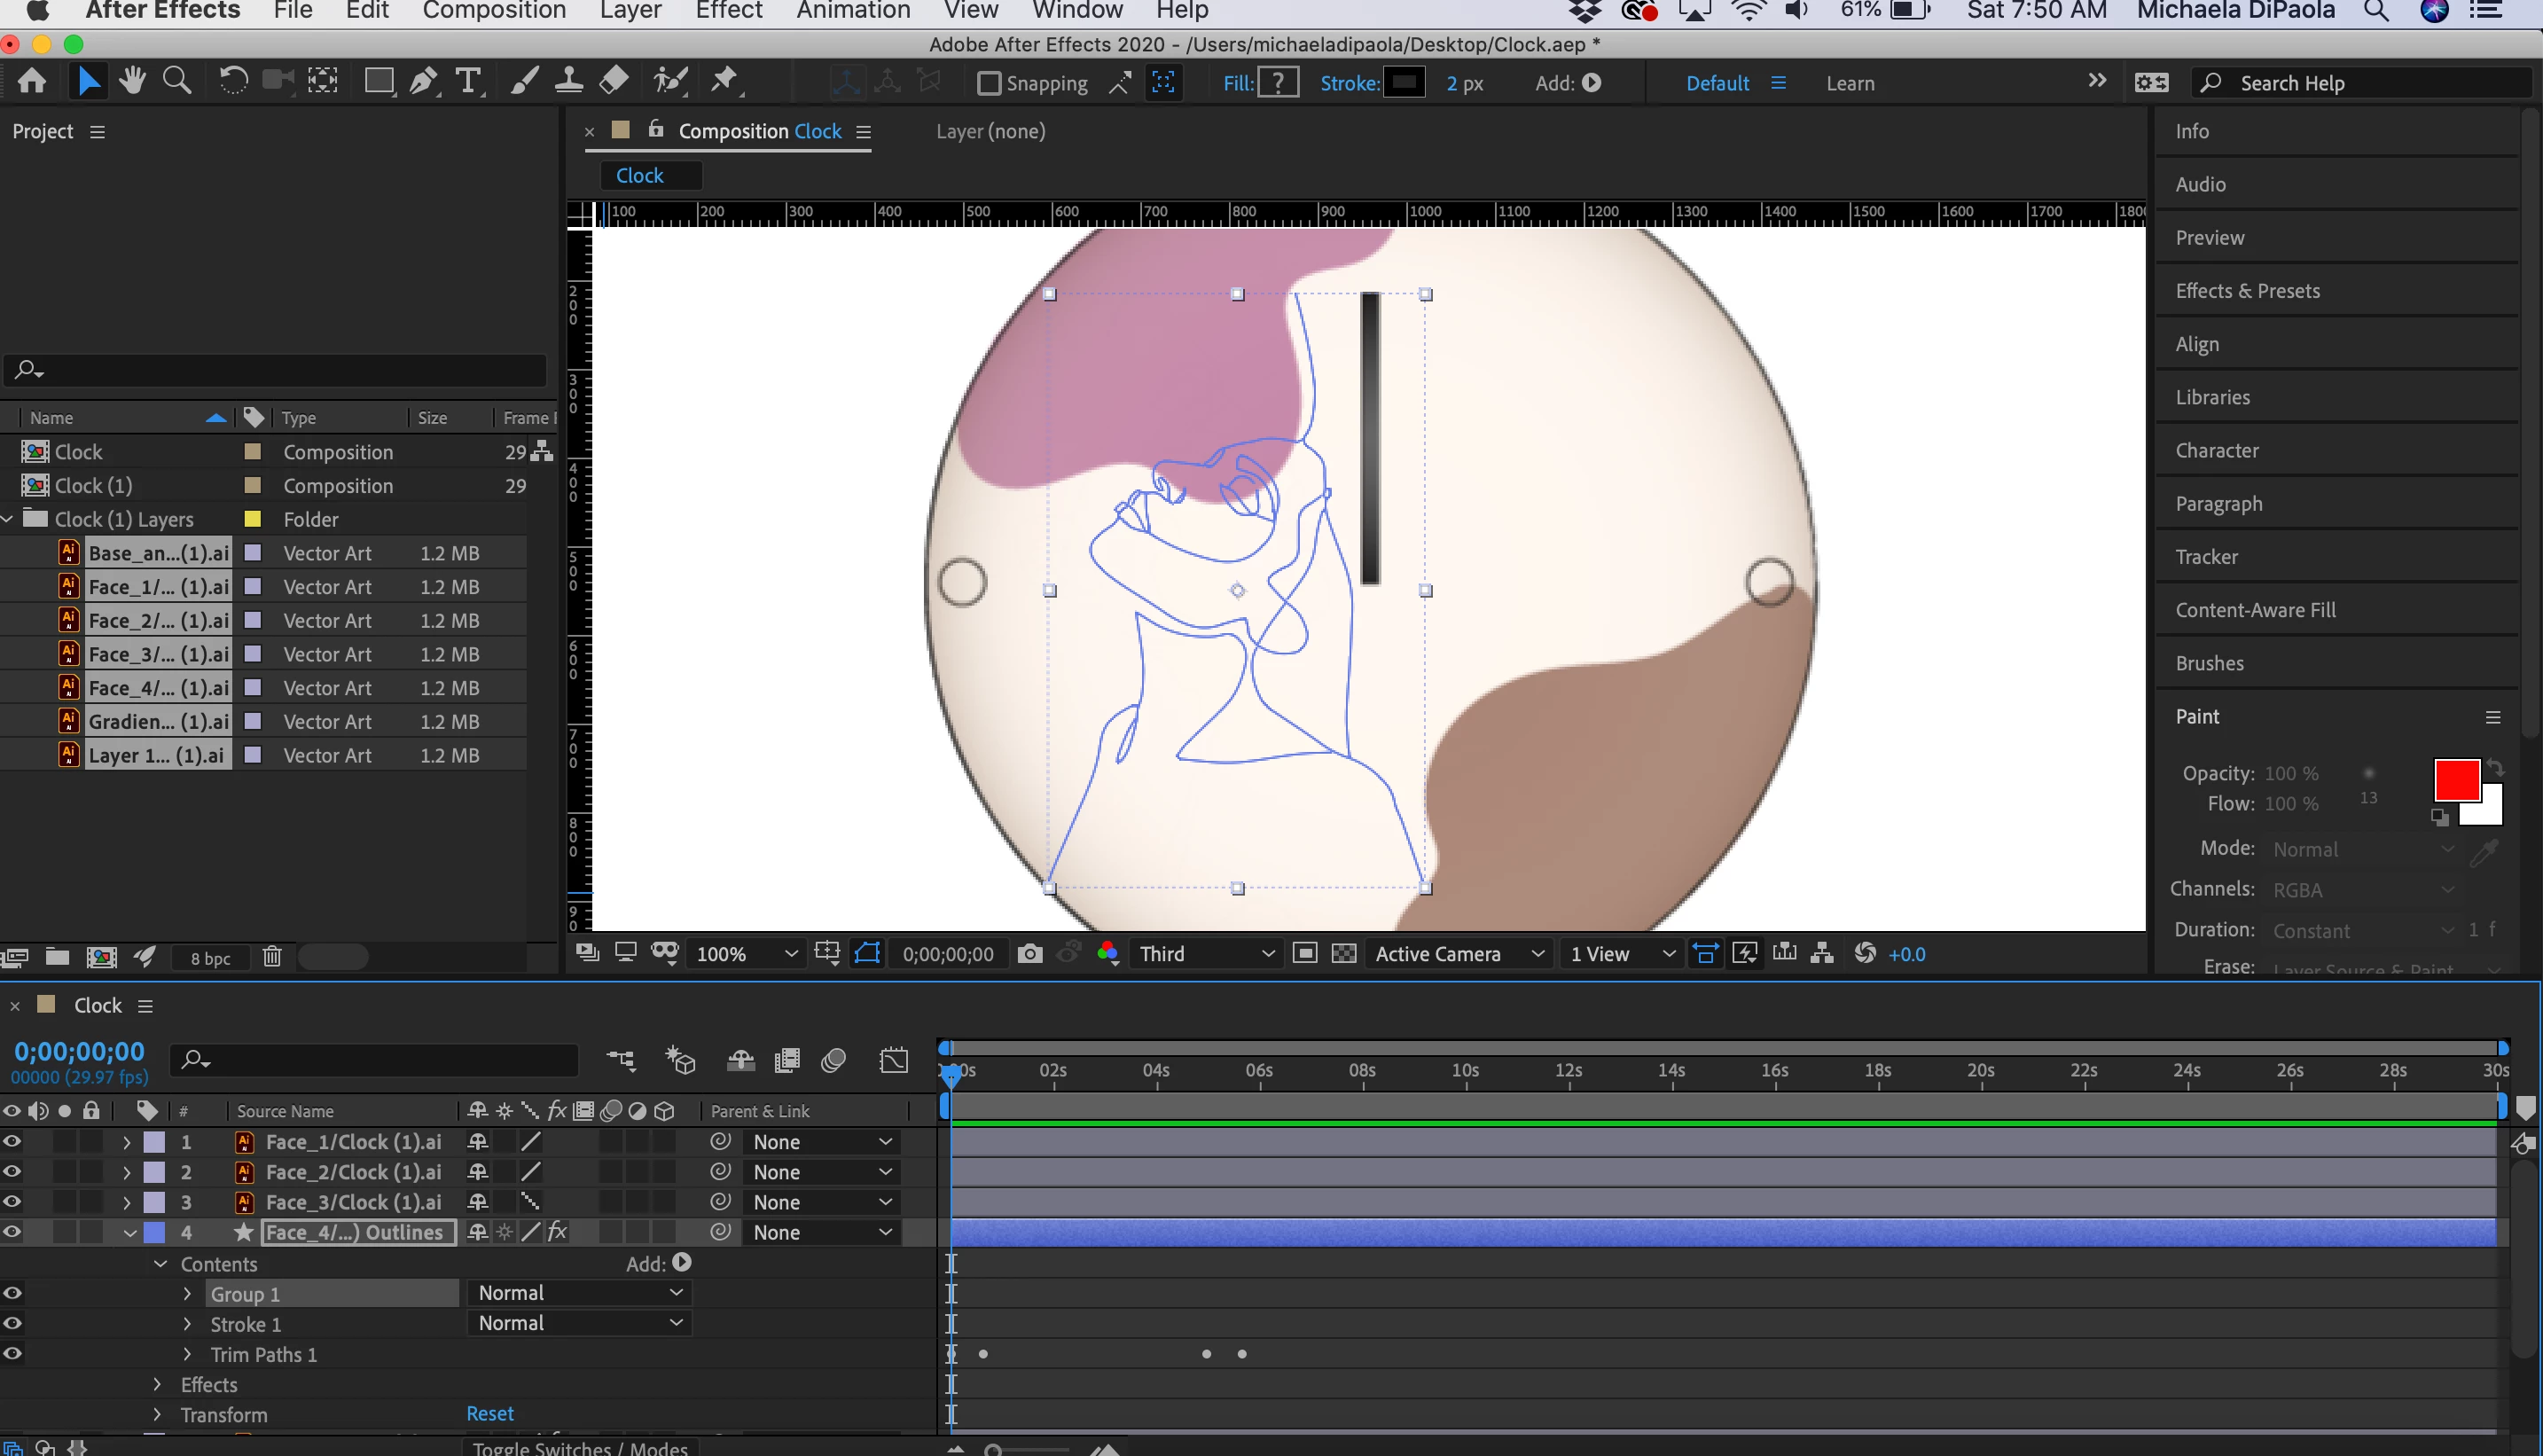
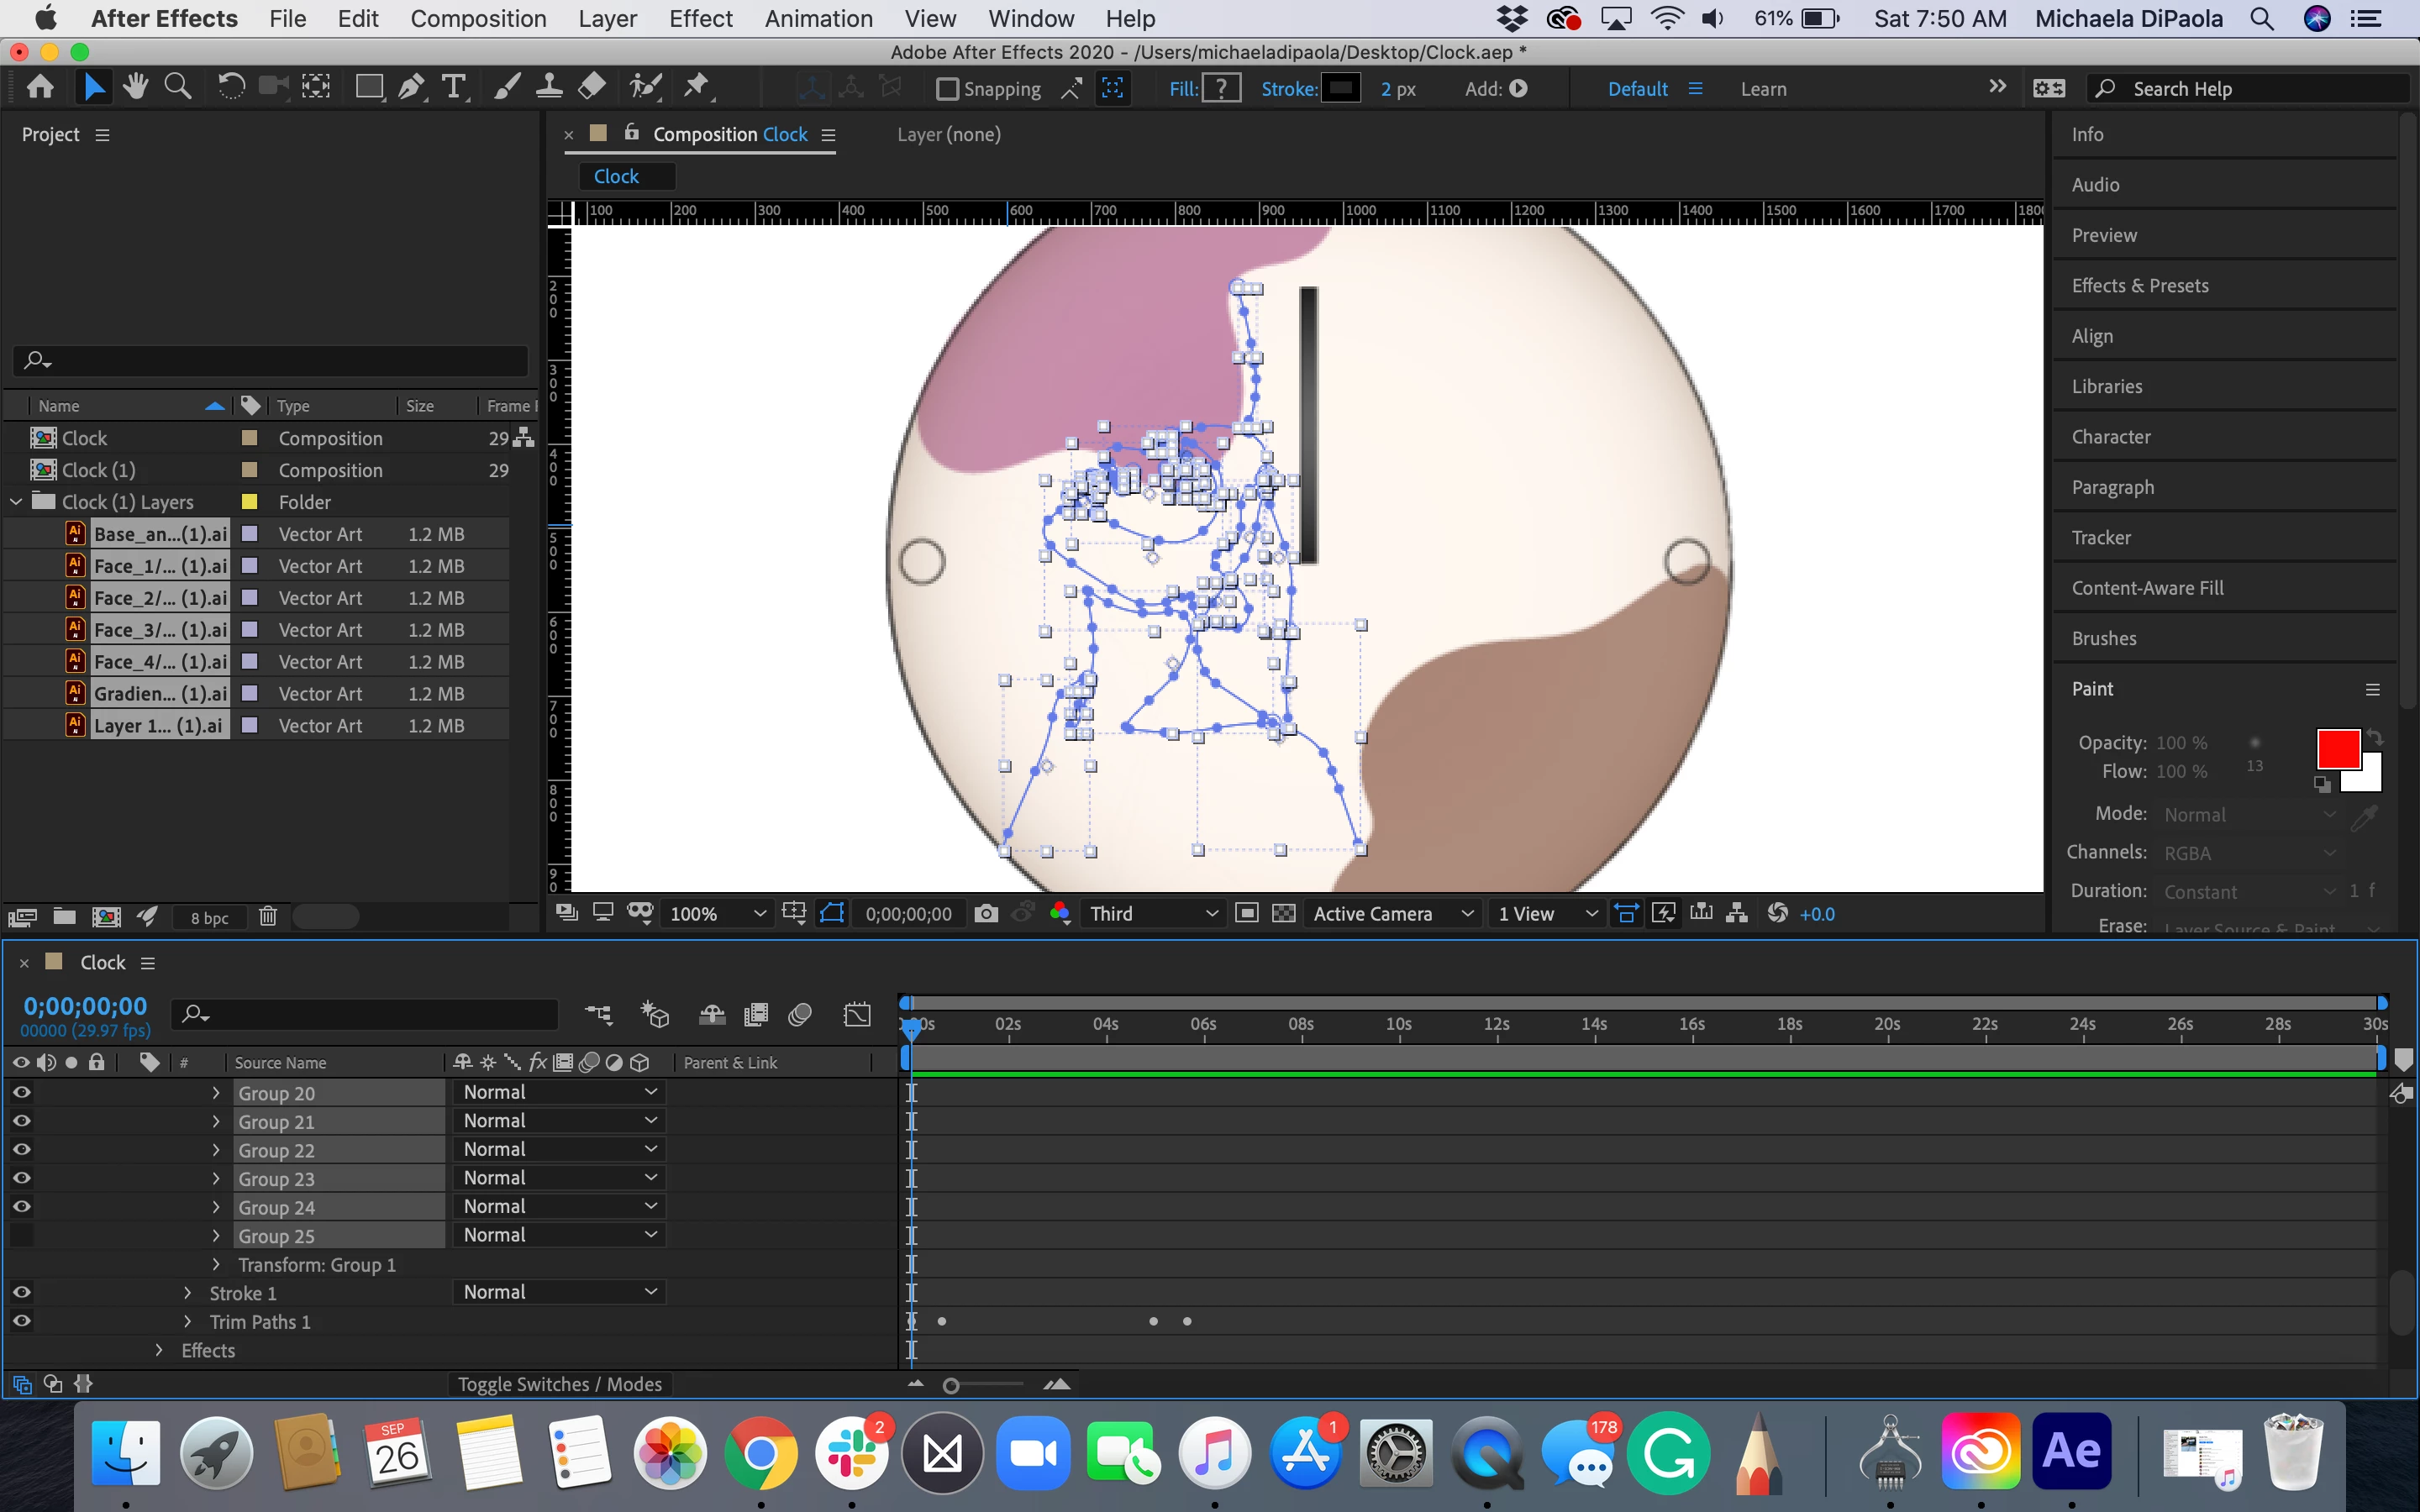
Hi, I am very new to AE! What I'm trying to do is trace the line of a drawing that was done in illustrator. I converted the layer into a shape but within the shape are 25 different groups that I put into one larger group (side note: I don't know what a group is versus a shape). I'd guess I need to fix something within the groups because the trim path tool won't even move along any portion of the line? In all honesty, I am not even sure if converting the layer into a shape added paths. I need to learn how to do this for an assignment, but I am starting at level zero with After Effects and am so lost!! 

This topic has been closed for replies.

2 replies

Community Expert
September 26, 2020

It looks like you want to just apply Trim Paths to the outlines of the face. If that is the case your Illustrator document should have all of the lines you want to reveal on a separate layer and there should be no brushes applied to any paths and no fills. Just a simple stroke. 


When you import as a comp you should only convert the layer with the paths you want to animate to a shape layer. When you convert a vector path to a shape layer you can end up with a lot of extra junk in the layer that is not needed. If you start by pressing 'uu' and looking for a way to simplify things. If all you want is to animate a stroke and the stroke is the same size and color for every path you can eliminate everything but the paths and the stroke.


 I see this kind of question fairly often so I threw together a very quick tutorial on the process. 

There is nothing preventing you from adding a separate new stroke for one or more of the paths, adding individual Trim Paths or making groups, but most of the time, just eliminating everything but the paths, one stroke and adding a shape layer animator like Trim Paths is all that is necessary.

Participating Frequently
September 26, 2020

I followed everything in the tutorial but still, nothing is showing up. No stroke ever comes up after I put in the keyframes for the trim path tool

Community Expert
September 26, 2020

Solo the layer, make sure the stroke is below Trim Paths. Your screenshots show Vector layers above the outlines. They may be blocking the layer you are trying to animate. If it is still not working you need to post a screenshot with the modified properties of the layer revealed. Select the soloed layer, press uu, and show us what you have got.


Spend some time in the Learn workspace and spend some time with the User Guide. There are some basic tutorials on basic workflows you should check out.

Community Expert
September 26, 2020

In order to see the Trim Paths in action you must add a Stroke thickness, I only see the path but I don't see Stroke, give it more thickness and have a test modifying the start and end parameters of the Trim Paths. If you don't want so many groups, try to have a single complete path from Illustrator, not several pieces of paths.

Byron.
Participating Frequently
September 26, 2020

If the number of groups is alright then I don't mind, but I'm not sure what to do about the stroke thickness. When I add anything from 10 to 100 px nothing changes. I'm not sure if I'm adding it in the wrong way, if I should be doing anything with the keyframes, or maybe the contents are out of order? My apologies I don't quite know where everything is in the program yet.