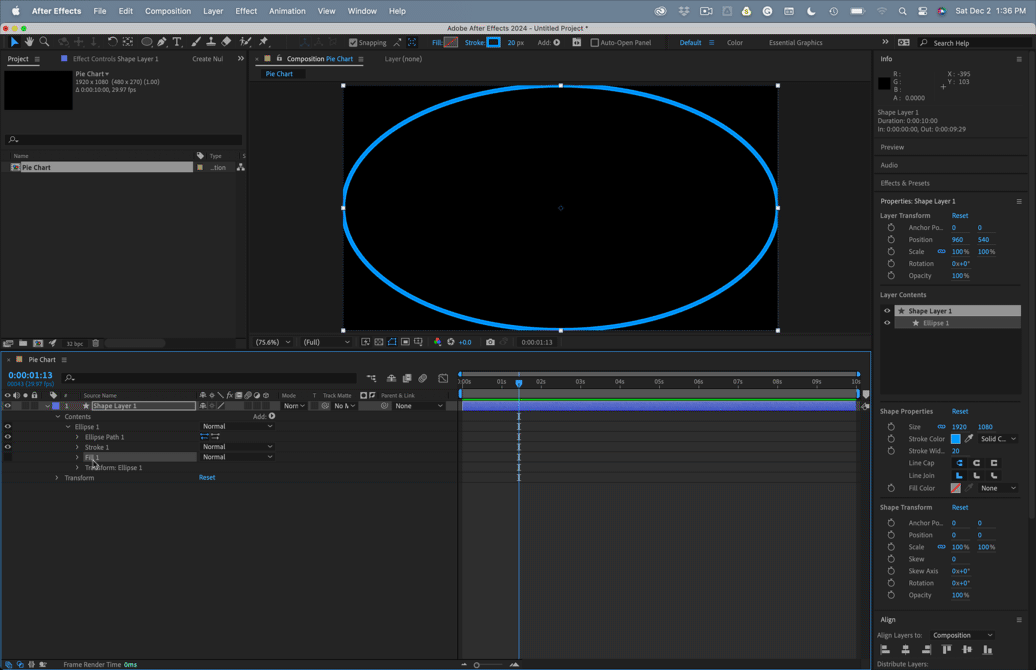
First, you only want one shape layer. Here are the steps:
- Press the Q key until you see an ellipse, and double click
- Spin down the Contents twirly and look for the Ellipse 1/Fill, then delete it; we don't want any fill
- Spin down the Ellipse1/Size and Ellipse 1/Stroke/1/Stroke size, then use the Pickwhip to tie the stroke width to the ellipse X size with an expression
- Right-click on the Elipse 1/Size and Reset it, then adjust the value to get the size of the pie chart you want
- With Ellipse 1 selected, go to the add menu and choose Trim Paths
- Trim Paths should be below Ellipse 1/Ellipse 1 Path, spin down to reveal the End property, and set your first pie percentage
- If the pie is going in the wrong direction, click the direction icons to the right of Ellipse 1 (they look like two lines with dots at the end
- Select Contents/Elipse 1 and duplicate
- Here comes the trick. Set the percentage to the value of the second part of the pie and change the fill color
- Repeat as necessary
There you go. It should take about 5 minutes to get the pie chart on a single layer.
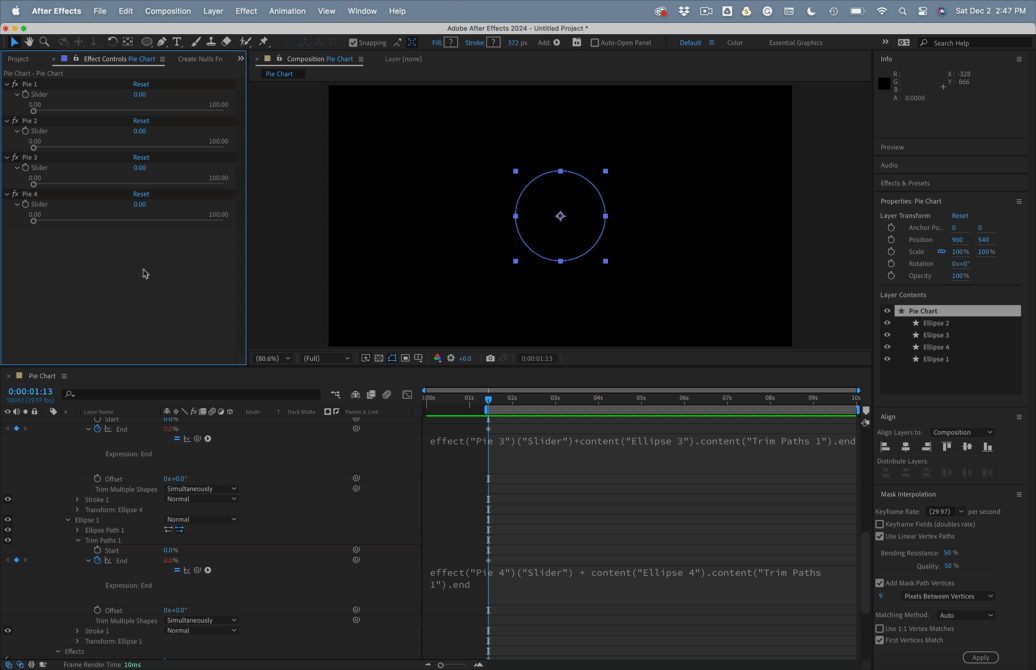
You can set up some simple math to get the percentage remaining. Just subtract the previous End value from the current one. You could do this with sliders. Four parts means four sliders. Here are the expressions for the four parts, starting with the top ellipse/trim/end property:
// Top Ellipse/End
effect("Pie 1")("Slider");
// Second Ellipse/End
effect("Pie 2")("Slider")+content("Ellipse 2").content("Trim Paths 1").end;
// Third Ellipse/End
effect("Pie 3")("Slider")+content("Ellipse 3").content("Trim Paths 1").end;
// Fourth Ellipse/End
effect("Pie 4")("Slider") + content("Ellipse 4").content("Trim Paths 1").end;
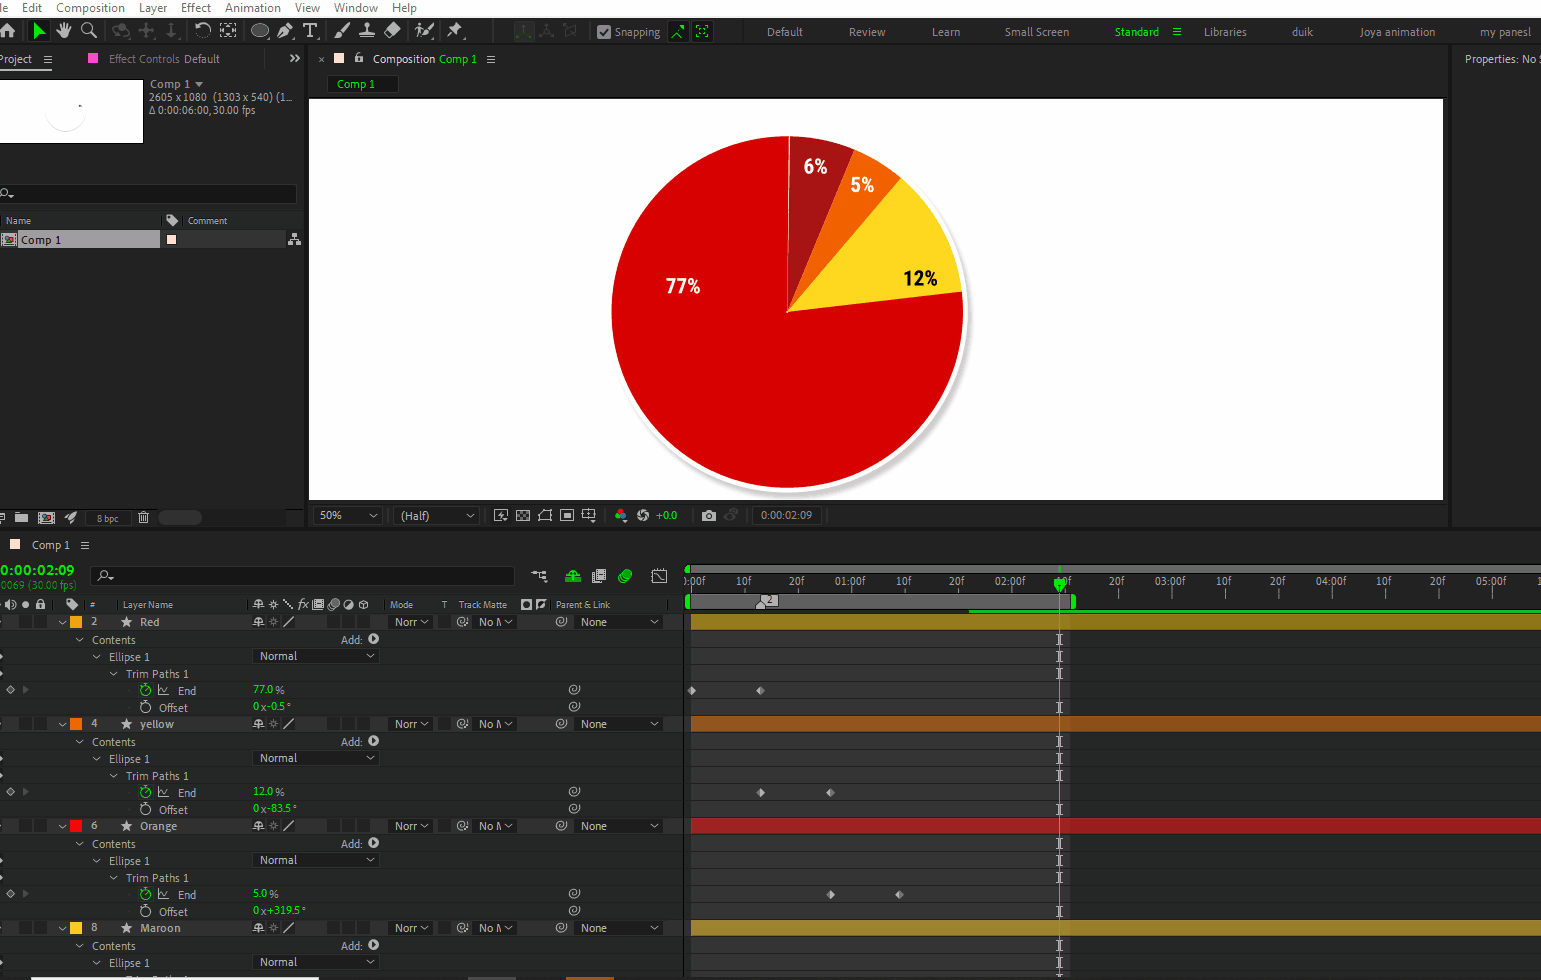
You can get fancy with the expressions to ensure the total is not more than 100%. You can also tie text layers to the slider values to display the percentage of each piece of the pie.
You can create animation presets that combine these properties into a shape layer to build as many pieces of the pie as you like.
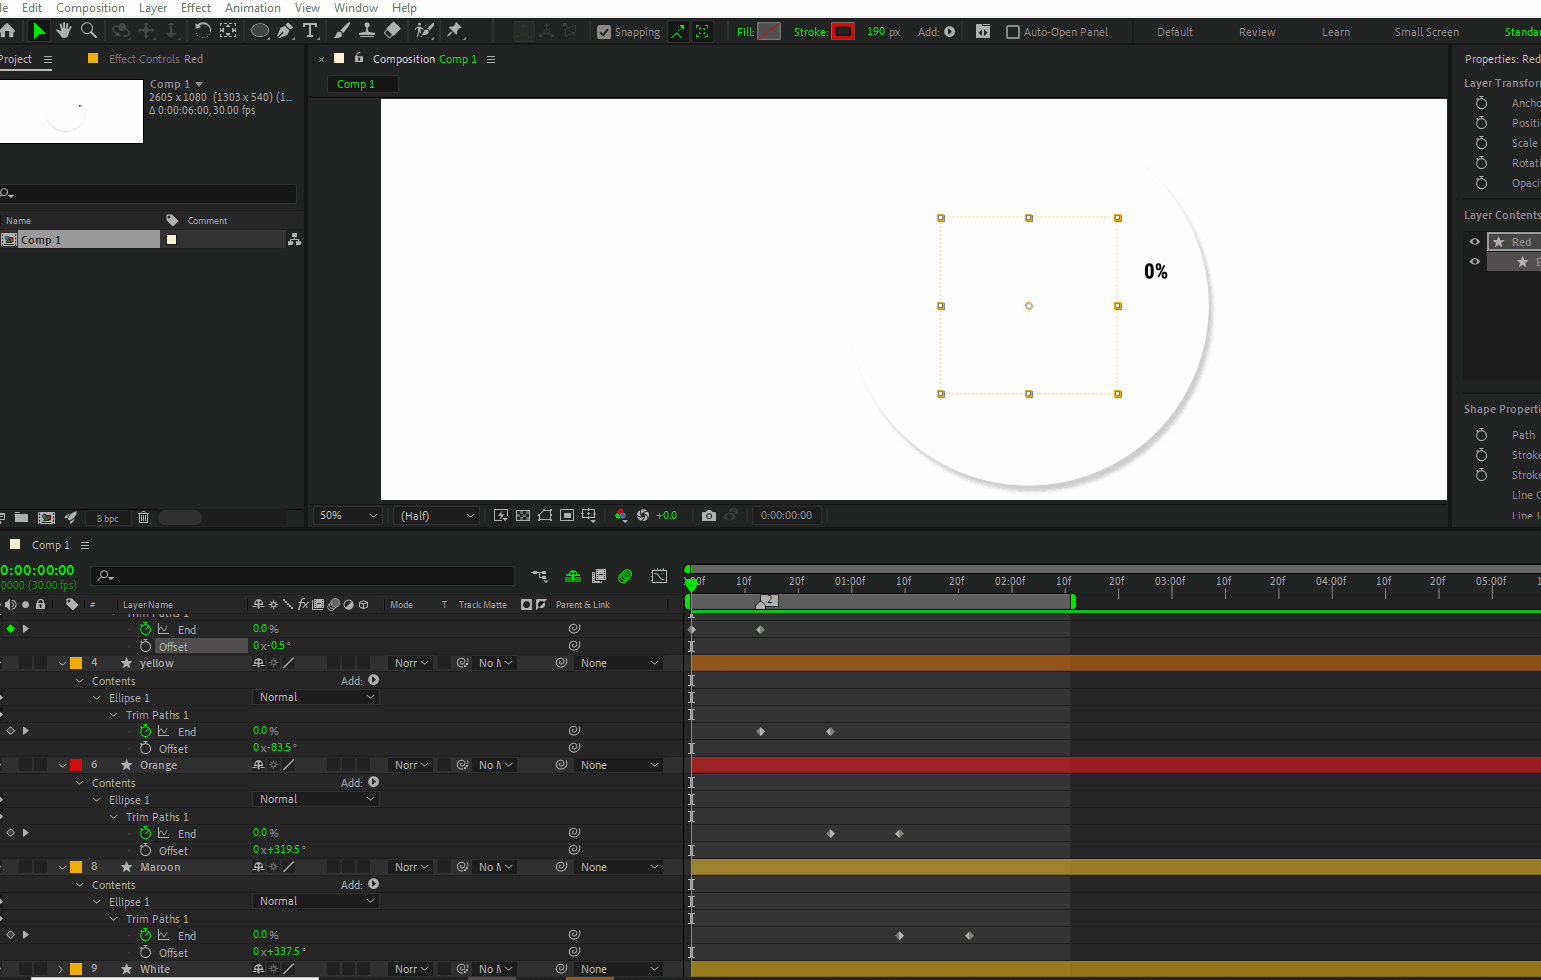
I have included a sample project that you can look at. It works like this: