Participating Frequently
February 16, 2019
Question

Wave animation in After Effects

  • February 16, 2019
  • 2 replies
  • 6799 views

Hello! Tell me someone, please, how can I made such a wave animation (audio spectrum) in After Effects?

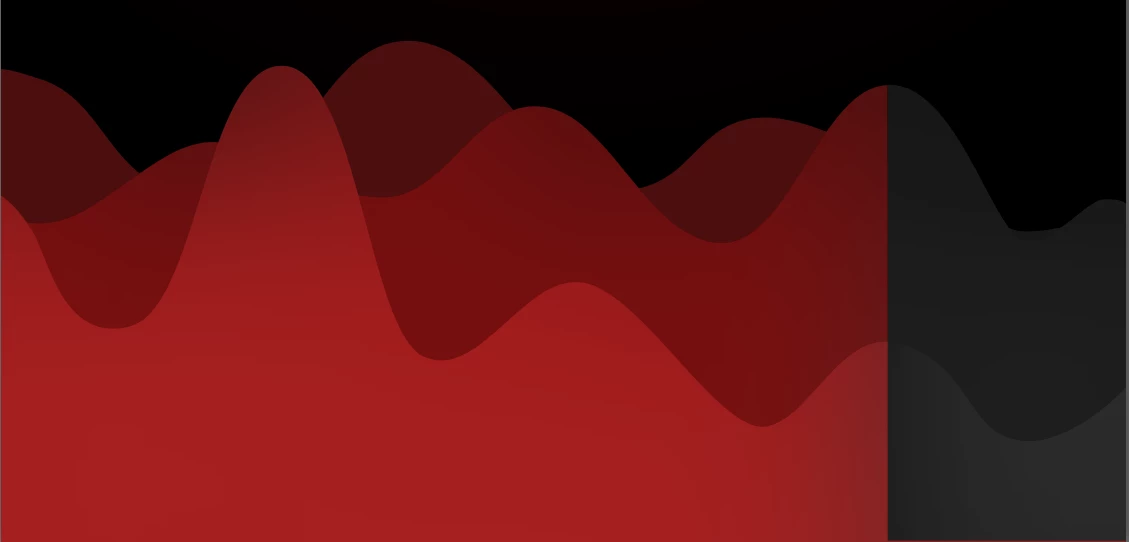
It should be built on the basis of music, but at the same time be as smooth as possible, not sharp and not jerky. And with very small differences between the minimum and maximum wave heights. Thank you in advance!

    This topic has been closed for replies.

    2 replies

    OussK
    Community Expert
    Community Expert
    February 17, 2019

    Really create something like this will be hard for a beginner specially if you don't follow a tutorial, so as a quick solution try to search for a template with this style may you can find one and save a lot of time.

    try https://videohive.net/  for templates

    Participating Frequently
    February 17, 2019

    I searched there and on several similar sites. Found nothing suitable.

    Community Expert
    February 16, 2019

    Audio Spectrum is not going to generate waves that look like those. It also reacts very quickly to changes in audio levels.

    Without resorting to 3rd parth effects you will have to use the keyframe assistant to convert Audio to Keyframes, then pick a distortion effect that you can control with numeric values. A typical range would be 0 to 20 for both channels. If you just applied wave warp and tied wave height to Both Channels all of the waves would change height at the same time.

    To get the waves to change height in different areas based on the time you might be able to generate a fractal noise layer that moved based on time and use that as a displacement map for your wave layers. Another option might be to create a gradient filled shape layer then control the start and end point of the gradient with the data from both channels. This could give you higher waves closer together when the audio is loud. You'll have to experiment with the linear or ease methods in expressions.

    Please let us know your experience level. This is not a project that you can do without understanding distortion effects, expressions, Java math and a bunch of experimenting.

    Participating Frequently
    February 17, 2019

    Thanks for the answer! I'm sorry, but this instruction is not detailed enough for me. I am completely new to AE.

    Community Expert
    February 17, 2019

    You can kind of fake what you are describing by following these steps:

    1. Import an audio source (WAV files preferred)
    2. Select the wave file in the Project panel and create a new composition using File>New Composition From Selected
    3. Check the Composition settings to make sure that the comp is not "Custom" but complies with one of the presets like HDTV 1080 29.97
    4. Double-click the Rectangle tool to create a new filled rectangle the same size as your comp
    5. Select the Audio layer and use the keyframe assistant to Convert Audio To Keyframes
    6. Select the audio Amplitude layer and press the U key to reveal the keyframes
    7. Delete the Left and Right channel sliders
    8. Select the Rectangle tool, open the rectangle properties and adjust Transform Rectangle 1>Position to move the rectangle down in y so the top is about in the middle of the comp
    9. Apply Wave Warp to the Shape Layer
    10. Set the effect up as shown here (I'll get to the expression in a minute)
    11. Alt Click Wave Height and add this expression
      a = thisComp.layer("Audio Amplitude").effect("Both Channels")("Slider");
      t = a.valueAtTime(time + .3)
      v = ease(t, 0, 25, 0, 250);
    12. Alt Click the Both Channels slider in the Audio Amplitude layer and add this expression
      smooth(.3, 15)

    So here's what is going on with the expressions. I'll start with the smooth method for Audio Amplitude. Smooth averages values over time and works like this: smooth(time in seconds, number of samples) To smooth out the audio amplitude layer I'm averaging the slider values over three-tenths of a second fifteen times. You want to pick an odd number for the number of samples. This is what happens to the value graph when you add this smooth expression:

    That will take care of smoothing the audio. Time to talk about the Wave Height expression:

    a = thisComp.layer("Audio Amplitude").effect("Both Channels")("Slider");

    t = a.valueAtTime(time + .3)

    v = ease(t, 0, 25, 0, 250);

    The first variable "a" just retrieves the current value of the Both Channels slider.

    The second variable "t" has been added to add a time shift to the slider values so the wave grows a bit ahead of the audio. I just take the value of "a" at the current time and add three-tenths of a second to it. It is almost always a good idea to lead the audio (anticipation - one of the basic principals of animation) and for this audio sample three-tenths of a second looked about right.

    The last line (v for value) eases the time-shifted value of the slider (t) as it moves between 0 and 25, the maximum value of the slider revealed in the graph and expands those values from 0 to 250. When the time-shifted slider value is zero the wave height value is zero but when the slider value is 25, the wave height will be 250.

    The rest of the settings for Wave Warp set the wave width, stop the wave from moving left or right, and pin all edges to the frame so only the top edge is moving. The final comp looks like this:

    I'm showing the graph editor so you can see the wave height and both channels (pink) values, the expression for wave height, and the result. All modified properties of all layers are revealed by pressing the U key twice. The only thing you can't see in the screenshot is the expression for Audio Amplitude Both Channels.

    Fine tune as necessary. Duplicate the shape layer, change the fill color, then make adjustments to Rectangle position, wave height, phase, and the expressions so you can get the design you showed as an example.

    This should get you somewhere close to the original design you posted. By the time you get three layers, this is going to become very slow to preview and render because the expressions are sampling time again and again, then averaging the values, then making an additiona calculation based on that average for every frame. There is really no way around this problem except making separate comps, rendering each individually and then combining the renders to get the final design.