Known Participant
December 21, 2023
Answered

Which rotobrush workflow should I use for this?

  • December 21, 2023
  • 2 replies
  • 503 views

Hi all,


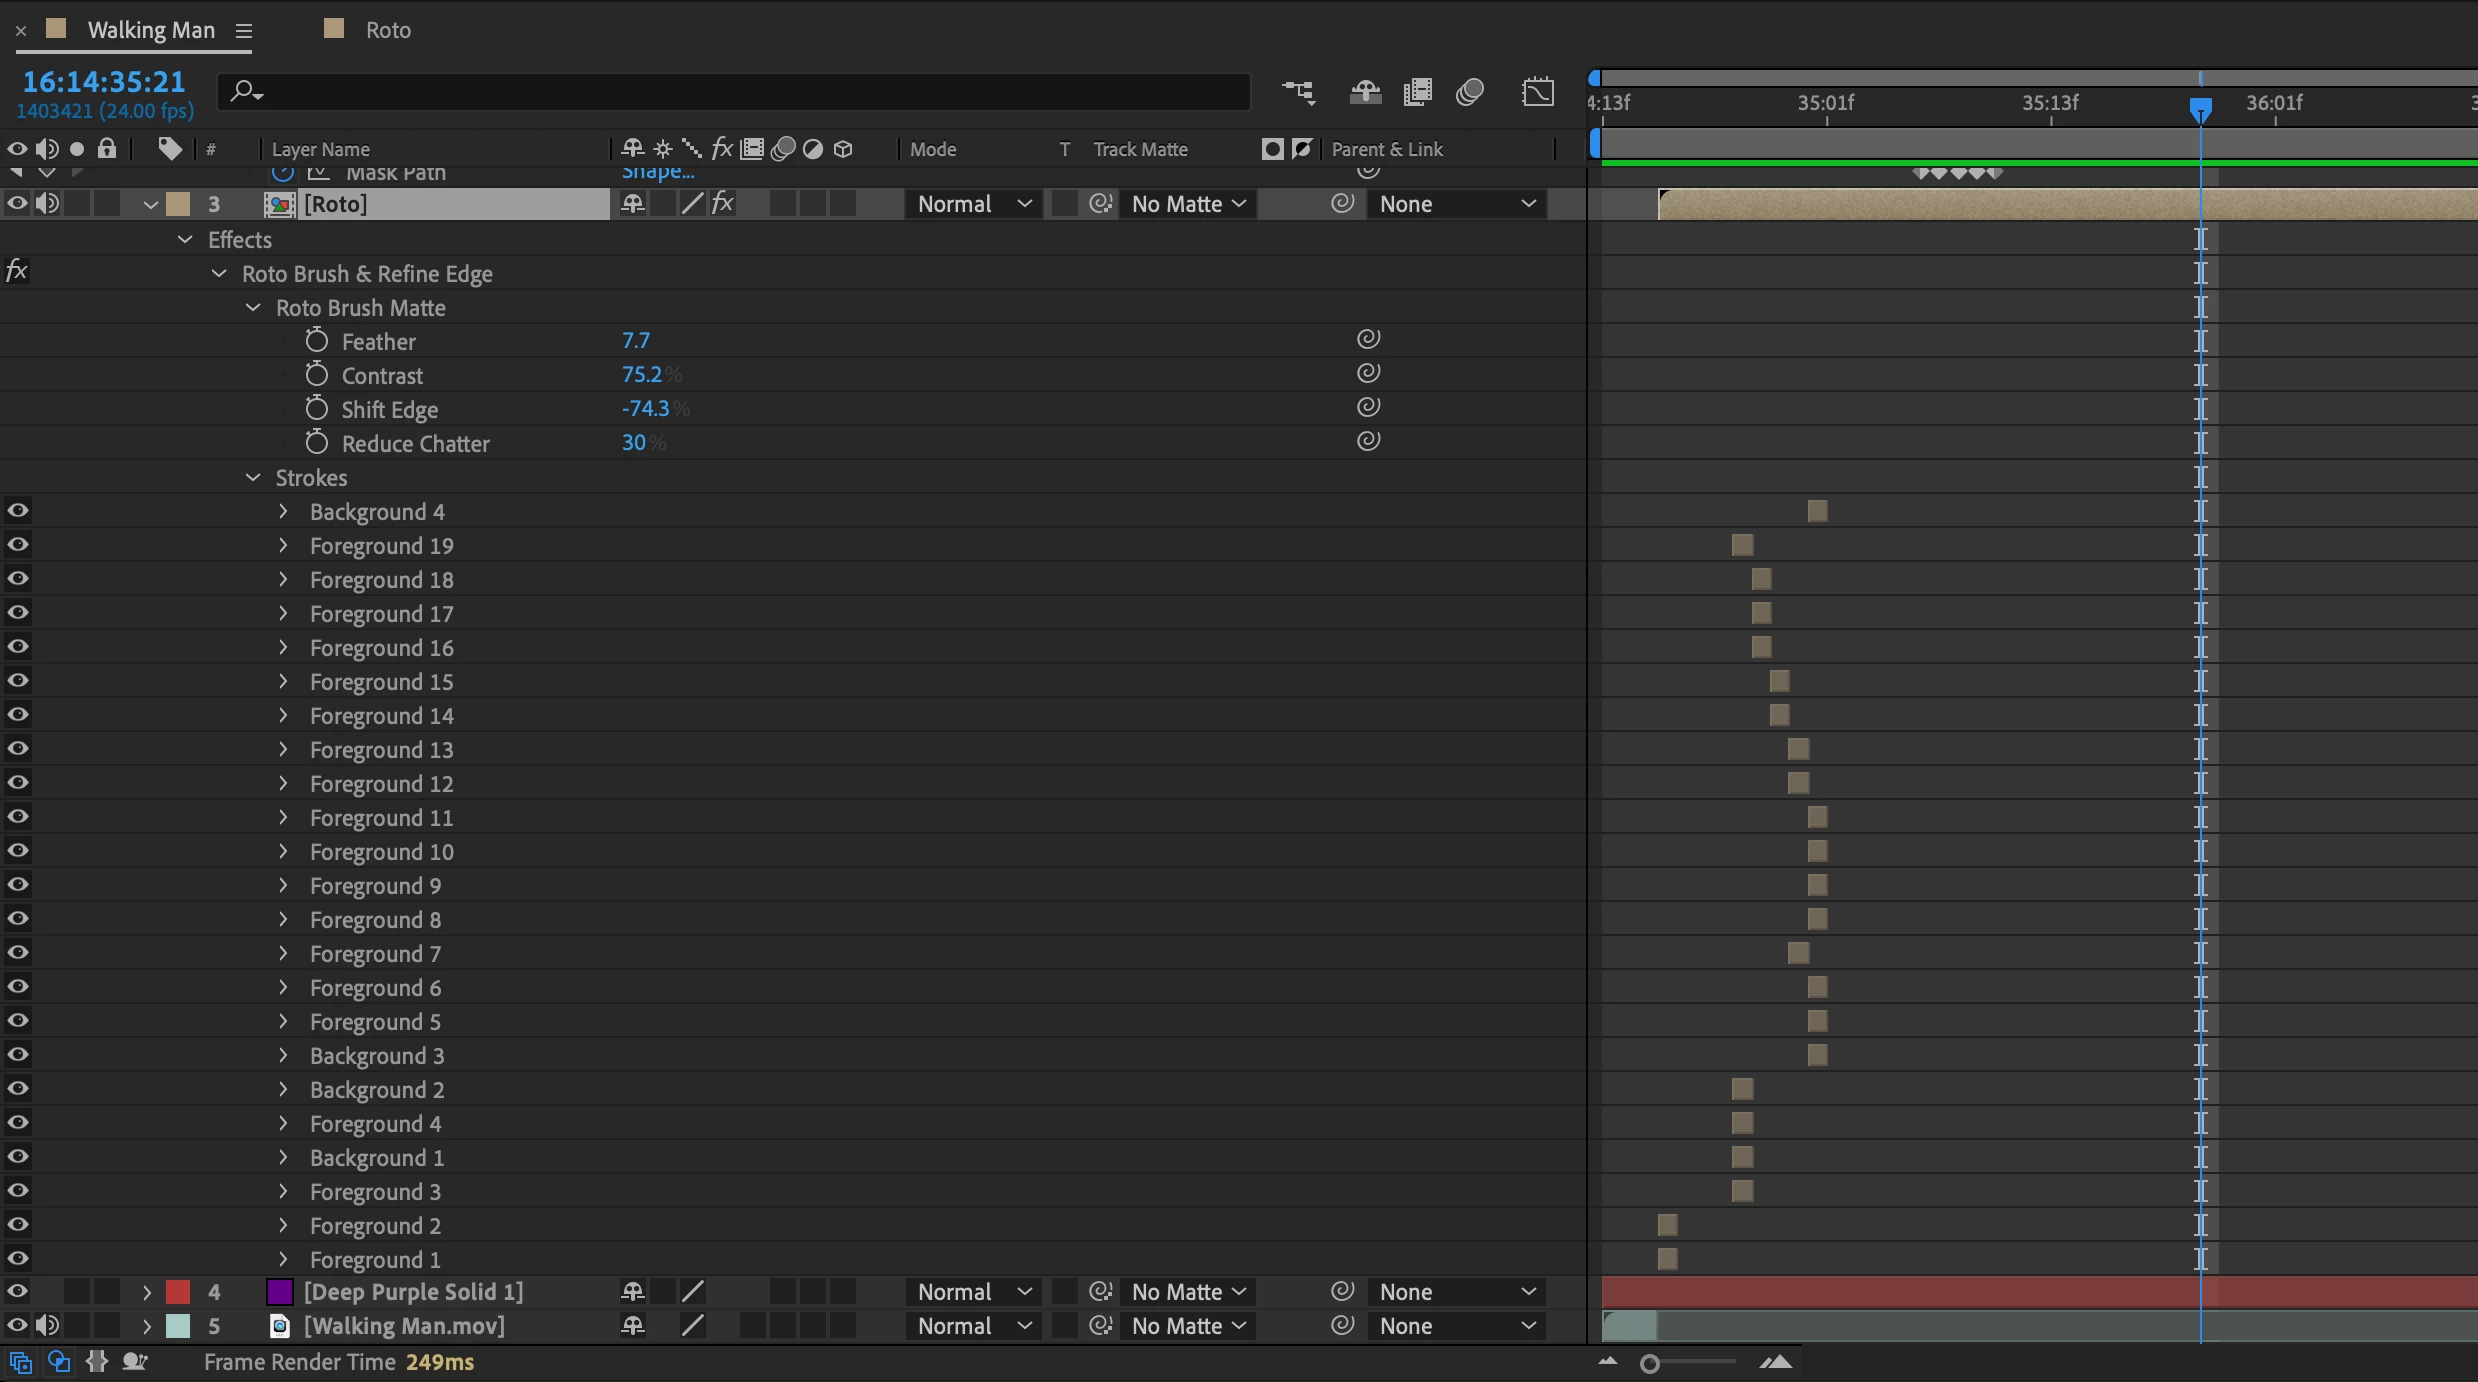
I got a shot where a man walking accross the frame. I wanna cut him out by using rotobrush but I wonder what is the (kinda) most effective workflow for this. During the research for this, I come across the Procedural mattes workflow that Gerard mentioned in some threads. I watched the video Rotoscoping with Mocha & After Effects from Curious Turtle chanel on Youtube and tried it out on my shot.


So far this is what I've done: worked on the legs first since the man wears a pair of blue jeans. I masked out the legs, used Calculations to comebine 2 Red channels and then Levels effects to make it into a black and white shot. After that I used Luma Matte mode to pull out the legs. The result came out just "ok" (I guess?) and still has some edges issue that need to be worked on later.


I'm wondering is there any effective way to do it. Am I missing anything here? With other details like shoes, hands, arms, I still need to rotobrush it by hand or using Mocha to mask them out would give me a better result? I'm all ears.


About the shot: I shoot it with my iphone.


24fps, duaration: 4s
Shutter Speed: 1/96
2160x3840
I transcoded it into ProRes 422 before putting it onto After Effects.


I attached a couple of screenshots and also a copy of my shot in here.


Thanks in advance and happy holidays!


This topic has been closed for replies.
Correct answer Rick Gerard

The shot is not very sharp, and there are places where the background and the foreground actor have almost identical tones, so you might need to add some fairly drastic color correction to help Rotobrush work.


You'll want to trim the clip to where the actor first appears (his hand enters the frame) and then where the last frame with his foot in it ends. Pre-compose, moving all attributes to the new comp and trimming the layer. Name that Pre-comp "Roto." then open the "Roto": comp, and add some color correction. Try to improve the contrast and edge detail, and maybe change the croma vs luminance. Lumetri is good for this. You are not trying for a final color grading in the pre-comp. You want the best edge contrast and detail you can get. 


When that is done, return to the main comp, open the Paint workspace, use the Layer/Open menu to get the pre-comp in the Layer Panel, and start Rotobrush. It will take several stops and starts before you get a fairly decent roto. AE Beta has a little better AI in Rotobrush, and it may give you better results in less time. When the preview looks good, Freeze the layer, duplicate it, unfreeze the duplicate, and start refining the edge on the duplicate. You should be able to clean up the edges a bit. If it gets all fouled up, which Refine Edge tends to do, I sometimes find it easier to just start over instead of looking at the timeline for the fouled-up brush strokes and deleting them.


It's going to take a while to get it cleaned up and a decent matte generated. When satisfied, you can open the "Roto" Pre-comp, turn off color correction, and then return to the main comp.


If you spent more than a few minutes on the Rotobrush, I suggest that you pre-compose the "Roto" layer (your nested comp) again, name it something like "Render Roto," open it, then use the Composition menu to Pre-render the comp. This will give you a rendered High Quality With Alpha movie in your Main Comp, your project will be more stable, and it will render faster when you are finished. 


If you are satisfied with the Rendered roto footage, you may delete the Roto and Render Roto comps to reduce the AEP project file size. I got fair results and only had to add 3 animated masks for about 20 frames to get fair results using AE Beta.

I got those results with 19 different ForegroundStrokes and 4 Background Strokes. I did not use Refine Edge because there is little or no edge detail on the Actor. I just refined the matte with a few adjustments after Rotobrush was frozen.

The purple background is just a solid to show me the quality of the roto.


2 replies

Community Expert
December 27, 2023

It would help us help you if we saw the original video clip. Even a frame of the clip with a description of the camera moves and the action would help. There are dozens of potential workflows. The mot efficient one depends entirely on the shot.

Known Participant
December 27, 2023

Thanks for responding. In the post, I already attached the original video clip, it's in here

Rick GerardCommunity ExpertCorrect answer
Community Expert
December 28, 2023

The shot is not very sharp, and there are places where the background and the foreground actor have almost identical tones, so you might need to add some fairly drastic color correction to help Rotobrush work.


You'll want to trim the clip to where the actor first appears (his hand enters the frame) and then where the last frame with his foot in it ends. Pre-compose, moving all attributes to the new comp and trimming the layer. Name that Pre-comp "Roto." then open the "Roto": comp, and add some color correction. Try to improve the contrast and edge detail, and maybe change the croma vs luminance. Lumetri is good for this. You are not trying for a final color grading in the pre-comp. You want the best edge contrast and detail you can get. 


When that is done, return to the main comp, open the Paint workspace, use the Layer/Open menu to get the pre-comp in the Layer Panel, and start Rotobrush. It will take several stops and starts before you get a fairly decent roto. AE Beta has a little better AI in Rotobrush, and it may give you better results in less time. When the preview looks good, Freeze the layer, duplicate it, unfreeze the duplicate, and start refining the edge on the duplicate. You should be able to clean up the edges a bit. If it gets all fouled up, which Refine Edge tends to do, I sometimes find it easier to just start over instead of looking at the timeline for the fouled-up brush strokes and deleting them.


It's going to take a while to get it cleaned up and a decent matte generated. When satisfied, you can open the "Roto" Pre-comp, turn off color correction, and then return to the main comp.


If you spent more than a few minutes on the Rotobrush, I suggest that you pre-compose the "Roto" layer (your nested comp) again, name it something like "Render Roto," open it, then use the Composition menu to Pre-render the comp. This will give you a rendered High Quality With Alpha movie in your Main Comp, your project will be more stable, and it will render faster when you are finished. 


If you are satisfied with the Rendered roto footage, you may delete the Roto and Render Roto comps to reduce the AEP project file size. I got fair results and only had to add 3 animated masks for about 20 frames to get fair results using AE Beta.

I got those results with 19 different ForegroundStrokes and 4 Background Strokes. I did not use Refine Edge because there is little or no edge detail on the Actor. I just refined the matte with a few adjustments after Rotobrush was frozen.

The purple background is just a solid to show me the quality of the roto.


Known Participant
December 26, 2023

Anyone care to help me out?