Participant
March 3, 2022
Question

How to use Adobe Stock JPEG Character Sets in Character Animator

  • March 3, 2022
  • 2 replies
  • 716 views

Hi,

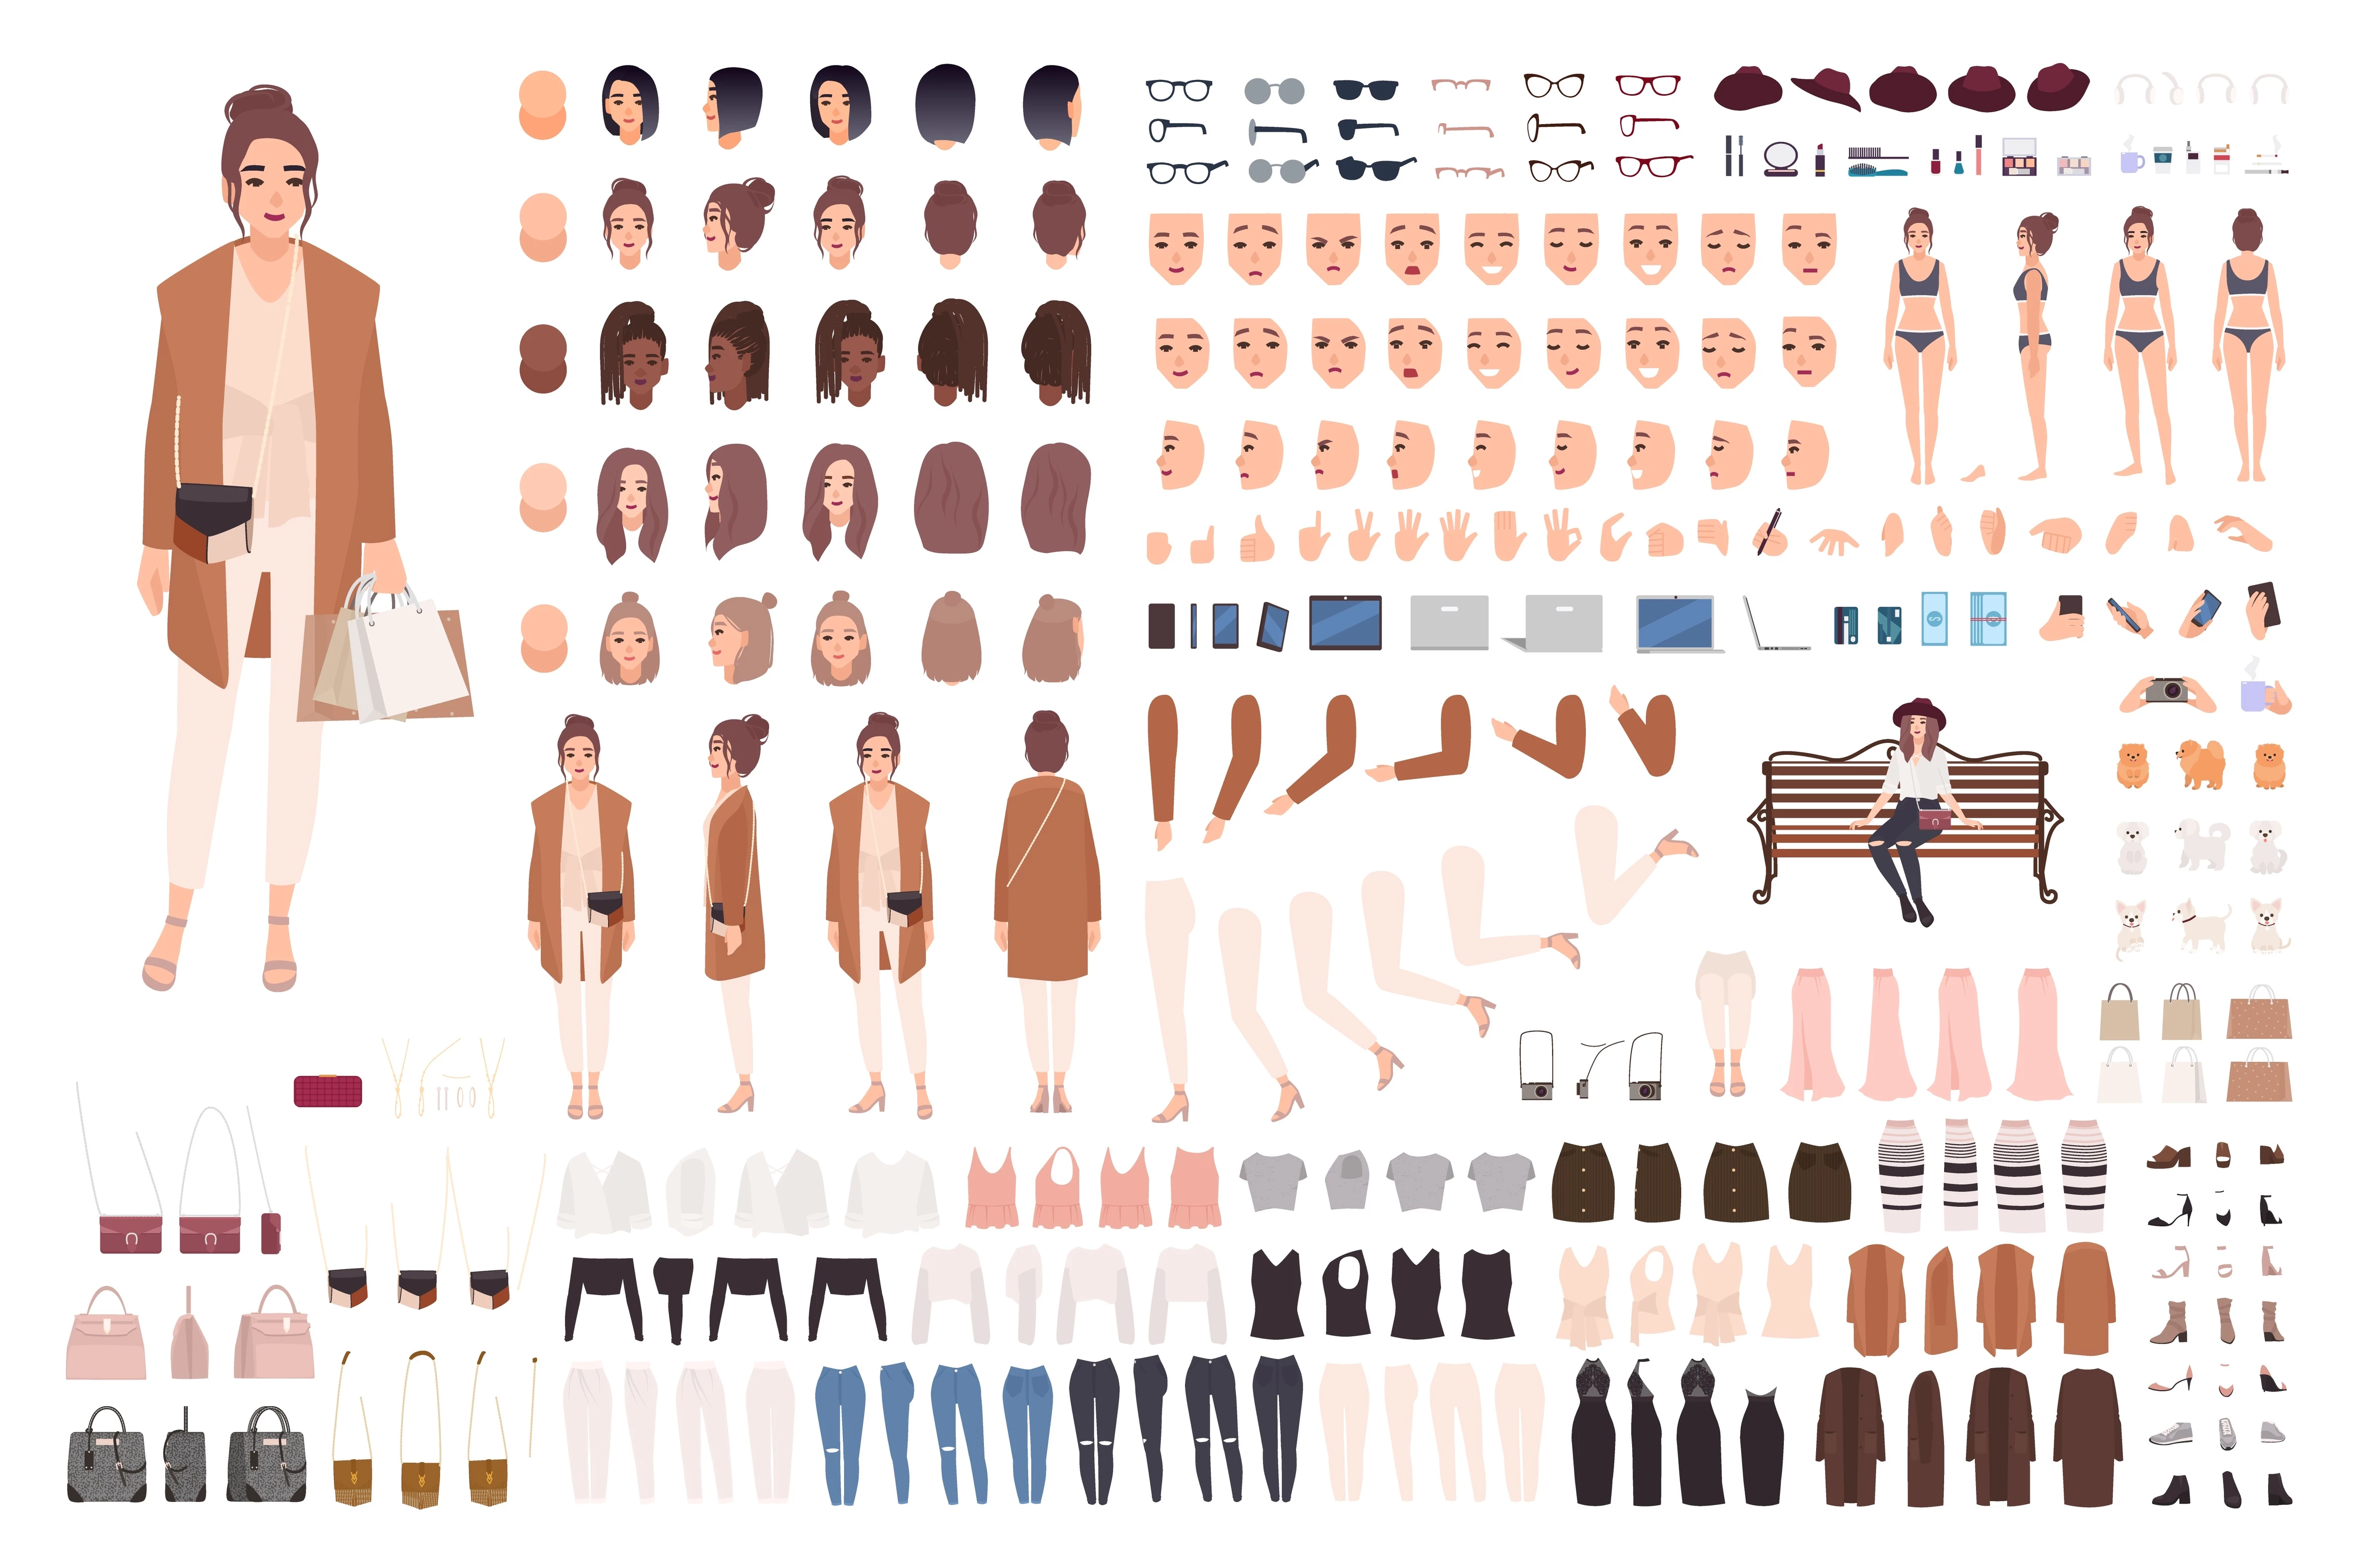
I am a complete beginner here with Character Animator. I have watched Okay Samurai's videos, but they do not really address how I can make adobe stock character sets into puppets. The below image is what I am trying to make a puppet from. When I have downloaded the image it saves as JPEG and it looks exactly like below. I have tried searching videos on how to transform this, but I have not gotten anywhere. My adobe account is for a student and I have tried using Ps and Ai. I have tried looking for step by step picture instructions with bits of text to help with my understanding, but I am getting nowhere. I would really appreciate some help or guidance.

This topic has been closed for replies.

2 replies

TheOriginalGC
Community Expert
Community Expert
March 3, 2022

Hi, this artset looks like it was meant to create poses or maybe a sprite in Adobe Animate. Though a jpeg is not the most convenitent format to work with, a PNG would at least have some transparency.


As AlanK says, CH uses puppets, and each puppet (generally) has a single part for the head, face, body and limbs. All of the options in this image, especially for clothing, generally get added later for more advanced puppets. It's useful to think of it as a marionette - a marionette has just one head with one face attached and when you pull the string, the attached part moves. There is no swapping of parts to make it move, the part itself is moved. So you could start with one of the sample puppets and replace the parts with your own until you're satisfied with the results.

alank99101739
Legend
March 3, 2022

Hi! You can try to turn that artwork into a puppet, but that is not the normal way it is done. If you take one of the demo characters (from the home page of the character animator app) and open it up, you will find there is a single artwork file with lots of nested layers, where the nesting corresponds to the body structure. Artwork for those different body parts lives in those layers (typically). E.g.


My Character

- Head

- - Left Eyebrow

- - Right eyebrow

- - Left Eye

- - Right Eye

- - Nose

- - Mouth

- - Face Skin

- Body

- - Left Arm

- - Right Arm

- - Left Leg

- - Right Leg

- - Torso


I have not included it all - the nesting can go quite deep. But the artwork for the left leg generally goes in the layer called "Left Leg" (radical huh?). You have to move it into the right position (not have it spread out across a page like the artwork file you shared).


Now, CH has concepts like profiles. I would ignore that while learning - do it later. It also has concepts like different layers for the eye pupil, eye brows, etc so on. If you artwork file has them all merged, that will be problematic. CH slides layers around (e.g. moves the pupil around to make the character look in different directions). The order of layers controls what is in front of what. If the artwork was not drawn with the pupil in a separate layer, you have to pull it apart. Most people draw the artwork especially for CH, not using a file like the one you shared, so the structure is correct. Or they start from one of the sample characters then redraw the artwork in layers in the PSD or AI file (without changing the layer structure - very important).


So there may be no instructions to convert the file like the one you shared around, because people don't do it that way (generally). Starting from a sample character I think would be more productive. You have a puppet that works, you can play with, then update the artwork bit by bit, learning as you go. That might be an easier way to start.