Hi, just FYI, to export a puppet there is a “Export Puppet” menu item. It looks like you created a ZIP from the whole project? (Otherwise I am curious how you created that ZIP file because it had a Dina.chproj file in it, typical of a project rather than puppet.)
Hmmm. There is a lot going on here. I will try to look some more later, but some changes to get you going.
- I think the root puppet needs to be “independent”.
- I think each profile needs to be independent as well so the different layers don’t become all merged, messing up meshes.
- Each independent layer should have “Attach to” set to “Auto” - they have the parent layer name at the moment which is bad (but it slips my mind as to why!)
- I avoid putting tags on origin markers (the dotted lines) - I create separate handles for that - so don’t but the “head” tag on the head origin marker - add another handle in the layer and tag that. The origin marker defines the position relative to the parent layer, where as the walking tags are effectively "automated draggers" - you don't make an origin a dragger because its using the same thing for two purposes (and gets confused)
- Use the same names as CH does for layers - e.g. don’t use “R Eye” - use “Right Eye” as in the tags panel. “R Eye” picked up the “R” sound viseme by accident for example. (See also Debugging Adobe Character Animator Eyes – Extra Ordinary, the Series if useful) I think this can get things stuck.
- Same for legs - don't use "R Leg", use "Right Leg".
- There was a stray “mouth” handle added on the head layer - put it on the mouth layer.
- Because the profiles are currently not independent, I think you are sharing hip and waist etc tags between views. This may be possible, but feels “wrong” to me - so you may need to go through each profile and add some extra tags that are only in the other profiles now they are independent.
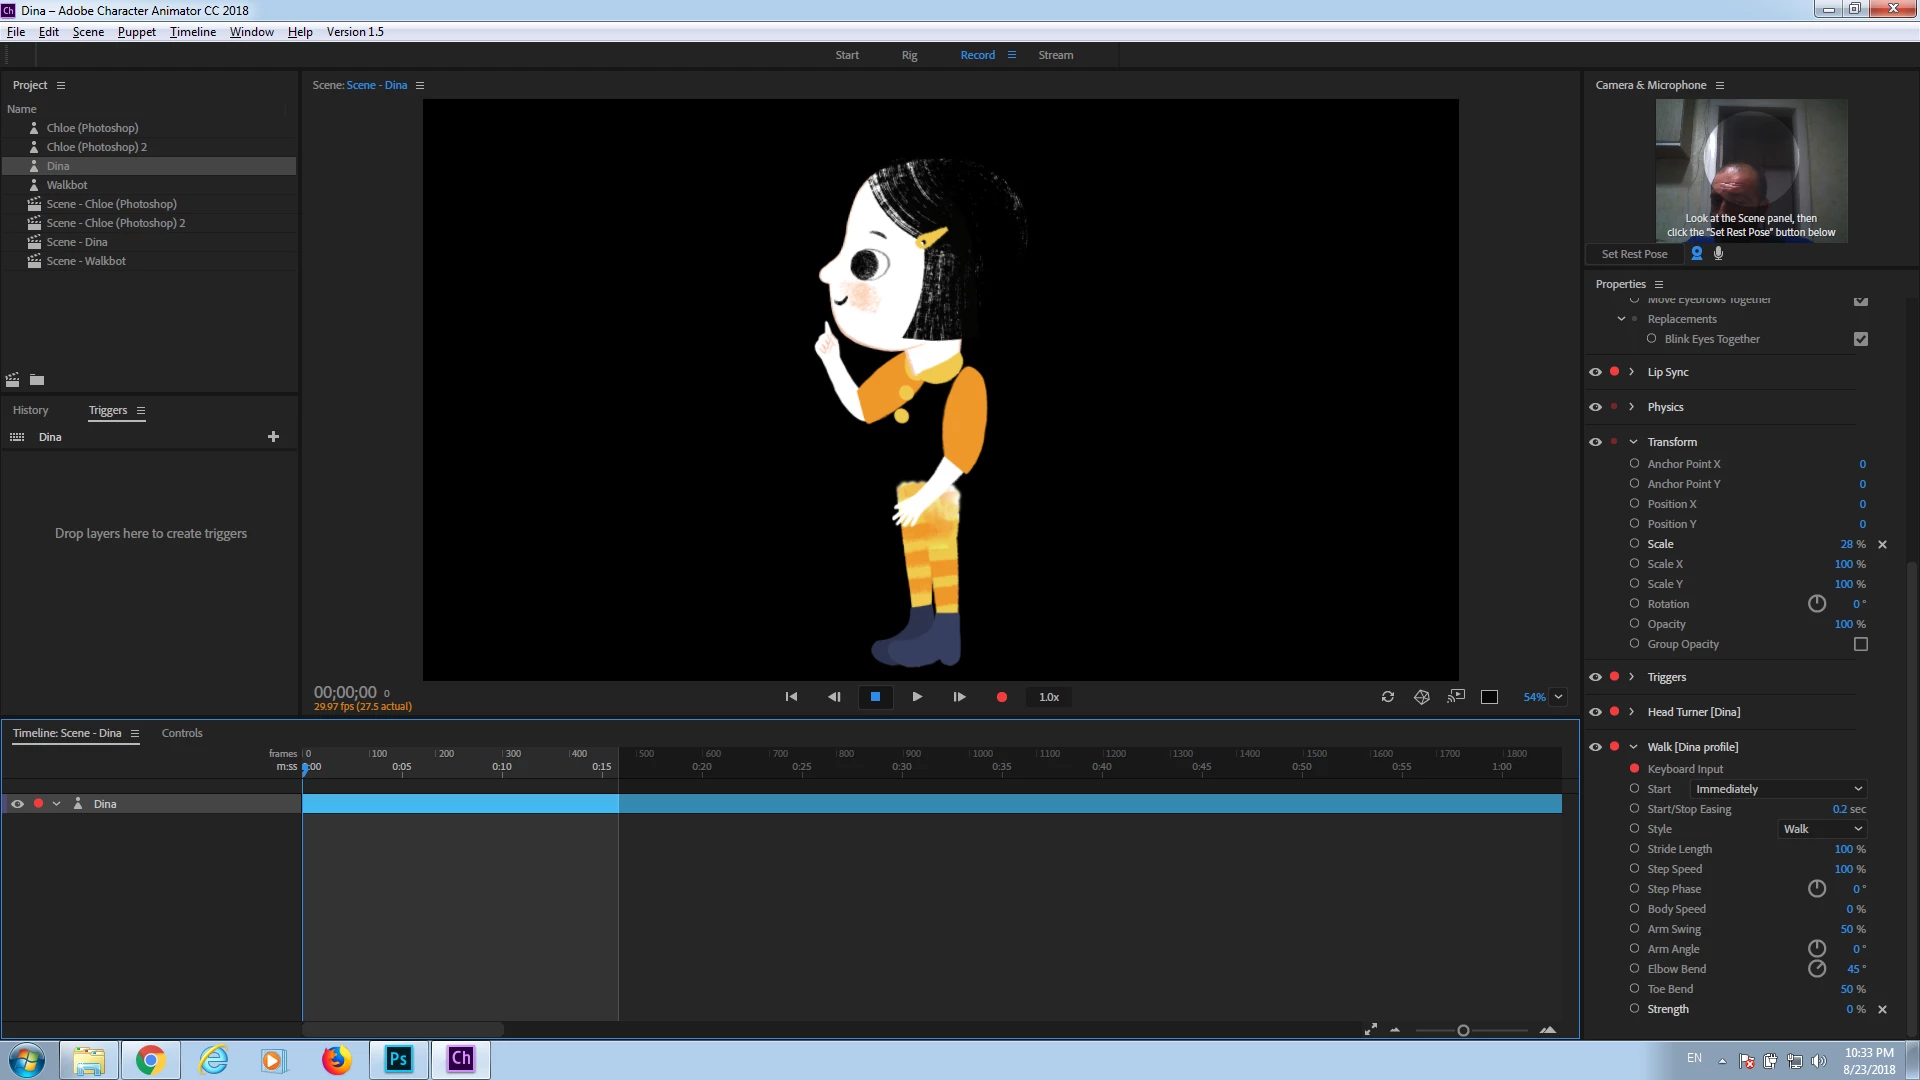
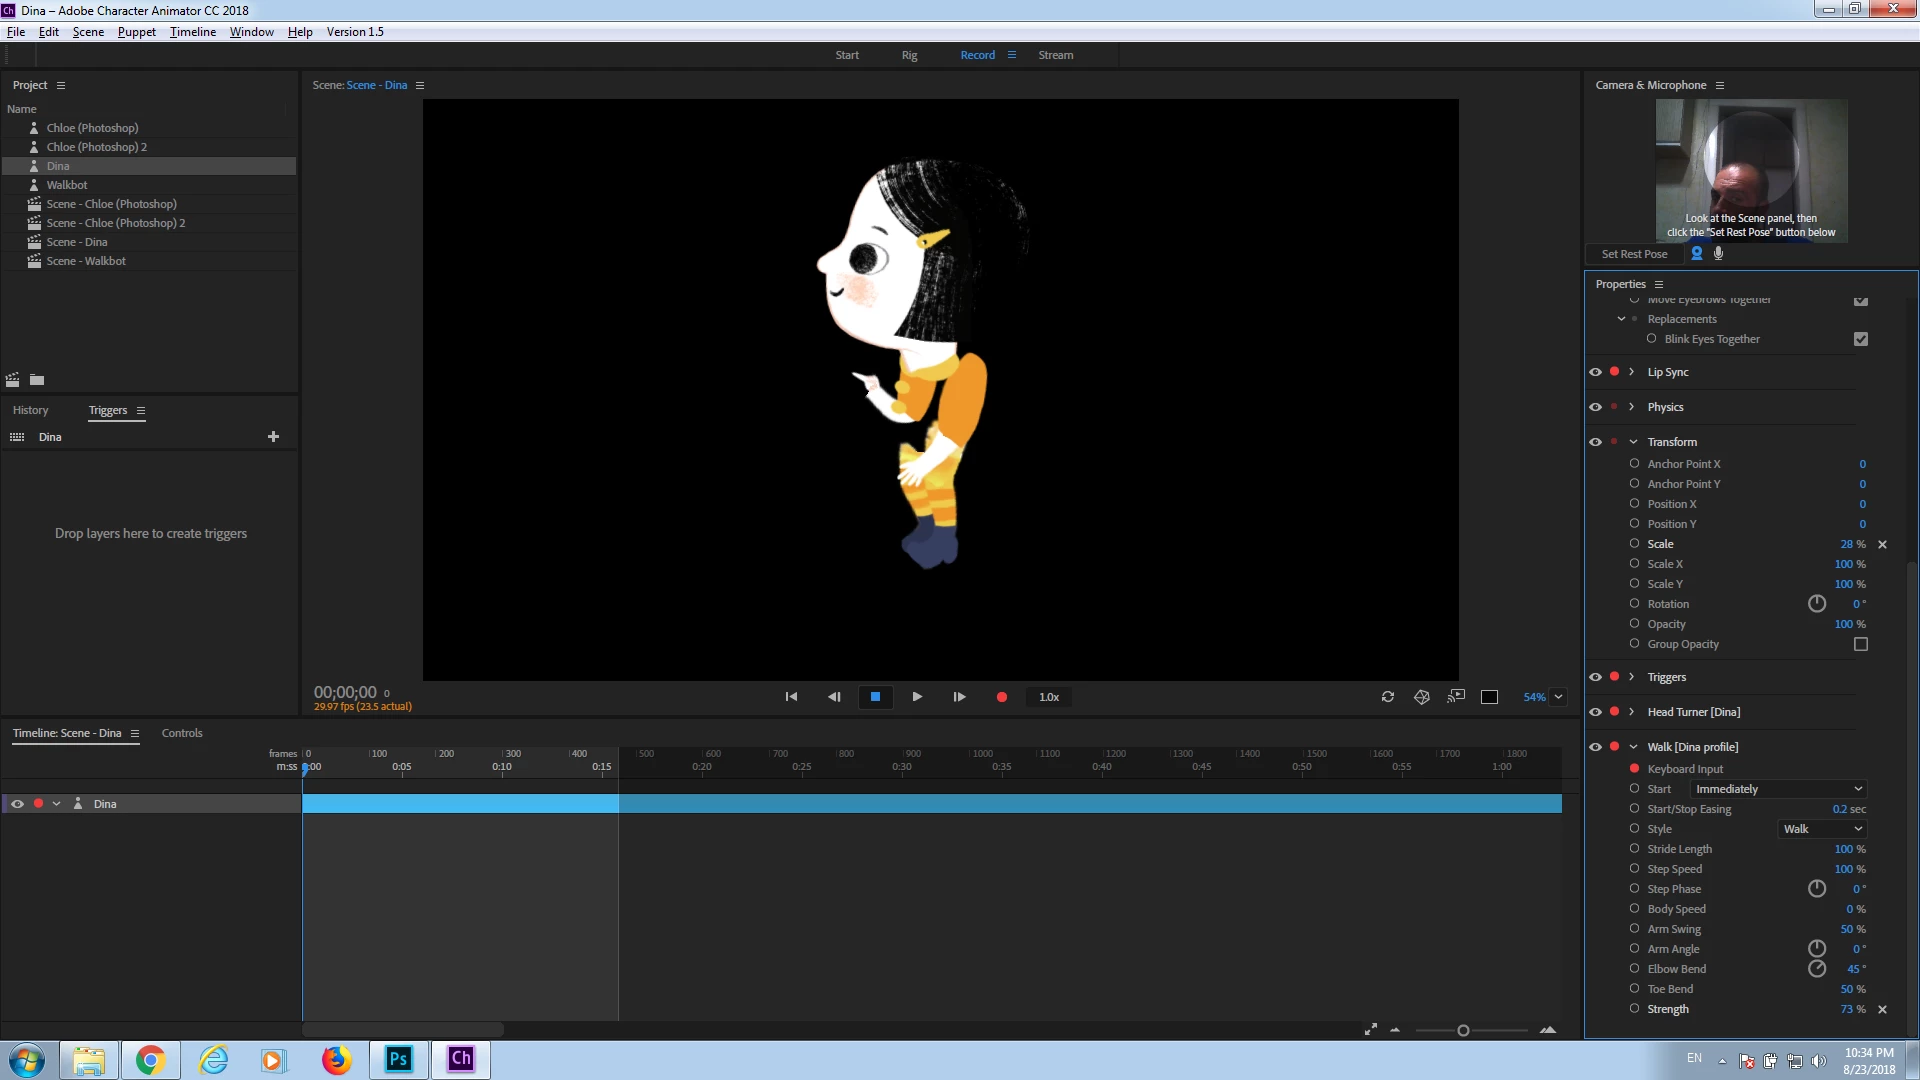
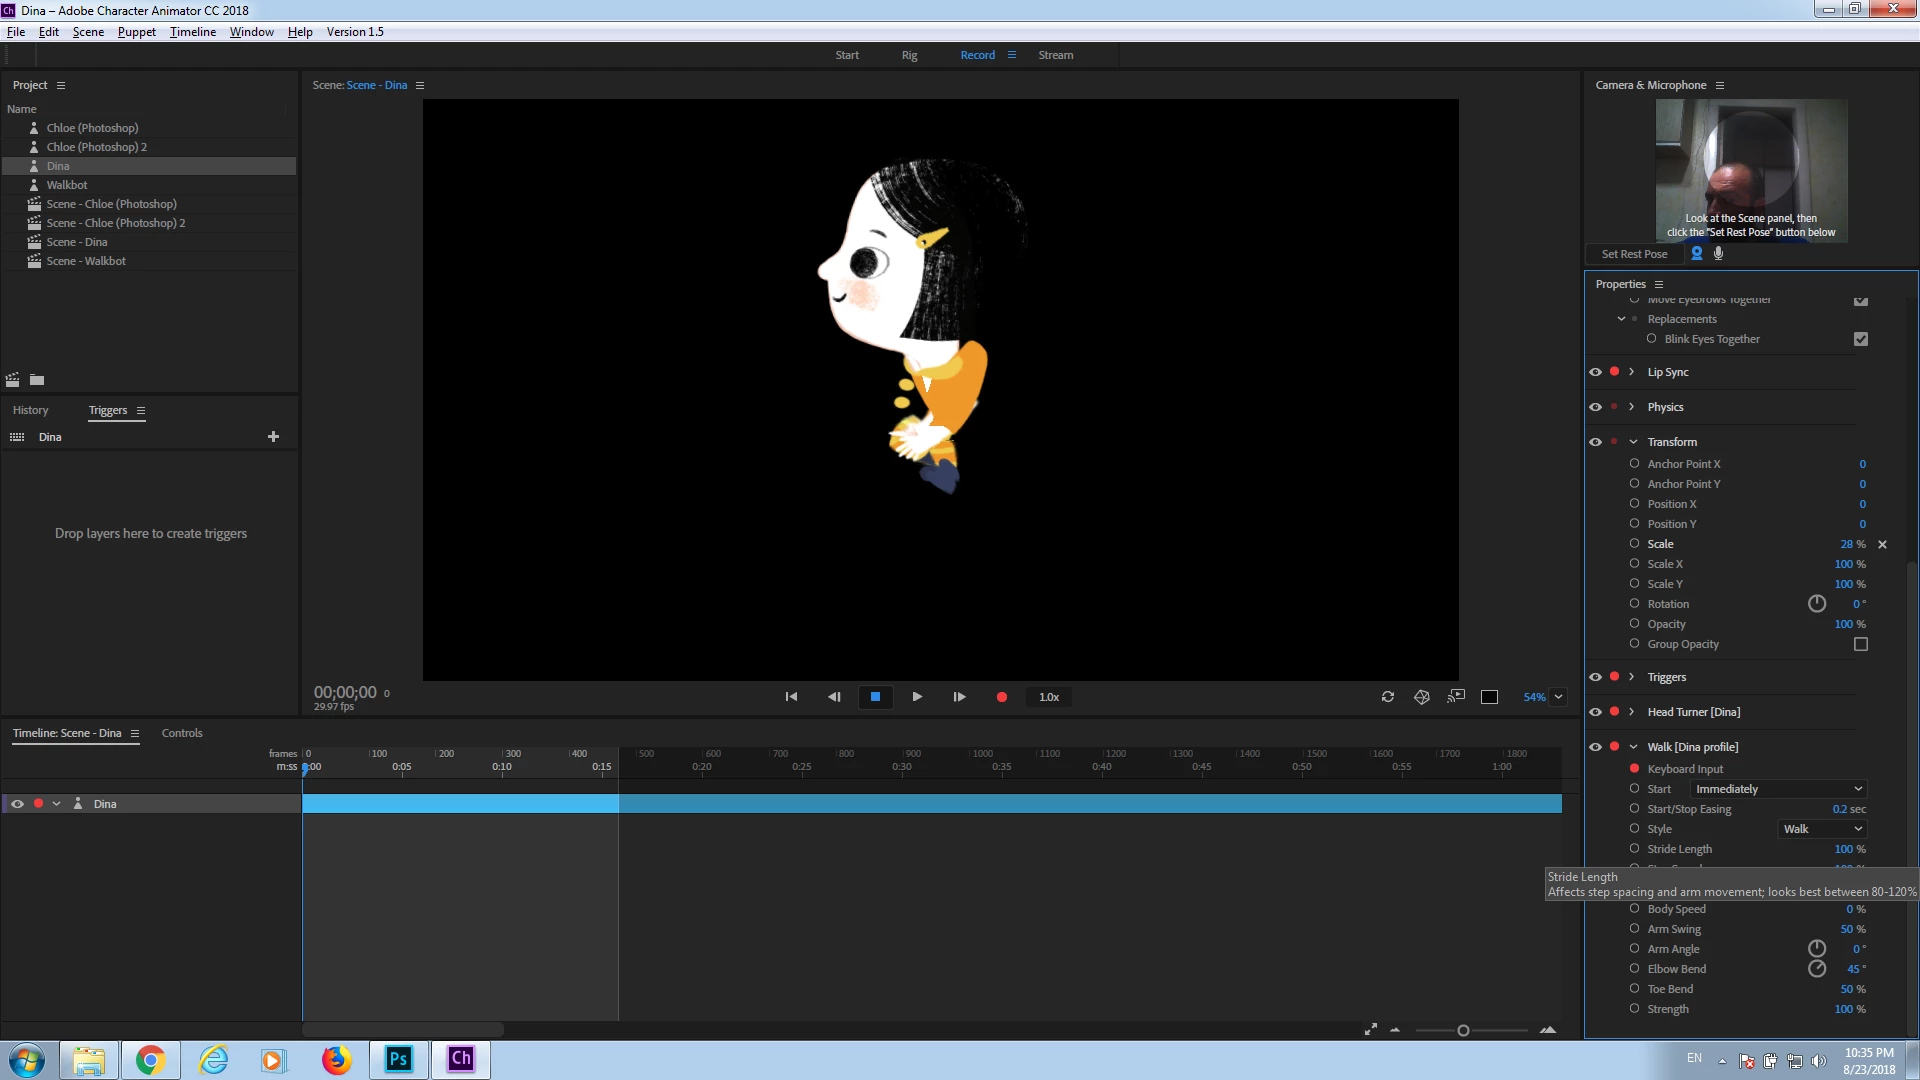
- I don’t know why, but lots of layers are not picking up the contour mesh correctly. There could be some stray disconnected pixels in the artwork. I had to set “Mesh Shape” to “contour” for lots of layers. If you click on the Mesh icon to display the yellow mesh, make sure it follows the outline of the layer, or else warping will look weird. This is at the bottom of the scene and rig windows.
- Remove the “Nose” tag from the nested “Nose” layer - that stops the walk behavior from not being able to move it. (Things like the extra tags stop the head from bobbing up and down - so avoid these extra tags.) .... unless of course that is on purpose!
Once you fix up the “Attach To” to Body and “Mesh Shape” to Contour things start looking a lot better, but you need to go around and fiddle origins for the independent layer. I corrupted the project hacking and delete bits to test, so I cannot share my fixed version sorry - probably safer to start from yours again (but ran out of time right now to do it again).
One idea - do an “Export Puppet” then do an “Import Puppet” on what you exported. THIS MAKES A COPY. You can then delete 2 profiles and fiddle and learn with the remaining profile to get the concepts sorted out. Once that is done, go back to the original and fix it. I find debugging this way helps isolate problems.




 AdChoices