April 25, 2017
Answered

How to change incorrect e-mail address in Creative Cloud installer required for verification?

  • April 25, 2017
  • 1 reply
  • 438 views

Hi,

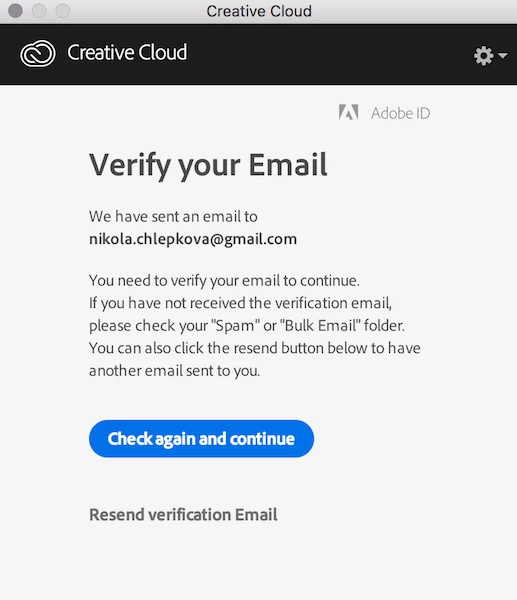
I have trouble downloading Trial version of Photoshop. After I launch the installation, the Creative Cloud installer window pops up with a note that I need to verify my e-mail first (see screenshot attached). The e-mail is incorrect and it does not match my Adobe ID, but there is no option to change this e-mail for verification.

In the setting of my Adobe ID there is only the correct e-mail that I use.

How am I suppose to change this verification e-mail?

Thanks in advance,

Nikola

This topic has been closed for replies.
Correct answer Govardhan.V

Sure , try below steps :

1) Right click on Finder icon and  select "Go-To" Folder option.
2) You will get a text box, type-in below command and then hit 'Return' key.( " Do not miss ~ symbol " )

~/library

It will open User Library folder.

3)Then navigate to Application Support>Adobe>OOBE. Open OOBE folder and trash Opm.db file.

1 reply

Govardhan.V
Participating Frequently
April 25, 2017

Close all Adobe apps including Adobe Creative Cloud app.

Steps :

Press Windows button (located between Ctrl and Alt buttons) along with R button together at a time , you will get a run command window.

Type in below command and hit 'Enter' key.

Appdata

It will open Appdata folder.

Then navigate to Local>Adobe>OOBE. Open OOBE folder and delete " Opm.db" file.

Once you had deleted opm.db file  , launch Adobe Creative Cloud app and Sign in with valid Email ID.

April 25, 2017

Hey,

I am sorry, I forgot to write that I am using MacBook Pro. Is there any way to do it on a mac?

Thanks

Govardhan.V
Govardhan.VCorrect answer
Participating Frequently
April 25, 2017

Sure , try below steps :

1) Right click on Finder icon and  select "Go-To" Folder option.
2) You will get a text box, type-in below command and then hit 'Return' key.( " Do not miss ~ symbol " )

~/library

It will open User Library folder.

3)Then navigate to Application Support>Adobe>OOBE. Open OOBE folder and trash Opm.db file.