Stein Arne Jensen
Inspiring
March 27, 2021
Answered

How do you divide an object into smaller parts?

  • March 27, 2021
  • 2 replies
  • 419 views

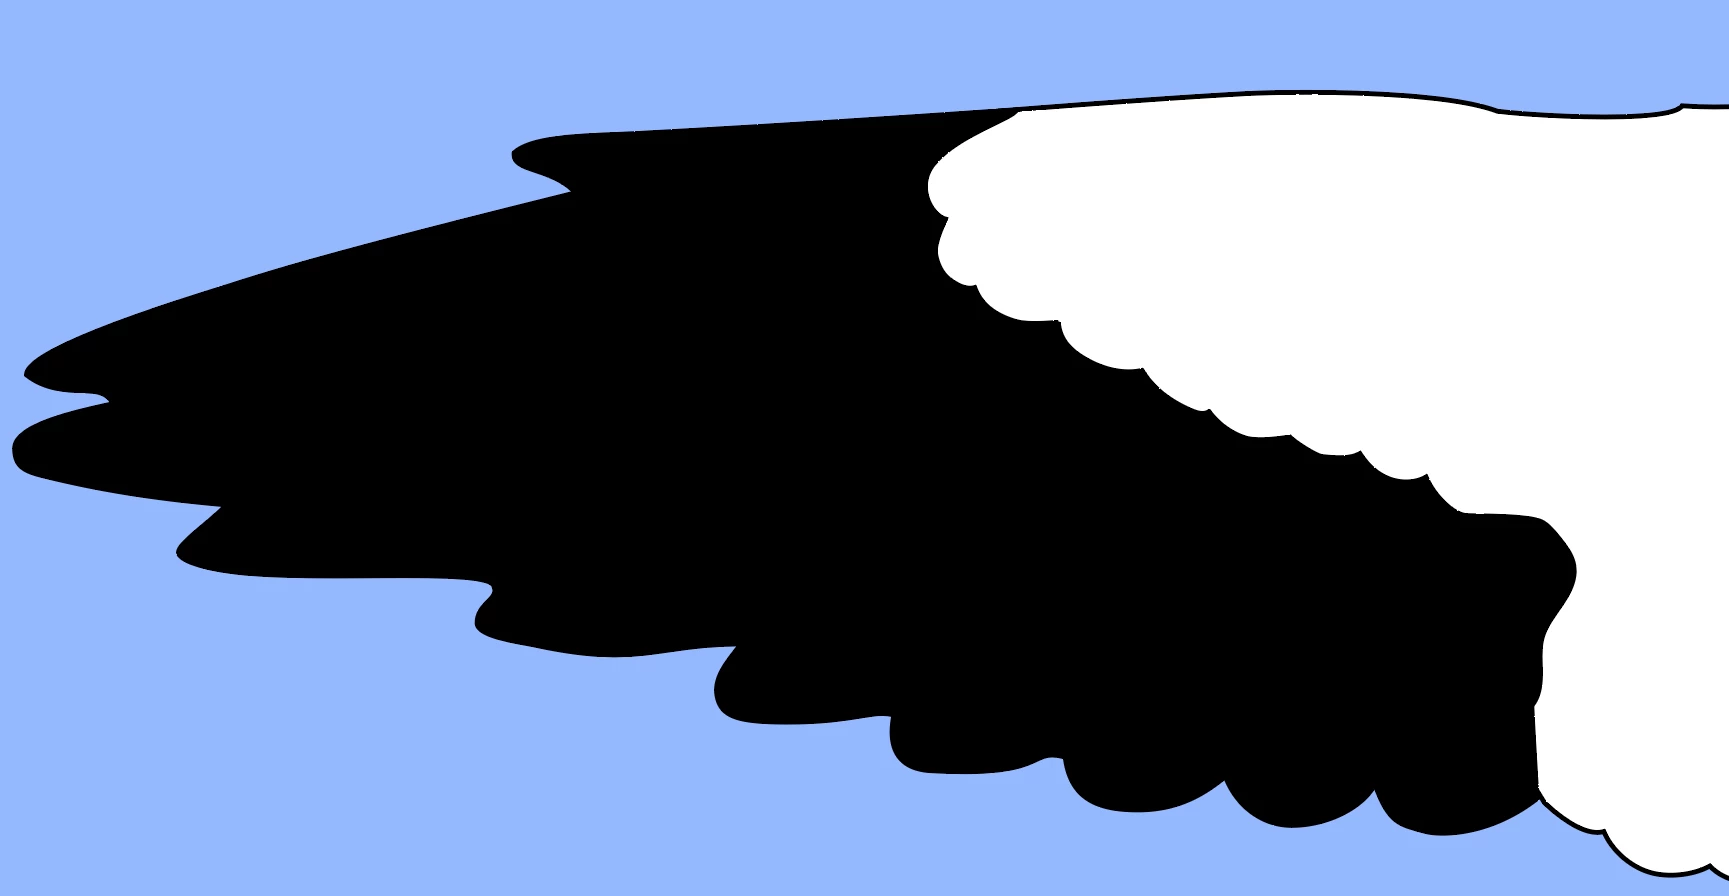
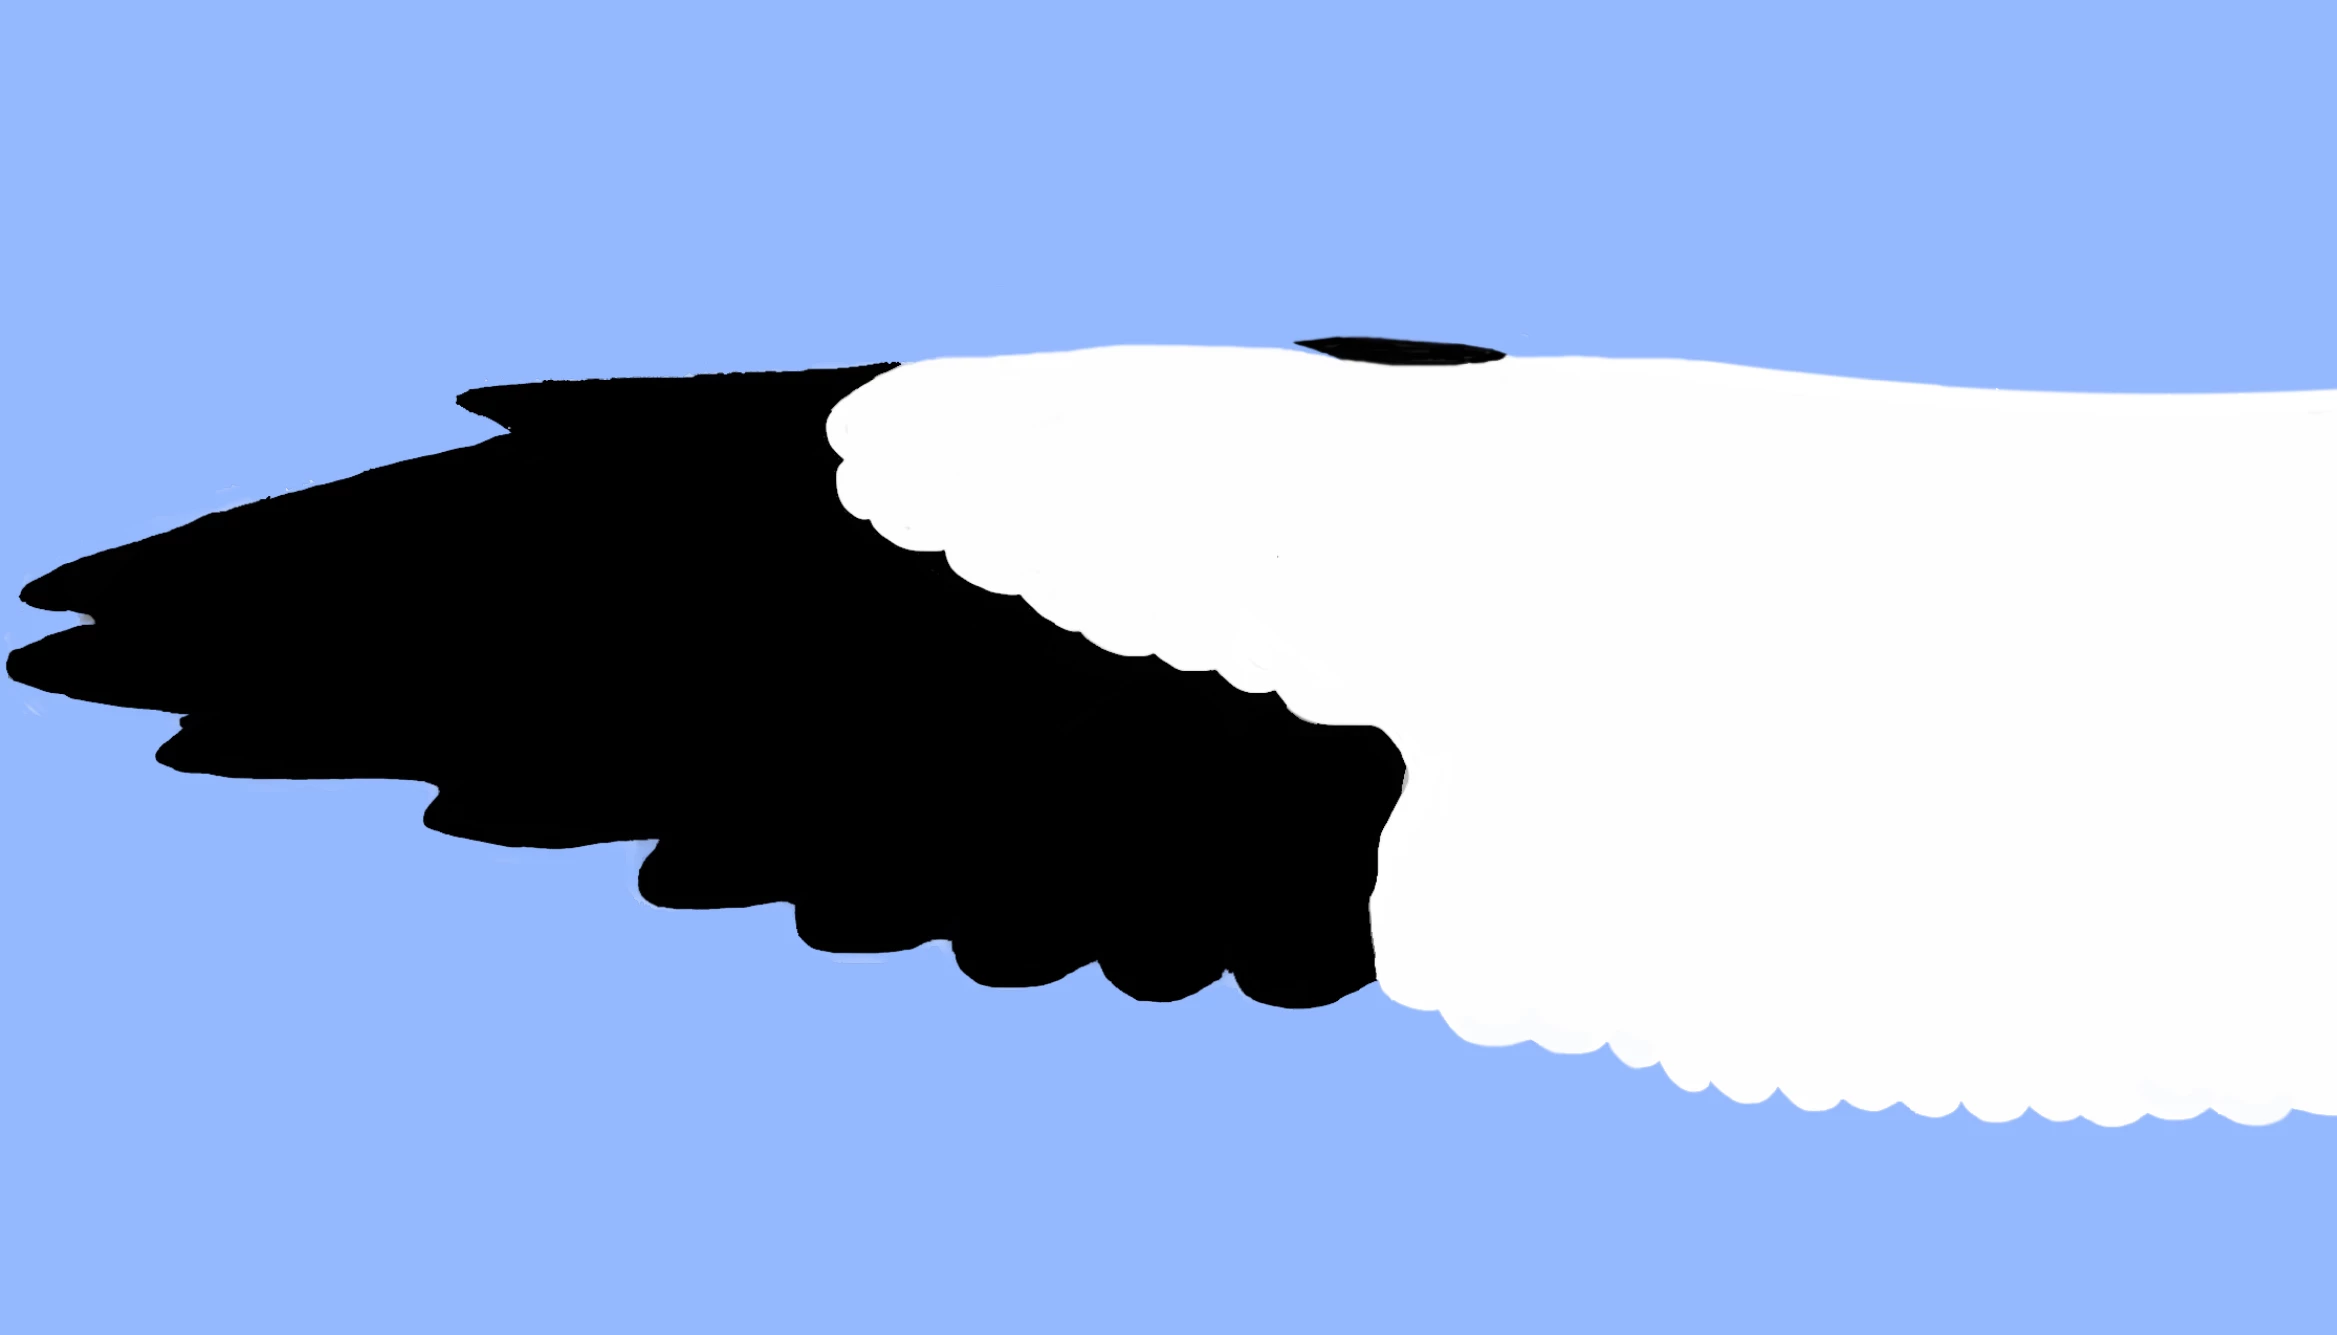
I am doing my very first attempts at vectorizing a small bitmap of a bird.

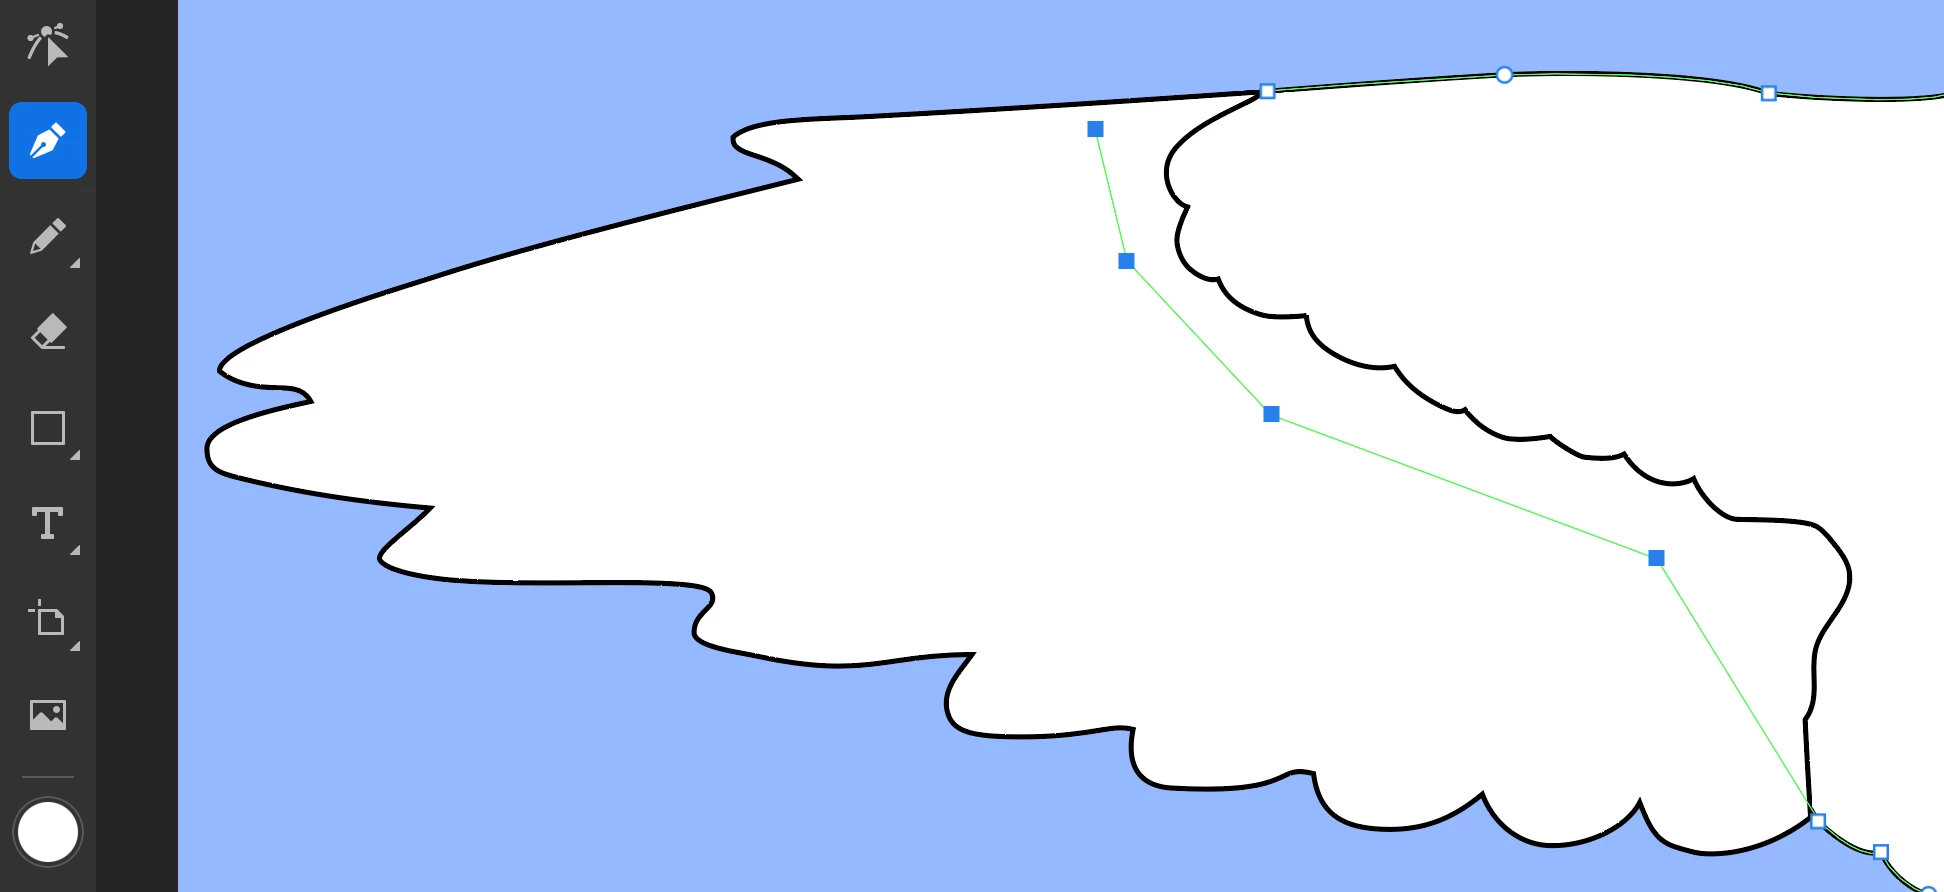
I have created the outline if the whole bird - all white. Here is part of the wing from the bitmap:


On my outline the wingtip is white. How can I change this without drawing the wingtip again in a new layer on top of the body outline?

alternativeli, is there a way to cut what is to the left of the red marks below and put it in a new layer?


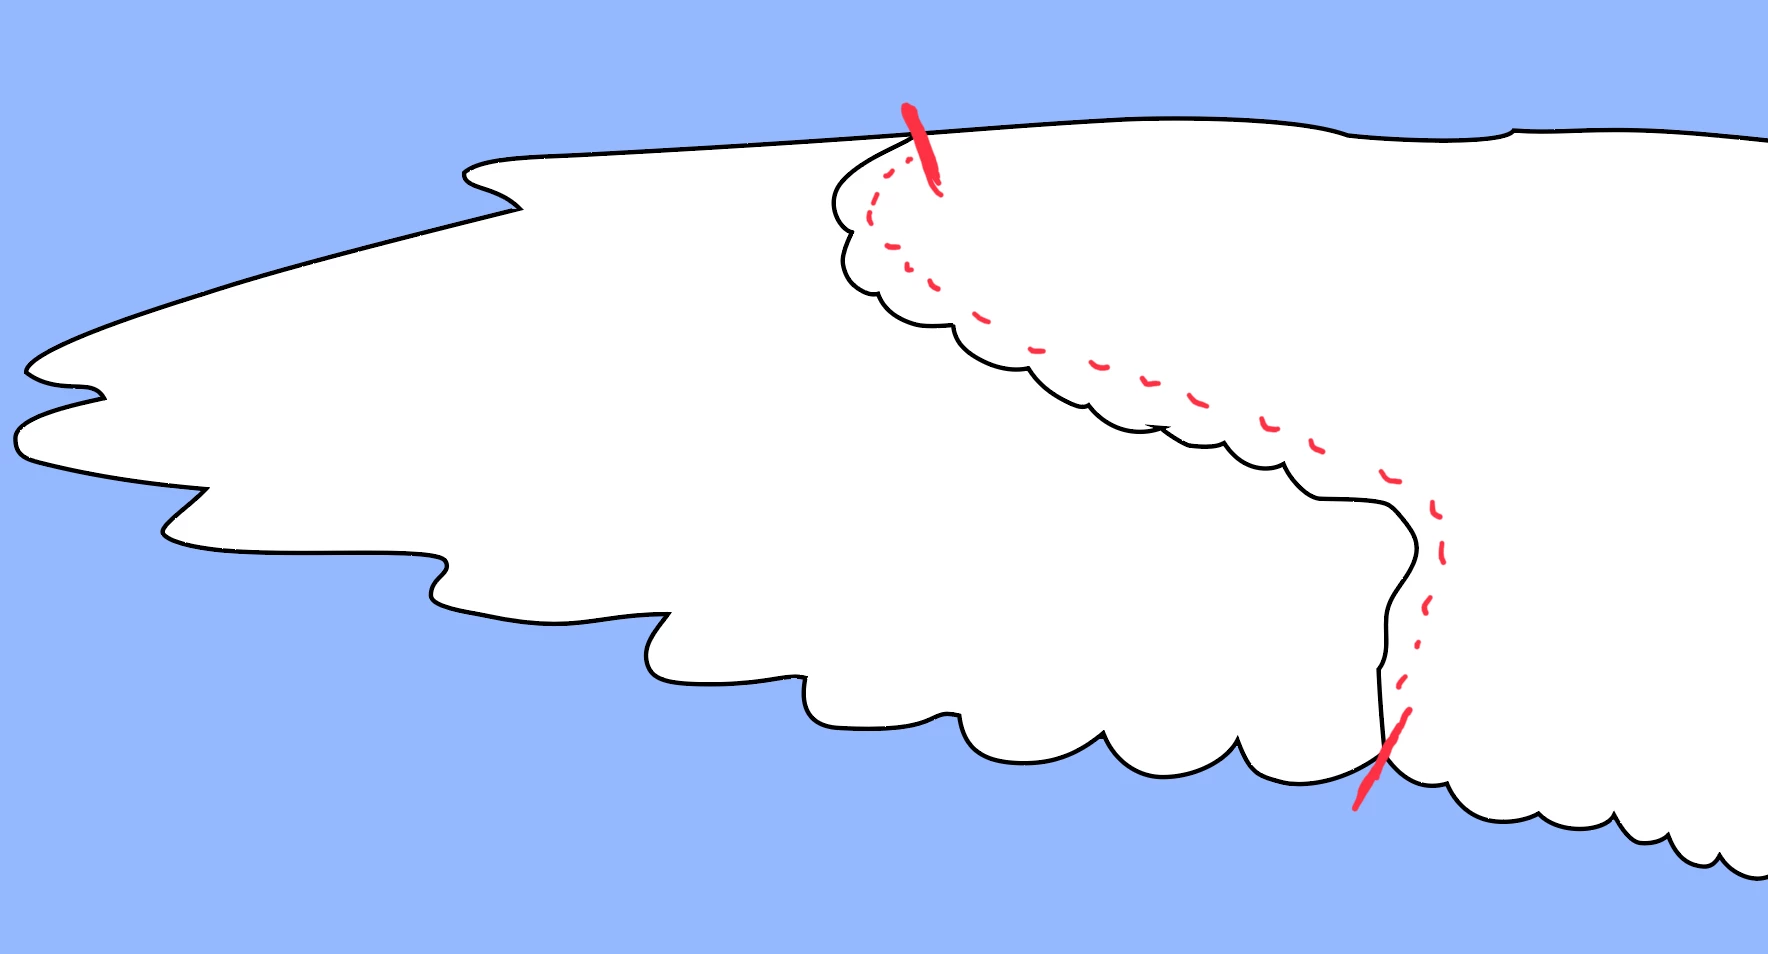
If yes. Is there a way I can copy the line between white and black (marked with red - - - -) and use it on both the white and the black layer?

Thanks a lot for reading this.

Stein


This topic has been closed for replies.
Correct answer Stein Arne Jensen

Sorry. I am a bit triggerhappy. With a little more patience this should never have been posted. Feel free to delete it admin.

Anyway - I solved it myself. So here is how I did it. Maybe it can help another newbie here.

first I marked the point on top of the wing outline where I wanted to split. Then used the skissor at the bottom of the picture.

Then I chose the points on top of the wing between the "vertical" line and the wingtip line. And used the tool in the center of the toolline below to merge the two lines into one. Finally I repeated the process at the bottom of the wing.


Since the wingtip is now a separate layer on top of the body layer, I realized the body layerd didn't have to follow the same curly line as the wingtip.

I selected one end of the body outline, then the pen tool to add more points, as shown below.


Finally I change fillcolor on the wingtip layer. 
my wingtip now looks a lot better than my original bitmap!


sorry for posting in the first place. Hope this helps someone else.

Stein

2 replies

Michael J. Hoffman
Community Expert
Community Expert
March 27, 2021

Hi Stein,


I'm glad you found a solution. However, I wanted to steer you towards a more efficient (often) workflow using the combine shapes feature and the shape builder tool. This can really speed your workflow for cases like the one you showed:


Learn how to create shapes using Shape tool and how to edit shapes using Combine shapes panel in Illustrator on the iPad. 

Stein Arne Jensen
Inspiring
March 27, 2021

Sorry. Forgot to mention it.

I work on an iPad pro with an Apple pen.

Stein

Stein Arne Jensen
Stein Arne JensenAuthorCorrect answer
Inspiring
March 27, 2021

Sorry. I am a bit triggerhappy. With a little more patience this should never have been posted. Feel free to delete it admin.

Anyway - I solved it myself. So here is how I did it. Maybe it can help another newbie here.

first I marked the point on top of the wing outline where I wanted to split. Then used the skissor at the bottom of the picture.

Then I chose the points on top of the wing between the "vertical" line and the wingtip line. And used the tool in the center of the toolline below to merge the two lines into one. Finally I repeated the process at the bottom of the wing.


Since the wingtip is now a separate layer on top of the body layer, I realized the body layerd didn't have to follow the same curly line as the wingtip.

I selected one end of the body outline, then the pen tool to add more points, as shown below.


Finally I change fillcolor on the wingtip layer. 
my wingtip now looks a lot better than my original bitmap!


sorry for posting in the first place. Hope this helps someone else.

Stein