Participant
January 15, 2019
Answered

About security margins to print

  • January 15, 2019
  • 1 reply
  • 638 views

Dear Indesign users,

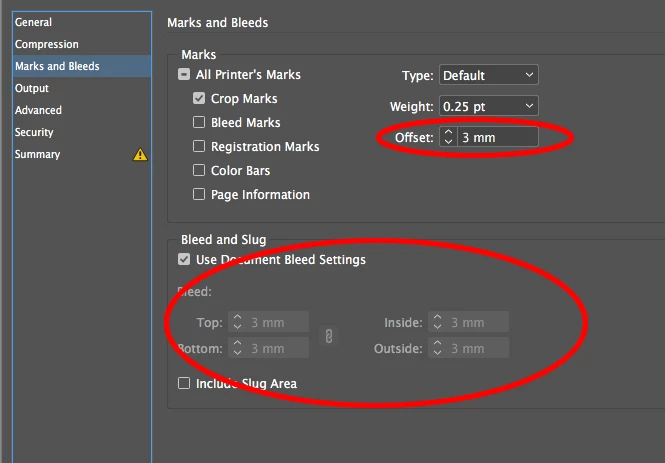
I'm designing a magazine with Indesign. When I went to a printing with my exported PDF, they said me that they had to put some white margins to prevent the cutting could eat some content of my design. They said me that I should let a security margin of at least 3mm apart from the original measure A4.

But I'm not sure how to apply this margin. I have to include in the design measure and assume that some millimeters of content will be lost? Or i haven't to consider this margins when I design the magazine content in the A4 original measure (210x297)? 

Examples:

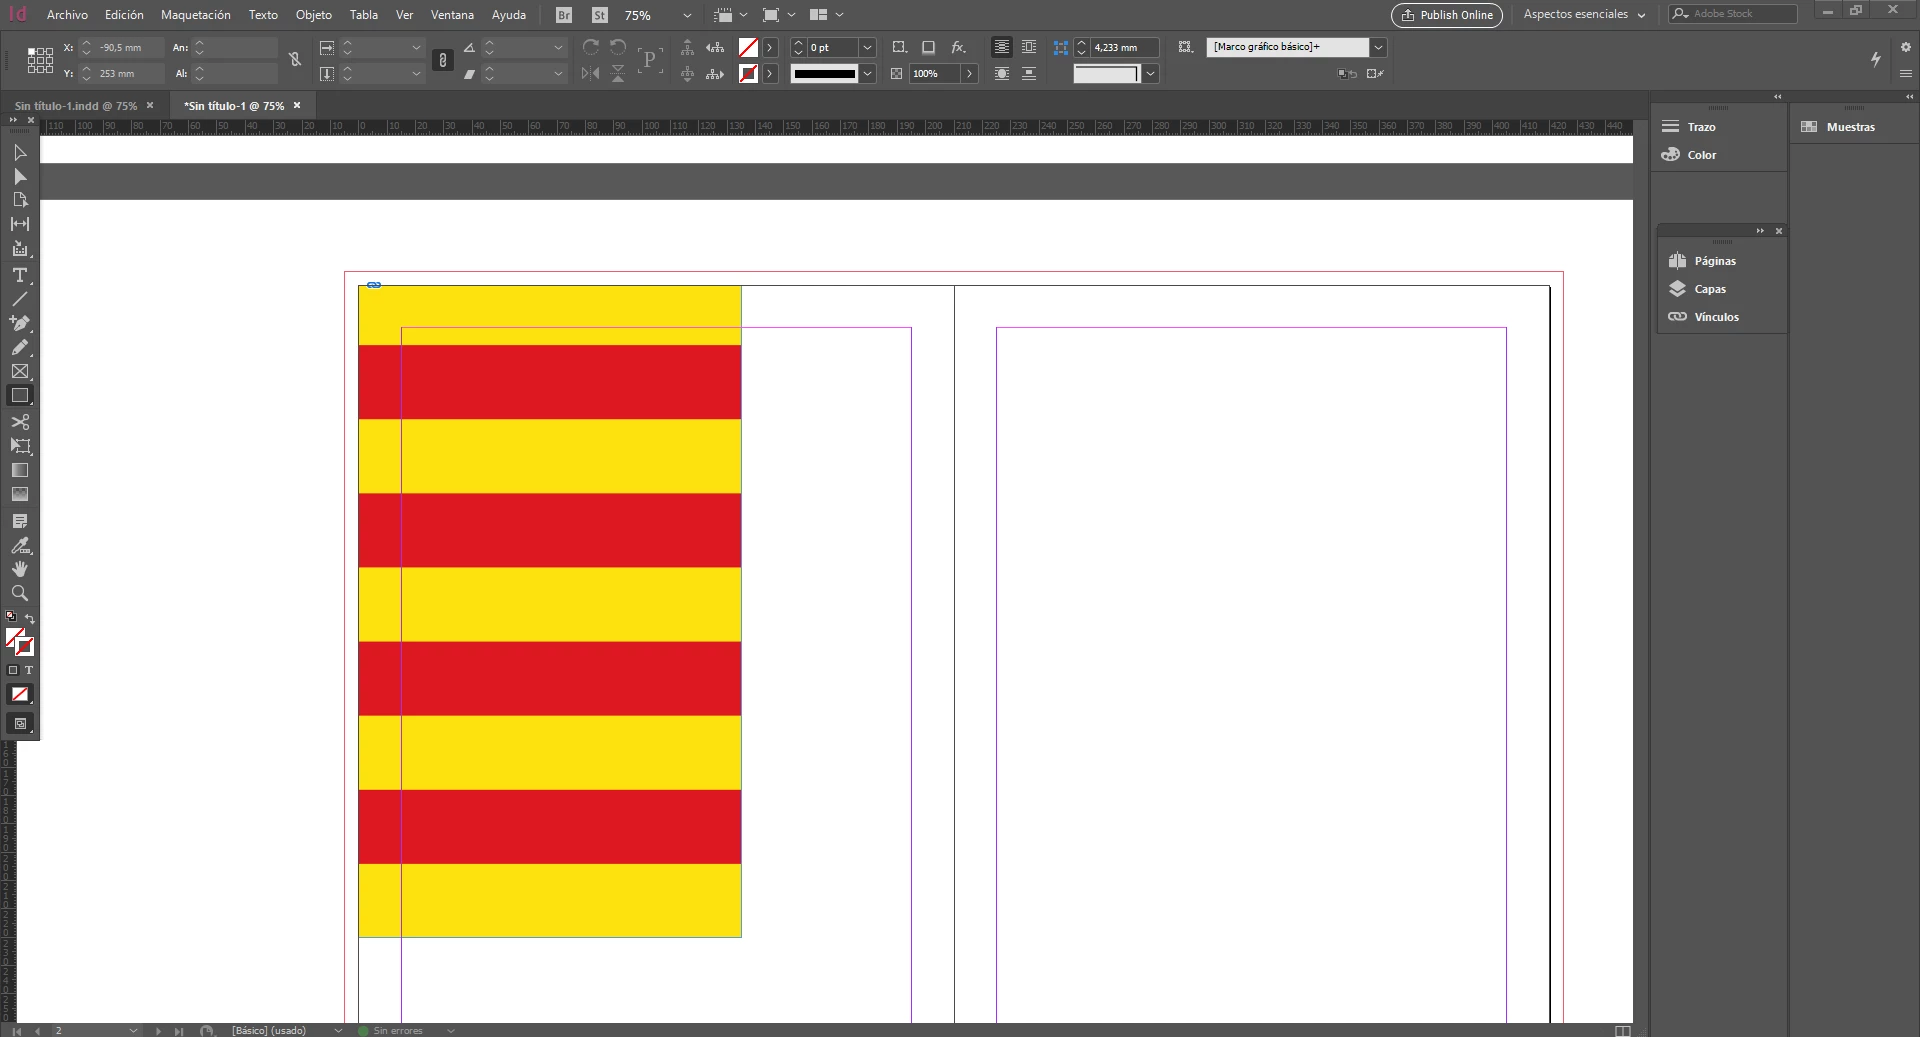
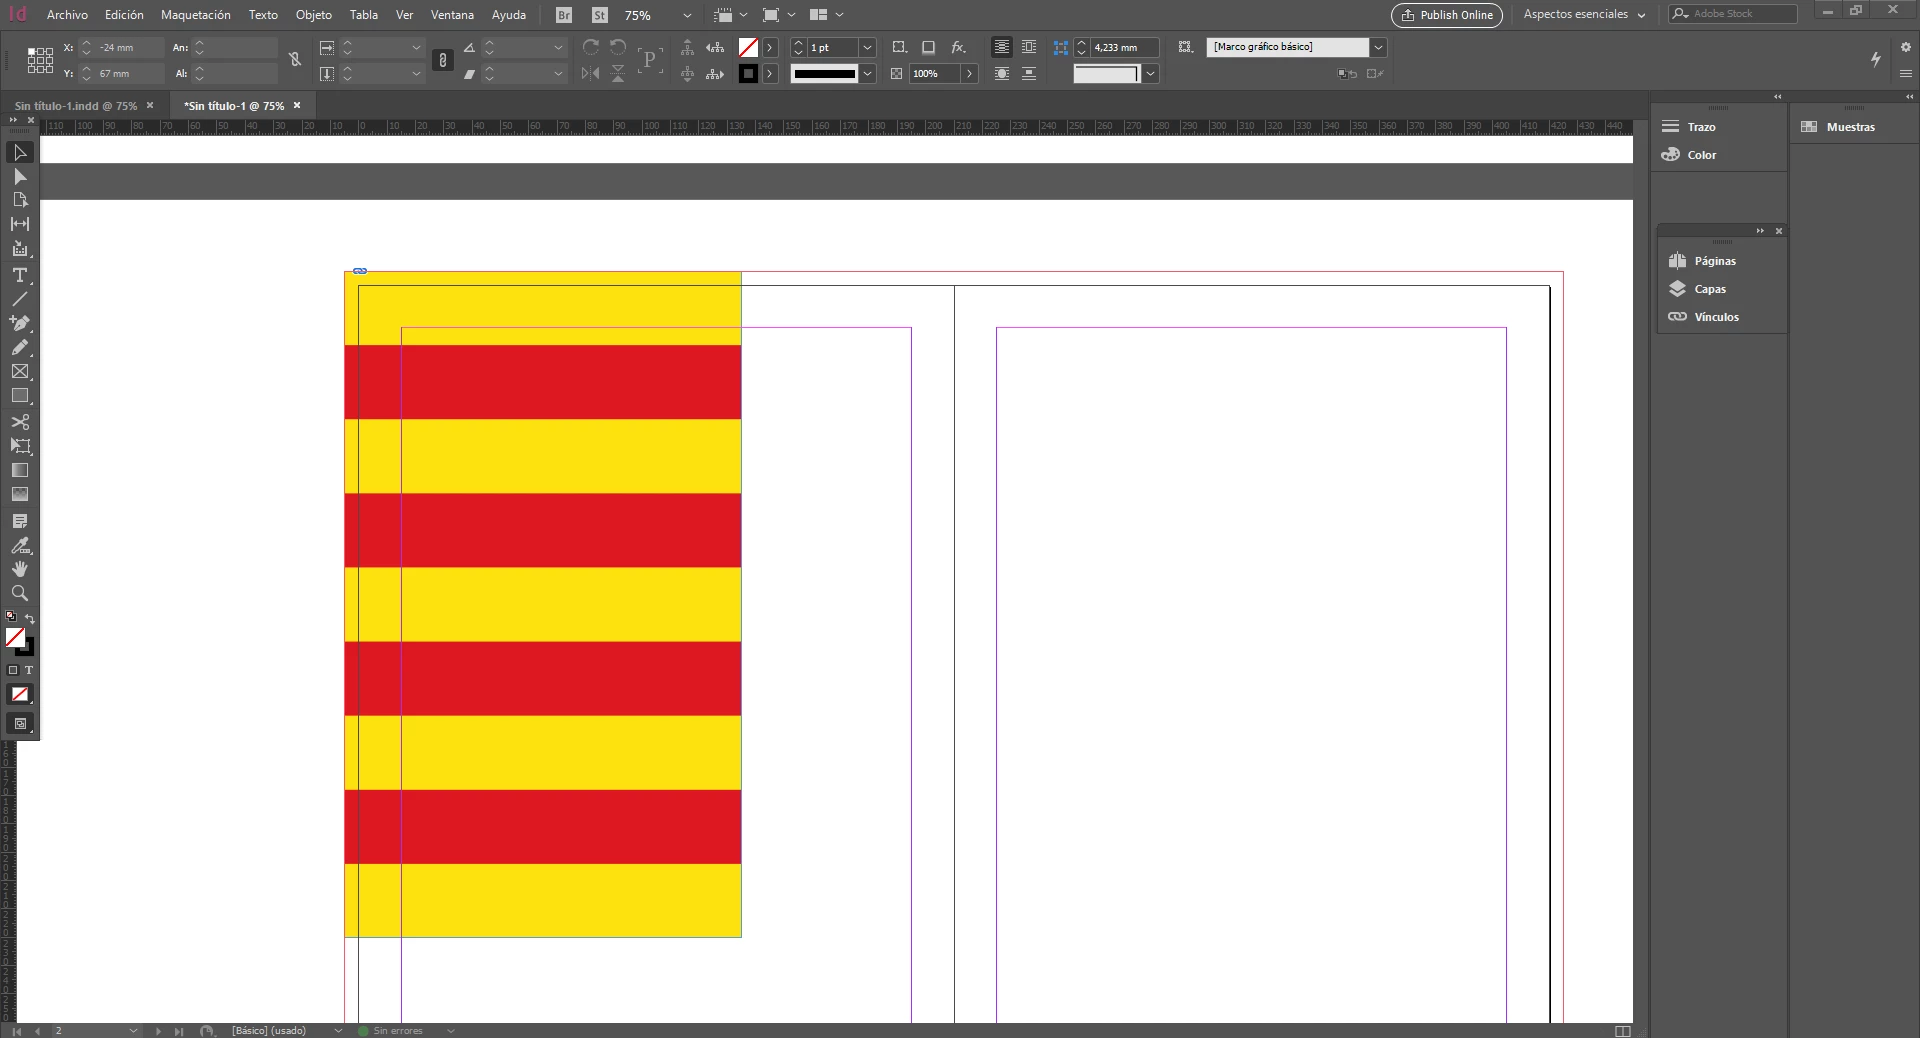
Besides this doubt, anyone can explain me how to set up the margins for a print of a magazine? Are correct the margins in the pictures? I have to do another set up margins for de double page sheet?

Best regards;

Roger

This topic has been closed for replies.
Correct answer Eugene Tyson

Yes that looks correct - you need to extend the content that is at the edge of the page, past the page and 3 mm into the Bleed Area.

You can setup the bleed area here - Set a print bleed |

And when exporting to PDF set up your settings to allow the export of the bleeds - Bleed settings are incorrect when you export to PDF in InDesign

For the crop marks - make sure they are offset to the same value as the bleed - this ensures that nothing is printed inside the bleed area that shouldn't be there - the only thing to be in the bleed area is the artwork to be trimmed.

Other things to consider:

Your inside margins should be a little larger than the outside margins.

This allows a small bit of the page to be consumed by the spine area - and givesa  better visual balance when printed.

Get any magazine off a shelf and break open the spine (or rip it from the staples) and you'll see the inside margins are a bit larger than the outside margins.

If you have any more queries please let me know

https://helpx.adobe.com/indesign/kb/bleed-settings-incorrect-export-pdf.html

1 reply

Eugene TysonCommunity ExpertCorrect answer
Community Expert
January 15, 2019

Yes that looks correct - you need to extend the content that is at the edge of the page, past the page and 3 mm into the Bleed Area.

You can setup the bleed area here - Set a print bleed |

And when exporting to PDF set up your settings to allow the export of the bleeds - Bleed settings are incorrect when you export to PDF in InDesign

For the crop marks - make sure they are offset to the same value as the bleed - this ensures that nothing is printed inside the bleed area that shouldn't be there - the only thing to be in the bleed area is the artwork to be trimmed.

Other things to consider:

Your inside margins should be a little larger than the outside margins.

This allows a small bit of the page to be consumed by the spine area - and givesa  better visual balance when printed.

Get any magazine off a shelf and break open the spine (or rip it from the staples) and you'll see the inside margins are a bit larger than the outside margins.

If you have any more queries please let me know

https://helpx.adobe.com/indesign/kb/bleed-settings-incorrect-export-pdf.html

Community Expert
January 15, 2019

The other thing to consider is to keep your content within the Page Margins you setup, as if it's too close to the edge of the page - it may get cut off or not appear at all (lost in the spine)

Always ensure that you have a good distance from the edge of the page (5mm or more preferrably) for items that do not need to go to the edge.

Any image that is required to be at the edge of the page, needs to go encroach into the bleed area.

Any item that does not need to go to the edge of the page, needs to stay within your page margins.