Participant
January 11, 2017
Answered

HELP!!! Bleed and Crop Boxes wrong for publication.

  • January 11, 2017
  • 2 replies
  • 4530 views

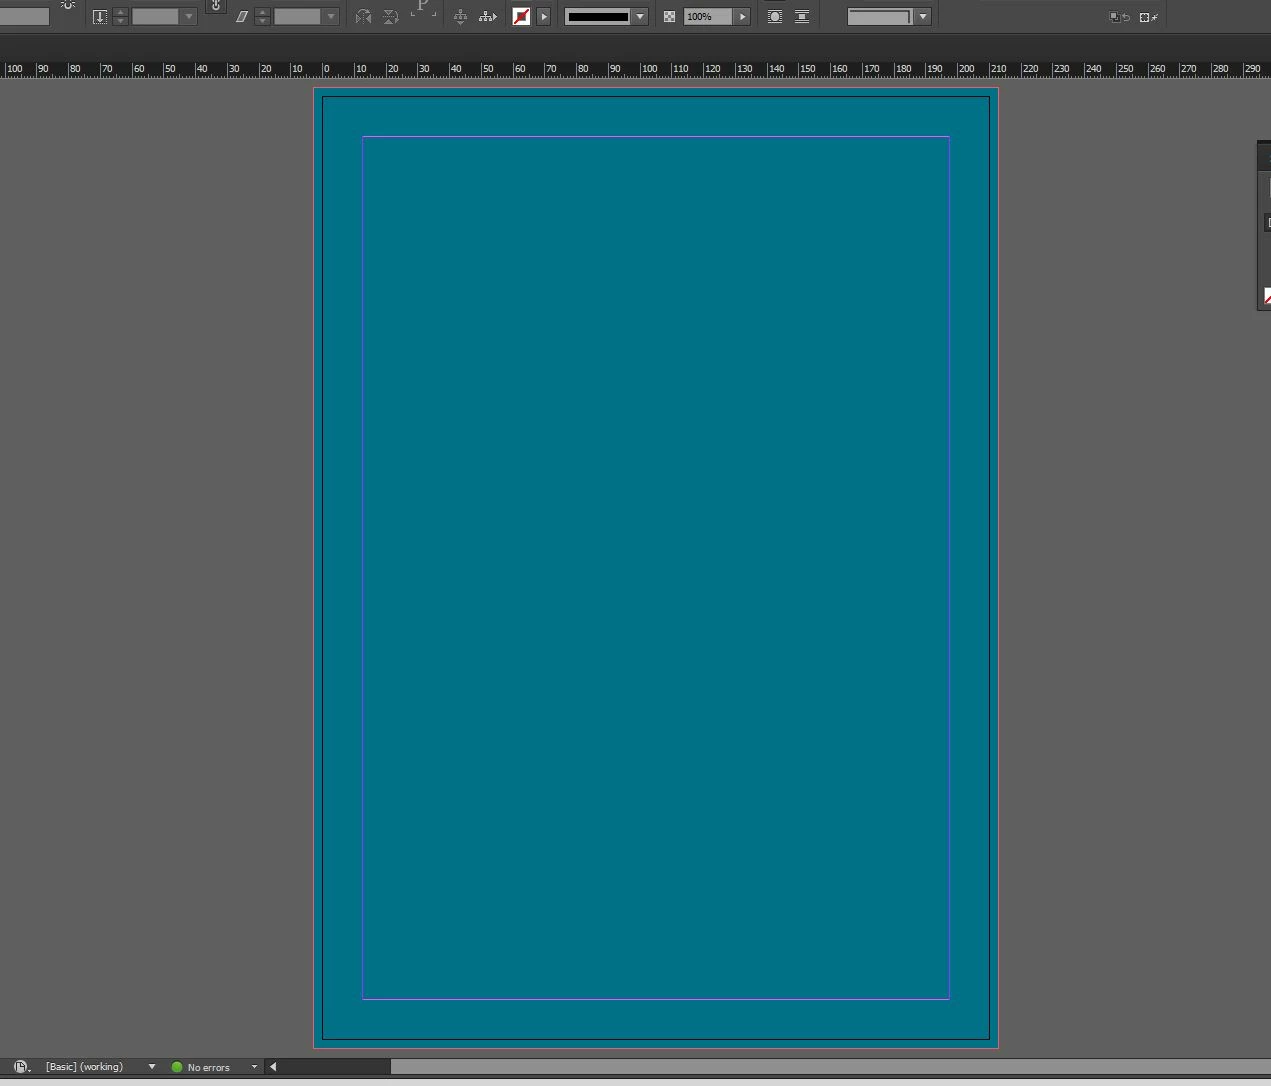
I am trying to set up bleed and crop marks for my publishers requirements in InDesign (and exporting them to PDF) but she was very vague on the instructions. She sent me an example:

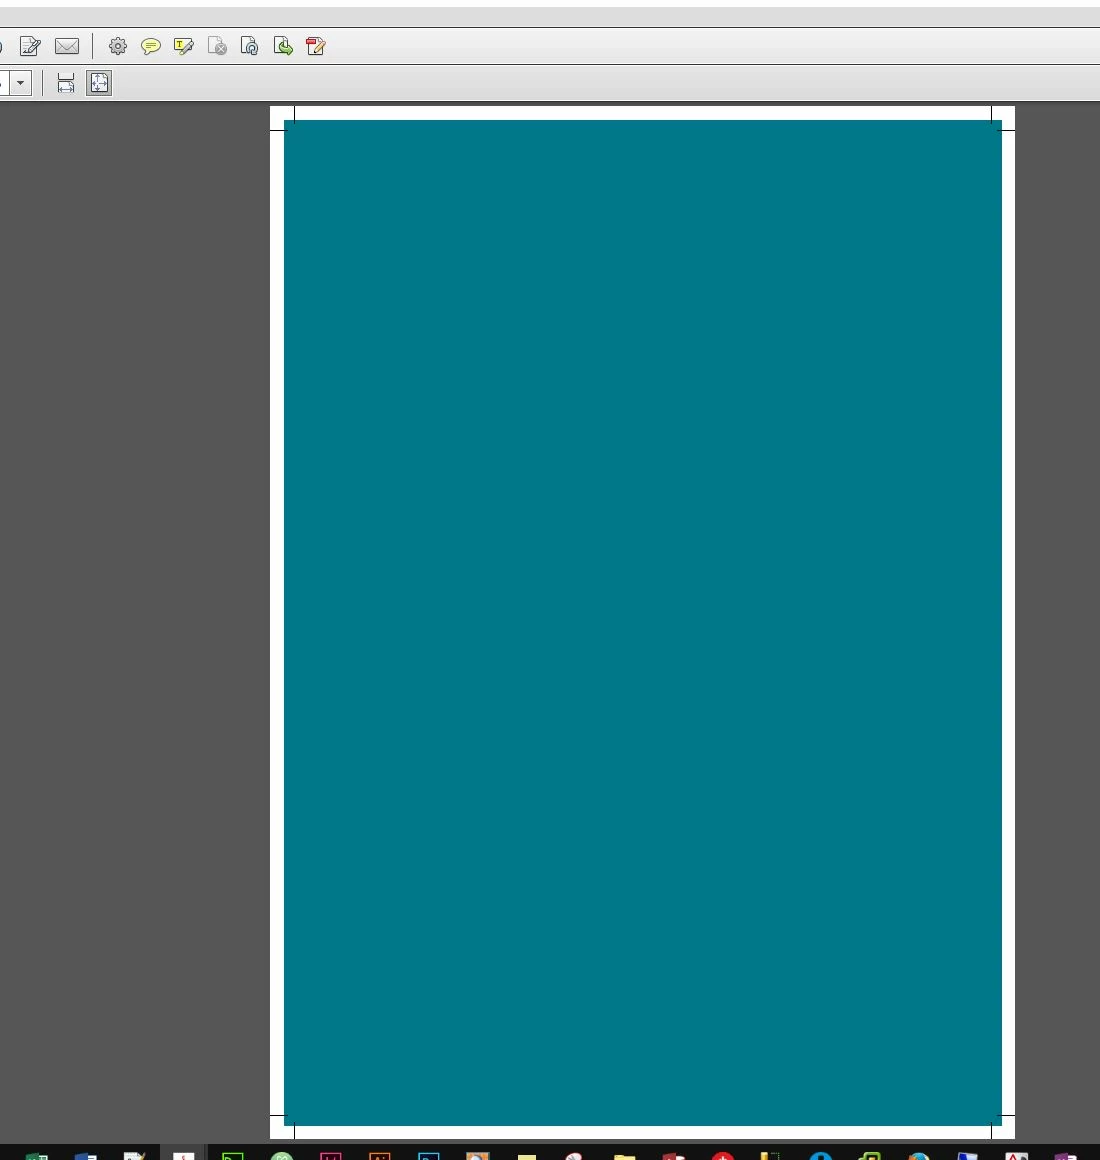
I have fiddled with EVERYTHING, from the bleed marks, to the crop marks, the slug, the offset, but my document still appears slightly outside the bleed area. I want it to be slightly inside the bleed area like the above example. This is the best I can do:

How do I get my image to be slightly inside the bleed area? I tried minusing the offset but it starts at "0"

These are my current settings:

WIDTH 49p7.276 (AUS A4 size)

HEIGHT 70p1.89 (AUS A4 size)

Bleed: 0p5.669 As instructed by publisher. Left, Right, Top Bottom

Slug: 0. she didnt mention this

MY CURRENT EXPORT SETTINGS:

I have tried everything I can and it is DRIVING ME INSANE, please help. The publisher offered to fix it for me for a fee, but its probably something simple and they charge enough already! I am obviously missing something simple or doing something wrong.

This topic has been closed for replies.
Correct answer smoothsea

Hi,

Here is an A4 Indesign document with 3mm bleed setup. The blue background extends into the bleed area.

Here is the Indesign export PDF dialog - note the offset setting of 2mm - that is the distance away from the trim that the cropmarks will draw.

And here is the PDF export. Note that the background extends into the bleed area.

I hope that's a bit clearer.

Regards,

Malcolm

2 replies

tarafieldAuthor
Participant
January 11, 2017

I did what you said Malcom thanks. I turned off the crop marks and put the bleed marks on, however it still looks exactly the same? the publisher insists that I have it the same as the example she gave me. These are the instructions she gave me about how to set everything:

"

Okay, if it’s inDesign I can help

>

> If you go into File -> Document Setup

>

> At the Bleed and Slug area, change Bleed to 2mm Top, Bottom, left right -> Okay

>

>

> When you get back to the file, press “W” to see working space (if you’re already seen the bleed mark, which is a red border outside the black area, then don’t need to press W)

>

> Extend the background to the red border if there’s any background you want to print to the edges

>

> Keep text in the 7mm margin (Use Layout -> Margins and Columns) to set up the 7mm margin on all edges

>

> When you export, remember to export with bleeds (Bleed Export)

>

>

> Attached are some examples, hopefully it’s clearer"

----

I did what she said which let me to my problem as it does not look like the example, I sent her my file (which still looks like the one i have recently changed and she replied:

"The bleed setup is correct but the cropmarks are too close to the edges, need to be at least 2mm away from the trimming edges.

If it’s not possible, please remove it altogether"

Any advice on what she wants would be greatly appreciated. I thank you for the help you have given me, too

smoothseaCorrect answer
Inspiring
January 11, 2017

Hi,

Here is an A4 Indesign document with 3mm bleed setup. The blue background extends into the bleed area.

Here is the Indesign export PDF dialog - note the offset setting of 2mm - that is the distance away from the trim that the cropmarks will draw.

And here is the PDF export. Note that the background extends into the bleed area.

I hope that's a bit clearer.

Regards,

Malcolm

tarafieldAuthor
Participant
January 12, 2017

Thanks I will try that. I noticed your offset and bleed settings are different than mine which may have been my problem.

Inspiring
January 11, 2017

Hi,

Selecting bleed on your output settings is correct, but Indesign won't generate the bleed for you. You have to make sure that you show the bleed area in your document (ie make sure you're not in preview mode). The bleed area shows as a red line outside the boundary of your page, and your image must be large enough to fill that area.

Sorry - just noticed that you don't have crop marks selected in your output dialog. The marks that you see are actually the bleed marks which are not necessary. Switch off bleed marks and switch on crop marks and you should be good to go.

Regards,

Malcolm

Eternal Warrior
Inspiring
January 11, 2017

Malcolm is right. I would mark this as the correct answer