Participant
October 5, 2019
Question

How to adjust bleed marks?

  • October 5, 2019
  • 3 replies
  • 1794 views

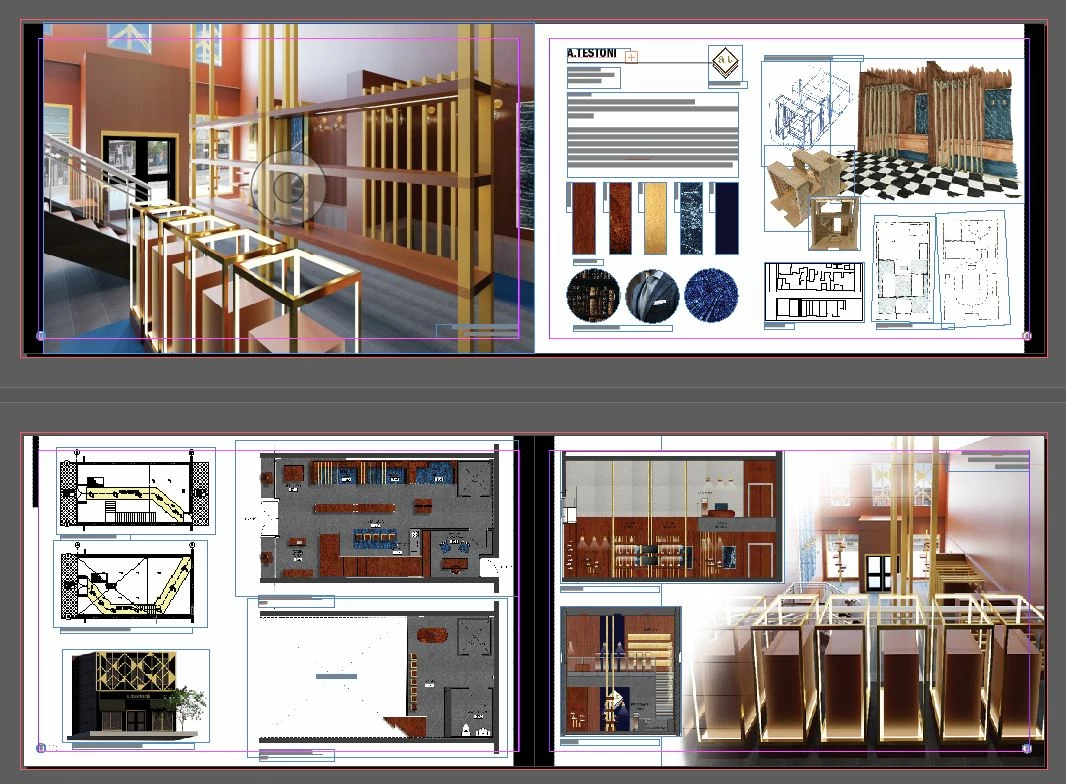
I'm planning on printing on an 11x17 paper but want the bleed marks inside the page so that the images can go directly to the border.  How do I achieve this?  When the bleed marks are inside the page, do I still need to drag the image across the line and to the edge of the paper?  Tutorials online only show how to make the bleed marks outside the paper space (as shown in the image attached).  Bascially, how can I get my images to print straight to the edge of the page, but still within the confines of an 11x17 paper?  (My portfolio at the end can be a bit smaller than 11x17 once printed)


Thanks!

    This topic has been closed for replies.

    3 replies

    Gusgsm
    Inspiring
    October 7, 2019

    This is a very common confusion when starting to work for printing: The size of the final page, the trimmed page and the size of the sheet of paper (a "paper page" as well in a common desktop printer) are two different things. You need the Sheet to be bigger than the final page, the trimmed one. That excess is to leave place for printer marks and bleed (besides, printers that print up to the very border are not the most common ones).

    That's why you canot print a final trimmed A4 page in a A4 printer if you are doing bleeded work. And that's why there is a set of ISO papers called the SRA series.

    (From Wikipedia) "These paper series are untrimmed raw paper. RA stands for “raw format A” and SRA stands for “supplementary raw format A”. The RA and SRA formats are slightly larger than the corresponding A series formats. This allows bleed (ink to the edge) on printed material that will be later cut down to size. These paper sheets will after printing and binding be cut to match the A format."

    Community Expert
    October 6, 2019

    Your page/document size needs to the size of your finished trim size - that is - your page/document size should be the size you want the book to be when all is finished.


    In your Document setup - you can setup the Bleed.

    This adds a red line around your page border - to what you set it to - this is usually 3mm or 5mm depending on your Print Providers settings and requests.


    Once you have the red line around your page - you need to ensure all the images extend to this red line.


    When you make your final PDF for the Print Provider - in the PDF settings - go the Marks and Bleed section.


    Set your Bleed in this setting - but there is also another setting called "Offset" within the same settings.

    Put your offset to the same distance as your bleed.


    You don't want your bleed/crop marks to be inside your artwork - if it is then there is a good chance in the finished article your marks will show up.


    There is no need to have anything other than your artwork in the bleed area - your Crop Marks should be outside your bleed area.


    Scott Citron
    Legend
    October 5, 2019

    Just place your images to the edge of your 11 x 17" page and print. The important thing is to choose a printer setup that allows edge-to-edge printing.