Participant
July 13, 2020
Answered

Image Cutting Off When Exporting

  • July 13, 2020
  • 3 replies
  • 6848 views
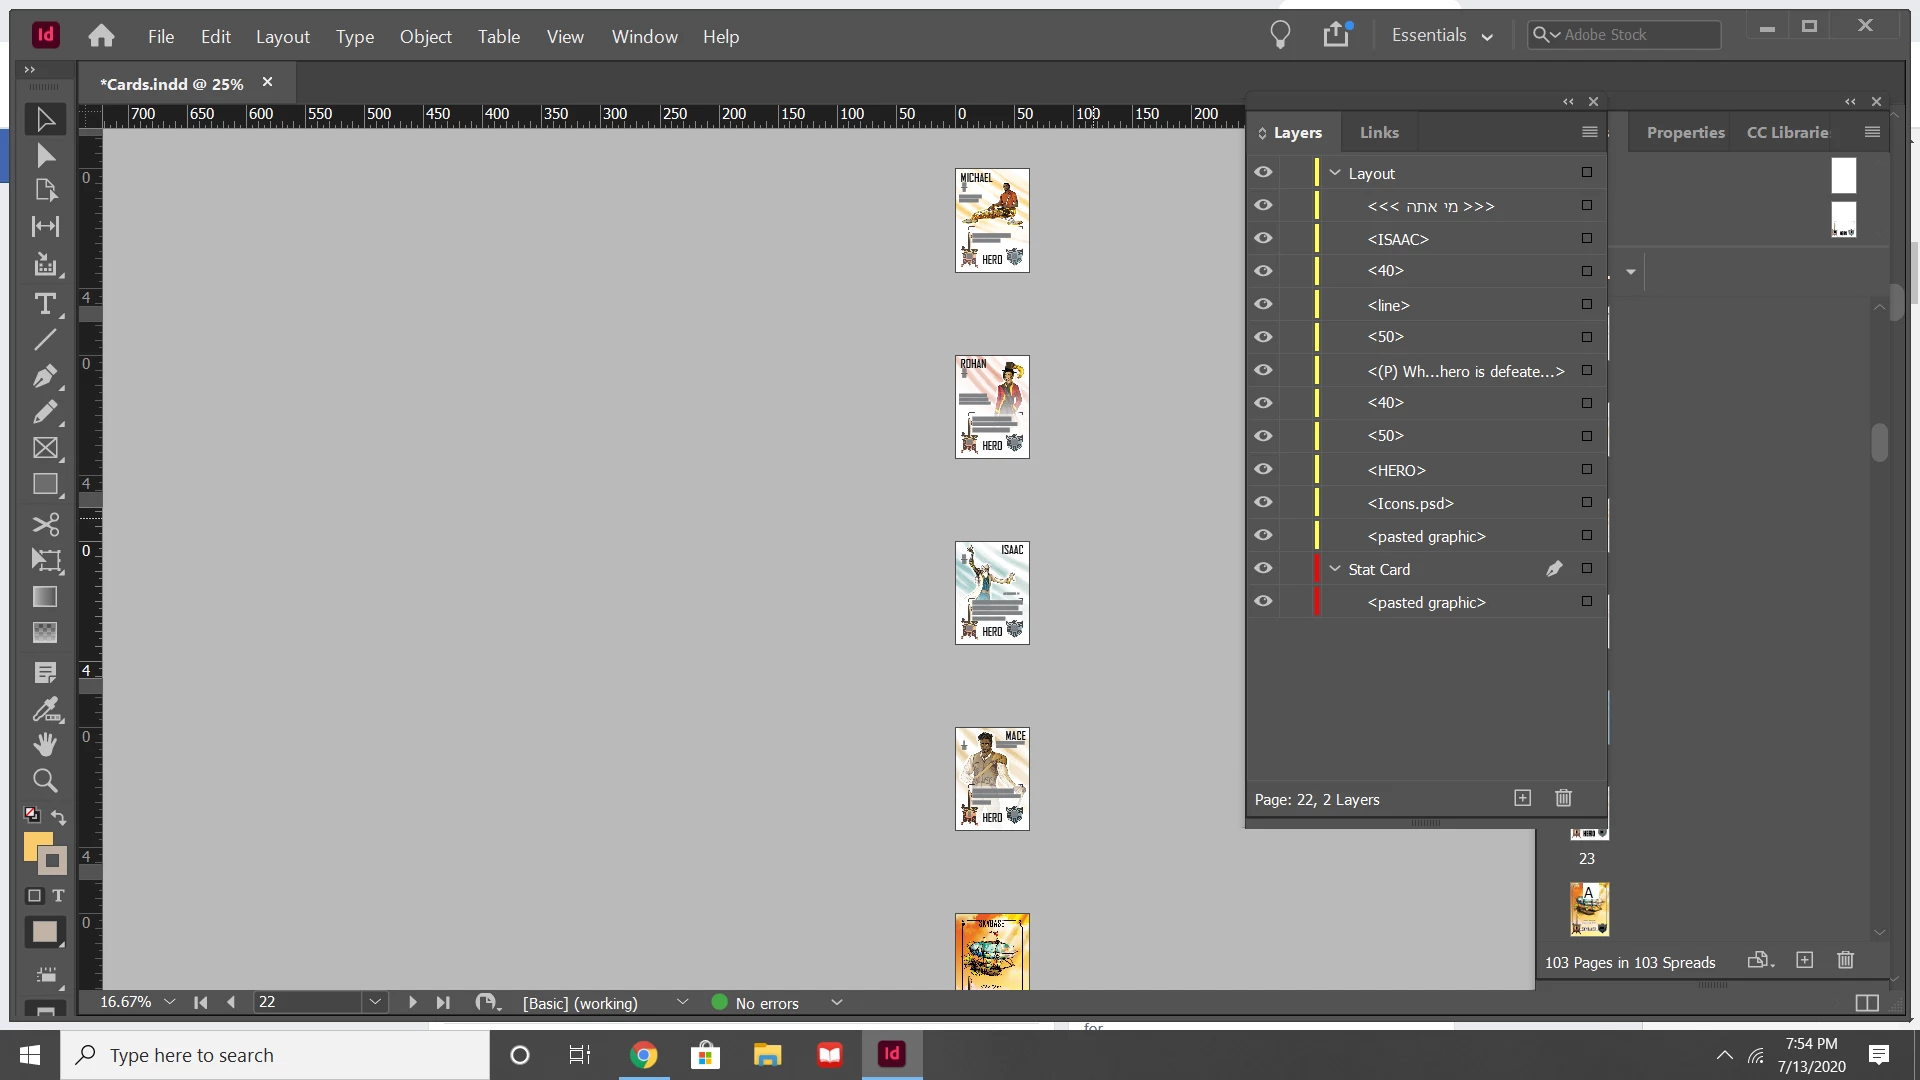
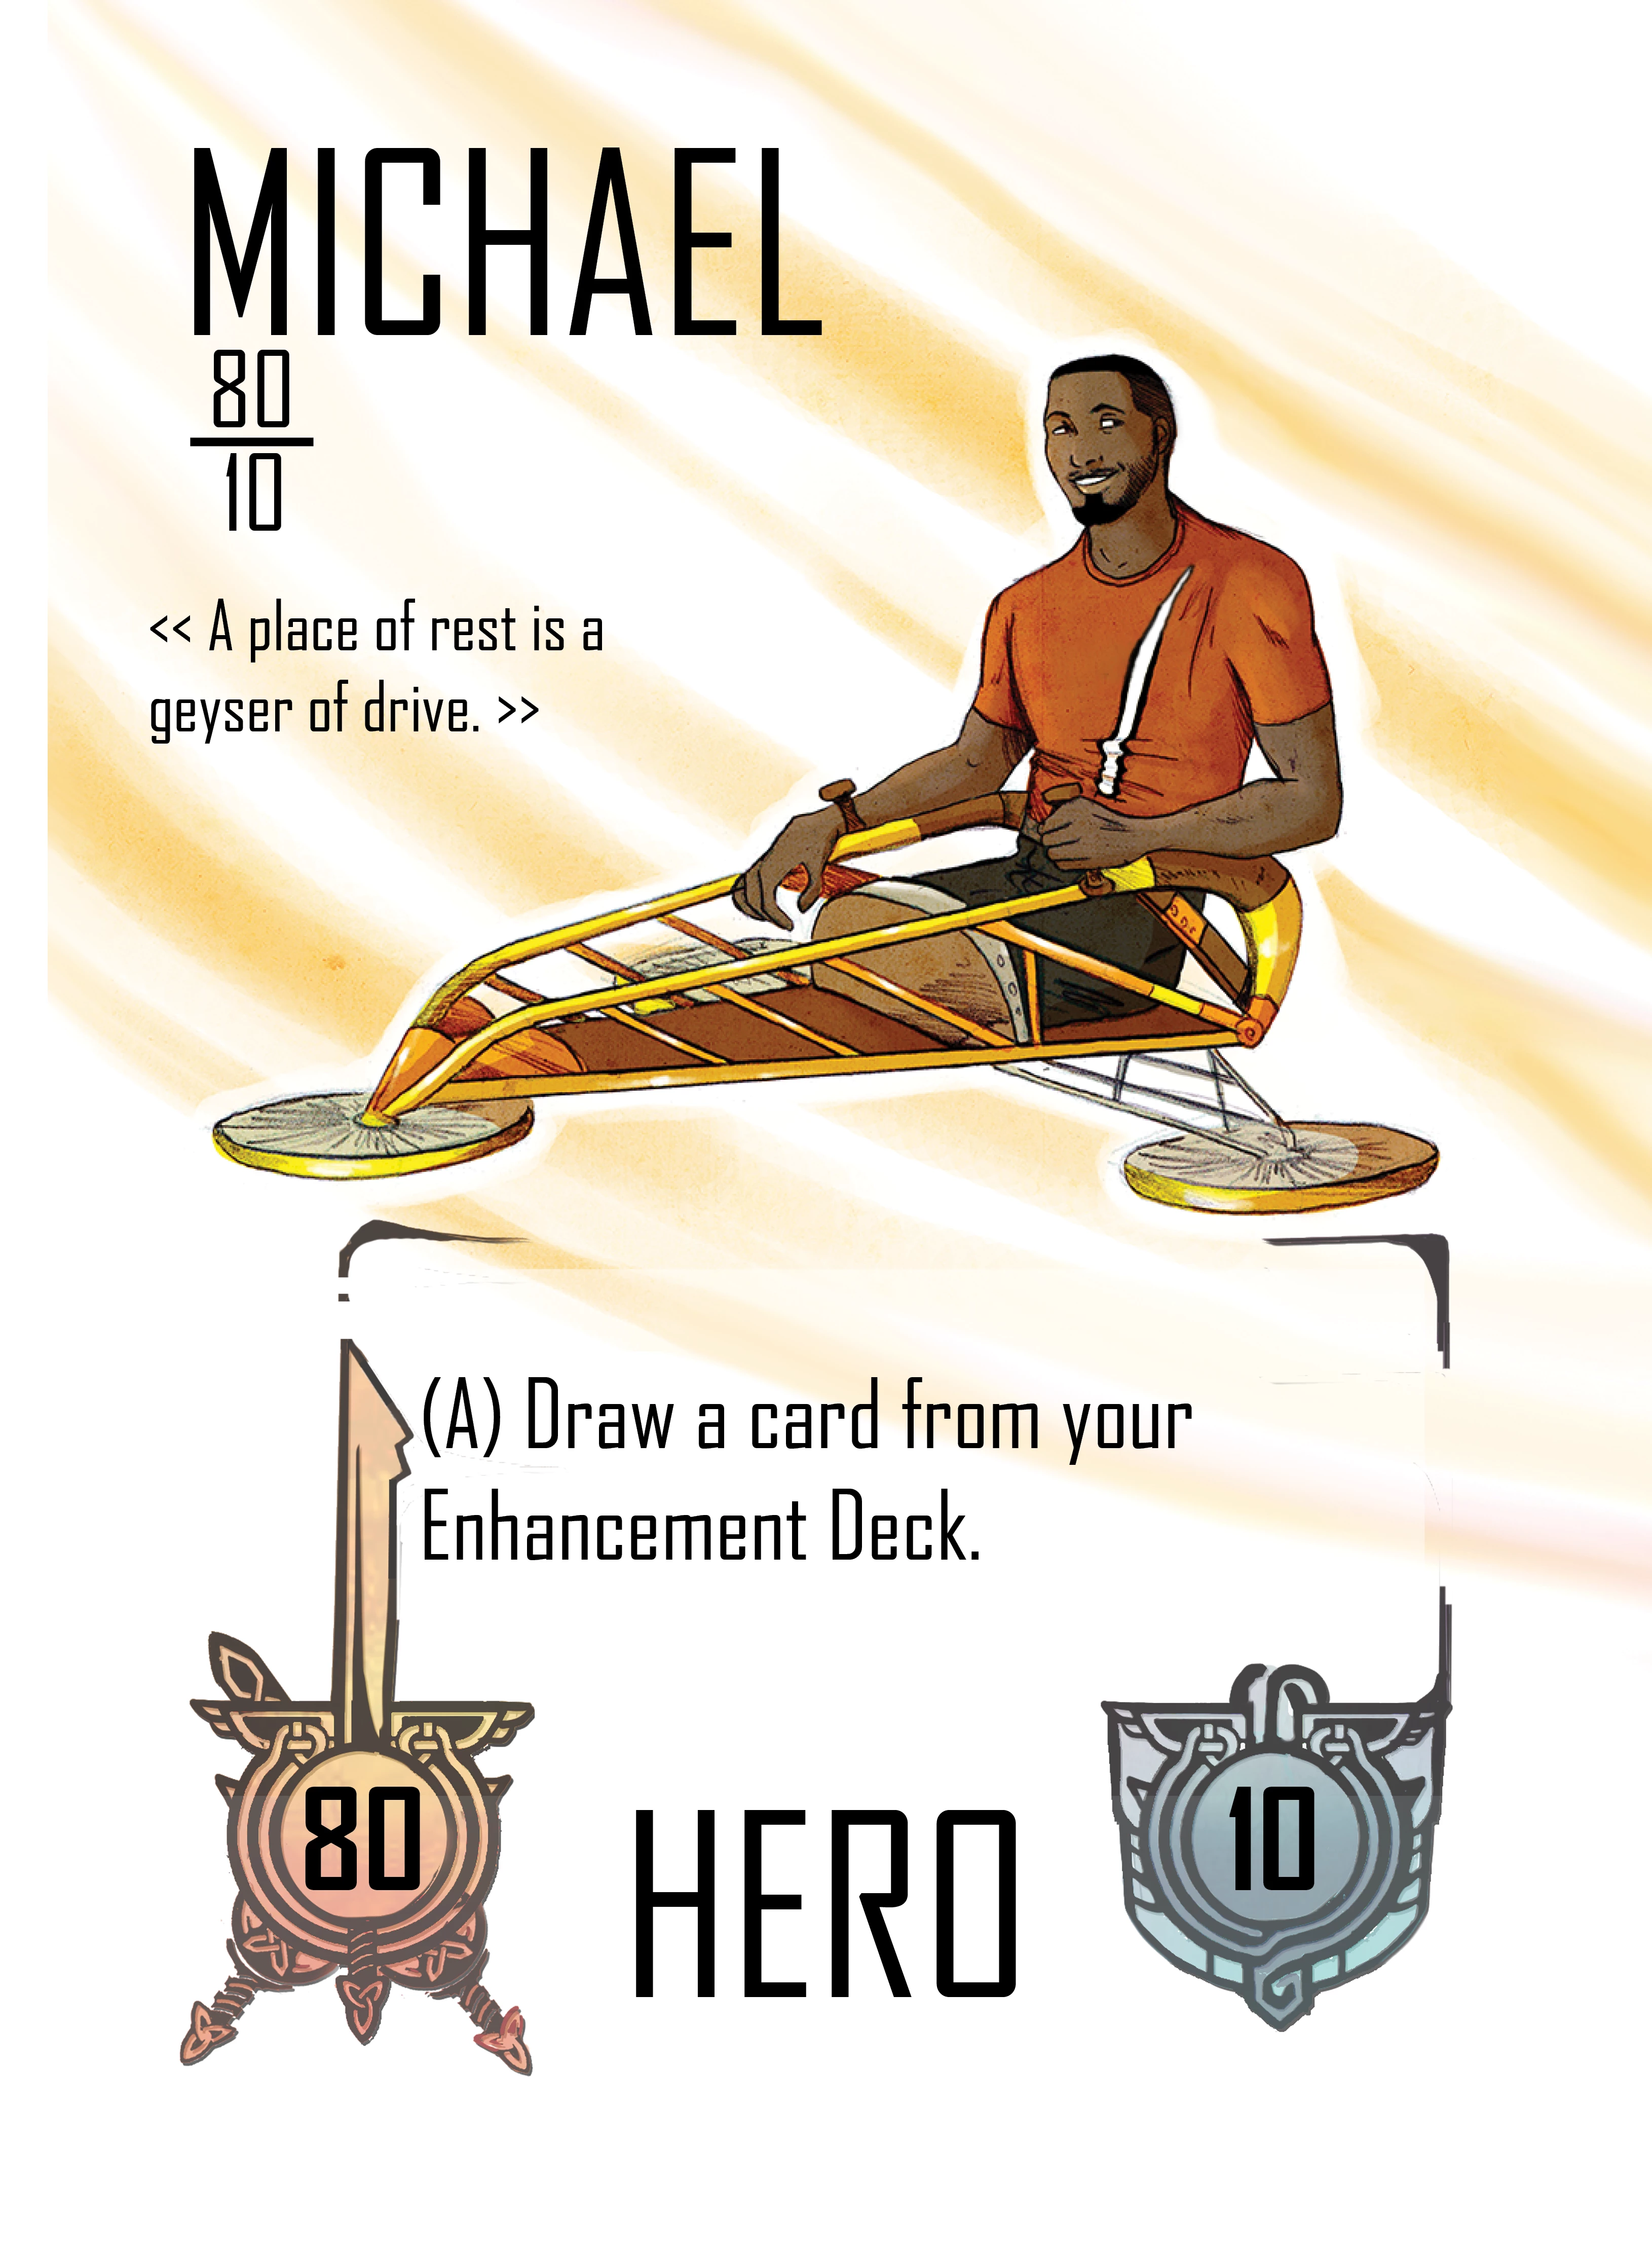
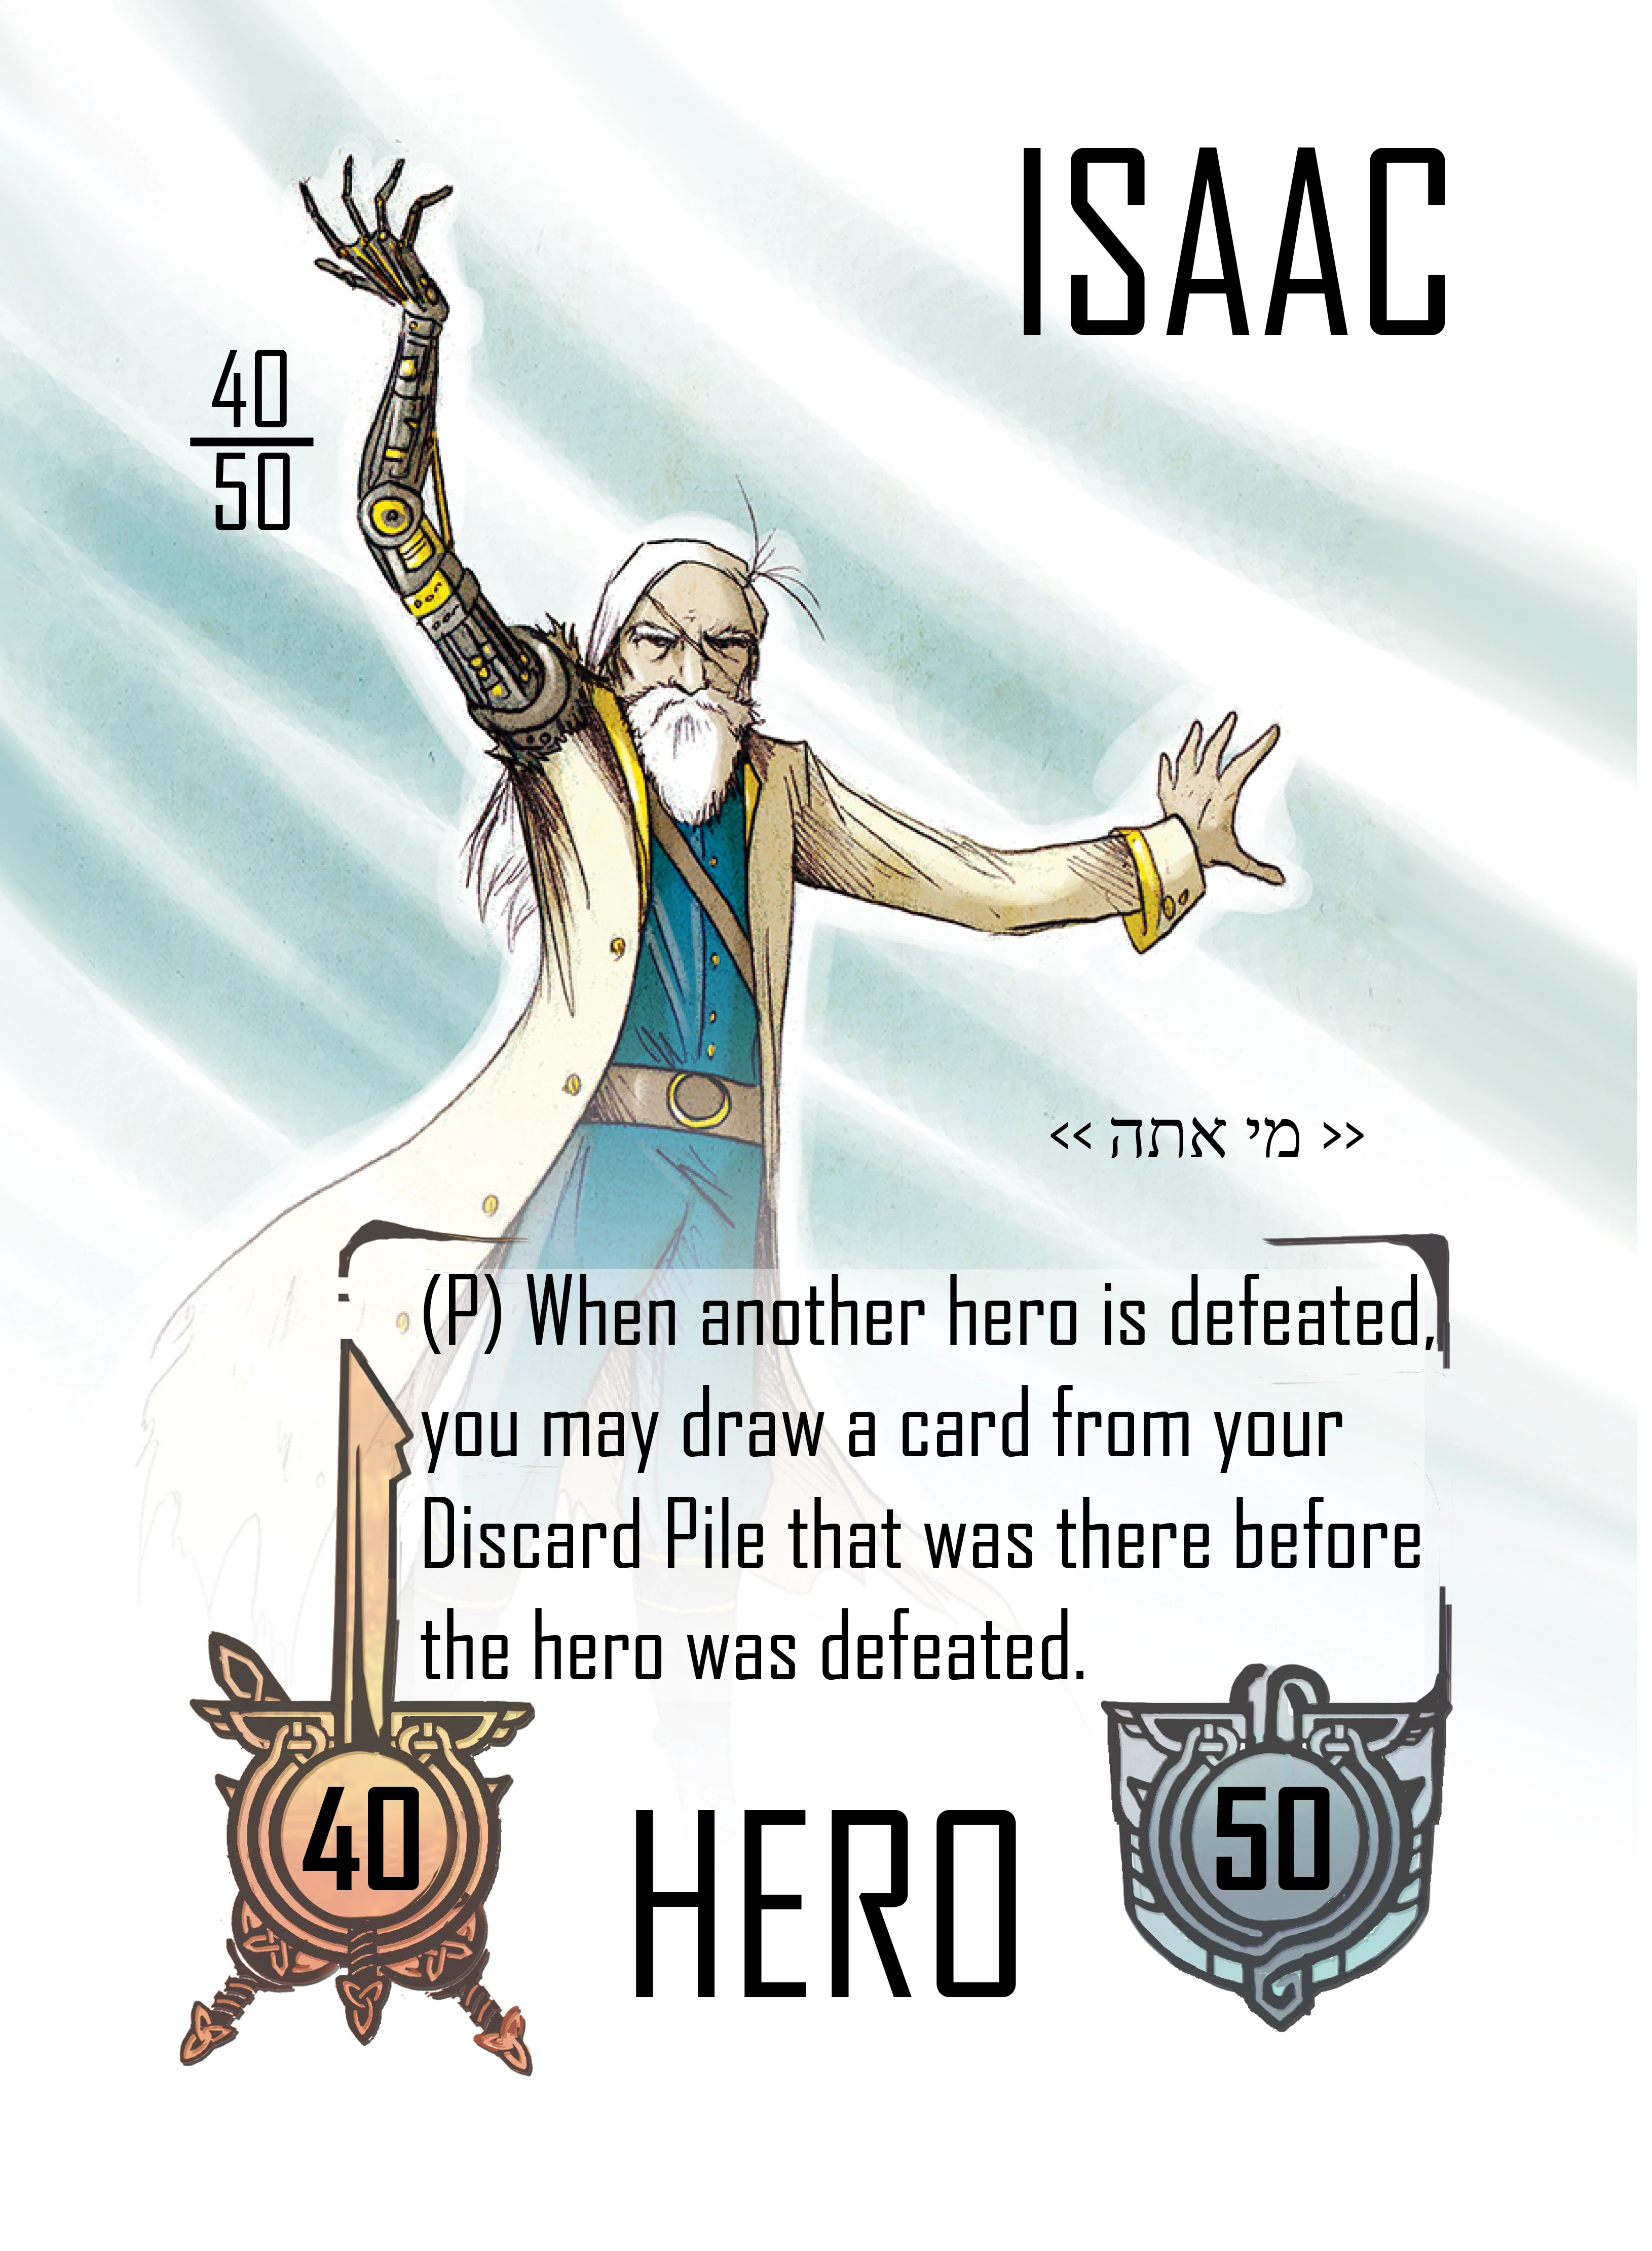
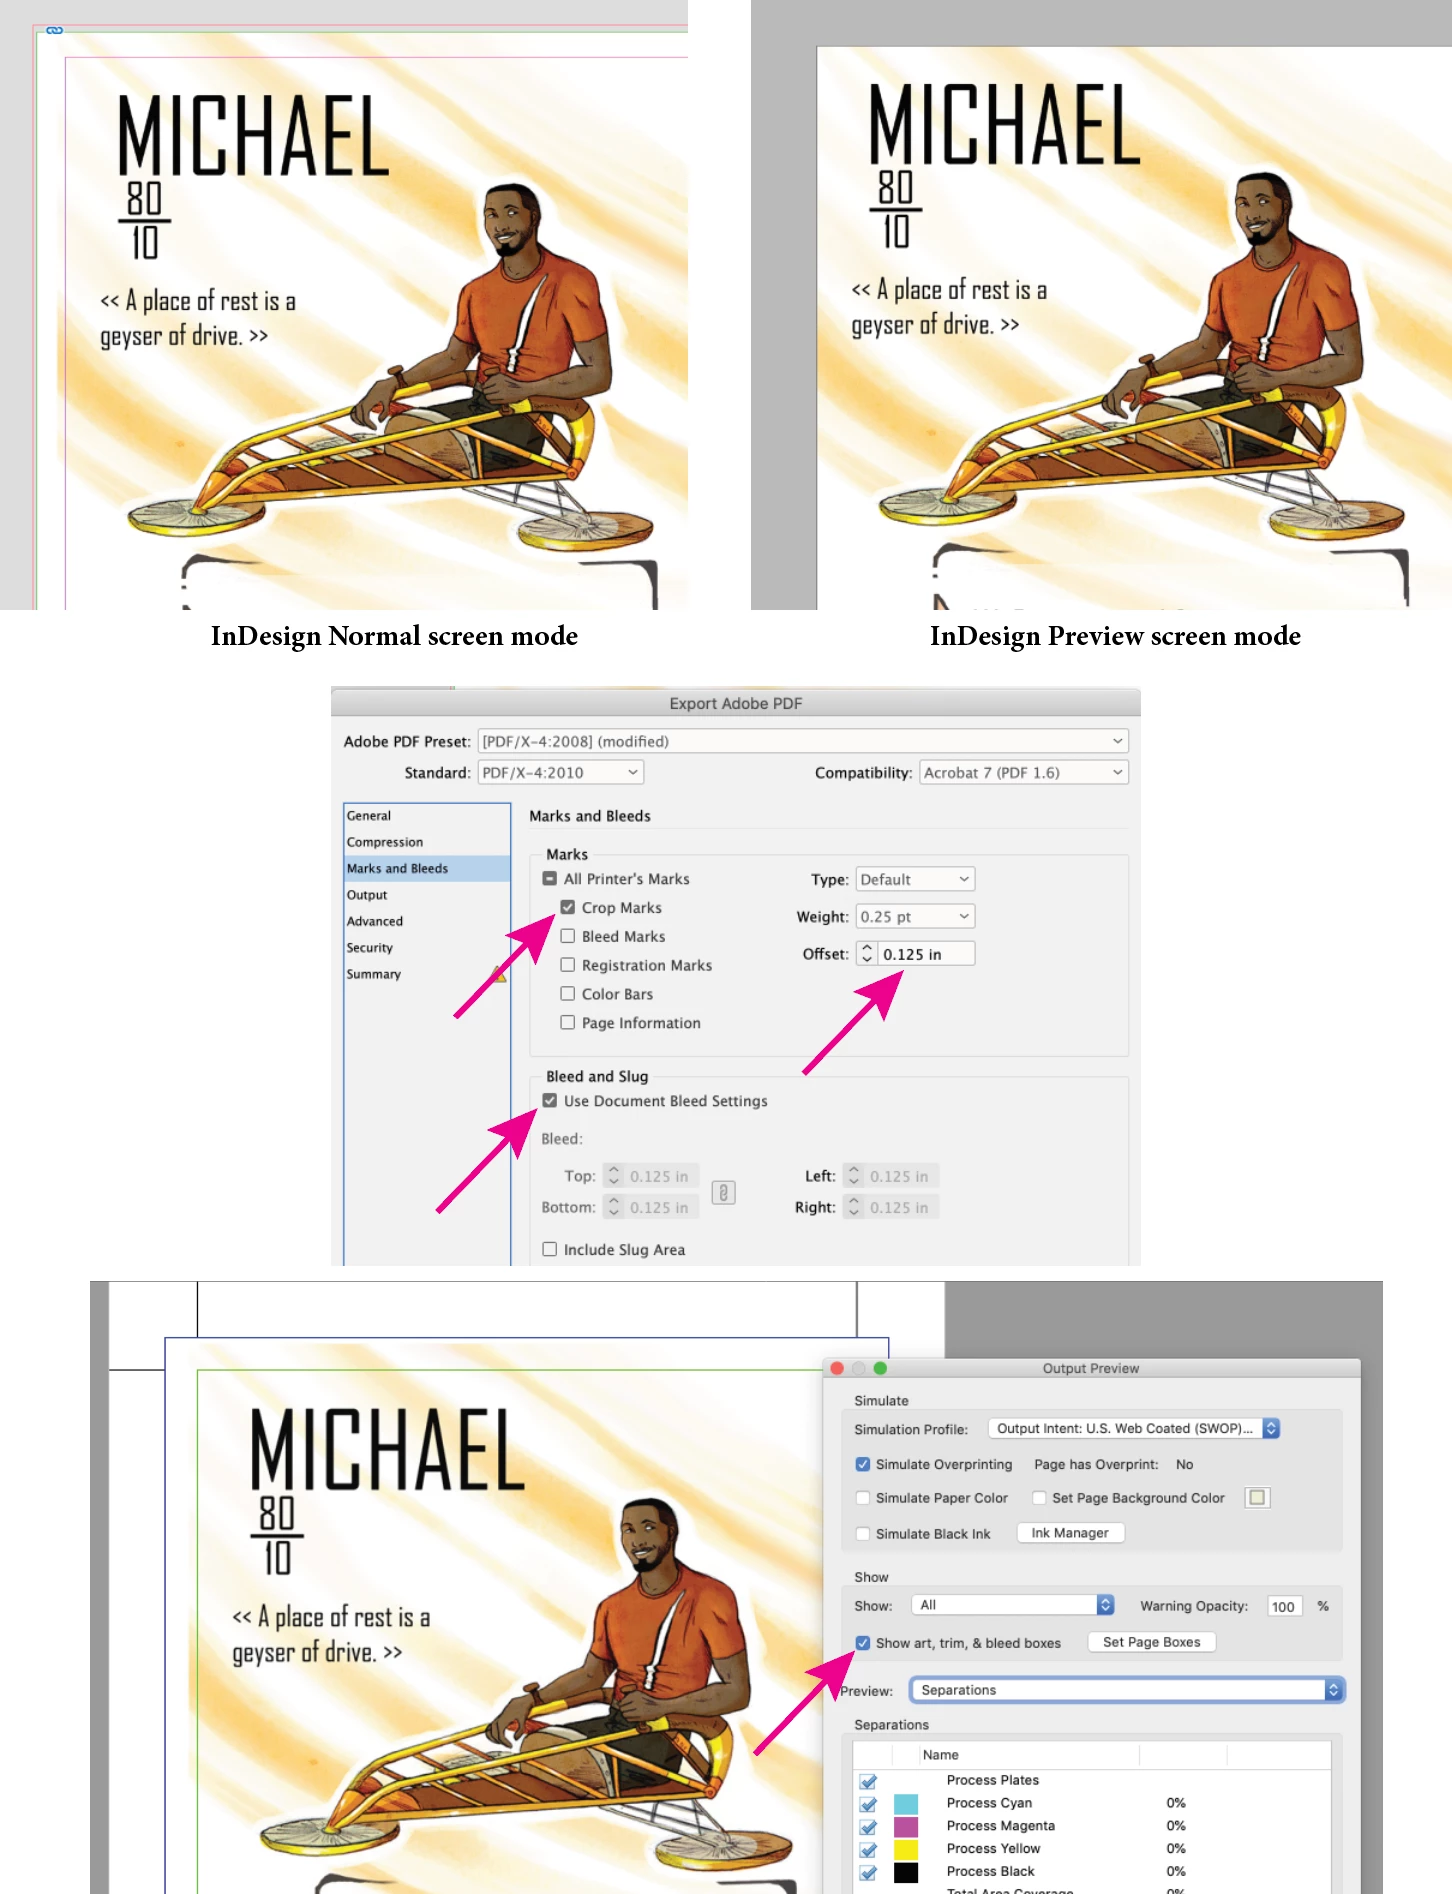
I have my cards for my card game created in InDesign. However, I have a couple cards that when I export them are having the side of their image cut off and leaving white space (about a 1/4 inch). Michael is on the left, and Isaac is on the right.

Any thoughts on how to fix this?

Thank you.
This topic has been closed for replies.
Correct answer Luke Jennings3

It's possible your images are not filling the bleed area and you are including the bleed when exporting. In your document setup, set your bleed to .125". In your PDF export settings, select Crop Marks, .125" Offset and Use Document Bleed Settings. You can view your InDesign page in Normal or Preview mode, when using Preview mode, you will not see the bleed. Finally, you can turn the trim and bleed lines on and off in Acrobat using the Output Preview tool, making it easy to check for proper bleed.

3 replies

Sheena Kaul
Legend
July 20, 2020

Hi there,


I'm hoping that the issue is resolved for you. 

If any of the above-mentioned solutions or suggestions helped, please mark them correct.

If not, do let us know so that we can assist you further.


Regards,

Sheena

Luke Jennings3
Community Expert
Luke Jennings3Community ExpertCorrect answer
Community Expert
July 14, 2020

It's possible your images are not filling the bleed area and you are including the bleed when exporting. In your document setup, set your bleed to .125". In your PDF export settings, select Crop Marks, .125" Offset and Use Document Bleed Settings. You can view your InDesign page in Normal or Preview mode, when using Preview mode, you will not see the bleed. Finally, you can turn the trim and bleed lines on and off in Acrobat using the Output Preview tool, making it easy to check for proper bleed.

Randy Hagan
Community Expert
Community Expert
July 14, 2020

Are you trying to output them as spreads? Or stacking them up somehow so multiple cards are output on one sheet? Or printing them one at a time?


Try this: export them as single pages, and when you output/export them click on the Marks and Bleeds section to the left of the Print/Export Adobe PDF dialog box you see when outputting them and select the Crop Marks and Bleed Marks check boxes in the Marks section. Then set the four Bleed edit boxes to .25 in. Output the files and check the end results. The Crop Marks will define the edge of the defined page/sheet. If you see an offset within the closest tick marks, it means that the placed elements are not inside the defined page size. If you see the image between the inside and outside tick marks (the bleed marks), the whole file is offset. If you see an offset and there is no image beyond the inside tick marks, you need to adjust the edges of your image frame and reposition the element(s) where you want them to be.


In short, printing with the crop and bleed marks will let you know if you have the whole card offset on the page or if the image frame is cropped and not letting you output your entire image. Please try this and let us know how it's working out for you. Hopefully we can help you massage your problematic card pages and get you where you want to be.


Randy