Participant
March 19, 2021
Answered

preserving dpi when enlarging artwork for print

  • March 19, 2021
  • 4 replies
  • 1123 views

I'm dropping illustrations into a children's picture book in InDesign. Some spreads have one double-page full colour illustration with lots of detail, and the pages between these have full colour dropins extracted from the main spread. I've extracted the dropins from a layered photoshop file of the main illustration. I want to enlarge the dropins, which are often quite small, eg a butterfly which is around 2 inches wide needs to be 300% enlarged. 


I'm going to Image size in Photoshop and from the dropdown menu 'fit to...' (default is original size) I'm selecting one of the enlargement options, eg 8 x 10 inches at 300dpi. This enlarges the illo and smoothes it so it's not pixellated - if I just enlarge it in InDesign, it gets pixellated. 

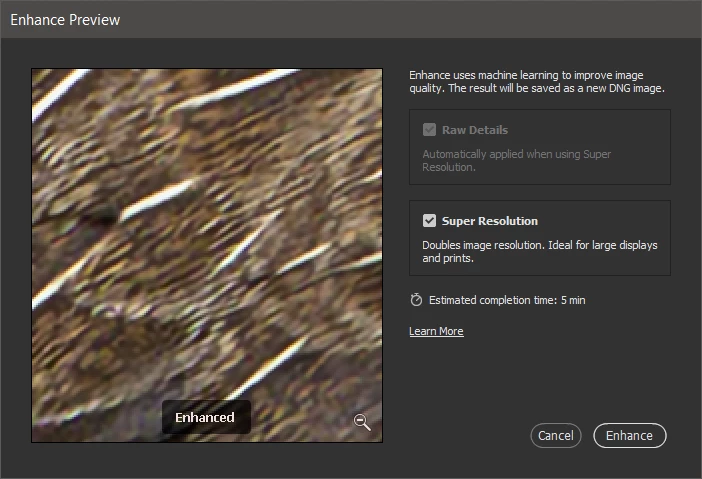
Attached is one of the images in the original size and enlarged 11x14 @11363214.


It looks fine on screen, but will the smoothing look fuzzy, poor quality in print? And is there a different way of enlarging without pixellating that I should be using? 


Many thanks

This topic has been closed for replies.
Correct answer Dov Isaacs

Actually, there is a brand new feature in Photoshop Camera Raw that might be able to assist here. Although we tend to think of Camera Raw strictly as a tool to convert RAW images from digital cameras into more conventional Photoshop formats with some exposure, color, contrast, and perspective corrections, there is a feature in Adobe Bridge that allows you to open any currently-open image in Camera Raw. Furthermore, the most recent version of Camera Raw has a new feature called Enhance (Ctrl-Shift-D on Windows and equivalent on MacOS):


Enhance uses AI / Machine Learning to allow for doubling image resolution while retaining or improving image detail. Of course, depending upon your original image, YMMV (“your mileage may vary”), but this feature is a real game changer. Try it and see it works for you. (Note that invoking the Camera Raw Filter within Photoshop doesn't allow access to the Enhance Feature!)


4 replies

Community Expert
March 20, 2021

It only looks pixelated in InDesign.

With the original image placed - what is the Effective resolution? 

I wrote a post about it here


Open the Info Panel, by going to Window > Info. Then select the image. The Info panel will show you the Actual ppi and Effective ppi.


https://creativepro.com/high-res-image-look-low-res/


Actual refers to the image at 100% scaling. In this case, that’s 72 ppi, which would output as low res if I made no modification in InDesign.

However, with this image I have scaled the image down to 29%. Therefore, effectively it’s 248 ppi. (72/29 × 100), and will output as high res.

See how the effective resolution is what really matters? How an image looks on-screen in InDesign is not always reflective of what you’ll get in final output. What you really care about is how it looks when printed or exported to PDF for digital documents. Just because it looks good on screen does not mean it will print that way—always get an accurate proof!

Participant
March 20, 2021
Hello Eugene,
Many thanks for this. Really helpful. I'll check as you suggest.
Sheena
Dov Isaacs
Dov IsaacsCorrect answer
Legend
March 19, 2021

Actually, there is a brand new feature in Photoshop Camera Raw that might be able to assist here. Although we tend to think of Camera Raw strictly as a tool to convert RAW images from digital cameras into more conventional Photoshop formats with some exposure, color, contrast, and perspective corrections, there is a feature in Adobe Bridge that allows you to open any currently-open image in Camera Raw. Furthermore, the most recent version of Camera Raw has a new feature called Enhance (Ctrl-Shift-D on Windows and equivalent on MacOS):


Enhance uses AI / Machine Learning to allow for doubling image resolution while retaining or improving image detail. Of course, depending upon your original image, YMMV (“your mileage may vary”), but this feature is a real game changer. Try it and see it works for you. (Note that invoking the Camera Raw Filter within Photoshop doesn't allow access to the Enhance Feature!)


- Dov Isaacs, former Adobe Principal Scientist (April 30, 1990 - May 30, 2021)
Participant
March 19, 2021
Thank you so much for that. I'll look into Camera Raw.
rob day
Community Expert
Community Expert
March 19, 2021

Upsampling in Photoshop will simply blur the details—it won’t add the detail that you would get if the original art was rescanned at a higher resolution. A zoomed in comparison shows that there are no new details, the upsampled version has simply blurred the pixels.


Also the print halftone screen is going to obscure the image pixels, so both versions would be equally soft in print:


Participant
March 19, 2021
Thanks very much for this. It confirms what I thought was probably
happening. It sounds like it should work ok...particularly with the
halftone screen. I'll only use the really big enlargements in the
background at 30% transparency so softness will be ok. (The original
artwork is digital so can't be rescanned at higher res unfortunately.)
Legend
March 19, 2021

This is really more of a Photoshop question, and even though there are plenty of Photoshop experts who view the InDesign forum,  if you post in the Photoshop forum you might find some help.


Essentially, you're asking Photoshop to create new pixels as it enlarges your image. It can, to one extent or another, choose what color to make new pixels based on what the nearest pixels are colored, but what you are getting is typical. There are somethings that will be better than others, but expanding the size of an image isn't part of my regular workflow, so I'm not that experienced with what works best. Good luck.

Participant
March 19, 2021
That's really helpful. Many thanks.