Inspiring
October 25, 2025
Question

Troubleshooting template numbering system

  • October 25, 2025
  • 1 reply
  • 108 views

Hi,


I am trying to fix a broken numbering system on a project template. I didn't make the template.

Currently the leading number "4" (chapter number) is assigned by going to layout > numbering options > starting numbering at 4


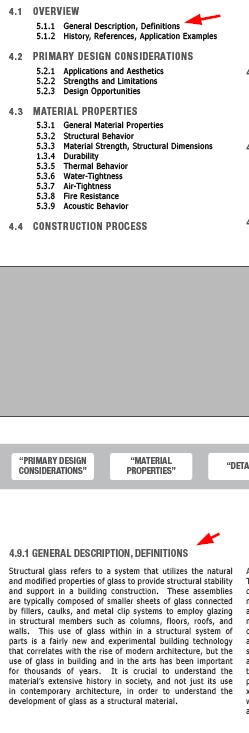
The sub-chapters (4.1, 4.2, etc) are updated, but the sub-sub-chapters remain un updated. Furthermore, there is incongruence between what is reported in the table of contents and the actual sub-sub chapter number:

Here is a screen recording with more detail:

https://youtube.com/shorts/gOyrIXpRz6g?feature=share

And I can upload the indesign file if needed.

Thanks for any suggestions for how to resolve this.

1 reply

Randy Hagan
Community Expert
Community Expert
October 25, 2025

As long as your documentation is broken up into separate chapters that correspond to the "correct prefix" number for the chapter, you should be able to work around the current template setup to get the results you're looking for.


I believe the issue you're having is that the dummy text for what essentially becomes your Table of Contents for each chapter/section isn't fully prepared to generate a valid Table of Contents for you.


So what you need to do is first:

  1. Define the paragraph styles for both your X.X sub chapter header and numbers and your X.X.X sub-sub chapter header and numbers. That's probably already done, if it's a good template.
  2. Open your Paragraph Styles panel form your right-side dock (if it's available) or if not, by selecting the Window>Styles>Paragraph Styles menu command.
  3. Go to your text from the template and click your Text tool inside the line where you see your X.X sub chapter header and numbers. When you click in that line, provided paragraph styles were used to format it, you will see the name of that paragraph style your Paragraph Styles panel. Make a note of it. then
  4. Click your text tool anywhere in a line where you see your X.X.X sub-sub chapter header and numbers, and if a paragraph style was used for this, you will see the corresponding paragraph style name in the Paragraph Styles panel. Make note of that too.


Whether you do or don't see named paragraph styles, you can learn a lot more about what they are and how they work by following this link. It's good, relevant information for you now and for future reference. We can now use those paragraph style names to generate a current, correct Table of Contents for your document made from the template.


  • Select the Layout>Table of Contents... menu command to open the Table of Contents dialog box, as shown below:


  • Let's focus on the Styles in Table of Contents section, below the SOC Style: and Title: options boxes. In the Other Styles: options box, you should see your two labeled styles for your headers and numbers that we already made note of. First select the X.X style name to the right, then click the < < Add button to copy it to the left, in the Include Paragraph Styles: options box.
  • Then find the corresponding X.X.X style name in the Other Styles: options box and click the < < Add button to add that to the Include Paragraph Styles: options box, below the first one we placed. This defines the paragraph styles we want to use to create our ToC, as well as the hierarchy for how we want them organized.
  • For bonus points and formatting convenience, you can now click on each of the style names in the Include Paragraph Styles: options box, then click on the Entry Style: options box immediately below in the Style section. This applies formatting styles to each style used in the Include Paragraph Styles: option box.
  • With that done, click the OK button to create a new Table of Contents for your document.
  • You will return to your document layout, and your cursor will now show it has text to place in your document. That's known as the InDesign Place Gun cursor. Move to the area to the left of your document page, click the mouse button and place your new Table of Contents off the left side of your page layout.
  • Delete the old, wrong ToC and replace it with the new one you've just created. Adjust it and style it as you see fit.


For more information on how to create and stylize a Table of Contents within an InDesign document, you can follow this link to get all the details. Out with the old and broken, in with the new and corrected.


Hope this helps,


Randy

Inspiring
October 29, 2025

Thanks @Randy Hagan  for the helpful information, I think I have a better idea of what is going on. There seem to be a few separate issues but they might be related.

First, the section header X.X in the document isn't incrementing, but it is incrementing in the TOC and they share the same numberying style syntax ^H.# start at 1. Why would that be happening?